ASHATA ASHATA0x981mszfp
ASHATA 4 Channel Dash Cam User Manual
Model: ASHATA0x981mszfp
Marca: ASHATA
1. Introdución e finalview
This manual provides comprehensive instructions for the installation, operation, and maintenance of your ASHATA 4 Channel Dash Cam. This advanced vehicle recording system features four cameras providing a 360-degree panoramic view, capturing footage from the front, left, right, and rear of your vehicle. Equipped with 1080P resolution and a 3-inch display, it ensures clear video observation in all directions. Key features include infrared night vision for low-light conditions, automatic ignition-based power control, and an emergency save function powered by G-sensor technology to secure critical footage durante incidentes.
2. Que hai na caixa
Upon unboxing your ASHATA 4 Channel Dash Cam, please verify that all components listed below are present and in good condition:
- ASHATA 4 Channel Dash Cam Unit
- Montaxe para ventosa
- Cable de alimentación do chisqueiro
- Memory Card (if included with your specific package)
- Rear Camera Cable (if applicable)
- Mounting Screws (for rear camera, if applicable)

Image: All components included with the ASHATA 4 Channel Dash Cam, laid out for inspection.
3. Configuración e instalación
Follow these steps to properly install your dash cam in your vehicle:
- Prepare a superficie de montaxe: Clean the area on your windshield where you intend to mount the dash cam. Ensure it is free from dust and grease for optimal suction.
- Coloque o soporte da ventosa: Securely attach the suction cup mount to the dash cam unit. Press the suction cup firmly against the cleaned windshield and engage the locking mechanism to ensure a stable attachment.
- Inserir tarxeta de memoria: Locate the memory card slot on the dash cam. Insert a compatible memory card (Class 10 or higher, up to 128GB recommended) with the correct orientation until it clicks into place.
- Conectar enerxía: Plug the cigarette lighter power cable into your vehicle's 12V power outlet. Connect the other end to the dash cam's power input port. Route the cable neatly along the windshield trim to avoid obstructing your view.
- Axustar os ángulos da cámara: Once powered on, adjust the main dash cam unit to ensure the front camera captures the road ahead clearly. The side cameras are fixed for left and right views. If a separate rear camera is included, install it at the rear of your vehicle and connect its cable to the main unit.

Image: The dash cam unit with its suction cup mount, illustrating how it attaches to the windshield.

Image: The dash cam installed in a vehicle, demonstrating its placement and the driver's view.
4. Instrucións de funcionamento
Understand the functions and controls of your dash cam for optimal use:
4.1 Encendido/apagado
The dash cam is designed to automatically power on and begin recording when your vehicle's ignition is turned on. It will automatically power off shortly after the ignition is turned off.
4.2 Modos de gravación
- Gravación en bucle continuo: A cámara do salpicadero grava vídeo continuamente en segmentos curtos (por exemplo, 1, 3 ou 5 minutos). Cando a tarxeta de memoria está chea, a tarxeta desbloqueada máis antiga filesobrescribirase.
- Gravación de emerxencia (sensor G): In the event of a sudden impact or collision, the built-in G-sensor will detect the event and automatically lock the current video segment, preventing it from being overwritten by loop recording. These files are typically stored in a separate "Event" folder on the memory card.
- Parking Monitoring (Motion Sensing): When enabled, the dash cam can detect motion or impact while the vehicle is parked and automatically begin recording. This feature requires a continuous power supply (e.g., hardwire kit, not included).

Image: Visual representation of the dash cam's 360-degree recording capability, night vision, and G-sensor emergency save feature.
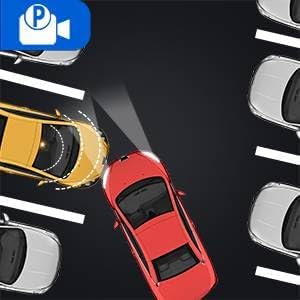
Image: An illustration depicting the parking monitoring function, where the dash cam records events when the vehicle is stationary.
4.3 Pantalla e navegación
The 3-inch display allows you to view vivir footage from all cameras and navigate through the menu settings. Use the physical buttons located on the device to access and adjust settings.
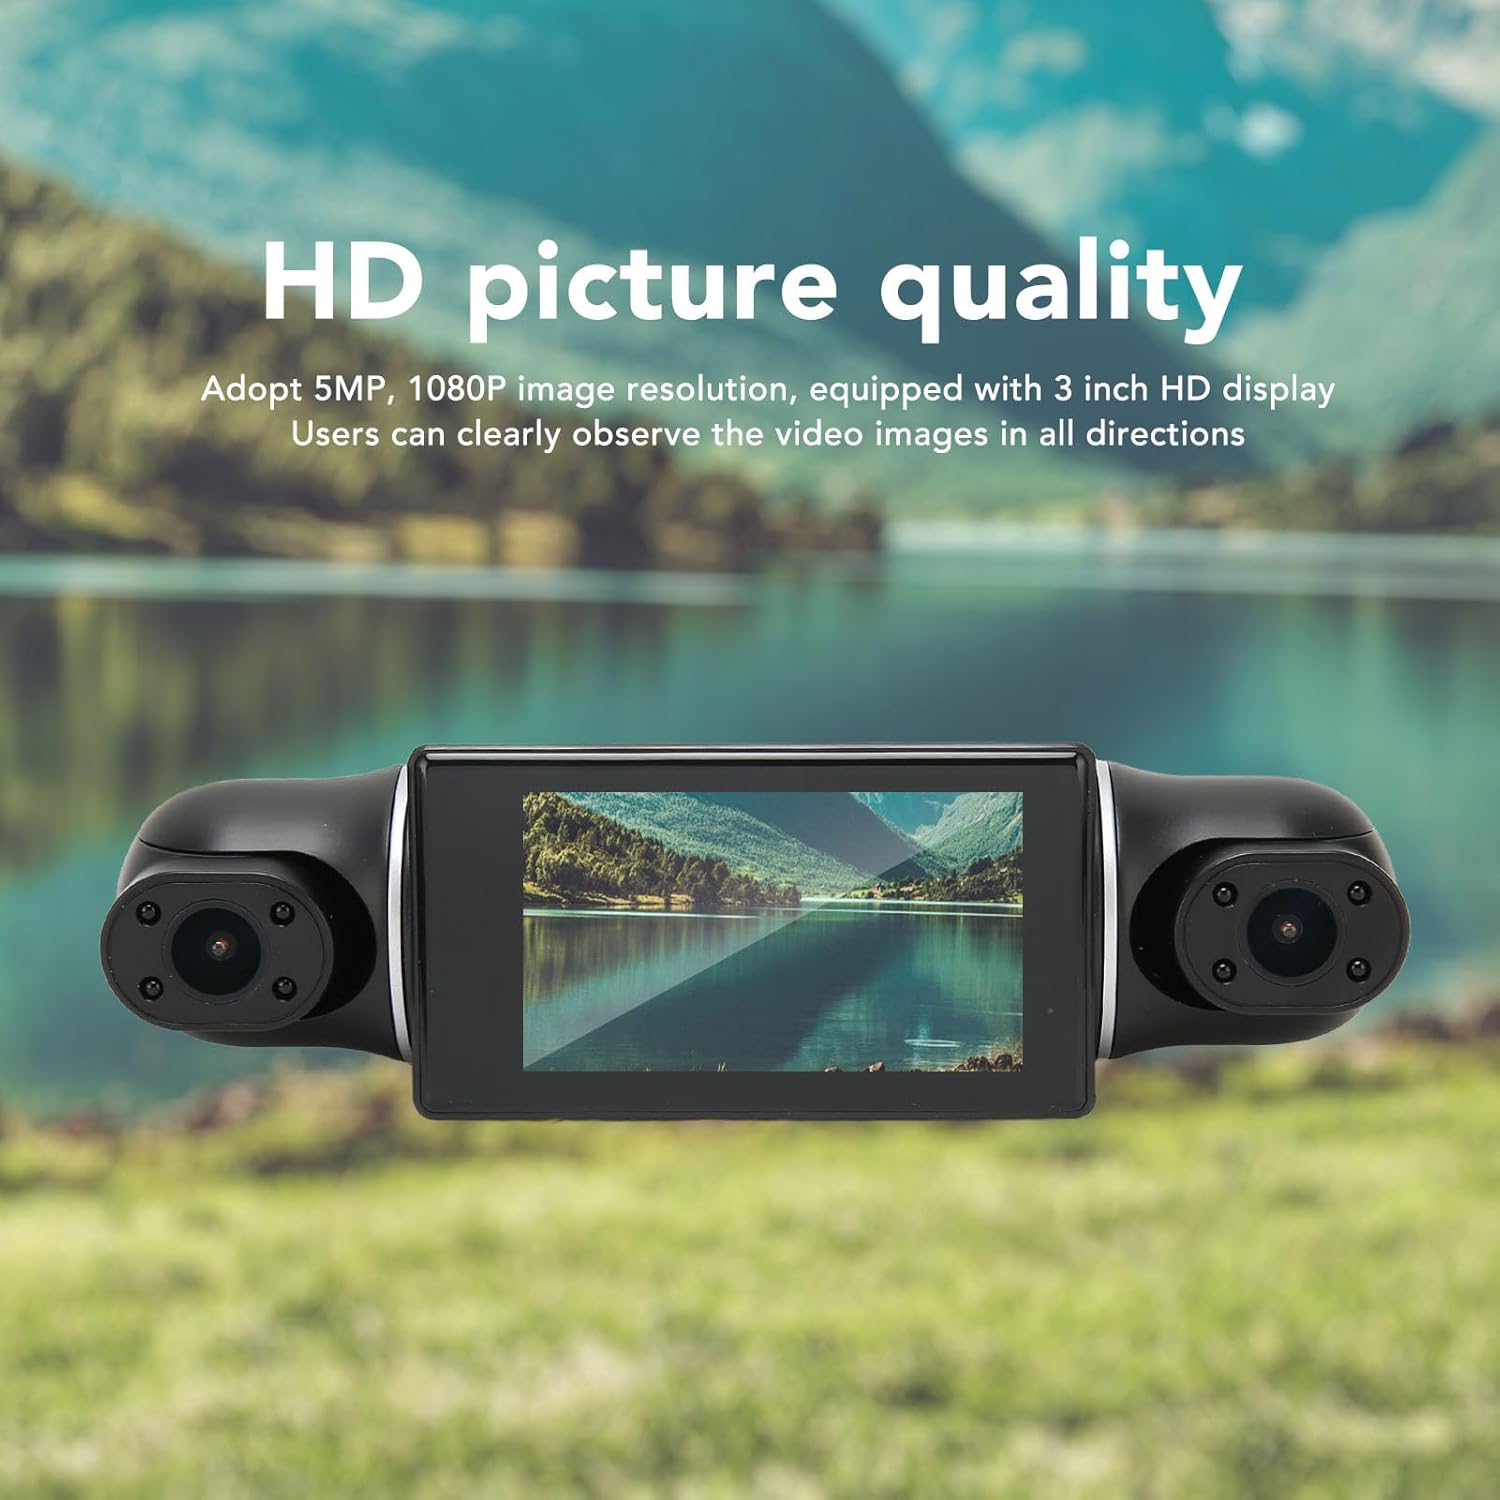
Image: The dash cam's display showcasing its HD picture quality.

Imaxe: A view of the dash cam's underside, highlighting the control buttons for menu navigation and settings adjustment.
4.4 Visión nocturna por infravermellos
The dash cam is equipped with infrared (IR) night vision capabilities, allowing it to capture clear video footage even in low-light or nighttime conditions, enhancing driving safety and recording clarity.
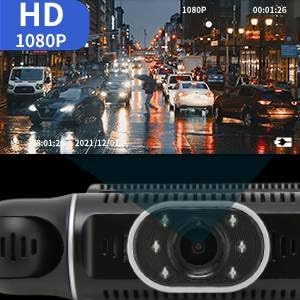
Imaxe: Un example of video quality captured by the dash cam during nighttime, demonstrating its infrared night vision.
5. Mantemento
Regular maintenance ensures the longevity and optimal performance of your dash cam:
- Formato da tarxeta de memoria: It is recommended to format the memory card every 2-4 weeks to prevent data corruption and ensure smooth loop recording. This can usually be done through the dash cam's menu settings.
- Limpeza de lentes: Gently clean the camera lenses with a soft, lint-free cloth to remove dust or smudges that may affect video clarity. Do not use abrasive cleaners.
- Display Cleaning: Wipe the 3-inch display screen with a soft, dry cloth.
- Inspección de cables: Periodically check all cables for any signs of wear, fraying, or damage. Replace damaged cables immediately to prevent power issues.
- Actualizacións de firmware: Check the ASHATA official website periodically for any available firmware updates. Updating firmware can improve performance, add new features, or fix bugs.
6 Solución de problemas
If you encounter issues with your dash cam, refer to the following common problems and solutions:
| Problema | Causa posible | Solución |
|---|---|---|
| A cámara do salpicadero non se acende. | No power from cigarette lighter; loose connection; faulty cable. | Check if the vehicle's 12V outlet is working. Ensure the power cable is securely connected to both the dash cam and the outlet. Try a different power source or cable if available. |
| Recording stops or does not loop. | Memory card full; faulty memory card; incorrect loop recording settings. | Format the memory card via the dash cam's menu. Replace the memory card if formatting doesn't resolve the issue. Verify loop recording is enabled in settings. |
| Buttons are unresponsive or menu navigation is difficult. | Temporary software glitch; low battery. | Restart the dash cam by disconnecting and reconnecting power. Ensure the dash cam is adequately powered. If issues persist, a firmware update might be necessary. |
| G-sensor does not trigger emergency recording. | G-sensor sensitivity set too low; feature disabled. | Adjust the G-sensor sensitivity setting in the menu to a higher level. Ensure the G-sensor function is enabled. |
| Vídeo footage está borrosa ou pouco clara. | Dirty lens; protective film still on lens; poor lighting. | Clean the camera lenses with a soft cloth. Remove any protective film from the lenses. Ensure sufficient lighting for optimal recording. |
7. Especificacións
Detailed technical specifications for the ASHATA 4 Channel Dash Cam:
| Característica | Detalle |
|---|---|
| Nome do modelo | ASHATA0x981mszfp |
| Resolución de captura de vídeo | 1080p (FHD) |
| Número de canles | 4 (Front, Left, Right, Rear) |
| Tamaño da pantalla | 3 polgadas |
| Campo de View | 360 graos (panorámico) |
| Características especiais | Motion Sensing, Night Vision (Infrared), G-Sensor (Emergency Save) |
| Tipo de montaxe | Montaxe de succión |
| Tecnoloxía de conectividade | Auxiliar |
| Peso do elemento | 1.06 libras |
| Dimensións do paquete | 7.99 x 4.53 x 2.87 polgadas |
| Fabricante | ASHATA |
| Data de primeira dispoñibilidade | 9 de xuño de 2023 |
8. Garantía e soporte
For warranty information and technical support, please refer to the documentation provided with your purchase or contact ASHATA customer service directly. While specific warranty terms may vary, ASHATA aims to provide reliable support for its products.
For further assistance, please visit the official ASHATA store on Amazon: ASHATA Amazon Store.
Ask a question about this manual
Ask about setup, troubleshooting, compatibility, parts, safety, or missing instructions. Manuals+ will review the question and use this page’s manual context to help answer it.