
1. Introdución
This manual provides detailed instructions for the installation, operation, and programming of the TAXNELE THC30A Digital Programmable Timer Switch. This device is designed for automatic control of various electrical appliances based on user-defined daily and weekly schedules.

Figure 1: TAXNELE THC30A Digital Programmable Timer Switch
2. Características clave
- 7-Day Digital Programmable Timer: Supports daily and weekly programs with a full time range from 1 minute to 168 hours.
- Multiple ON/OFF Settings: Up to 20 ON and 20 OFF settings for precise control.
- Control automático: Automatically switches power to connected devices according to programmed schedules.
- Interface fácil de usar: Large LCD screen and clear buttons (D+, H+, M+) for easy operation.
- Alta precisión: Equipped with an industrial-grade chip for accurate timing.
- Memoria de apagado: Built-in high-performance battery retains timing, display, and data for up to 3 years during power outages.
- Alta capacidade de carga: Features a 30A relay for handling significant electrical loads.
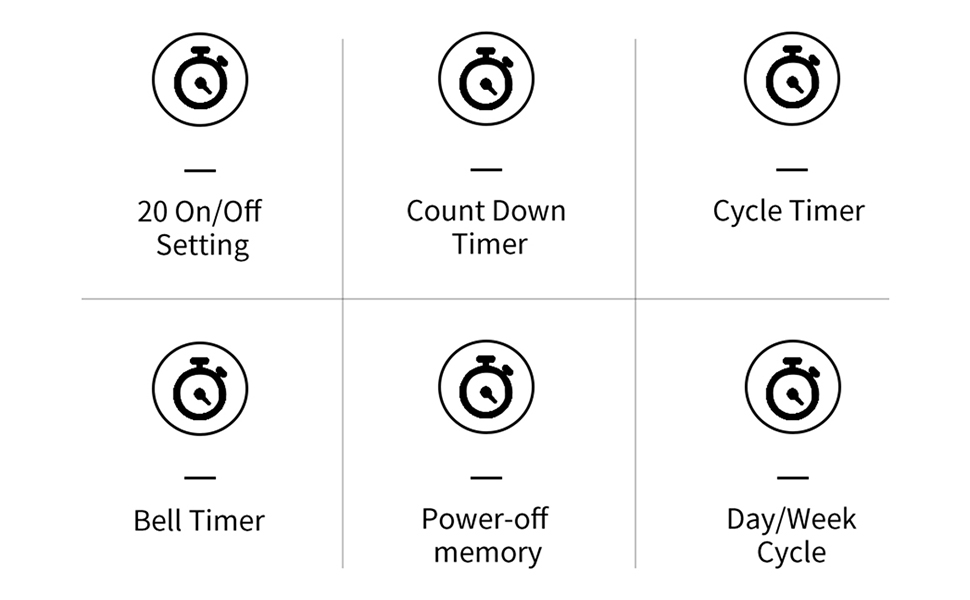
Figura 2: Máisview of THC30A Timer Switch Features
3. Especificacións
| Modelo | THC30A |
| Voltage | 230 VCA |
| Capacidade de carga | 30A |
| Intervalo de tempo | De 1 minuto a 168 horas |
| Programas | 20 ON/20 OFF settings |
| Memoria de apagado | Yes, with built-in CR2032 battery (up to 3 years) |
| Instalación | 35mm DIN Rail Mounted |
| Dimensións | Aprox. 87 mm (alto) x 36 mm (ancho) x 65 mm (fondo) |

Figure 3: THC30A Timer Switch Dimensions
4. Instalación
4.1 Precaucións de seguridade
- Ensure power is disconnected before installation to prevent electric shock.
- Installation should be performed by a qualified electrician or knowledgeable individual.
- Verificar o voltage and current ratings of your circuit match the timer's specifications.
4.2 Montaxe
The THC30A timer switch is designed for 35mm DIN rail mounting. Securely attach the timer to the DIN rail in your electrical panel or enclosure.

Figure 4: THC30A Mounted on a DIN Rail
4.3 Diagrama de cableado
Connect the timer according to the wiring diagram below. Ensure correct polarity for input (IN) and output (OUT) terminals. The input terminals are typically labeled 'N' (Neutral) and 'L' (Live), and the output terminals are also 'N' and 'L' for connecting to the load.

Figure 5: Simplified Wiring Diagram for THC30A
Connect the incoming power supply to the 'IN' terminals (N and L). Connect the device to be controlled to the 'OUT' terminals (N and L).
5. Instrucións de funcionamento
5.1 Initial Setup and Reset
Upon first use or after a prolonged power-off, the display may be blank. Press the Restablecer button (often recessed, may require a pointed object) to initialize the timer. The LCD will display the current time (e.g., 0:00) and "AUTO".

Figure 6: Front Panel with Buttons and LCD Screen
- Indicador de traballo: LED light indicating operation status.
- Pantalla LCD: Displays time, day, and program status.
- Botón do temporizador: Used to enter programming mode.
- Botón do reloxo: Used to set current time and day.
- D+ Button: Adjusts the day of the week.
- H+ Button: Adjusts the hour.
- M+ Button: Adjusts the minute.
- ON/AUTO/OFF Button (Manual): Cycles through ON, AUTO, and OFF modes.
- Botón de reinicio: Clears all settings and resets the timer.
5.2 Axuste da hora e do día actuais
- Manteña premido o Reloxo botón.
- Mentres sostén Reloxo, prema D+ to set the current day of the week (MON, TUE, WED, THU, FRI, SAT, SUN).
- Mentres sostén Reloxo, prema H+ to set the current hour (0-23).
- Mentres sostén Reloxo, prema M+ to set the current minute (0-59).
- Soltar o Reloxo botón. A hora e o día actuais xa están axustados.
5.3 Accionamento manual (ACTIVADO/AUTO/APAGADO)
Preme o Manual button (often labeled ON/AUTO/OFF) to cycle through the following modes:
- ACTIVADO: The timer output is continuously ON, overriding all programmed schedules.
- OFF: The timer output is continuously OFF, overriding all programmed schedules.
- AUTOMÁTICO: The timer operates according to the programmed ON/OFF schedules. This is the standard operating mode for automatic control.
6. Programming ON/OFF Schedules
The THC30A supports up to 20 ON and 20 OFF programs. Follow these steps to set your desired schedules:
- Preme o Temporizador button once. The display will show "1 ON" (or the next available program number).
- Preme D+ to select the day(s) for this "ON" program. You can choose individual days, weekdays, weekends, or all 7 days.
- Preme H+ to set the hour for the "ON" time.
- Preme M+ to set the minute for the "ON" time.
- Preme o Temporizador button again. The display will show "1 OFF".
- Repeat steps 2-4 to set the day(s), hour, and minute for the corresponding "OFF" time.
- Continúe premendo o botón Temporizador button to cycle through "2 ON", "2 OFF", and so on, up to "20 ON" and "20 OFF". Repeat steps 2-6 for each program.
- Despois de configurar todos os programas desexados, prema o botón Reloxo button to exit programming mode and return to the current time display. Ensure the timer is in AUTO modo para que se executen os programas.
To clear a specific program, navigate to that program (e.g., "5 ON") and press the Restablecer button. This will clear both the ON and OFF times for that program number.
7. Mantemento
The THC30A timer switch requires minimal maintenance.
- Limpeza: Limpe o exterior cun pano suave e seco. Non empregue produtos de limpeza abrasivos nin solventes.
- Batería: The internal CR2032 battery provides power-off memory. If the timer frequently loses settings during power outages, the battery may need replacement. This typically requires professional service.
- Ambiente: Ensure the timer is installed in a dry, well-ventilated area, away from direct sunlight, extreme temperatures, and corrosive environments.

Figure 7: Power-Off Memory Function with Internal Battery
8 Solución de problemas
| Problema | Causa posible | Solución |
|---|---|---|
| A pantalla está en branco. | No power supply; Timer needs initialization. | Check power connections. Press the Restablecer botón. |
| Timer does not switch ON/OFF at programmed times. | Timer is not in AUTO mode; Incorrect program settings; Overlapping programs. | Preme Manual until "AUTO" is displayed. Review and correct program settings. Ensure ON/OFF times do not conflict. |
| Settings are lost after a power outage. | A batería interna está baixa ou esgotada. | The internal battery may need replacement. Contact customer support if this issue persists. |
| Output is always ON or always OFF. | Timer is in manual ON or OFF mode. | Preme Manual ata que se mostre "AUTO". |
9. Garantía e soporte
This product comes with a standard manufacturer's warranty. For specific warranty details, please refer to the product packaging or contact your retailer. For technical support or inquiries, please reach out to TAXNELE customer service through your purchase platform or the official TAXNELE websitio.