
1. Introdución
Thank you for choosing the SILENTWARE Air 1000 Black ATX Midi Tower PC Case. This manual provides essential information for the proper installation, operation, and maintenance of your new PC case. Please read this manual thoroughly before beginning the assembly process to ensure a smooth and successful build.
2. Información de seguridade
- Desconecte sempre a fonte de alimentación da toma de corrente antes de instalar ou retirar calquera compoñente do interior da carcasa do PC.
- Handle components with care to avoid damage from electrostatic discharge (ESD). Consider using an anti-static wrist strap.
- Be cautious of sharp edges inside the case.
- Do not attempt to modify the case or its components, as this may void your warranty and pose safety risks.
- Keep the case away from water, moisture, and extreme temperatures.
3. Contido do paquete
Verifique que todos os elementos estean presentes no seu paquete:
- SILENTWARE Air 1000 Black ATX Midi Tower PC Case
- Pre-installed 4x 120mm ARGB Fans
- Accessory box (screws, cable ties, standoffs, etc.)
- Manual de usuario (este documento)
4. Produto rematadoview
The SILENTWARE Air 1000 is an ATX Midi Tower PC case designed for optimal airflow and component compatibility. It features a mesh front panel for maximum ventilation and a tempered glass side panel to showcase your build.


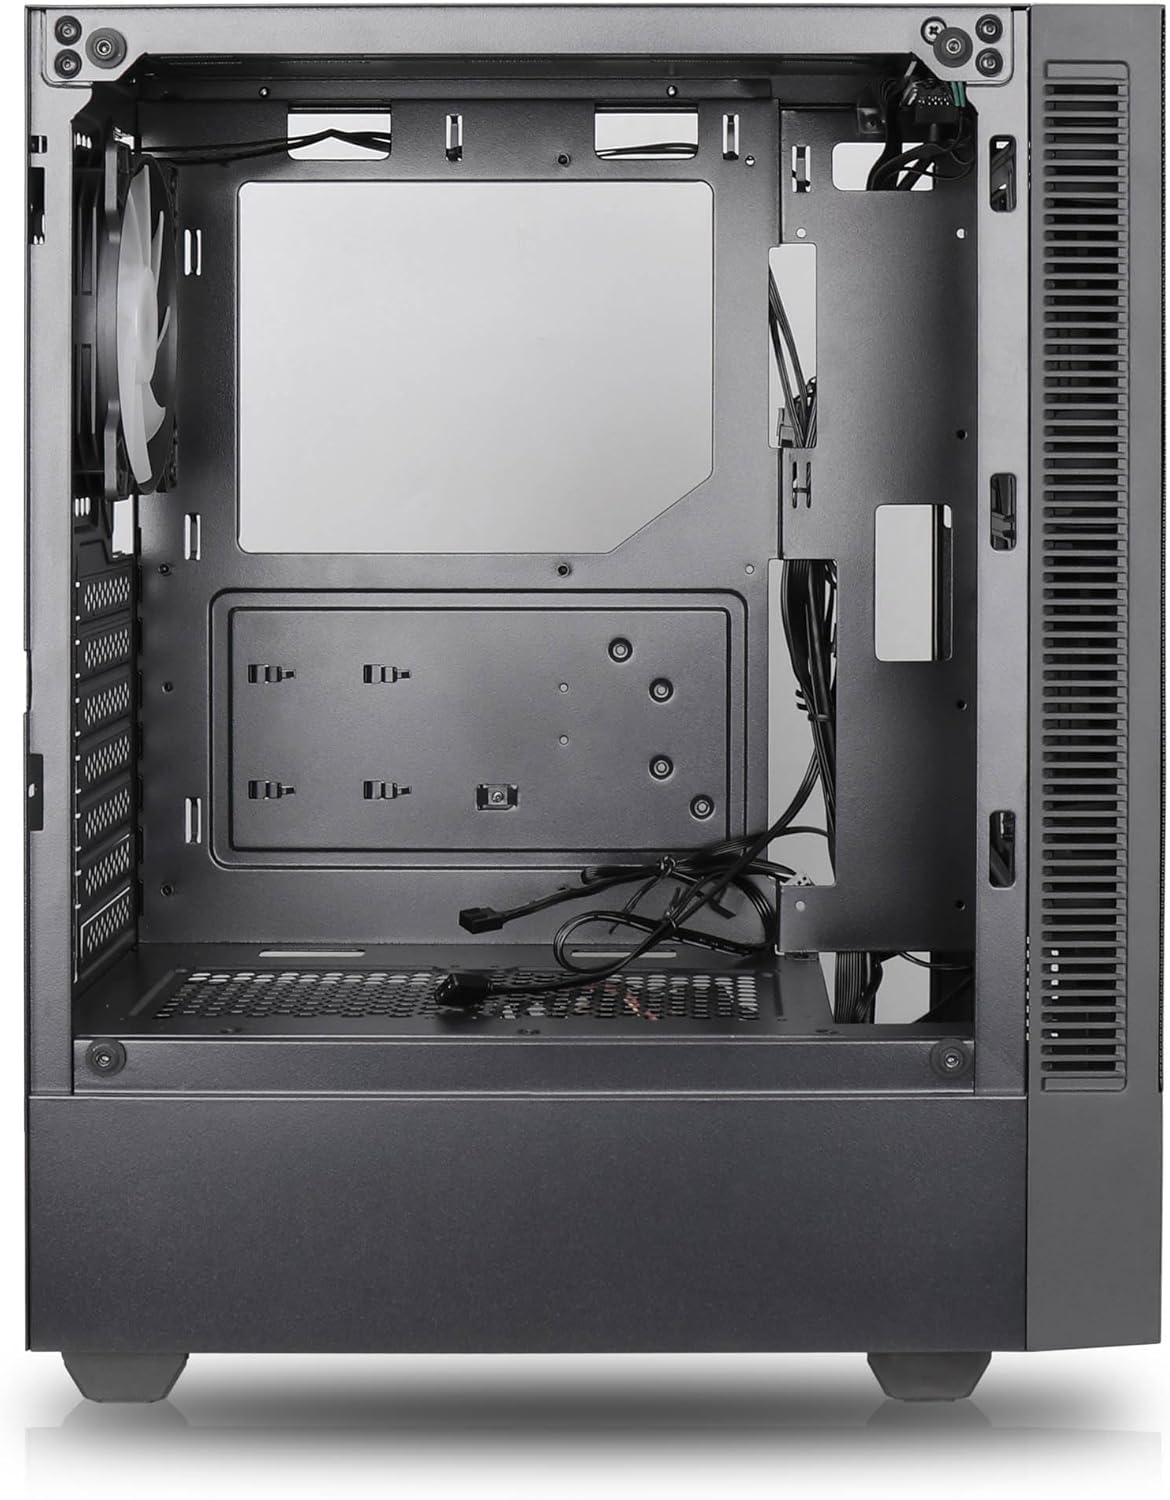

Características principais:
- Fluxo de aire máximo: Large mesh front panel and four pre-installed 140mm A-RGB fans with hydraulic bearings ensure excellent ventilation.
- Easy PC Building: Thoughtful design with daisy-chain connections simplifies installation, eliminating the need for additional adapters or controllers.
- Deseño de alta calidade: Genuine tempered glass side panel showcases installed components and provides a minimalist, premium aesthetic.
- Flexible Lighting and Control: 3-pin A-RGB fans and 4-pin fan control allow for impressive lighting effects and easy adjustment of fan speed and curves directly from the motherboard.
- Powerful Component Compatibility: Supports GPUs up to 400mm long, radiators up to 360mm (front and top) and 140mm (rear), and space for up to 4 fans.
- Compact Case with Ampo Espazo: Midi tower format accommodates E-ATX, ATX, mATX, and ITX motherboards, up to two 2.5" SSDs, two 3.5" HDDs, and ATX power supplies.
5. Guía de instalación
Follow these steps for component installation. Refer to your individual component manuals for specific instructions.
5.1. Preparación do caso
- Coloque a caixa sobre unha superficie plana e estable.
- Carefully remove the tempered glass side panel by unscrewing the thumb screws and gently pulling it away. Set it aside on a soft, non-abrasive surface.
- Remove the solid right side panel by unscrewing the thumb screws and sliding it backward.
5.2. Instalación da placa base
- Instale a protección de E/S na abertura traseira da caixa.
- Ensure the correct standoffs are installed for your motherboard form factor (E-ATX, ATX, mATX, ITX). Adjust or add standoffs as needed.
- Coloca con coidado a placa base sobre os separadores, aliñando os orificios dos parafusos.
- Fixa a placa base cos parafusos fornecidos. Non os apertes demasiado.
5.3. Instalación da fonte de alimentación (PSU)
- Coloque a fonte de alimentación no compartimento específico na parte inferior traseira da caixa.
- Ensure the PSU fan faces downwards (if the case has a bottom vent) or upwards, depending on your cooling preference.
- Secure the PSU to the case with the provided screws from the rear.
5.4. Instalación da unidade de almacenamento
SSD de 2.5 polgadas:
- Locate the 2.5" drive mounts (typically behind the motherboard tray).
- Secure the SSDs using the provided screws.
Discos duros de 3.5 polgadas:
- Locate the 3.5" drive cages (usually near the PSU shroud).
- Slide the HDDs into the drive trays and secure them with screws or tool-less mechanisms if available.
5.5. Instalación da tarxeta gráfica (GPU)
- Retire as tapas das ranuras PCIe necesarias da parte traseira da caixa.
- Align your GPU with the PCIe slot on the motherboard and press firmly until it clicks into place.
- Secure the GPU to the case with screws.
5.6. Xestión de cables
Utiliza os recortes de cableado e os puntos de suxeición que hai detrás da bandexa da placa base para xestionar os cables. Isto mellora a circulación do aire e a estética.
6. Funcionamento
6.1. Acendido
After all components are installed and cables are connected, reattach the side panels. Connect the power cable to the PSU and a wall outlet, then press the power button on the top I/O panel of the case.
6.2. Control do ventilador ARGB
The pre-installed ARGB fans feature 3-pin ARGB connectors for lighting control and 4-pin connectors for fan speed control. These can be connected directly to compatible headers on your motherboard. Use your motherboard's software or BIOS settings to customize lighting effects and fan curves.
7. Mantemento
7.1. Limpeza
- Regularly clean dust filters (if present) to maintain optimal airflow.
- Use a can of compressed air to remove dust from inside the case and components.
- Limpe as superficies exteriores cun suave, damp pano. Evite produtos químicos agresivos.
- For the tempered glass panel, use a glass cleaner and a microfiber cloth.
8 Solución de problemas
- PC not powering on: Check all power connections, including the 24-pin motherboard power, 8-pin CPU power, and GPU power cables. Ensure the PSU switch is in the 'ON' position.
- Fans not spinning/RGB not working: Verify that fan and ARGB headers are correctly connected to the motherboard. Check motherboard software for fan speed and lighting control settings.
- Sobrequecemento: Ensure proper airflow by checking fan orientation and cleaning dust filters. Verify CPU cooler and GPU cooler are properly seated.
- Sen visualización: Confirm the monitor cable is connected to the graphics card (not the motherboard integrated graphics, unless you are using integrated graphics). Reseat the graphics card and RAM modules.
9. Especificacións
| Característica | Especificación |
|---|---|
| Marca | SILENTWARE |
| Nome do modelo | Silentware Flow 100 ARGB |
| Número de modelo do artigo | FLUXO 100 |
| ASIN | B0CB8CZ5GF |
| Cor | Negro |
| Tipo de caso | Torre media |
| Material | Vidro Templado |
| Compatibilidade da placa base | ATX, Micro ATX, Mini ITX |
| Dispositivos compatibles | ATX, mATX, ITX motherboards, GPUs up to 325mm, radiators up to 360mm, 2.5" and 3.5" storage drives |
| Usos recomendados | Xogos |
| Método de arrefriamento | Aire |
| Ventiladores preinstalados | 4 ventiladores ARGB de 120 mm |
| Tamaño do ventilador | 140 Millimeters (Note: Product description mentions 140mm fans, while pre-installed are 120mm. Please verify with product packaging.) |
| Tipo de montaxe da fonte de alimentación | Montaxe inferior |
| Lonxitude máxima da GPU | 400 mm |
| Radiator Support (Front/Top) | Ata 360 mm |
| Soporte do radiador (traseiro) | Ata 140 mm |
| Compartimentos para unidades de 2.5" | Ata 2 |
| Compartimentos para unidades de 3.5" | Ata 2 |
10. Garantía e soporte
For warranty information and technical support, please refer to the official SILENTWARE website or contact your retailer. Specific details regarding spare parts availability and software updates are not available in the provided product information.


