
1. Introdución
Thank you for choosing the Paulmann 71076 Selection Bathroom Luena Wall Lamp. This manual provides important information regarding the installation, operation, and maintenance of your new wall lamp. Please read these instructions carefully before installation and keep them for future reference. This product is designed for indoor use, specifically in bathrooms and other damp areas, thanks to its IP44 splash water protection rating.
2. Instrucións de seguridade
- Seguridade eléctrica: Installation must be carried out by a qualified electrician in accordance with local wiring regulations. Ensure the main power supply is switched off before commencing any installation or maintenance work.
- Voltage: Este lamp operates on 230V AC.
- Tipo de lámpada: Use só lámpadas E14 cunha potencia máximatagde 20 W. Non exceda a potencia especificadatage.
- Clasificación IP44: This product is splash-proof (IP44) and suitable for use in bathroom zones 2 and 3. Do not install in zone 1 (inside the shower or bath).
- Manexo: Manexa os compoñentes de vidro con coidado para evitar que se rompan.
- Limpeza: Desconecte a corrente antes de limpar. Use un pano suave e seco. Non empregue produtos de limpeza abrasivos nin disolventes.

Figure 2.1: IP Protection Zones in a Bathroom. The Paulmann 71076 lamp is suitable for IP44 zones.
3. Contido do paquete
Comprobe que todos os compoñentes estean presentes e non estean danados antes da instalación:
- Paulmann 71076 Selection Bathroom Luena Wall Lamp aparello
- Instrucións de montaxe
- Ferraxes de montaxe (parafusos, tacos)
Nota: The light bulb (E14, max. 20W) is not included and must be purchased separately.
4. Configuración e instalación
Siga estes pasos para a instalación correcta:
- Prepare o sitio de instalación: Asegúrese de que a subministración eléctrica da zona de instalación estea desconectada no disxuntor principal.
- Marcar os puntos de perforación: Manteña o lamp's mounting plate against the wall at the desired installation height and mark the drilling points.
- Perforación: Fai buratos nos puntos marcados e coloca os tacos de parede axeitados.
- Conectar cableado: Conecta o lamp's wires to the 230V wall outlet wiring. Ensure correct polarity (Live, Neutral, Earth). Secure connections properly.
- Montar o aparello: Adxunta o lamp's mounting plate to the wall using the provided screws.
- Instala a lámpada: Carefully screw an E14 bulb (max. 20W) into the lamp titular.
- Fixar a pantalla de vidro: The bayonet glass shade can be attached and removed without tools. Align the glass shade with the fixture and twist to secure it.
- Restaurar enerxía: Once installation is complete and all components are securely in place, restore power at the main circuit breaker.

Figura 4.1: Primeiro plano da lamp's chrome base and glass shade, showing mounting points.
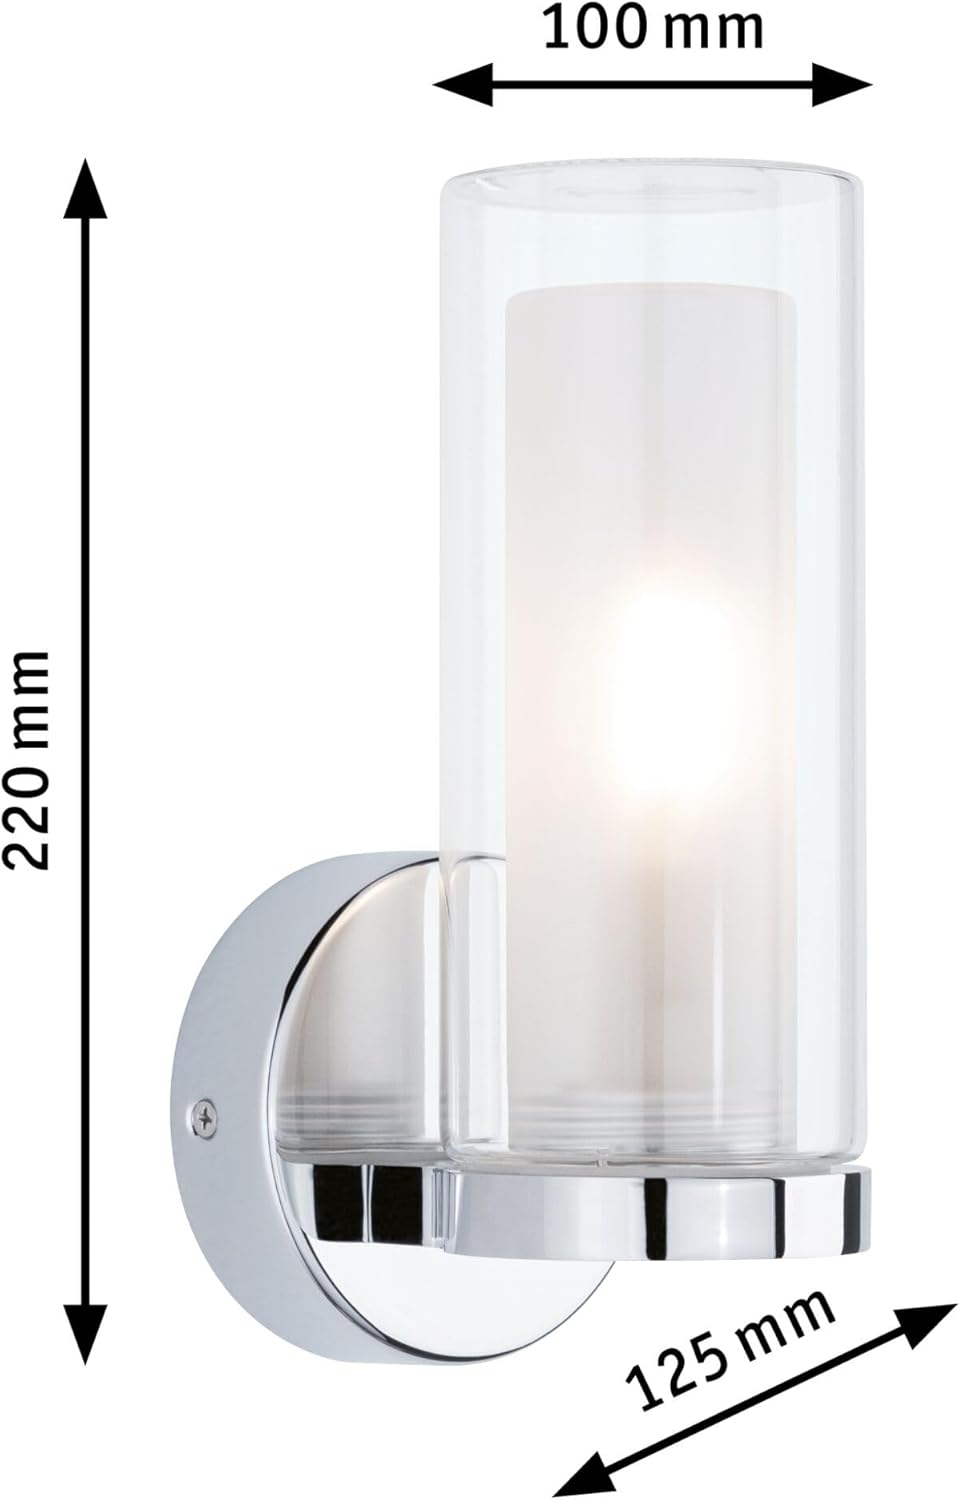
Figura 4.2: Dimensións do produto para a planificación da instalación.
5. Instrucións de funcionamento
Once installed and powered, the Paulmann 71076 wall lamp operates via your standard wall switch. If a dimmable E14 bulb is used and connected to a compatible dimmer switch, the light intensity can be adjusted. The lamp provides decorative light effects, enhancing the ambiance of your bathroom.

Figure 5.1: The E14 bulb socket, ready for bulb insertion.

Figure 5.2: The Paulmann Luena Wall Lamp in an installed setting.
6. Mantemento
To ensure the longevity and appearance of your Paulmann wall lamp, siga estas pautas de mantemento:
- Limpeza: Desconecte sempre a alimentación eléctrica antes de limpar. Use un pano suave, seco ou lixeiramente húmido.amp cloth to wipe the chrome finish and glass shade. Avoid harsh chemicals, abrasive cleaners, or scouring pads, as these can damage the surfaces.
- Substitución da lámpada: Ensure the power is off and the bulb has cooled down before attempting to replace it. The bayonet glass shade can be easily removed without tools to access the E14 bulb.
- Inspección: Comprobe periodicamente o lamp for any signs of damage or loose connections. If any issues are found, disconnect power and consult a qualified electrician.
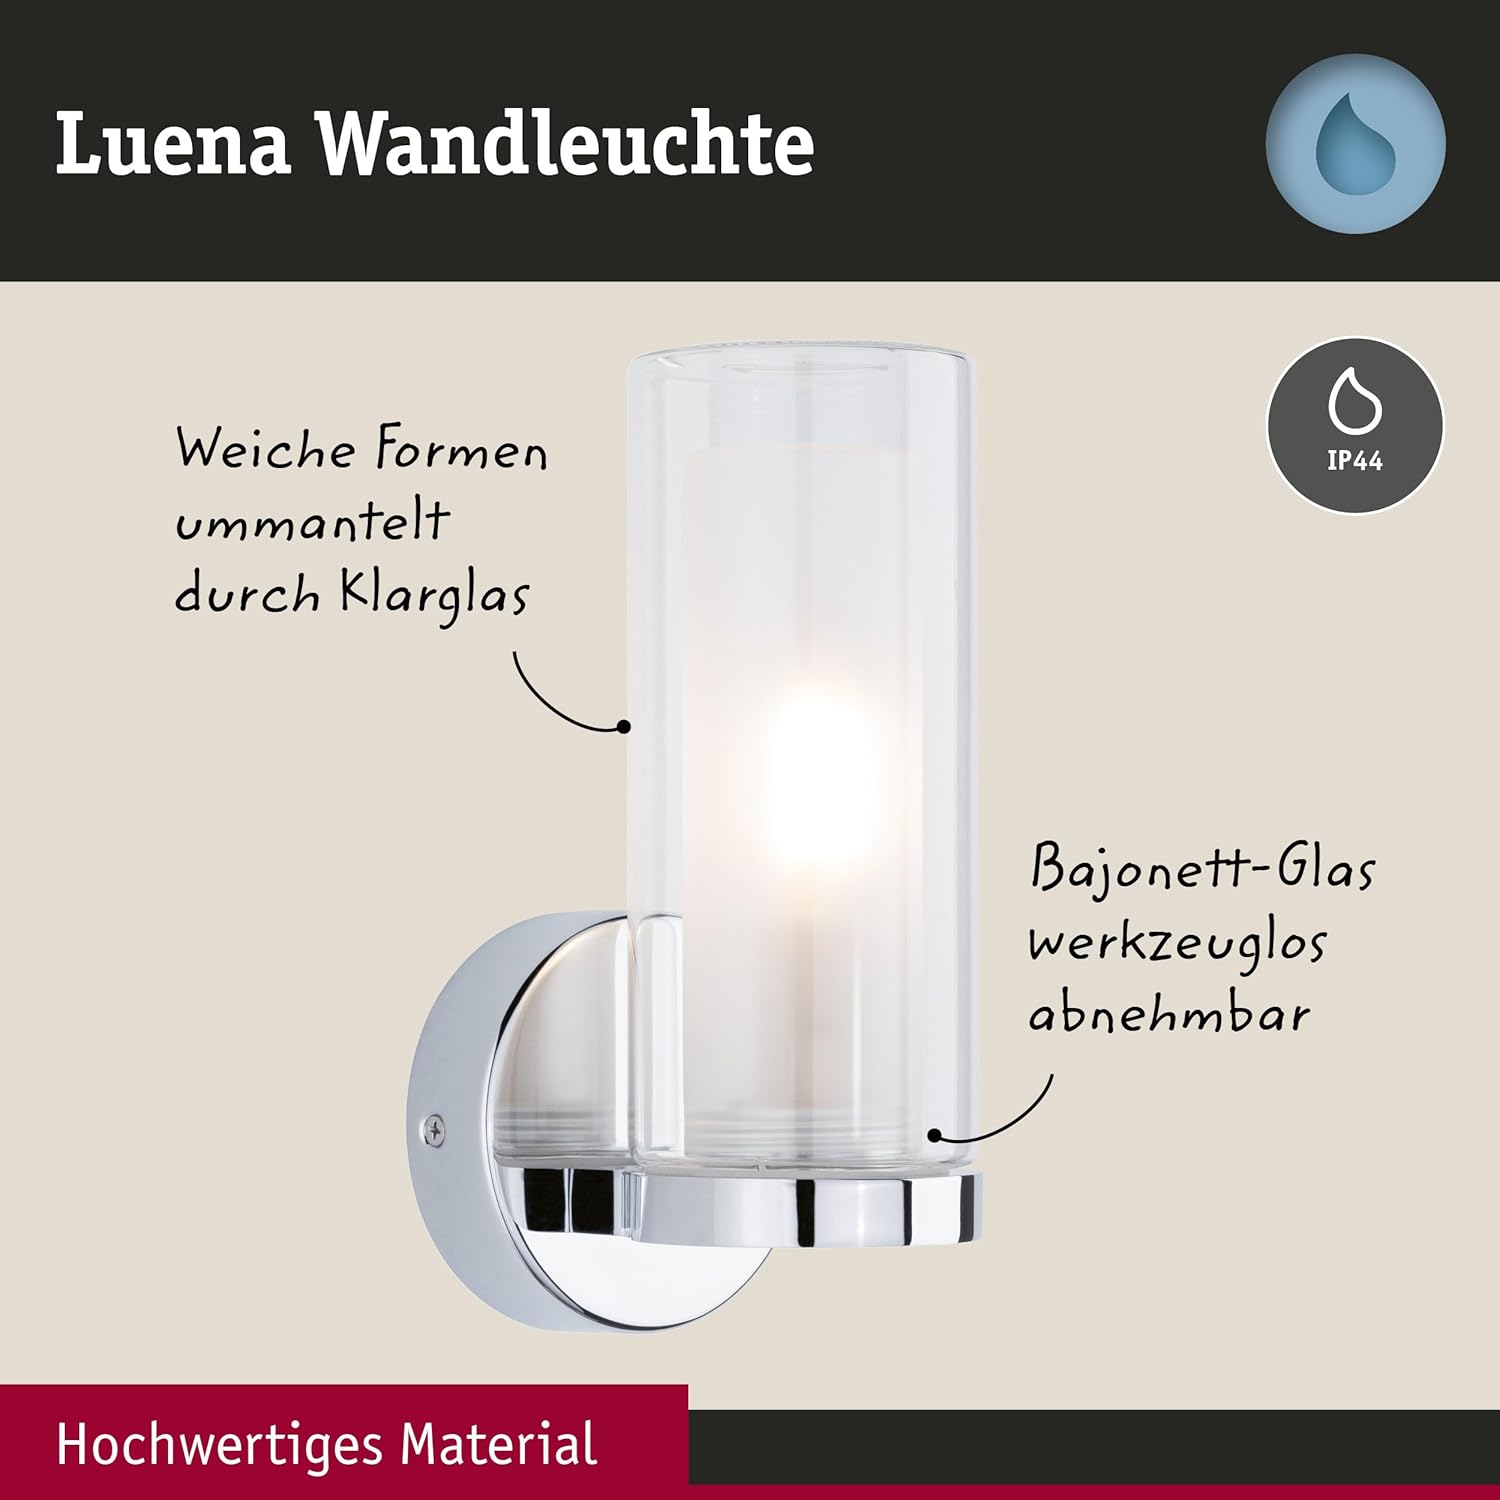
Figure 6.1: The bayonet glass shade can be removed without tools for easy bulb replacement and cleaning.
7 Solución de problemas
If you encounter issues with your Paulmann 71076 wall lamp, considere o seguinte:
- Lamp non se ilumina:
- Check if the power supply is switched on at the wall switch and the main circuit breaker.
- Ensure the bulb is correctly screwed in and not faulty. Try replacing the bulb with a new one.
- Verify that the wiring connections are secure. If unsure, consult a qualified electrician.
- Parpadeos de luz:
- Ensure the bulb is fully tightened.
- If using a dimmable bulb, ensure it is compatible with your dimmer switch.
- Comprobe as conexións de cableado soltas.
- Glass shade is loose:
- Ensure the bayonet glass shade is properly aligned and twisted into its locked position.
If problems persist, contact Paulmann customer support or a qualified electrician.
8. Especificacións
| Característica | Especificación |
|---|---|
| Número de modelo | 71076 |
| Marca | Paulman |
| Dimensións do produto | 12.5 cm (L) x 10 cm (W) x 22 cm (H) |
| Peso do elemento | 850 gramos |
| Material | Glass, Chrome |
| Cor | Cromo, Vidro |
| Remate | Chrome |
| Estilo | Moderno/Minimalista |
| Tipo de habitación | Baño |
| Uso específico | Baño |
| Uso interior/exterior | Interior |
| Fonte de enerxía | AC |
| Voltage | 230 V |
| Tipo de bulbo | E14 (non incluído) |
| Máx. Wattage | 20 W |
| Regulable | Yes (with compatible bulb and dimmer) |
| Clasificación IP | IP44 (a proba de salpicaduras) |
| Certificacións | CE |
| Pilas necesarias | Non |
9. Garantía e soporte
Paulmann products are manufactured to high-quality standards and come with a manufacturer's warranty. For specific warranty terms and conditions, please refer to the documentation provided with your purchase or visit the official Paulmann website. For technical support, spare parts, or any questions not covered in this manual, please contact Paulmann customer service directly.