
Introdución
This user manual provides comprehensive instructions for the setup, operation, maintenance, and troubleshooting of your Bmax Mini PC B1 Pro. Designed for efficiency and versatility, this mini PC offers a compact solution for various computing needs, from multimedia to business applications.

Image: The Bmax Mini PC B1 Pro, showcasing its compact design and various ports including HDMI, USB, and Ethernet.
Contido do paquete
Verifique que todos os elementos que se indican a continuación estean incluídos no seu paquete:
- 1 x Bmax Mini PC B1 Pro (8GB+128GB configuration)
- 1 x cable HDMI
- 1 x adaptador de alimentación estadounidense
- 1 x Manual de usuario (este documento)
- 1 soporte VESA con parafusos

Image: All components included in the Bmax Mini PC B1 Pro retail package.
Produto rematadoview e Características clave
Procesador e rendemento
The Bmax Mini PC B1 Pro is equipped with an Intel Celeron N4000 processor, offering a base frequency of 1.1 GHz and a burst frequency of up to 2.6 GHz. This processor is designed for smooth and stable operation, suitable for everyday computing tasks.

Image: Detailed specifications of the Intel Gemini Lake N4000 processor.
Memoria e almacenamento
The device comes with 8GB of LPDDR4 RAM and 128GB of eMMC storage. It supports additional storage expansion via an M.2_2280 SATA SSD (up to 1TB, SSD not included) or an external mobile hard disk box via USB 3.0. This allows for ample space for multiple applications and files.

Image: Visual representation of the M.2 SATA 2280 expansion slot.
Display Capabilities
The B1 Pro supports 4K (3840 x 2160) ultra-high-definition display output. It features both HDMI and VGA ports, enabling dual monitor setups for increased productivity.

Image: The Bmax Mini PC B1 Pro connected to two monitors for a dual-screen setup.
Conectividade e portos
This mini PC includes 802.11ac Dual-Band Wi-Fi and Bluetooth 4.2 for wireless connectivity. It also features a 1000Mbps LAN port for stable wired network access. A variety of ports are available for peripherals and displays.
- 2 x portos USB 3.0
- 2 x portos USB 2.0
- 1 x porto HDMI
- 1 porto VGA
- 1 x Ethernet (LAN) Port
- 1 x 3.5mm Headset Jack
- 1 x Ranura para tarxetas Micro SD
- Entrada de alimentación
- Botón Borrar CMOS

Imaxe: Unha detallada view of all available ports on the Bmax Mini PC B1 Pro.
Deseño compacto
Weighing only 8.5 ounces and measuring 4.7 x 4.7 x 0.9 inches, the B1 Pro is highly portable. It includes a VESA bracket for mounting behind a monitor, creating a clean and uncluttered workspace.

Image: The Bmax Mini PC B1 Pro held in a hand, demonstrating its compact size.
Guía de configuración
Conexión inicial
- Conectar á pantalla: Use the provided HDMI cable to connect the Mini PC to your monitor or TV. If using a VGA display, connect via the VGA port.
- Conectar periféricos: Plug in your keyboard, mouse, and any other USB devices into the available USB ports.
- Conectar á enerxía: Connect the US Power Adapter to the Mini PC's power input port, then plug it into a power outlet.
- Encendido: Prema o botón de acendido situado na parte frontal do Mini PC. O sistema arrincará.
- Configuración inicial de Windows: Follow the on-screen instructions to complete the Windows operating system setup.
Instalación de montaxe VESA
The Bmax Mini PC B1 Pro comes with a VESA bracket, allowing you to mount it behind a compatible monitor or on a wall. This helps save desk space and creates a cleaner setup.
- Attach the VESA bracket to the back of your monitor using the provided screws. Ensure it is securely fastened.
- Slide the Mini PC onto the VESA bracket until it clicks into place.
- Connect all necessary cables (power, display, peripherals) to the Mini PC.
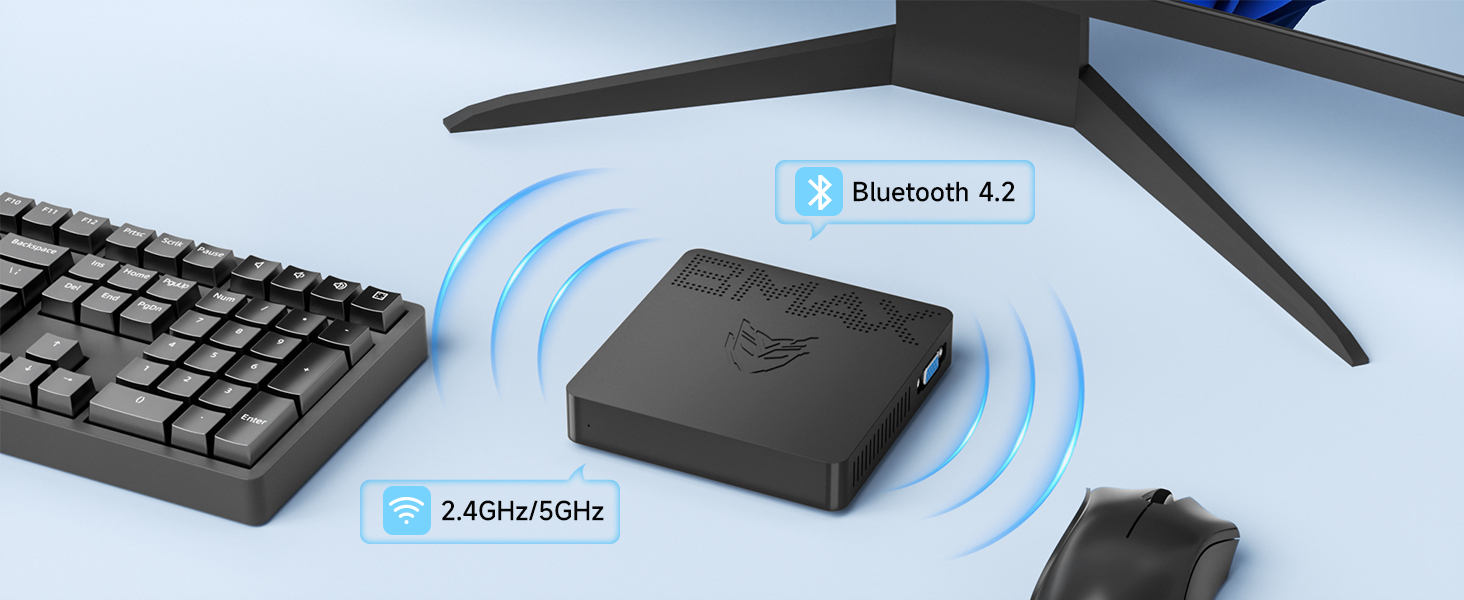
Image: Different placement options for the Bmax Mini PC B1 Pro, including VESA mounting.
Instrucións de funcionamento
Operación básica
- Encendido/apagado: Preme o botón de acendido para acender o PC. Para apagalo, usa a función de apagado do sistema operativo ou mantén premido o botón de acendido durante uns segundos para un apagado forzado (non se recomenda para o uso normal).
- Reiniciar: Usa a función de reinicio do sistema operativo.
- Modo de suspensión: The PC will enter sleep mode after a period of inactivity, or you can manually put it to sleep via the operating system. Press any key or move the mouse to wake it up.
Configuración de pantalla dual
To utilize the dual display feature, connect one monitor to the HDMI port and another to the VGA port. Once both monitors are connected and powered on, your operating system should automatically detect them. You can then configure display settings (extend, duplicate, or show only on one display) through your operating system's display settings.

Image: A dual monitor setup powered by the Bmax Mini PC.
Maintenance and Expansion
Adding an M.2 SSD
The Bmax Mini PC B1 Pro supports M.2_2280 SATA SSD expansion for additional storage. Follow these steps to install an SSD:
- Apagado: Ensure the Mini PC is completely powered off and disconnected from the power adapter.
- Panel de acceso: Locate the access panel on the bottom of the Mini PC. Remove the screw securing the panel and carefully open it.
- Instalar SSD: Gently insert the M.2_2280 SATA SSD into the designated slot. Secure it with the provided screw (if available, otherwise use a compatible screw).
- Pechar o panel: Replace the access panel and secure it with the screw.
- Initialize SSD: After powering on the PC, you may need to initialize and format the new SSD through Disk Management in Windows before it can be used.
Video: A step-by-step guide on how to add an M.2 SSD to the Bmax Mini PC B1 Pro.
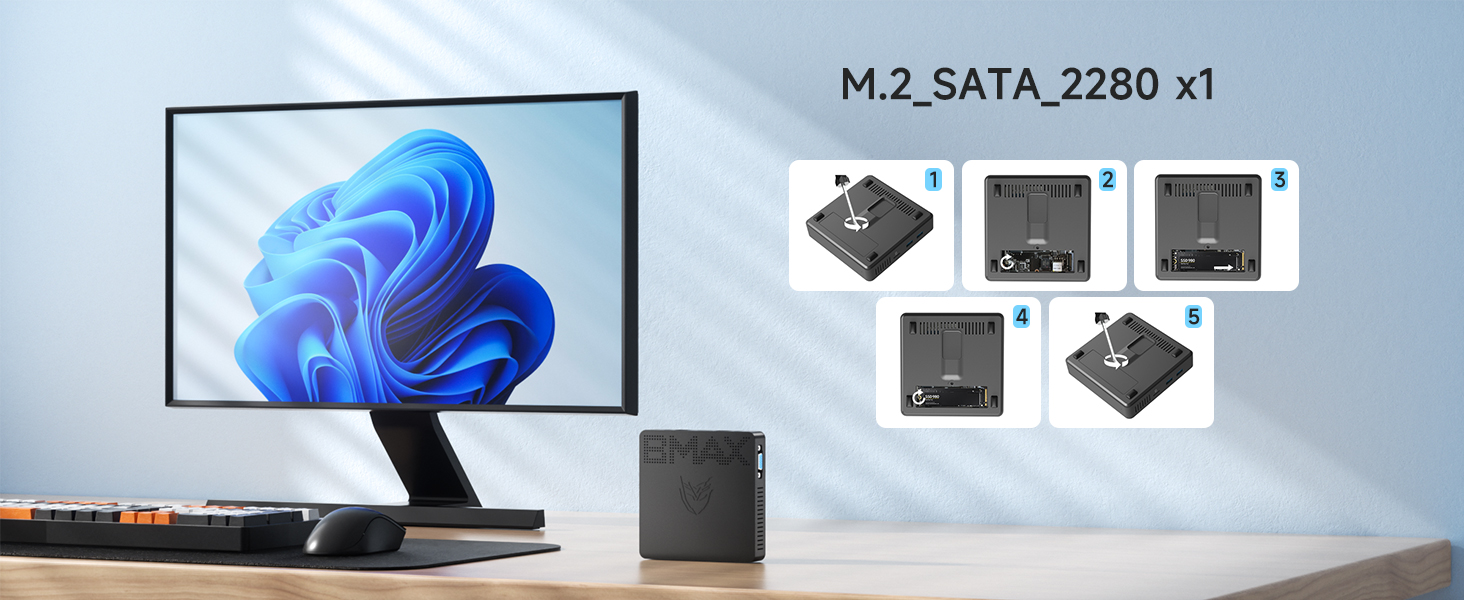
Image: Visual steps for M.2 SSD installation.
Atención Xeral
- Garda o dispositivo nun ambiente limpo e seco, lonxe da luz solar directa e de temperaturas extremas.
- Avoid blocking the ventilation holes to ensure proper airflow and prevent overheating.
- Limpar o exterior cun pano suave e seco. Non usar produtos de limpeza líquidos.
Resolución de problemas
| Problema | Causa posible | Solución |
|---|---|---|
| Sen alimentación/Non se acende | Power adapter not connected or faulty; Power outlet issue. | Ensure power adapter is securely connected to both the PC and a working power outlet. Try a different outlet. |
| Sen visualización no monitor | Display cable loose or incorrect port; Monitor input not selected. | Check HDMI/VGA cable connections. Ensure monitor is set to the correct input source (HDMI/VGA). Try a different cable or monitor. |
| O wifi/Bluetooth non funciona | Drivers not installed; Wireless function disabled. | Check device manager for driver issues. Ensure Wi-Fi/Bluetooth is enabled in Windows settings. Restart the PC. |
| Rendemento lento | Demasiadas aplicacións executándose; Pouco espazo de almacenamento. | Close unnecessary applications. Free up disk space. Consider adding an M.2 SSD for expansion. |
Para obter máis axuda, consulte a sección Garantía e asistencia.
Especificacións técnicas
| Modelo | B1 Pro |
| Procesador | Intel Celeron N4000 (Base 1.1 GHz, up to 2.6 GHz) |
| RAM | 8 GB LPDDR4 |
| Almacenamento | 128GB eMMC (Expandable via M.2_2280 SATA SSD up to 1TB) |
| Gráficos | Gráficos Intel UHD 600 |
| Mostrar saída | HDMI (4K @ 30Hz), VGA (Dual Display Support) |
| Conectividade sen fíos | Wi-Fi de banda dual 802.11ac, Bluetooth 4.2 |
| Conectividade por cable | 1000Mbps LAN (Ethernet) |
| Portos | 2x USB 3.0, 2x USB 2.0, 1x HDMI, 1x VGA, 1x RJ45 Ethernet, 1x 3.5mm Headset Jack, 1x Micro SD Card Slot, Power In |
| Sistema Operativo | Pre-installed OS (e.g., Windows 11 Pro as per reviews) |
| Dimensións | 4.7 x 4.7 x 0.9 polgadas (12 x 12 x 2.3 cm) |
| Peso | 7.8 onzas (220 g) |
Garantía e Soporte
The Bmax Mini PC B1 Pro comes with a 12 meses de garantía from the date of purchase. Bmax also provides soporte técnico de por vida para este produto.
For technical assistance, troubleshooting, or warranty claims, please contact Bmax customer service via email. Refer to the contact information provided on the official Bmax websitio web ou a documentación da súa compra.
The device supports features such as Wake On LAN, RTC Wake, and Auto Power On (configurable in BIOS settings).