
NAOEVO 4 inch LED Light Pods
Manual do usuario das luces de cápsula LED NAOEVO de 4 polgadas
Model: 4 inch LED Light Pods
Marca: NAOEVO
1. Introdución
This manual provides comprehensive instructions for the installation, operation, and maintenance of your NAOEVO 4 Inch LED Pod Lights. Please read this manual thoroughly before installation and use to ensure proper function and safety.

Image: Four NAOEVO 4 Inch LED Pod Lights, packaged and ready for use. These lights are designed for various vehicle applications, including trucks, boats, ATVs, UTVs, and pickups.
2. Características do produto
- Spot Flood Combo Beam: Features a 15° spotlight beam to provide high-focus, long-range visibility and a 120° floodlight beam for broader coverage. The 45° adjustable bracket allows for flexible beam direction.
- Alto Brillo: Each 4-inch light pod contains 20 high-end SMD3030 LED chips, delivering a total of 240W/24000LM (for 4 pods) of bright 6500K white light.
- Construción duradeira: Constructed with a die-cast aluminum housing and advanced sealing technology, providing an IP68 waterproof rating. Features a sturdy PC lens panel and 10 cooling fans for efficient heat dissipation, extending lifespan up to 50,000 hours.
- Aplicación ampla: Compatible with 99% of vehicles, suitable for LED tractor/offroad/ditch/truck lights, golf cart/boat lights, and other outdoor adventures.
- Fácil instalación: Designed for straightforward installation and connection. (Note: Wiring harness is not included and must be purchased separately).

Image: Visual comparison demonstrating the superior brightness and wider coverage of NAOEVO LED lights compared to standard lights, highlighting 6500K white light and 240W/24000LM output.

Imaxe: Detallada view of the spot and flood combo beam, showing how the 15° spotlight provides focused, long-distance light and the 120° floodlight offers a wide field of vision.
3. Contido do paquete
Verifique que todos os elementos estean presentes no paquete antes de continuar coa instalación.
- 4 Pcs 4 Inch LED Light Pods
- 1 Set Bracket Kit (Installation Accessories)

Image: An illustration of the package contents, including the four LED light pods and the bracket kit with various screws and mounting hardware.
4. Especificacións
| Atributo | Valor |
|---|---|
| Marca | NAOEVO |
| Número de modelo | 4 inch LED Light Pods |
| Dimensións (L x W x H) | 4 x 3.15 x 3.15 polgadas |
| Peso do elemento | 2.6 libras |
| Wattage | 240W (total for 4 Pcs) |
| Saída de lumens | 24,000LM (total for 4 Pcs) |
| Temperatura da cor | 6500K branco |
| Patrón de feixe | Spot (15°) & Flood (120°) Combo |
| Clasificación impermeable | IP68 |
| Vida útil | Ata 50,000 horas |
| Material | Die-cast Aluminum Housing, PC Lens |
| Tipo de servizo do vehículo | ATV, Jeep, SUV, UTV, Truck, Boat |

Image: Detailed product dimensions for the 4-inch LED light pod and its retail packaging, providing precise measurements for planning installation.
5. Información de seguridade
Observe as seguintes precaucións de seguridade para evitar lesións ou danos ao produto:
- Desconecte sempre a batería do vehículo antes de comezar calquera traballo eléctrico.
- Ensure proper wiring and fuse protection to prevent electrical shorts and overloads.
- Do not look directly into the LED lights when they are illuminated, as this can cause eye strain or damage.
- Mount the lights securely to prevent vibration and detachment during vehicle operation.
- Ensure the mounting location does not obstruct the driver's view ou interferir cos sistemas de seguridade do vehículo.
- Consult local regulations regarding auxiliary lighting before installation.
6. Configuración e instalación
The NAOEVO LED Pod Lights are designed for easy installation. Follow these steps for optimal setup:
6.1 Ferramentas necesarias (non incluídas)
- Set de chaves inglesas
- Pelacables/crimpadores
- Cinta illante ou tubo termorretráctil
- Wiring harness (recommended, not included)
- Furar (se se precisan novos orificios de montaxe)
6.2 Pasos da instalación
- Montaxe das luces: Attach the LED pods to your desired location using the provided bracket kit. The bracket allows for 45° adjustment to direct the beam. Ensure the mounting surface is sturdy and can support the weight of the lights.
- Conexión de cableado: Connect the positive (+) and negative (-) wires from the LED pods to your vehicle's electrical system. It is highly recommended to use a dedicated wiring harness with a relay and fuse for proper protection and operation.
- Conexións seguras: Ensure all electrical connections are secure and insulated to prevent short circuits and corrosion.
- Funcionalidade de proba: After installation, test the lights to ensure they illuminate correctly and the beam pattern is as desired. Adjust the angle of the lights if necessary.

Image: Illustration detailing the adjustable bracket mechanism, allowing for precise vertical and horizontal positioning, as well as a 45-degree tilt for beam direction.
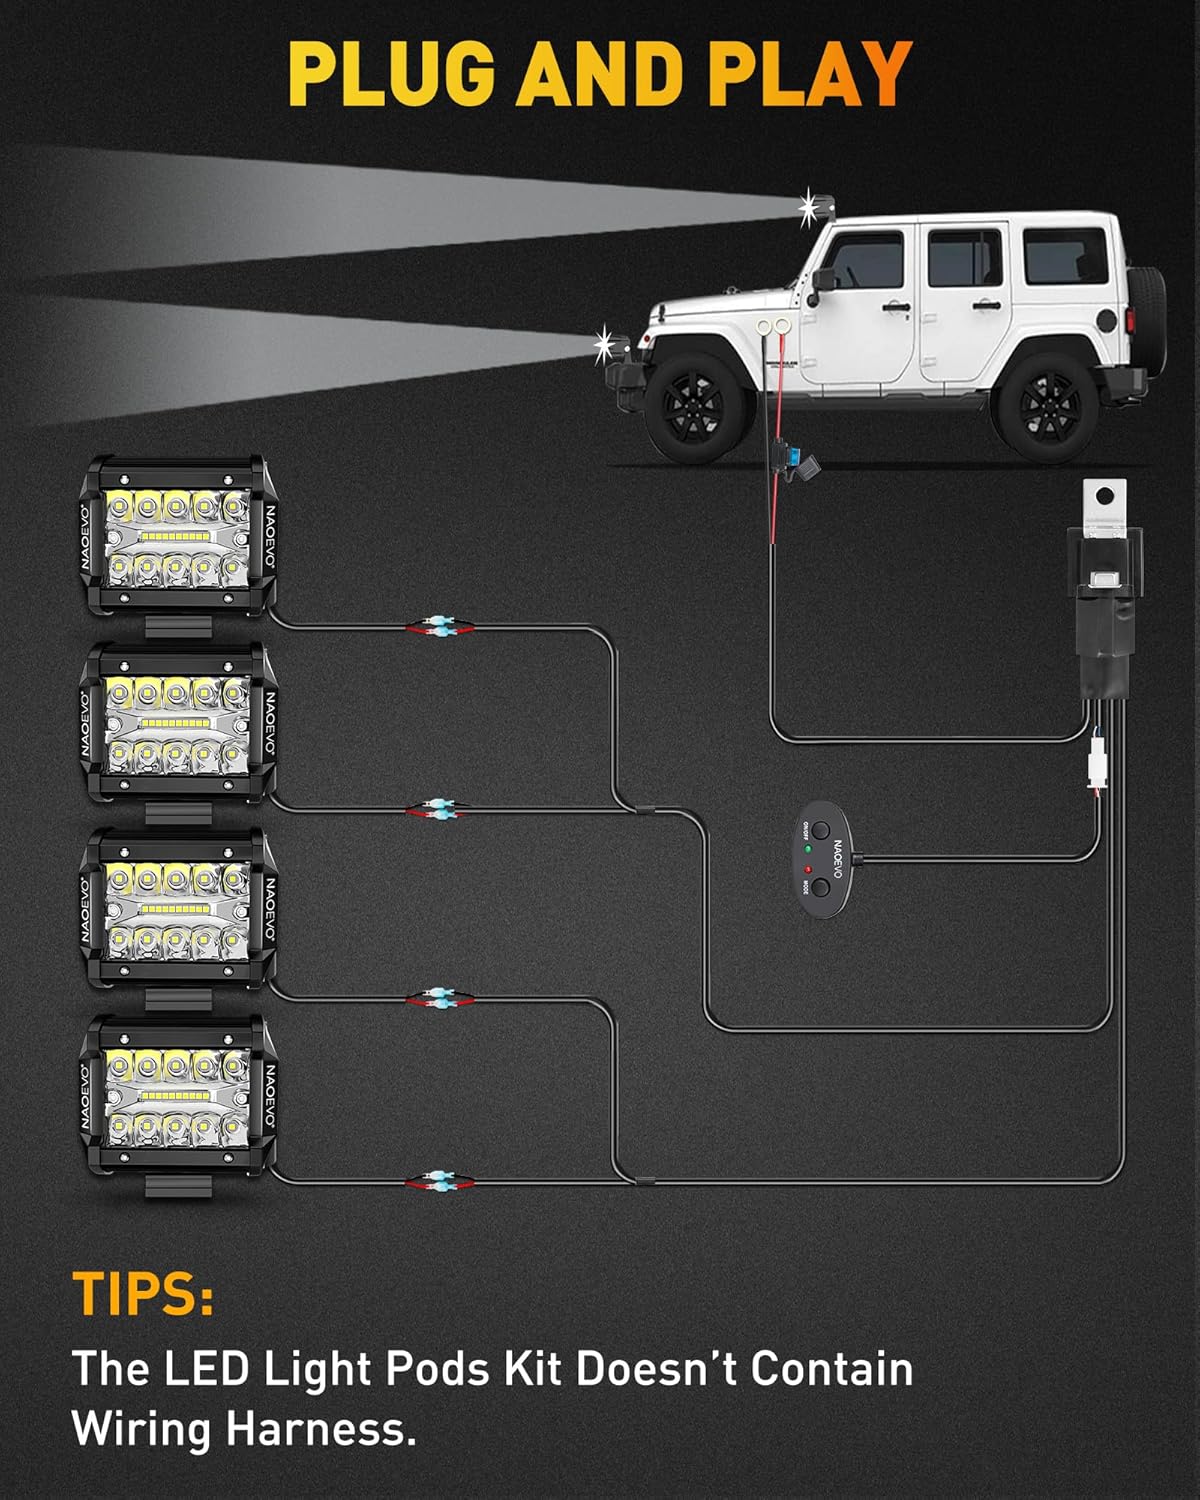
Image: A simplified wiring diagram showing how to connect the LED light pods to a vehicle's battery via a switch and relay. Note that the wiring harness is sold separately.
7. Funcionamento
Once installed, operating your NAOEVO LED Pod Lights is straightforward:
- Turn on the lights using the switch connected to your wiring harness.
- The lights will provide a powerful combination of spot and flood illumination.
- Adjust the angle of the lights as needed for different driving conditions or off-road scenarios.
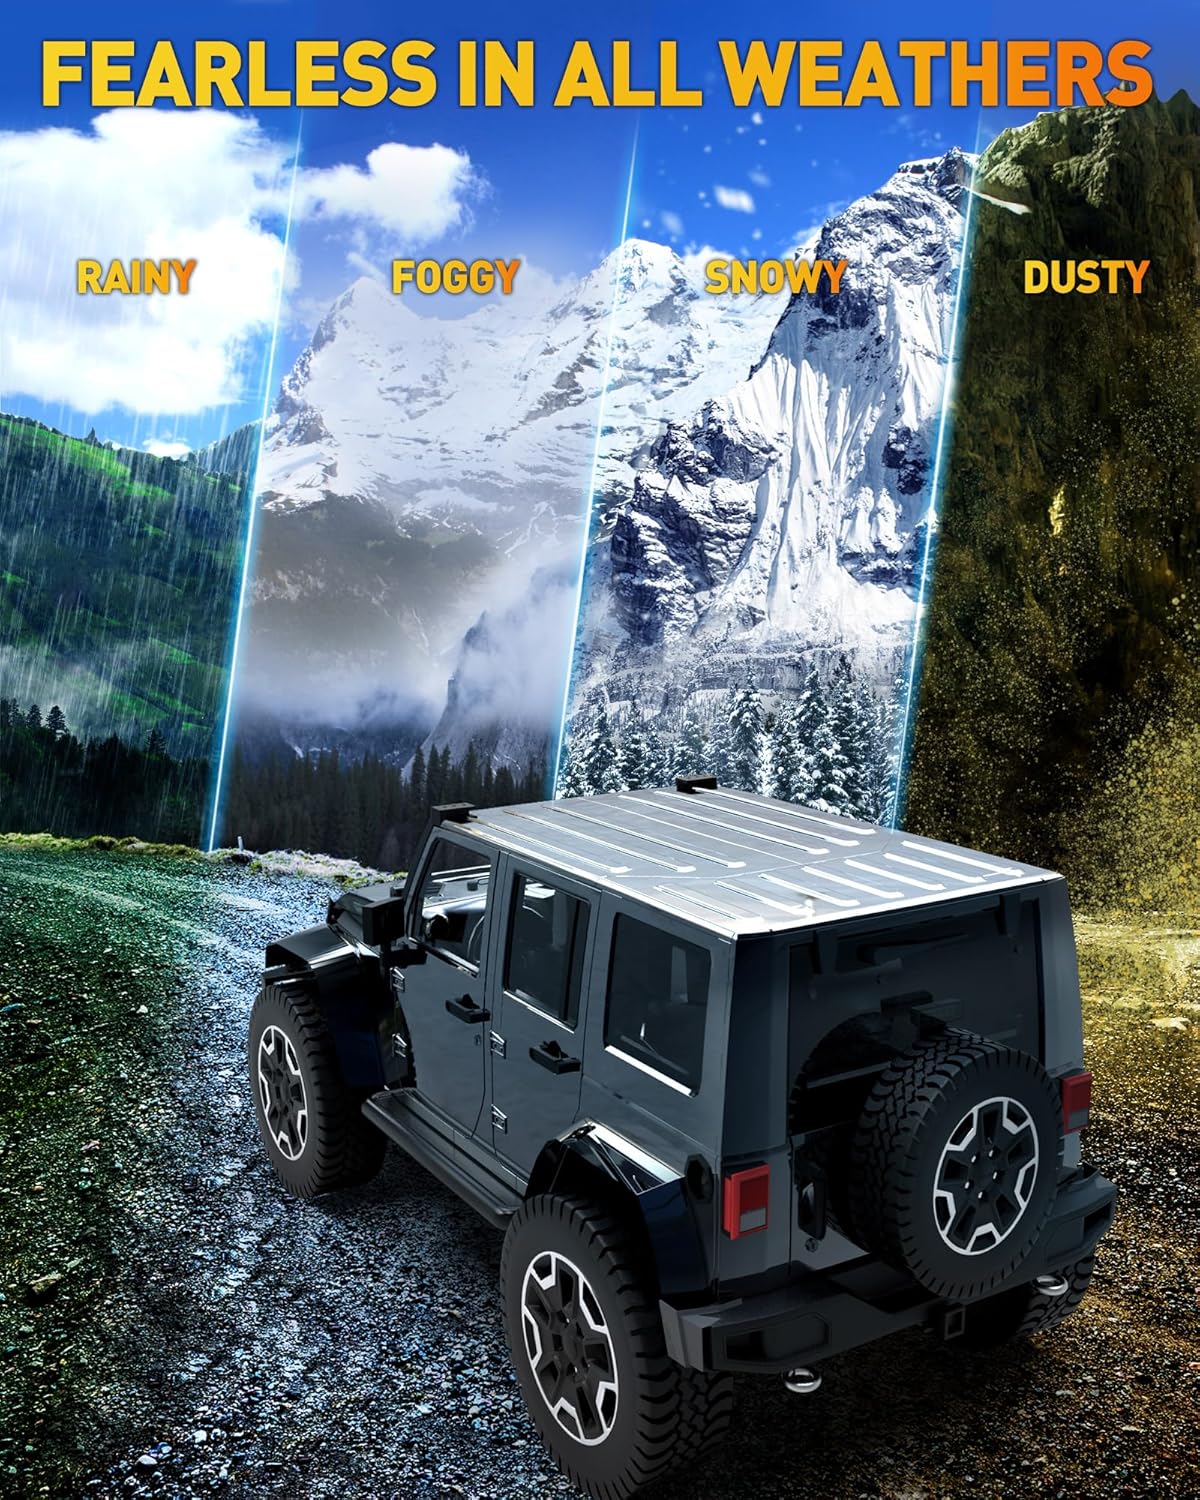
Image: The LED lights performing reliably in diverse weather conditions, including rain, fog, snow, and dust, showcasing their robust design and IP68 waterproof rating.
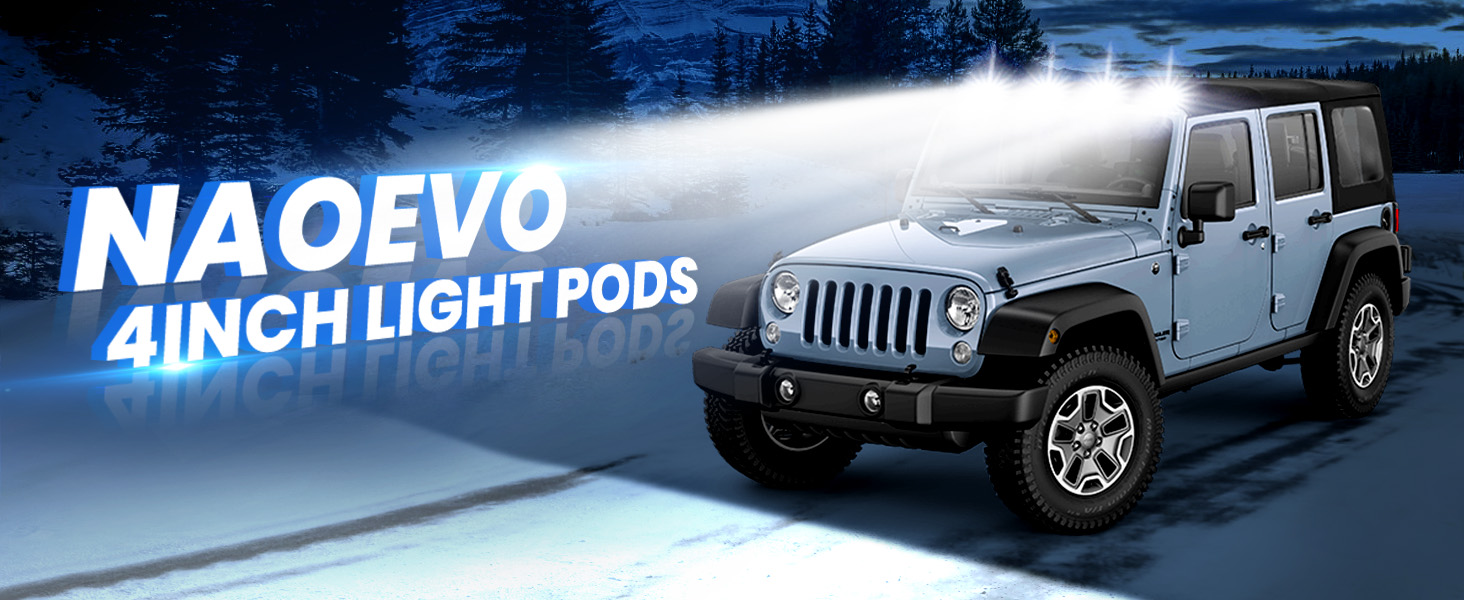
Image: A light blue Jeep equipped with NAOEVO 4-inch light pods, demonstrating their powerful illumination on a snowy road during nighttime driving.
8. Mantemento
To ensure the longevity and optimal performance of your NAOEVO LED Pod Lights, follow these simple maintenance guidelines:
- Limpeza: Limpa a lente periodicamente cun pano suave e auga e xabón suave. Evita produtos de limpeza abrasivos que poidan raiar a lente.
- Inspección: Regularly check all mounting hardware and electrical connections for tightness and signs of wear or corrosion. Tighten any loose bolts and repair any damaged wiring.
- Disipación de calor: Ensure that the cooling fins on the back of the light pods are free from dirt, mud, or debris to allow for efficient heat dissipation.

Imaxe: Unha interna view highlighting the 10 cooling fins designed to efficiently dissipate heat from the LED chips, contributing to the product's long lifespan.
9 Solución de problemas
| Problema | Causa posible | Solución |
|---|---|---|
| As luces non se acenden. | Sen electricidade, conexión solta, fusible fundido, interruptor defectuoso. | Check power source, inspect all wiring connections, replace fuse, test switch. |
| As luces parpadean ou son tenues. | Insufficient power, loose connection, corroded terminals. | Garantir un volume adecuadotage, tighten connections, clean terminals. |
| Humidade dentro da lente. | Seal integrity compromised, extreme temperature changes. | Ensure proper sealing during installation. If persistent, contact support. |
| Lights detach or vibrate. | Ferraxes de montaxe soltas. | Tighten all mounting bolts and nuts securely. |
10. Garantía e soporte
NAOEVO stands behind its products. If you have any questions or encounter issues with your LED Pod Lights, please contact NAOEVO customer support for assistance.
For support, visit the official NAOEVO Store on Amazon: NAOEVO Store
Conserve o comprobante de compra para reclamacións de garantía.
Ask a question about this manual
Ask about setup, troubleshooting, compatibility, parts, safety, or missing instructions. Manuals+ will review the question and use this page’s manual context to help answer it.