
Introdución
This manual provides instructions for the VEVOR 3-in-1 Pasta Maker Attachment, designed for use with KitchenAid Stand Mixers. This attachment allows for rolling pasta dough, and cutting it into thin spaghetti or wide fettuccine noodles. Please read this manual thoroughly before use to ensure proper operation and maintenance.
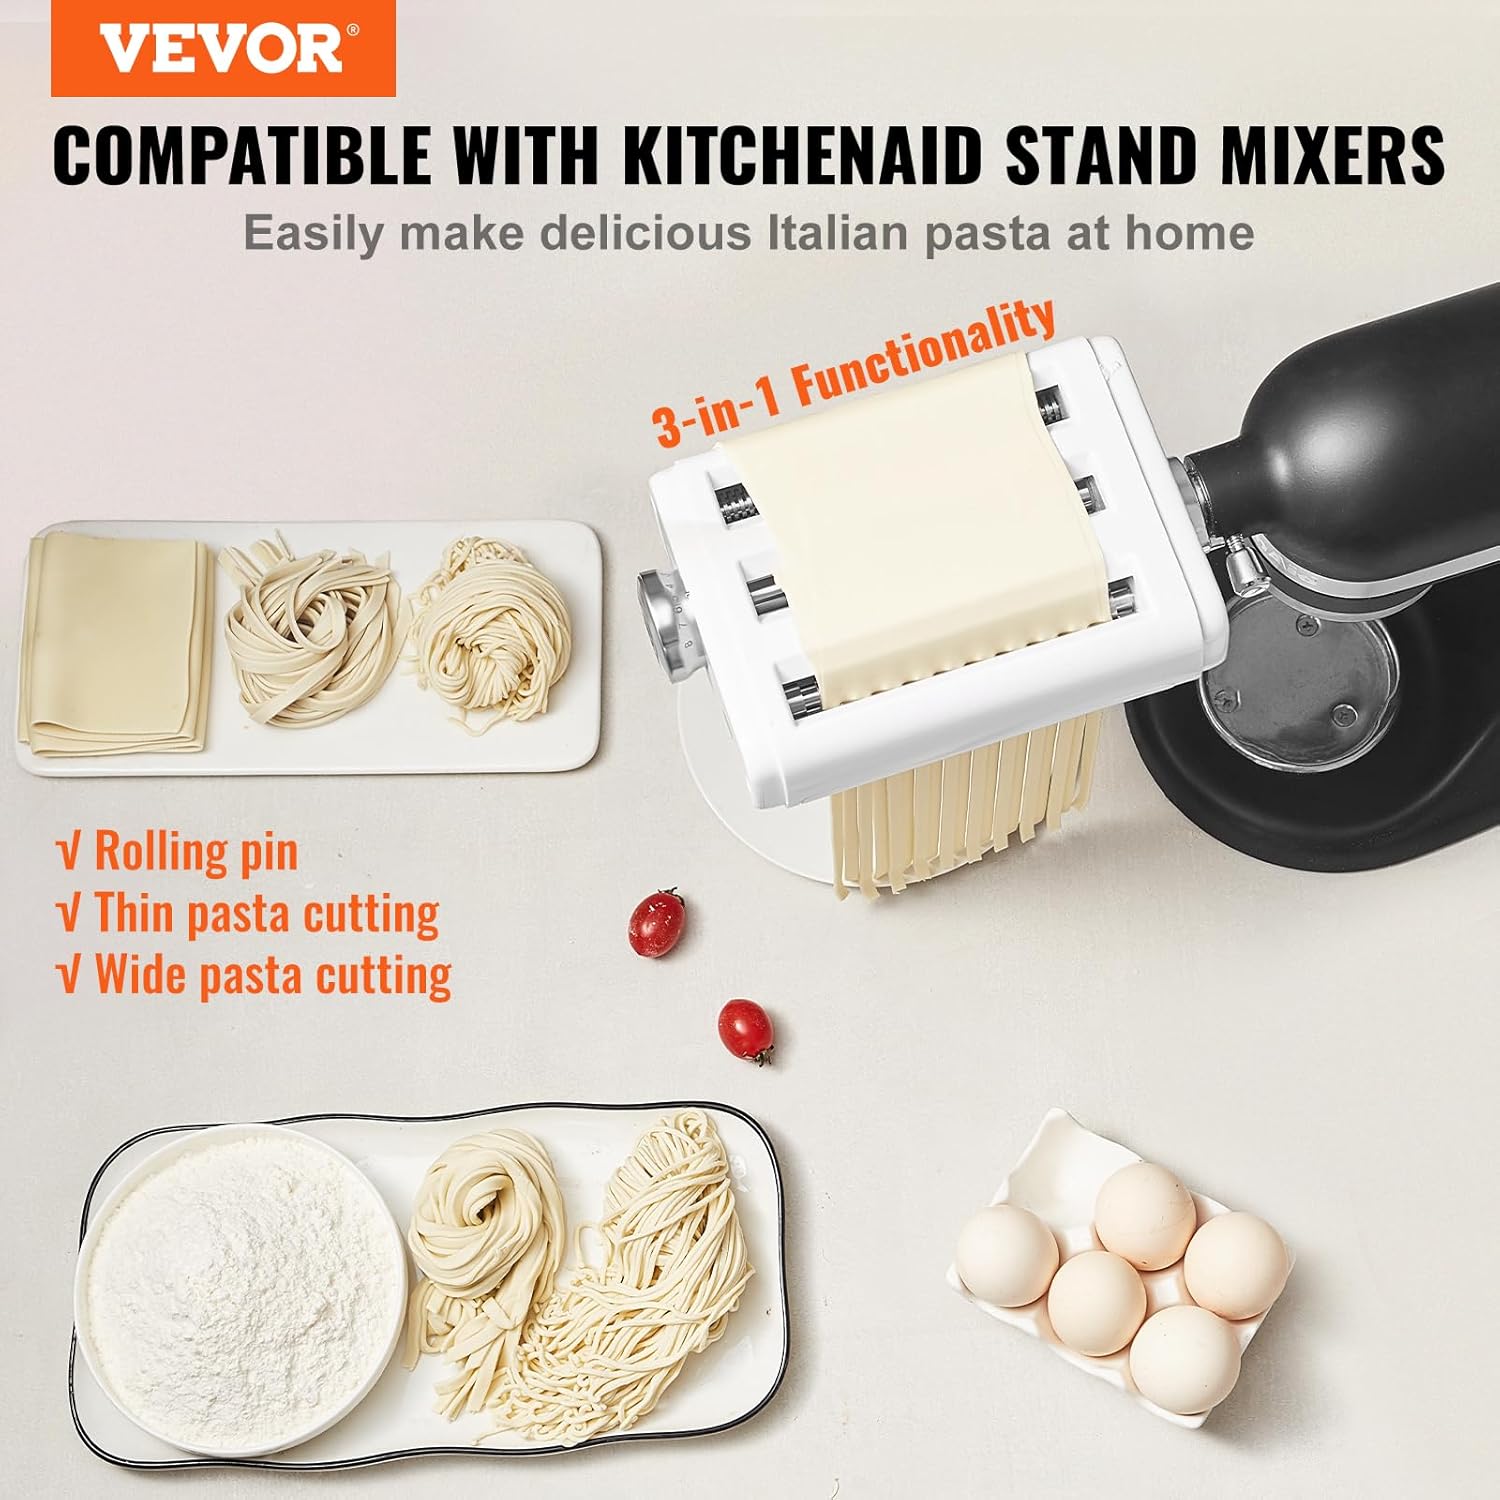
Image: The VEVOR 3-in-1 Pasta Maker Attachment shown connected to a KitchenAid stand mixer, demonstrating its capabilities for rolling and cutting pasta.
Instrucións de seguridade
- Always ensure the stand mixer is unplugged before attaching, removing, or cleaning the pasta maker attachment.
- Keep hands and utensils away from the rollers and cutters during operation to prevent injury.
- Do not immerse the attachment in water or other liquids. It is not dishwasher safe.
- Use only with compatible KitchenAid Stand Mixers.
- Vixiar aos nenos cando o aparello estea en uso.
- Do not attempt to disassemble or repair the attachment yourself. Contact customer support for assistance.
Contido do paquete
The VEVOR Pasta Maker Attachment package includes the following items:
- 1 x 3-in-1 Pasta Attachment (Pasta Roller, Spaghetti Cutter, Fettuccine Cutter)
- 1 x cepillo de limpeza
Configuración
Follow these steps to properly attach the pasta maker to your KitchenAid Stand Mixer:
- Ensure your KitchenAid Stand Mixer is unplugged and turned off.
- Locate the attachment hub on the front of your stand mixer.
- Afrouxe o botón do cubo de accesorio xirándoo en sentido antihorario.
- Insert the shaft of the pasta maker attachment into the attachment hub, ensuring the power shaft fits into the square hub socket.
- Rotate the attachment back and forth slightly if needed until it is fully seated.
- Tighten the attachment hub knob by turning it clockwise until the attachment is securely fastened.
- Place a bowl or plate beneath the attachment to catch the pasta.
Video: Demonstration of attaching the pasta maker to a stand mixer and its operation for rolling and cutting pasta.
Instrucións de funcionamento
1. Rolling Pasta Dough
The pasta roller allows you to create uniform pasta sheets. It features 8 adjustable thickness settings, from 0.01 to 0.08 inches (0.3 to 2mm).
- Prepare your pasta dough according to your recipe. Ensure the dough is firm and not too sticky.
- Set the thickness knob to the widest setting (typically '8' for initial rolling).
- Turn on your stand mixer to a low speed (e.g., Speed 2).
- Feed a flattened piece of dough into the pasta roller.
- Fold the dough in half and feed it through again. Repeat this process several times until the dough is smooth and pliable.
- Gradually decrease the thickness setting, feeding the dough through each setting until you reach your desired thickness.
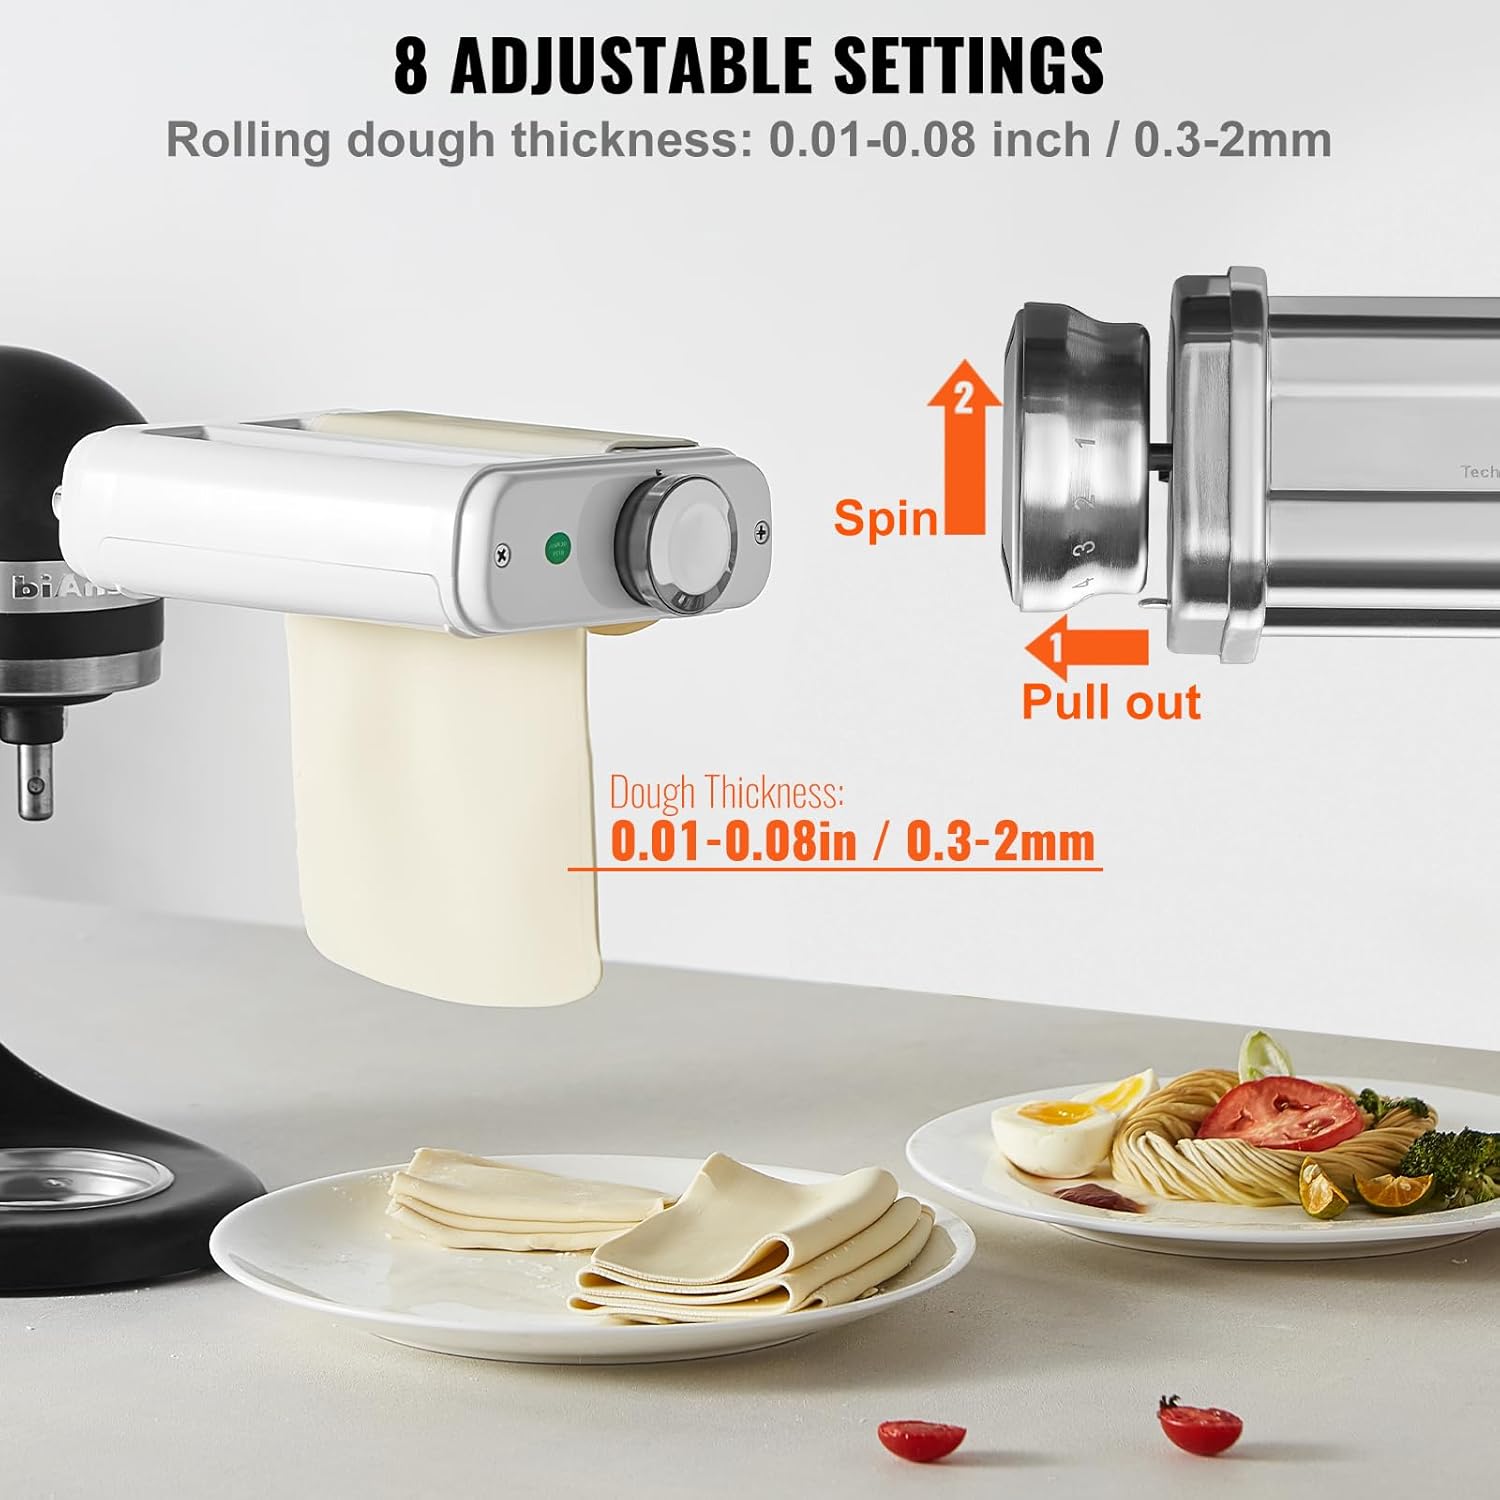
Image: The pasta roller with its 8 adjustable thickness settings, demonstrating how to achieve different dough thicknesses.
2. Cutting Pasta Noodles
Once your pasta sheets are rolled to the desired thickness, you can use the integrated cutters for spaghetti or fettuccine.
- Cortador de espaguetis: Produces thin pasta strands with a width of 0.06 inches (1.5mm).
- Cortador de fettuccine: Produces wider pasta strands with a width of 0.24 inches (6mm).
- Ensure the pasta sheet is dry enough to prevent sticking, but still pliable.
- With the stand mixer still on a low speed, feed the pasta sheet into the desired cutter opening.
- The attachment will cut the pasta into uniform noodles.
- Catch the cut noodles with a clean cloth or tray, and dust with flour to prevent sticking.
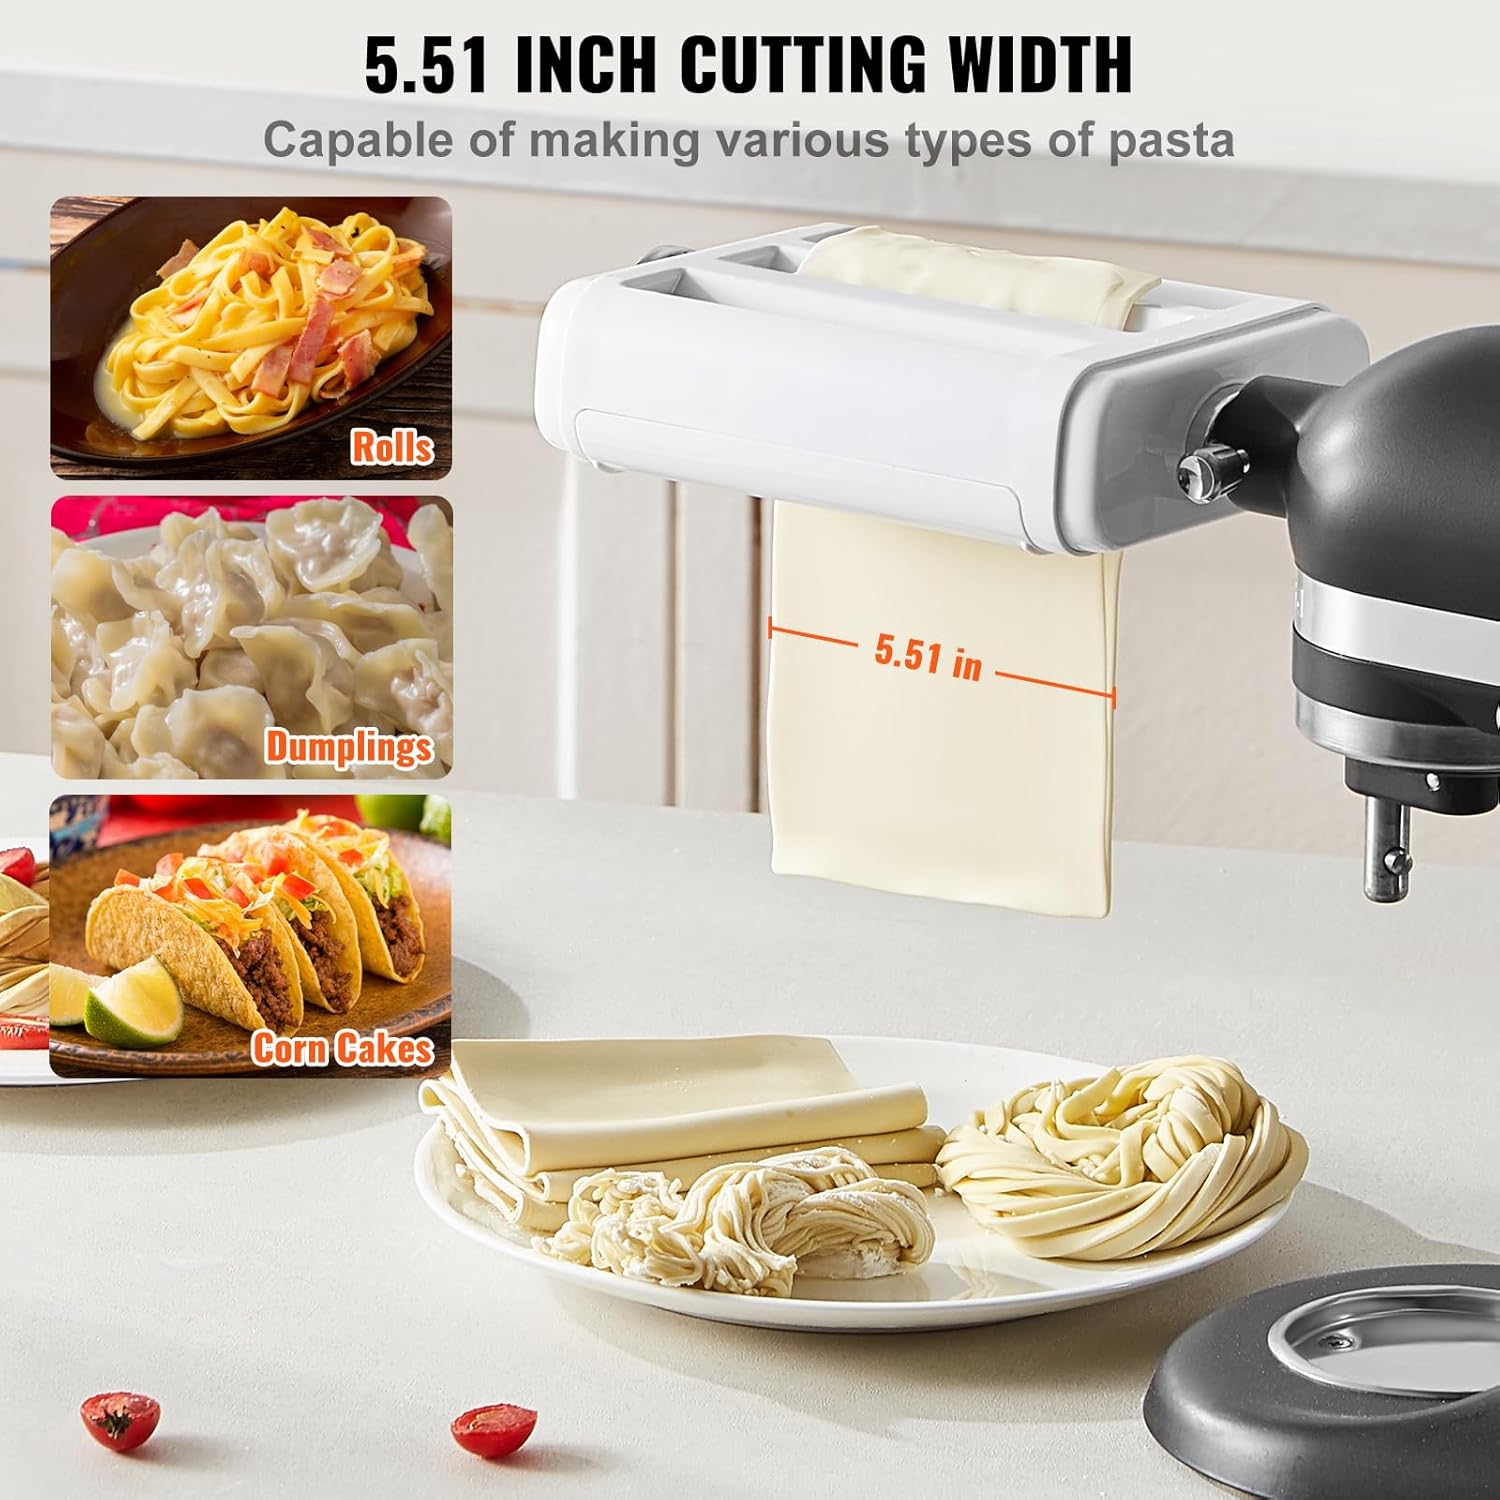
Image: The pasta maker attachment demonstrating its 5.51-inch cutting width, suitable for various pasta types.
Mantemento e Limpeza
Proper cleaning ensures the longevity and performance of your pasta maker attachment. This attachment is NOT dishwasher safe.
- Unplug the stand mixer and remove the attachment.
- Allow any residual dough to dry on the attachment for a few hours. This makes it easier to remove.
- Press down on the "PUSH" button (if applicable) and lift the protective cover to access the rollers and cutters.
- Use the included cleaning brush to remove dried dough and flour from the rollers and cutters. A wooden skewer or toothpick can help with stubborn bits.
- Do not use water or wet cloths to clean the attachment, as this can cause rust.
- Once clean, allow the attachment to air dry completely before closing the cover and storing.

Image: Step-by-step guide for cleaning the pasta maker attachment, emphasizing air drying and brush cleaning.
Resolución de problemas
If you encounter issues with your pasta maker attachment, refer to the following common problems and solutions:
| Problema | Causa posible | Solución |
|---|---|---|
| Dough sticks to rollers/cutters | A masa está demasiado húmida ou non está o suficientemente enfariñada. | Add more flour to the dough or to the surface of the dough before feeding. Ensure dough is firm. |
| Noodles are not cleanly cut | Dough is too soft, too thick for the cutter, or attachment is dirty. | Ensure dough is firm and rolled to the appropriate thickness. Clean the cutters thoroughly. |
| Attachment does not operate | Not properly attached to the mixer, mixer not turned on, or power issue. | Ensure the attachment is securely fastened and the mixer is plugged in and turned on. Check mixer speed setting. |
| Ruído inusual durante o funcionamento | Attachment not properly seated or internal issue. | Re-attach the unit, ensuring it is fully seated. If noise persists, discontinue use and contact support. |
Especificacións
| Característica | Detalle |
|---|---|
| Número de modelo | ZA-NTK88 |
| Material | Stainless Steel (rolling/cutting shafts), ABS (protective shell) |
| Peso do elemento | 3.4 libras (1.55 kg) |
| Dough Width | 5.51 polgadas (14 cm) |
| Thickness Settings | 8 adjustable settings (0.01 - 0.08 inches / 0.3 - 2mm) |
| Thin Pasta Width | 0.06 polgadas (1.5 mm) |
| Wide Pasta Width | 0.24 polgadas (6 mm) |
| Compatibilidade | All KitchenAid Stand Mixers |

Image: Detailed specifications and dimensions of the pasta maker attachment.
Garantía e Soporte
VEVOR products come with a warranty. For specific warranty details, technical support, or to register your product for an E-Warranty Certificate, please visit the official VEVOR support websitio:
You may also contact VEVOR customer service for any questions or assistance regarding your product.
