
1. Introdución
This manual provides essential information for the setup, operation, and maintenance of your DWEII 4.0 Inch 480x320 TFT Touch Screen LCD Module. This display features a 4.0-inch color screen with 480x320 resolution, supporting 65K colors, and includes a resistive touch screen with an XPT2046 IC. It utilizes a 4-wire SPI interface for communication and is compatible with Arduino R3, Nano, and Mega controller boards.
2. Características do produto
- Cor da pantalla: RGB 65K color for rich visual output.
- Tamaño da pantalla: 4.0 inches with a resolution of 480x320 pixels.
- IC controlador: ST7796S for efficient display control.
- Interface: 4-wire SPI interface, requiring minimal I/O pins.
- Pantalla táctil: Resistive touch screen with XPT2046 IC, includes a touch pen.
- Compatibilidade: Designed for use with Arduino R3, Nano, and Mega controller boards.
- Ranura para tarxetas SD: Integrated for easy expansion and data storage.
3. Contido do paquete
Verifica que todos os elementos estean presentes no teu paquete:
- 1 x DWEII 4.0" SPI TFT LCD Display Touch Screen
- 1 x Touch Pen
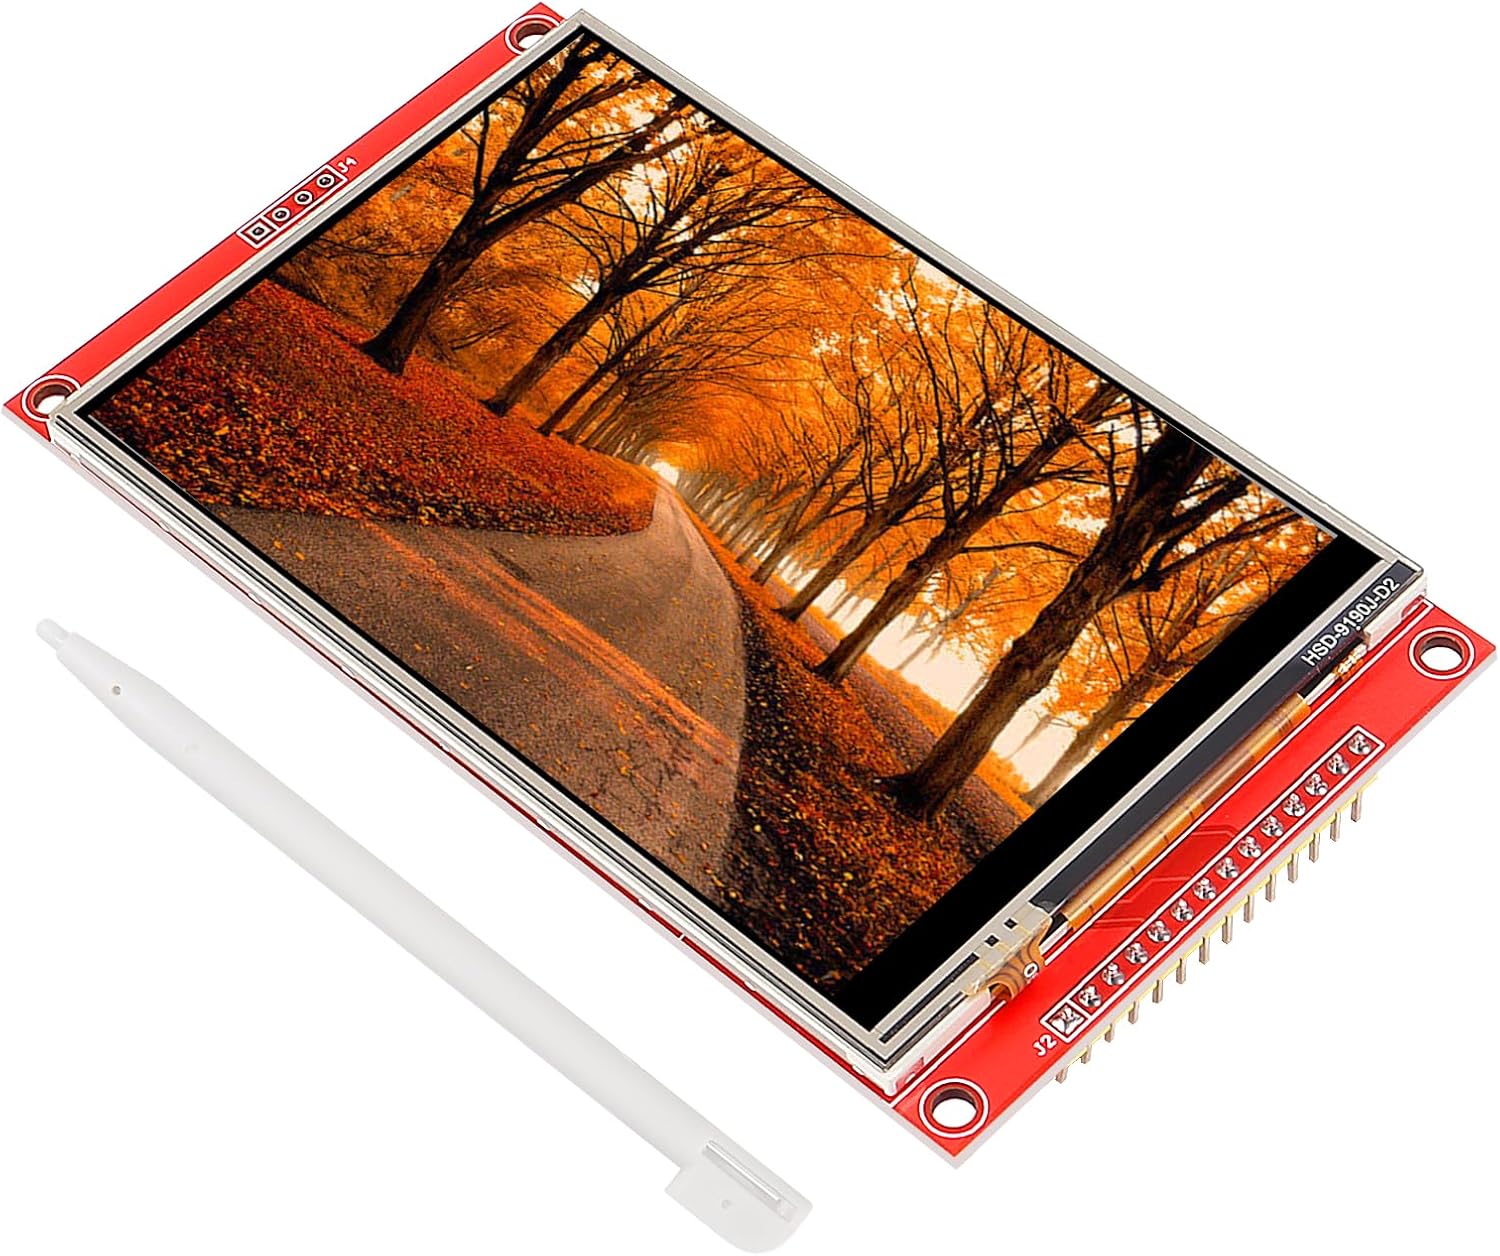
Image: The DWEII 4.0 Inch TFT LCD Display Module shown with the included touch pen.
4. Especificacións
| Cor da pantalla | Cor RGB 65K |
| Tamaño da pantalla | 4.0 polgadas |
| Resolución | 480 x 320 píxeles |
| Condutor IC | ST7796S |
| Interfaz do módulo | SPI de 4 fíos |
| Área Activa | 55.68 x 83.52 mm |
| Tamaño do módulo PCB | 61.74 x 108.04 mm |
| Tipo de pantalla táctil | Resistivo |
| Toque IC | XPT2046 |
| Temperatura de funcionamento | -10°C a 60°C |
| Temperatura de almacenamento | -20°C a 70°C |
| Vol. Operativotage | 3.3 V/5 V |
| Peso | 71 g |

Image: Visual representation of the display dimensions and key specifications.
5. Configuración e conexión
This section details the necessary steps to connect your DWEII 4.0 Inch TFT LCD Module to compatible Arduino boards. The following wiring instructions have been verified for Arduino UNO and Arduino NANO 33 IoT. Ensure your Arduino IDE is set up with the appropriate libraries for ST7796S and XPT2046 (e.g., Adafruit_GFX, Adafruit_ST7735, XPT2046_Touchscreen).
5.1 Diagrama de pinout

Imaxe: Anverso e reverso views of the display module, showing pin labels and SD card slot.

Imaxe: Detallada view of the connection pins and the integrated SD card slot on the module.
5.2 Wiring Instructions (Arduino UNO/NANO 33 IoT)
Connect the display module pins to your Arduino board as follows:
| Pin de visualización | Pin Arduino | Descrición |
|---|---|---|
| VCC | +5 V | Power supply for the module. |
| GND | GND | Conexión a terra. |
| CS (Chip Select) | Pin dixital 10 | SPI Chip Select for the display. |
| RST (Reiniciar) | Pin dixital 9 | Reset pin for the display. |
| DC (Data/Command) | Pin dixital 8 | Data/Command selection pin. |
| SDI (MOSI) | Pin dixital 11 | SPI Master Out Slave In (Data from Arduino to display). |
| SCK (Serial Clock) | Pin dixital 13 | SPI Serial Clock. |
| LED | +3.3 V | Backlight power supply. |
| SDO (MISO) | Pin dixital 12 | SPI Master In Slave Out (Data from display to Arduino). |
Nota: For other Arduino models or microcontrollers, refer to their specific SPI pinouts and adjust connections accordingly. Always double-check your wiring before powering on to prevent damage.
6. Instrucións de funcionamento
Once the display module is correctly wired and powered, you can begin programming your Arduino to utilize its features. The display functions as both a visual output and an input device via its resistive touch screen.
6.1 Displaying Graphics and Text
To display content, you will typically use a graphics library compatible with the ST7796S driver, such as Adafruit_GFX and Adafruit_ST7735 (often adapted for ST7796S). These libraries provide functions for drawing shapes, lines, text, and images. Refer to the library documentation for specific API calls.
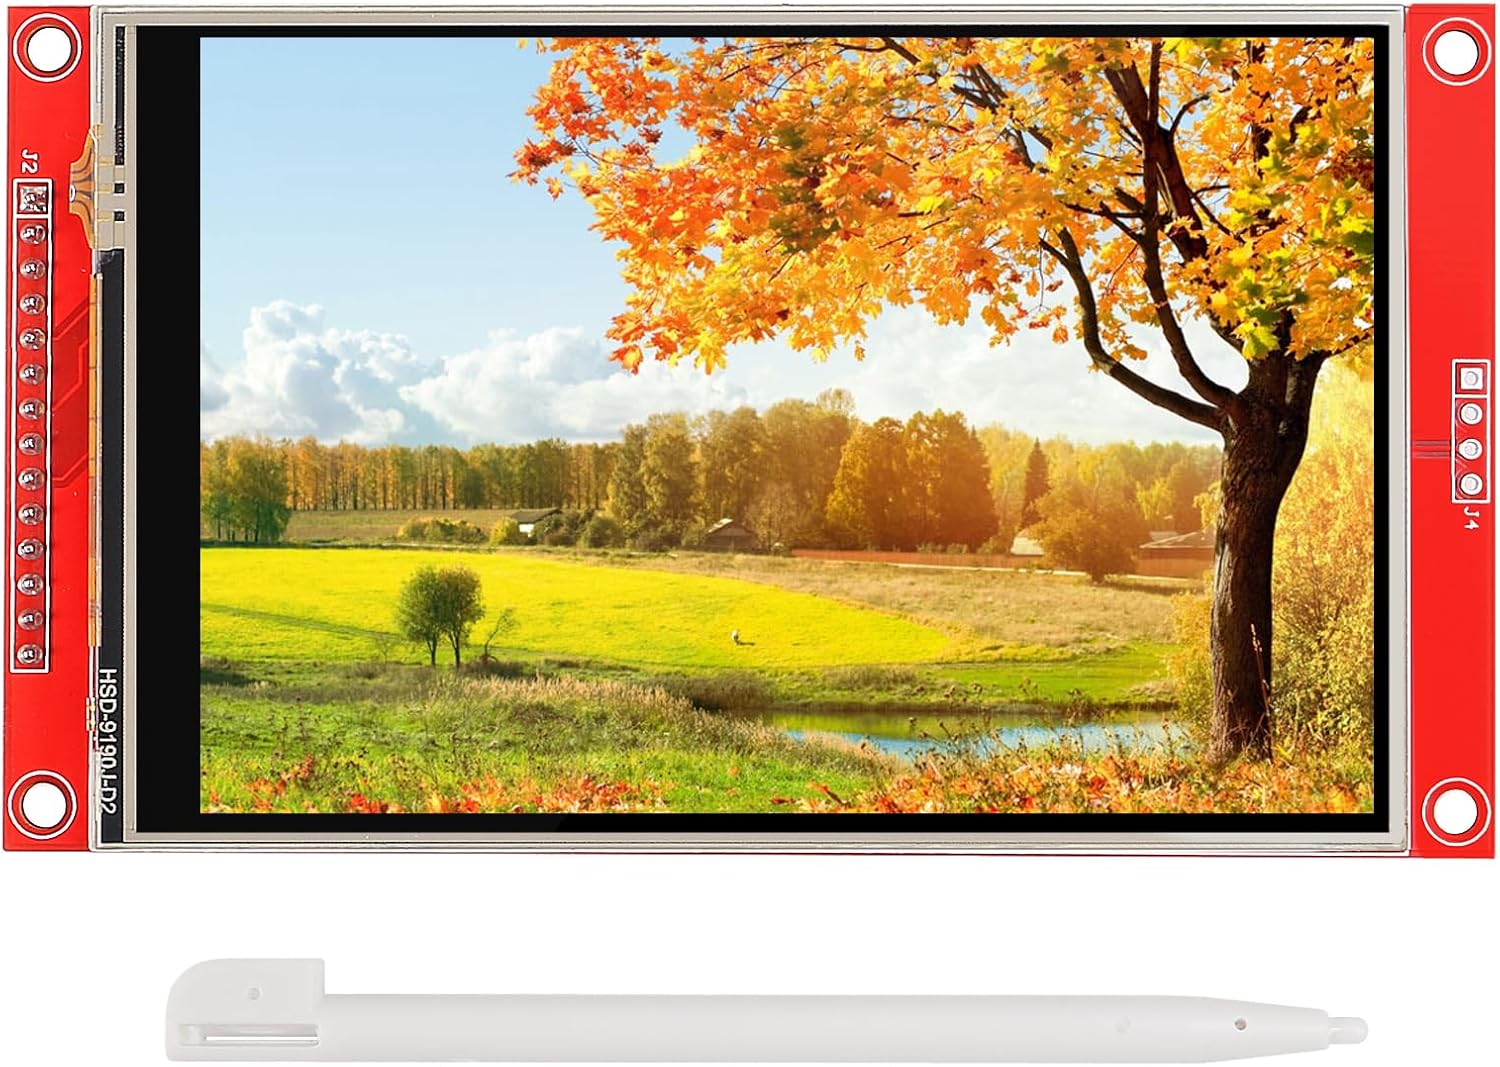
Image: The display module showing a vibrant landscape image, demonstrating its color capabilities.
6.2 Usando a pantalla táctil
The resistive touch screen allows for user interaction. Libraries like XPT2046_Touchscreen are used to read touch coordinates. When a touch is detected, the library provides X and Y coordinates, which can then be mapped to on-screen elements for button presses, menu navigation, or drawing applications. Use the included touch pen for precise input.

Image: A hand interacting with the display using the provided touch pen, demonstrating touch input functionality.
6.3 SD Card Functionality
The integrated SD card slot can be used to store images, fonts, or other data for your projects. Standard Arduino SD card libraries can be used to read and write files to the card. Ensure the SD card is properly formatted (FAT16 or FAT32) before use.
7. Mantemento
- Limpeza: Use a soft, dry, lint-free cloth to gently wipe the screen. For stubborn smudges, slightly dampEnxugue o pano con auga ou un limpador de pantallas. Evite produtos químicos agresivos ou materiais abrasivos.
- Manexo: Handle the module by its edges to avoid touching the display surface or the electronic components on the back.
- Almacenamento: Store the module in a cool, dry place, away from direct sunlight and extreme temperatures. Keep it in its original packaging or an anti-static bag when not in use.
- Potencia: Asegúrese sempre do volume correctotage (3.3V/5V) is supplied. Incorrect voltagPodemos danar o módulo.
8 Solución de problemas
- Sen visualización/pantalla en branco:
- Check all wiring connections, especially VCC, GND, and LED power.
- Verify that the correct libraries are installed and initialized in your Arduino code.
- Ensure the backlight (LED pin) is receiving power (3.3V).
- Confirm that the SPI pins (MOSI, MISO, SCK, CS, DC, RST) are correctly mapped to your Arduino.
- A pantalla táctil non responde:
- Ensure the XPT2046 touch controller library is correctly installed and initialized.
- Check the touch-related pins (T_IRQ, T_DO, T_DIN, T_CS, T_CLK) for proper connection.
- Calibrate the touch screen if the coordinates are inaccurate.
- Incorrect Colors/Distorted Display:
- Verify that the display driver (ST7796S) is correctly configured in your code.
- Check for loose connections on the data lines.
- Tarxeta SD non detectada:
- Ensure the SD card is properly inserted and formatted (FAT16/FAT32).
- Check the SD card SPI connections (SD_CS, SD_MOSI, SD_MISO, SD_SCK).
- Verify that the Arduino SD library is correctly used in your sketch.
9. Información da garantía
The manufacturer provides a limited warranty for this product. Specific warranty details, including duration and coverage, may vary. Please refer to the product packaging or contact your retailer for precise warranty terms and conditions. Keep your purchase receipt as proof of purchase.
10. Apoio
For technical assistance, programming examples, or further inquiries, please refer to the following resources:
- Foros en liña: Community forums for Arduino and electronics enthusiasts often provide solutions and examples for similar display modules.
- Fabricante/Vendedor Websitio: Check the DWEII brand page or the seller's information on the platform where you purchased the product for additional documentation or contact options.
- Library Documentation: The documentation for the display driver (ST7796S) and touch controller (XPT2046) libraries (e.g., Adafruit_GFX, Adafruit_ST7735, XPT2046_Touchscreen) contains valuable information for programming.