Introdución
Thank you for choosing the PRETTYCARE V3 Cordless Vacuum Cleaner. This manual provides essential information for the safe and efficient operation, maintenance, and troubleshooting of your new vacuum cleaner. Please read this manual thoroughly before first use and keep it for future reference.
The PRETTYCARE V3 is designed for versatile cleaning, featuring a powerful brushless motor, intelligent suction modes, and a multi-stagsistema de filtración para garantir un ambiente limpo e saudable.
Instrucións de seguridade
- Always disconnect the vacuum cleaner from the charger before cleaning or performing maintenance.
- Do not use the vacuum cleaner to pick up water or other liquids, hot ashes, or sharp objects.
- Manteña o cabelo, a roupa solta, os dedos e todas as partes do corpo lonxe das aberturas e das partes móbiles.
- Use only PRETTYCARE recommended accessories and replacement parts.
- Garde o aspirador nun lugar seco, lonxe da luz solar directa e de temperaturas extremas.
- Este aparello non está pensado para o seu uso por persoas (incluídos nenos) con capacidades físicas, sensoriais ou mentais reducidas, ou con falta de experiencia e coñecementos, a menos que teñan supervisión ou instrucións sobre o uso do aparello por unha persoa responsable da súa seguridade.
Compoñentes do produto
Familiarize yourself with the components of your PRETTYCARE V3 vacuum cleaner:

Esta imaxe mostra un fragmento explosionado view of the PRETTYCARE V3 Cordless Vacuum Cleaner, showing all its individual components laid out. Each part is numbered for easy identification, including the main motor unit, power adapter, removable battery, HPC filter screens, wall mount, adjustable metal tube, power brush, 2-in-1 brush, and crevice nozzle.
- Unidade motora principal
- Adaptador de alimentación
- Batería extraíble
- HPC Filter Screens (2x)
- Soporte de parede
- Tubo metálico axustable
- Cepillo eléctrico
- Pincel 2 en 1
- Boquilla de fendas
Configuración e montaxe
1. Carga inicial
Before first use, fully charge the battery. The battery can be charged while attached to the main unit or separately.

This image illustrates two methods for charging the PRETTYCARE V3 vacuum cleaner. On the left, the vacuum is shown mounted on a wall-mounted charging station, connected to power. On the right, the removable battery is shown being charged independently using the power adapter.
- Connect the power adapter to the charging port on the main unit or directly to the battery.
- Enchufe o adaptador a unha toma de corrente.
- The LCD display will indicate charging status. A full charge typically takes approximately 4-5 hours.
2. Montaxe da aspiradora
- Attach the Metal Tube: Insert the adjustable metal tube into the main motor unit until it clicks into place.
- Attach the Power Brush: Connect the power brush head to the other end of the metal tube, ensuring it clicks securely.
- Instalar a batería: Slide the fully charged battery into the battery slot on the main motor unit until it locks.
For different cleaning tasks, you can attach various accessories directly to the main motor unit or to the metal tube.

This image demonstrates the versatility of the PRETTYCARE V3 vacuum cleaner by showing it configured with different attachments for various cleaning scenarios. It includes the main power brush for floors, a crevice tool for tight spaces, a 2-in-1 dusting brush for surfaces, and the crevice nozzle with extension rod for high or hard-to-reach areas.
Instrucións de funcionamento
1. Acendido/apagado
Prema o botón de acendido da unidade principal para acender ou apagar o aspirador.
2. Suction Modes and LCD Display
The PRETTYCARE V3 features an intelligent LCD touchscreen display and multiple suction modes:

Esta imaxe ofrece información detallada view of the PRETTYCARE V3's LCD touchscreen display. It shows the remaining battery percentage, an ambient light indicator, and icons representing the different suction modes: Automatic mode, and three manual suction levels (25kPa, 35kPa, 45kPa).
- Modo automático (AUTO): The vacuum cleaner intelligently detects the amount of dust and adjusts suction power automatically to optimize battery life.
- Modos manuais: Select from three manual suction levels (25kPa, 35kPa, 45kPa) via the touchscreen for specific cleaning needs.

This image illustrates the automatic mode feature of the PRETTYCARE V3 vacuum cleaner. It shows the vacuum transitioning from a carpeted surface to a hard floor, with visual cues indicating that the suction power automatically adjusts to optimize performance for each floor type.

This image demonstrates the three manual suction levels (25kPa, 35kPa, 45kPa) available on the PRETTYCARE V3 vacuum cleaner. It shows the vacuum being used on a sofa, with visual indicators for each suction level, suggesting different power settings for varying cleaning needs and debris types.
3. Limpeza de diferentes superficies
- Hard Floors and Carpets: Use the main power brush. The LED lights on the brush head illuminate dark areas.
- En Mobles: The 180° flexible hose and 270° rotatable LED floor nozzle allow for easy cleaning under furniture without bending.
- Esquinas e bordos: The upgraded floor brush design allows for better cleaning along edges and reduces tangling.
- Tight Spaces and Upholstery: Use the crevice nozzle or the 2-in-1 brush for detailed cleaning.

This image demonstrates the flexible design of the PRETTYCARE V3 vacuum cleaner. It shows the vacuum's main tube bending at an angle, allowing the user to easily clean under low furniture like a sofa or cabinet without needing to stoop or kneel.

This image highlights the improved design of the floor brush on the PRETTYCARE V3 vacuum cleaner. It shows the brush effectively cleaning along the edge of a step or wall, indicating its ability to reach corners and reduce hair tangling.
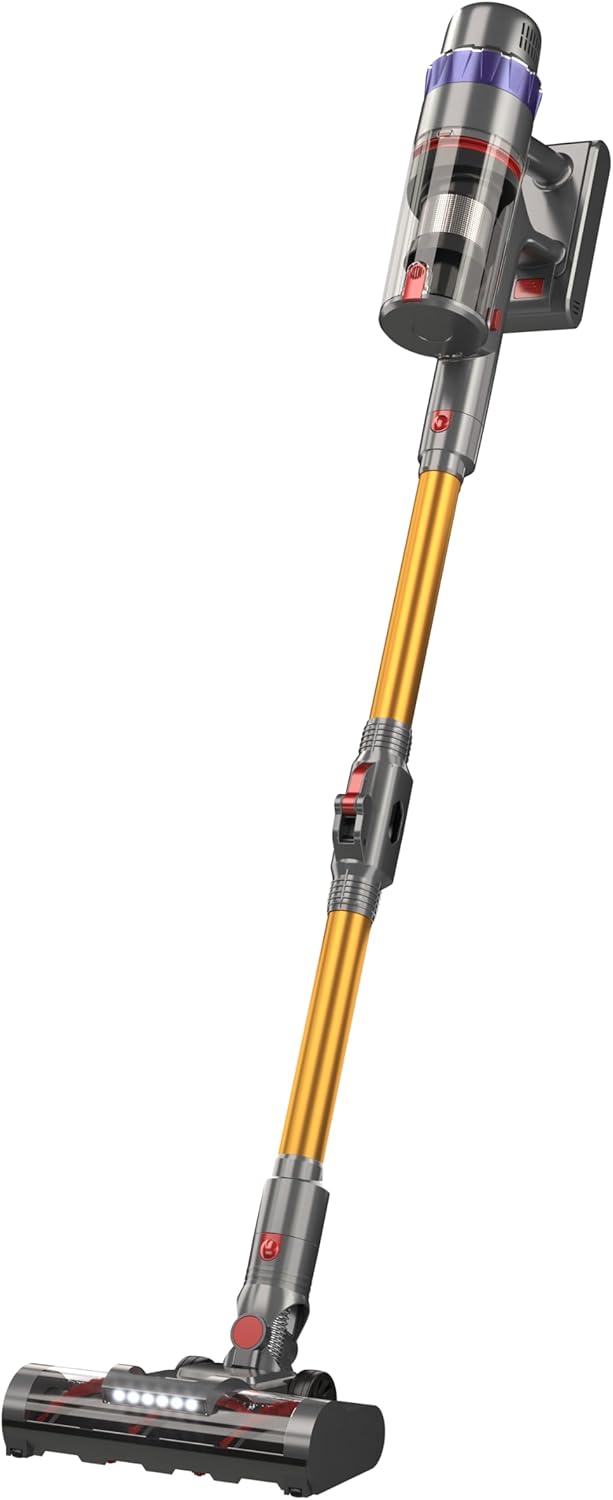
This is a full view of the PRETTYCARE V3 Cordless Vacuum Cleaner, showcasing its sleek design and assembled form, ready for use.
Mantemento
Regular maintenance ensures optimal performance and extends the lifespan of your PRETTYCARE V3 vacuum cleaner.
1. Baleirar o colector de lixo
Baleirar o colector de po despois de cada uso ou cando se alcance a liña de enchido MÁX.
- Prema o botón de liberación do colector de po para separalo da unidade principal.
- Suxeita o colector de lixo sobre un cubo de lixo e preme o pestillo de liberación inferior para abrir o colector e baleirar o seu contido.
This image demonstrates the simple one-click dust removal feature of the PRETTYCARE V3 vacuum cleaner. It shows a hand pressing a button to release the bottom of the dustbin, allowing collected debris to fall directly into a trash receptacle.
2. Cleaning the Filter System
The V3 features a 5-stage cyclone filtration system. Clean the filters regularly to maintain suction power and air quality.

This diagram illustrates the advanced 5-stage filtration system of the PRETTYCARE V3 vacuum cleaner. It highlights the different components: high-density filter system, sponge filter, stainless steel honeycomb filter, cyclone centrifugal technology, and dust separation technology, all working together to achieve high air purification.
- Remove the filters from the dustbin.
- Tap off loose dirt. The filters are washable.
- Enxágüe os filtros con auga fría corrente ata que a auga saia limpa.
- Allow filters to air dry completely for at least 24 hours before reassembling. Do not use a dryer or heat source.
- Replace filters every 3-6 months, depending on usage.
This image shows the washable filter component of the PRETTYCARE V3 vacuum cleaner being cleaned under running water in a sink, emphasizing the ease of maintenance for the filtration system.
3. Limpeza do rolo de cepillo
Comprobe periodicamente o rolo do cepillo para ver se ten cabelo enredado ou residuos.
- To remove the brush roll, locate the release latch on the side of the power brush head and open it.
- Pull out the brush roll.
- Usa tesoiras para cortar calquera pelo ou fío enredado.
- Reinsert the brush roll and close the latch until it clicks.
This image illustrates the removable brush head feature of the PRETTYCARE V3 vacuum cleaner. It shows a hand pressing a release mechanism on the side of the brush head, indicating how easily the brush can be detached for cleaning or maintenance.
Resolución de problemas
| Problema | Causa posible | Solución |
|---|---|---|
| Non se acende o baleiro | Battery not charged; Battery not properly installed; Power button not pressed correctly. | Cargue a batería completamente; asegúrese de que a batería estea encaixada no seu lugar; prema firmemente o botón de acendido/acendido. |
| Baixo poder de succión | Cubo do lixo cheo; filtros atascados; rolo do cepillo enredado; atascos no tubo/mangueira. | Empty dustbin; Clean/wash filters; Remove tangled hair from brush roll; Check for and remove blockages. |
| O rolo de pincel non xira | Brush roll tangled; Brush head not properly attached; Obstruction. | Clean brush roll; Reattach brush head securely; Remove any obstructions. |
| Duración curta da batería | Battery not fully charged; Using high suction mode continuously; Battery degradation. | Ensure battery is fully charged; Use automatic or lower suction modes when possible; Contact support for battery replacement if needed. |
Especificacións
| Característica | Especificación |
|---|---|
| Modelo | V3 |
| Potencia do motor | Motor sen escobillas de 530 W |
| Potencia máxima de succión | 45 KPA |
| Batería | 8*2500mAh Removable Battery |
| Tempo de execución | Up to 60 minutes (in automatic mode) |
| Sistema de filtración | 5-stage Cyclone Filtration (99.99% purification rate) |
| Mostrar | Pantalla táctil LCD |
| Peso | 4.26 Kilograms (product weight) |

This diagram illustrates the internal structure of the 560W brushless motor used in the PRETTYCARE V3 vacuum cleaner, highlighting its components and emphasizing its role in providing higher suction power, longer battery life, and extended durability.
Garantía e Soporte
PRETTYCARE products are manufactured to the highest quality standards. For warranty information, technical support, or replacement parts, please contact PRETTYCARE customer service.
You can find contact information on the official PRETTYCARE websitio web ou a través da túa plataforma de compra.
Conserve o comprobante de compra para reclamacións de garantía.