
RAINPOINT G-ITV205NH
RAINPOINT Water Timer 2-Outlet User Manual
Model: G-ITV205NH
Introdución
Thank you for choosing the RAINPOINT 2-Outlet Water Timer. This digital sprinkler timer is designed to simplify your watering routine, offering precise control over your garden and lawn irrigation. With its dual-zone programming, rain delay, and manual watering options, you can ensure efficient and effective watering while conserving water.
This manual provides detailed instructions for installation, operation, maintenance, and troubleshooting to help you get the most out of your new water timer.
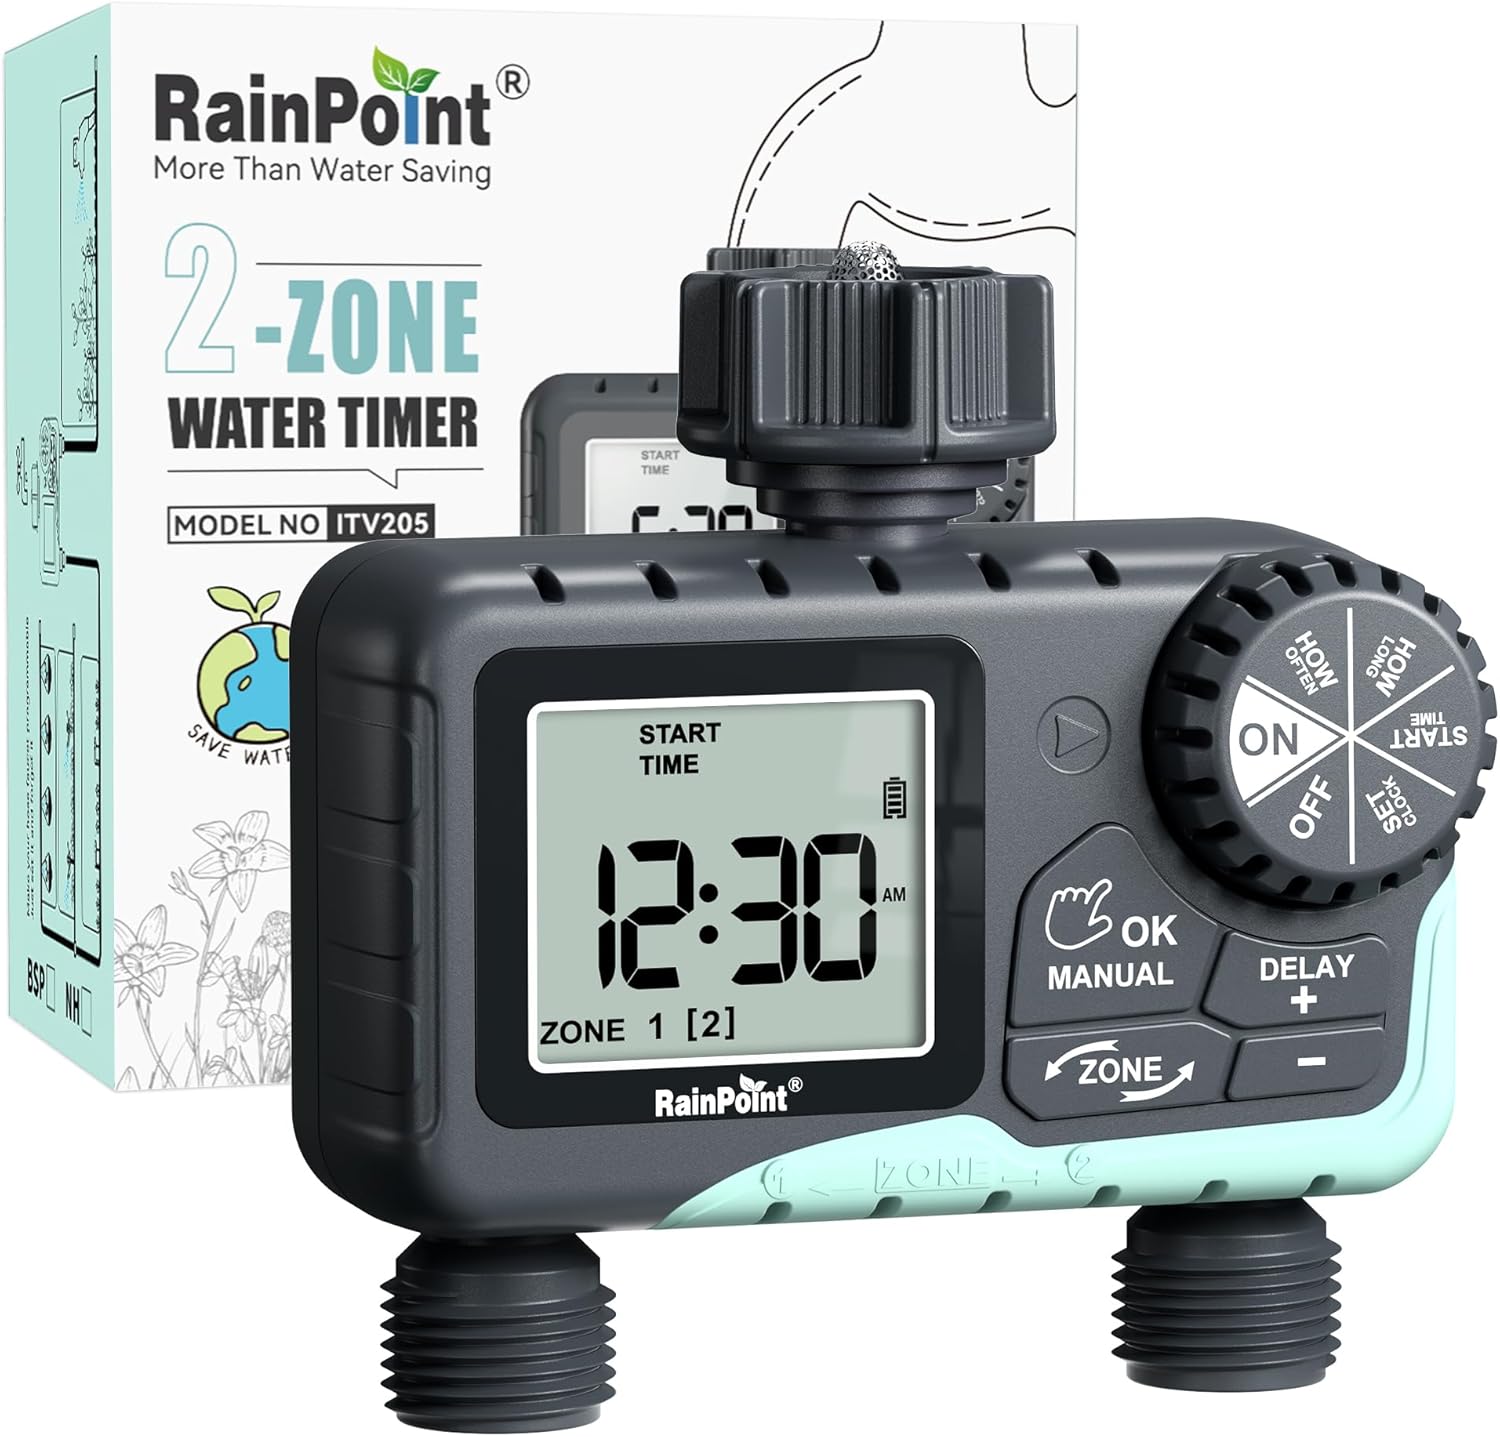
Image: The RAINPOINT 2-Outlet Water Timer, showing the device and its retail packaging. This timer features a digital display and intuitive controls for managing two separate watering zones.
Características clave
- Control de zona dual: Independently program two separate watering zones for customized irrigation.
- Programación flexible: Set start times, watering duration (1 minute to 3 hours 59 minutes), and frequency (hourly to weekly).
- Modo de rego manual: Instantly water for a specified duration (1 minute to 8 hours) for Zone 1, Zone 2, or both.
- Función de retardo por choiva: Skip watering for 24, 48, or 72 hours to conserve water during rainy periods.
- Pantalla LCD grande: Easy-to-read 2.5-inch screen shows watering time, next irrigation plans, and power status.
- Low Power Auto Shutoff: Alerts when battery is below 5% and automatically closes the valve to prevent water wastage.
- Construción duradeira: Made from IP54 high-impact plastic with a built-in metal filter and 2-generation valve diaphragm for longevity.
- 360° Rotatable Interface: Designed for easy installation and access.

Image: Illustration demonstrating the independent programming capabilities of Zone 1 and Zone 2, allowing for different start times and durations for each watering area.
Contido do paquete
Comprobe o contido do paquete para asegurarse de que estean presentes todos os elementos:
- 1 x RAINPOINT 2-Outlet Water Timer (Model: G-ITV205NH)
- 1 x Manual de usuario
- (Batteries not included - requires 2 x AA batteries)
Guía de configuración
1. Instalación da batería
- Localiza o compartimento das pilas na parte traseira do temporizador.
- Deslice a tapa da batería cara abaixo para abrila.
- Insert two (2) new AA alkaline batteries, ensuring correct polarity (+/-).
- Close the battery cover securely. The added seal ring helps prevent water leaks.
Importante: Replace batteries when the low battery indicator appears on the LCD screen. The valve will automatically close to prevent water wastage when power is critically low.

Image: The water timer display showing a low battery warning, indicating the need for battery replacement to ensure continuous operation.
2. Conexión á billa
- Ensure your outdoor faucet is turned off.
- Screw the timer's top connector (with the 3/4" internal thread and built-in filter) onto your standard outdoor faucet. Hand-tighten only. Do not overtighten.
- The 360° rotatable interface allows for easy positioning of the timer.
3. Conexión de mangueiras
- Attach your garden hoses to the two NH3/4" outlet fittings at the bottom of the timer.
- Ensure a tight connection to prevent leaks.

Image: The RAINPOINT 2-Outlet Water Timer installed on an outdoor faucet, with two hoses connected to its independent outlets, demonstrating its dual-zone capability.

Image: A detailed diagram labeling the various parts of the RAINPOINT water timer, including the 3/4" internal thread, 2.5" LCD screen, control dial, buttons, and outlet fittings.
Instrucións de funcionamento
The RAINPOINT water timer features a large dial for mode selection and several buttons for setting parameters. The dial has positions for ON, OFF, HOW OFTEN, HOW LONG, START TIME, and SET CLOCK.
1. Axustar o reloxo
- Xire o disco para Axustar o reloxo.
- Usa o + e - botóns para axustar a hora actual.
- Preme OK/MANUAL para confirmar e pasar á seguinte configuración (por exemplo, AM/PM).
- Once the time is set, turn the dial to ON para gardar e saír.
2. Programming Watering Schedules (Automatic Mode)
You can program independent schedules for Zone 1 and Zone 2. Use the ZONA button to switch between zones.
a. Set Start Time
- Xire o disco para HORA DE INICIO.
- Preme o ZONA button to select either Zone 1 or Zone 2.
- Use + e - to set the desired start time for the selected zone.
- Preme OK/MANUAL para confirmar.
b. Set How Long (Watering Duration)
- Xire o disco para CANTO TEMPO.
- Preme o ZONA button to select either Zone 1 or Zone 2.
- Use + e - to set the watering duration (from 1 minute to 3 hours 59 minutes).
- Preme OK/MANUAL para confirmar.
c. Set How Often (Watering Frequency)
- Xire o disco para Cantas veces.
- Preme o ZONA button to select either Zone 1 or Zone 2.
- Use + e - to set the watering frequency (e.g., every 12 hours, every 2 days, etc.).
- Preme OK/MANUAL para confirmar.
Note: After setting all parameters, turn the dial to ON to activate the programmed schedule.

Image: The water timer display showing options for setting watering duration (1 min - 3h 59m) and frequency (1 hour - 7 days), illustrating the flexibility of automatic scheduling.
3. Modo de rego manual
This mode allows for immediate, temporary watering without affecting your programmed schedule.
- Ensure the dial is in the ON posición.
- Preme o OK/MANUAL button. The display will show "MANUAL".
- Preme o ZONA button to cycle through watering options: Zone 1, Zone 2, or BOTH ZONE.
- Use + e - to set the desired manual watering duration (from 1 minute to 8 hours).
- Preme OK/MANUAL again to start watering. The timer will count down the duration.
- To stop manual watering early, press OK/MANUAL again or turn the dial to DESACTIVADO e despois de volta a ON.
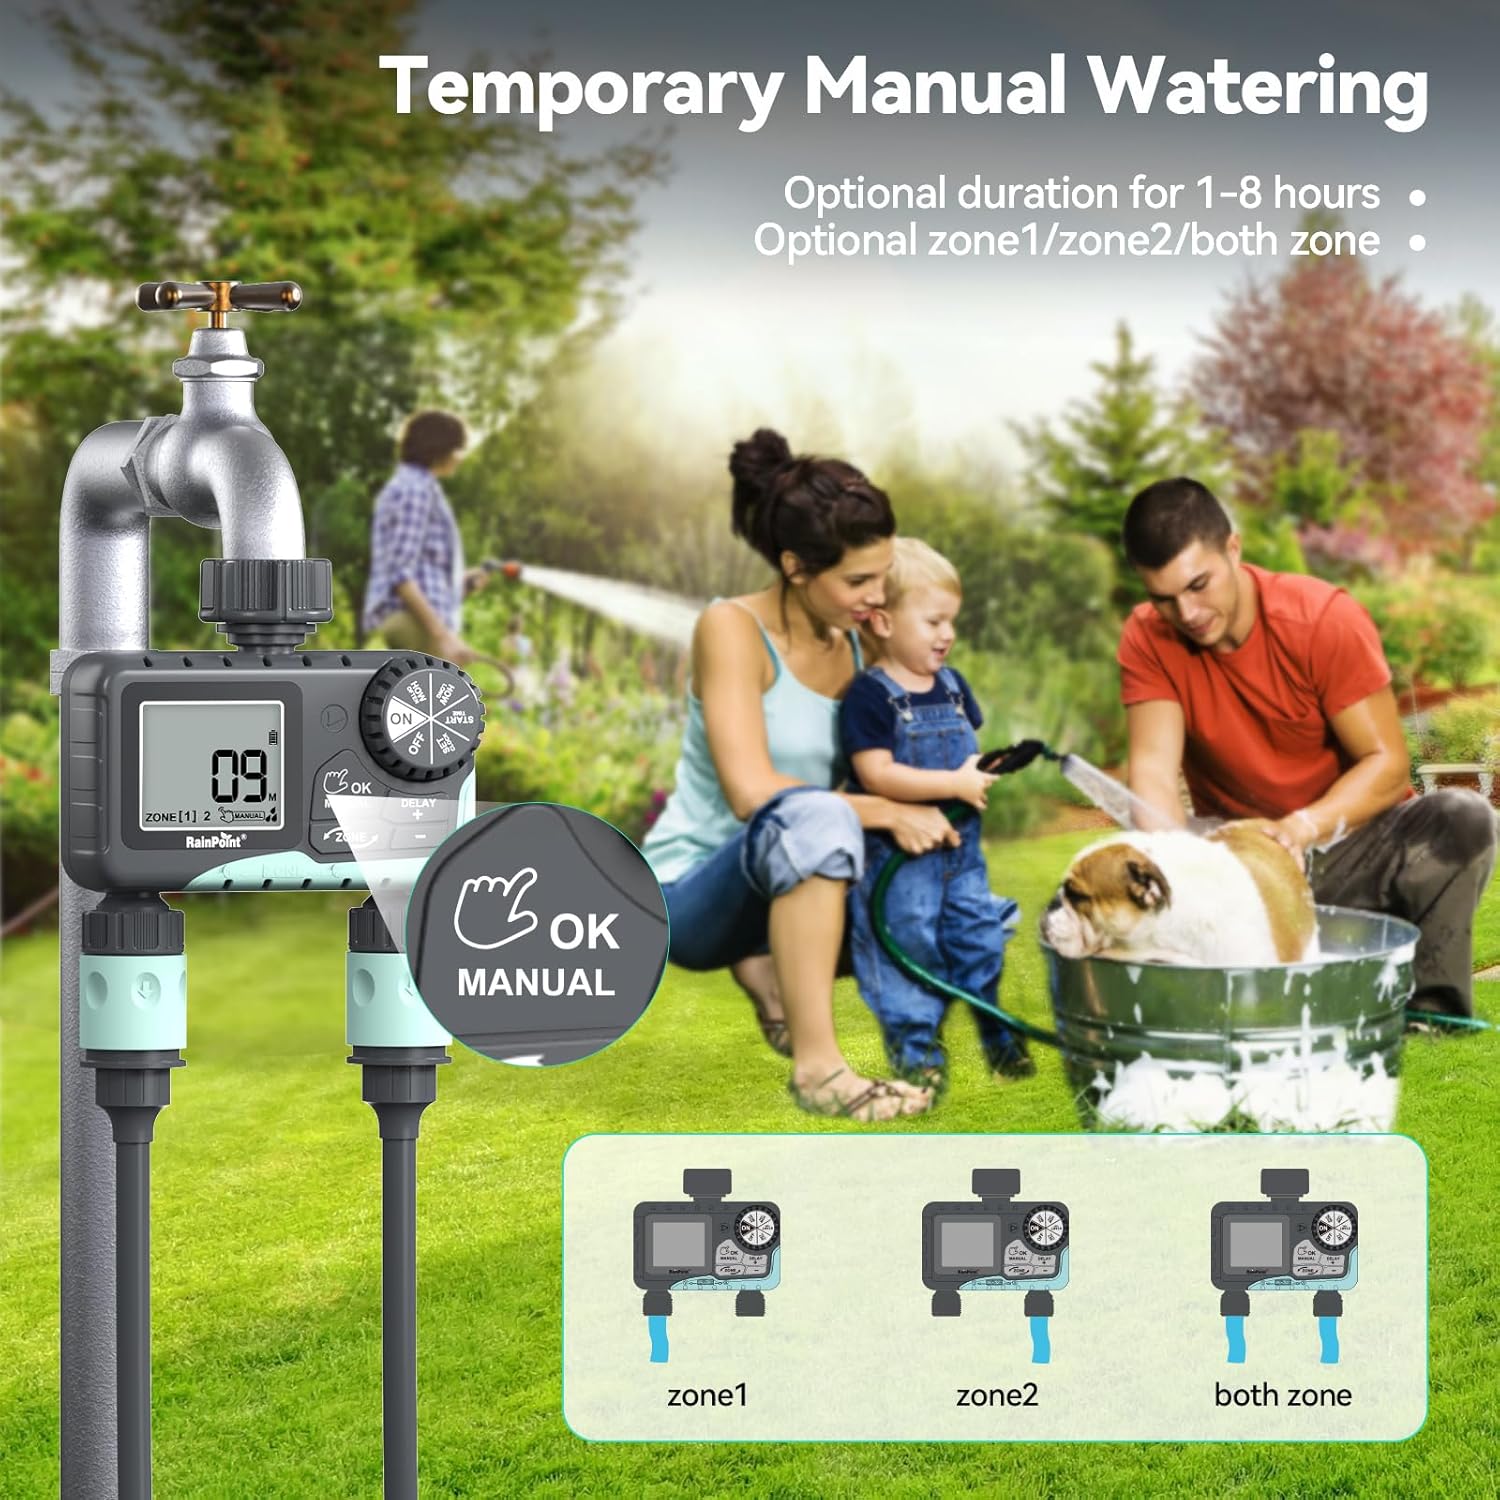
Image: The water timer display showing the manual watering mode, with options to select Zone 1, Zone 2, or both zones for immediate watering, and setting the duration.
4. Función de retardo por choiva
The rain delay function allows you to pause your watering schedule for a set period, preventing overwatering during rainfall.
- Ensure the dial is in the ON posición.
- Manteña premido o DELAY + button for approximately 3 seconds until "DELAY" appears on the screen.
- Usa o + e - buttons to select the delay duration: 24 hours, 48 hours, or 72 hours.
- Preme OK/MANUAL to confirm the rain delay. The timer will resume its schedule automatically after the delay period.
- To cancel the rain delay, press and hold the DELAY + botón de novo durante 3 segundos.
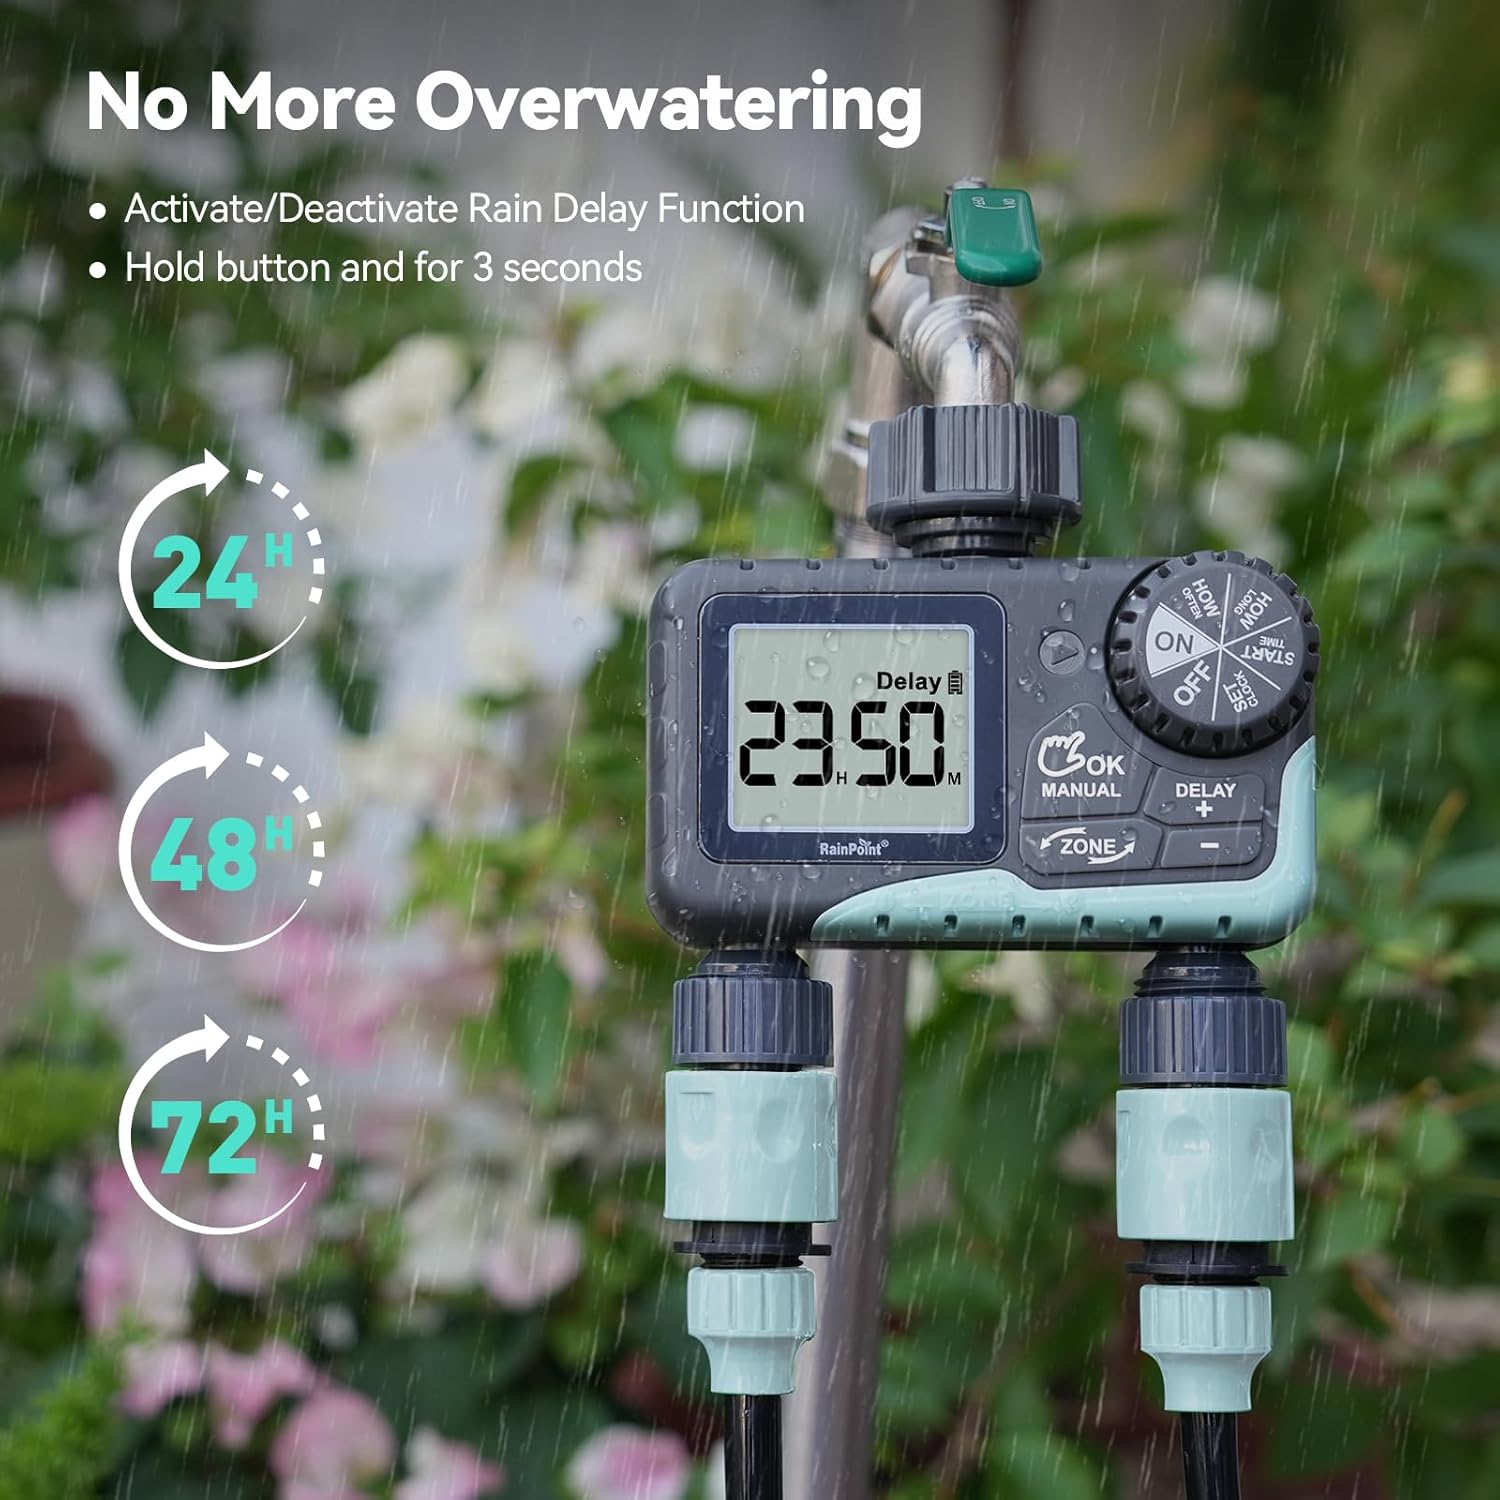
Image: The water timer display showing the rain delay function activated, with options for 24, 48, or 72-hour delays to prevent overwatering during rainy conditions.
5. Desactivar o temporizador
To stop all watering and programming, turn the dial to DESACTIVADO. All active programs will be paused.
Mantemento
1. Limpeza do filtro
The timer has a built-in metal filter to prevent debris from entering the unit. Periodically check and clean this filter to ensure optimal water flow and prevent blockages.
- Unscrew the timer from the faucet.
- Remove the filter screen from the top connector.
- Enxágüe o filtro con auga corrente para eliminar calquera residuo acumulado.
- Reinsert the clean filter and reattach the timer to the faucet.
2. Substitución da batería
Replace batteries when the low battery indicator appears on the LCD screen. Always use new AA alkaline batteries.
- Xire o disco para DESACTIVADO.
- Abra o compartimento da batería.
- Remove old batteries and insert new ones, observing polarity.
- Pecha o compartimento da batería de forma segura.
- The timer will retain your programming for a short period during battery replacement.
3. Preparación para o inverno
To prevent damage from freezing temperatures, remove the water timer from the faucet before the first frost.
- Desconecta o temporizador da billa e das mangueiras.
- Retire as pilas.
- Garde o temporizador no interior nun lugar seco e libre de xeadas.
Resolución de problemas
| Problema | Causa posible | Solución |
|---|---|---|
| O temporizador non se acende/a pantalla está en branco. | Baterías gastadas ou instaladas incorrectamente. | Substitúa as pilas por pilas alcalinas AA novas, asegurándose de manter a polaridade correcta. |
| Sen fluxo de auga. | Faucet is off; timer is in OFF mode; low battery; clogged filter; incorrect programming. | Turn on faucet; turn dial to ON; replace batteries; clean filter; check programming (start time, duration, frequency). |
| Fugas de auga polas conexións. | Conexións soltas; arandelas desgastadas. | Ensure all connections are hand-tight; check and replace rubber washers if damaged. |
| Timer not watering at scheduled time. | Incorrect clock setting; incorrect program settings; rain delay active. | Verify current time; re-check start time, duration, and frequency for each zone; check if rain delay is active. |
| Display shows "LOW BATT". | As baterías están baixas. | Replace batteries immediately to prevent valve closure and program loss. |
Especificacións
| Número de modelo | G-ITV205NH |
| Dimensións do produto | 5.36" D x 5.92" W x 5.55" H |
| Material | High-impact Plastic, Metal |
| Cor | Negro e Azul |
| Fonte de enerxía | 2 pilas alcalinas AA (non incluídas) |
| Rango de presión da auga | Up to 35 kg (approx. 500 PSI) |
| Caudal | 5-35 l/min |
| Duración do rego | 1 minuto a 3 horas 59 minutos |
| Frecuencia de rego | Hourly (up to 12 hours) or Daily (up to 7 days) |
| Duración do rego manual | De 1 minuto a 8 horas |
| Rain Delay Options | 24, 48, 72 horas |
| Clasificación impermeable | IP54 |
Garantía e Soporte
RAINPOINT products are designed for durability and performance. For warranty information and customer support, please refer to the official RAINPOINT websitio web ou póñase en contacto directamente co servizo de atención ao cliente.
Para obter máis axuda, visite: www.rainpointonline.com
Or contact customer support via email: support@rainpointonline.com
Ask a question about this manual
Ask about setup, troubleshooting, compatibility, parts, safety, or missing instructions. Manuals+ will review the question and use this page’s manual context to help answer it.