
1. Produto rematadoview
The ELECTROPRIME CAMSOY S20 is a compact 1080P WiFi action camera designed for security monitoring, pet monitoring, or as a baby monitor. It features two-way audio, IR night vision, and motion detection capabilities, making it a versatile solution for various surveillance needs. Its small size and 360-degree adjustable mount allow for flexible placement.
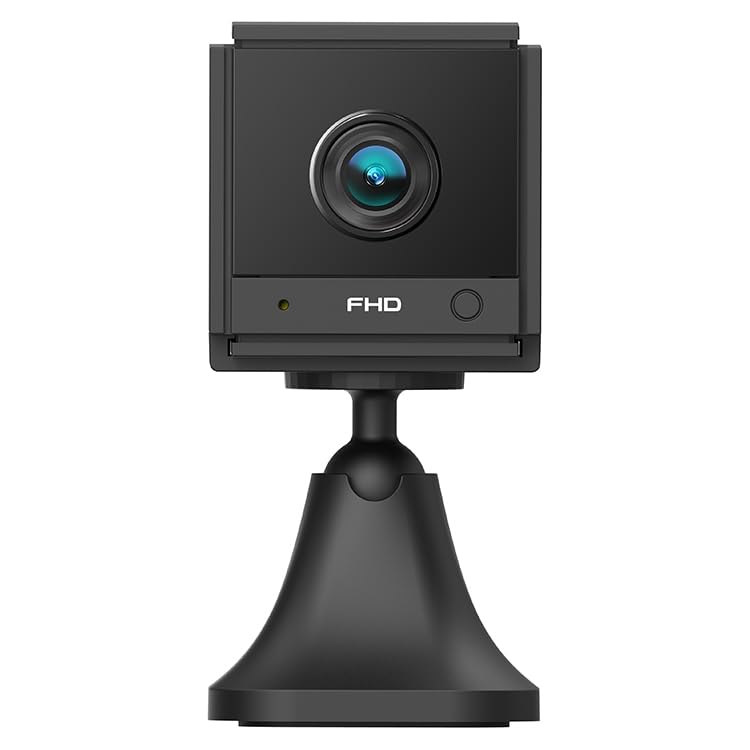
Imaxe 1.1: En ángulo view of the ELECTROPRIME CAMSOY S20 1080P WiFi Action Camera, showing the lens and adjustable mount.
2. Contido do paquete
Comprobe se o paquete contén os seguintes elementos:
- ELECTROPRIME CAMSOY S20 Action Camera
- Soporte de montaxe axustable
- Cable de carga USB
- Manual de usuario (este documento)
- Built-in 800mAh Li-ion Battery (pre-installed)
3. Características do produto
- Full 1080P HD Video: Captura un vídeo claro e detalladotage.
- Visión nocturna IR: Equipped with 6 infrared LEDs for clear vision up to 5-7 meters in low light or darkness.
- Audio bidireccional: Micrófono e altofalante integrados para comunicación remota.
- Alarma de detección de movemento: Avisa do movemento detectado.
- Conectividade Wi-Fi: Supports 2.4G WiFi (IEEE802.11b/g/n) for remote viewing e control.
- Deseño compacto: Mini size allows for discreet placement.
- Montaxe axustable: 360-degree free adjustable mount for flexible positioning.
- Almacenamento local: Supports Micro-SD Card up to 128GB (card not included).
- Batería incorporada: 800mAh Li-ion battery provides backup power for 3-4 hours.
4. Guía de configuración
4.1 Carga da cámara
Before initial use, fully charge the camera. Connect the provided USB charging cable to the camera's Micro USB interface and plug the other end into a standard USB power adapter (not included) or a computer's USB port. The charging indicator light will show the charging status.
4.2 Installing a Micro-SD Card
The camera supports Micro-SD cards up to 128GB for local video storage. Locate the Micro-SD card slot on the camera. Gently insert the Micro-SD card with the gold contacts facing down until it clicks into place. To remove, push the card in again until it springs out.
4.3 Montaxe da cámara
Attach the camera to the adjustable mounting bracket. The bracket allows for 360-degree rotation, enabling you to position the camera at the desired angle. Secure the bracket to a wall, ceiling, or flat surface using appropriate fasteners (not included).
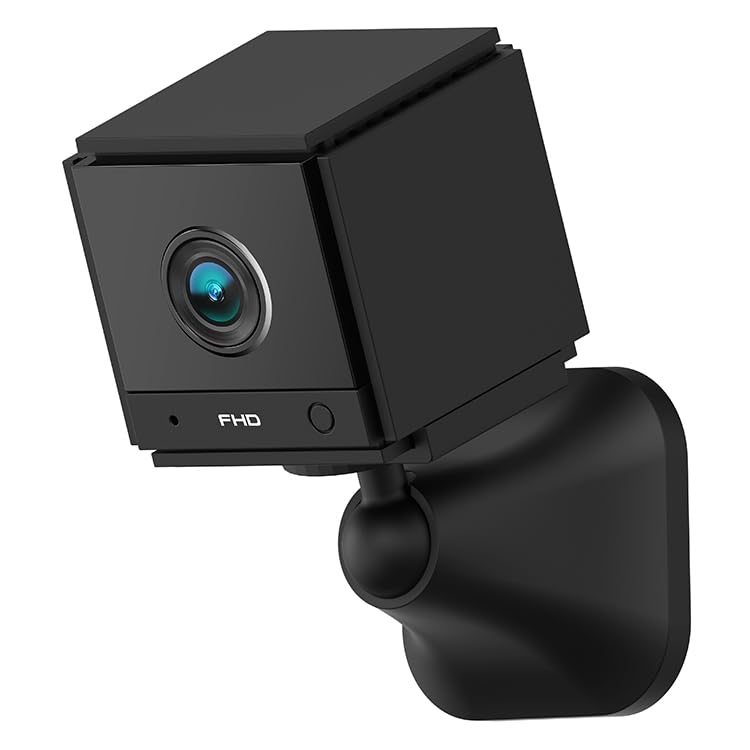
Imaxe 4.1: Fronte view of the ELECTROPRIME CAMSOY S20 camera, showing the lens and indicator lights.
4.4 Connecting to Wi-Fi and App Setup
- Descarga a aplicación: Busca the recommended camera application on your smartphone's app store (e.g., "CAMSOY" or a similar security camera app, refer to packaging for specific app name).
- Encendido: Press and hold the power button on the camera until the indicator light turns on.
- Engadir dispositivo: Open the app, create an account if necessary, and select "Add Device" or a similar option.
- Select Camera Type: Follow the in-app instructions to select your camera model.
- Conectar a wifi: The app will guide you through connecting the camera to your 2.4G Wi-Fi network. Ensure your Wi-Fi password is correct.
- Emparejamento: The camera will pair with your smartphone. Once connected, you can view the live feed and access settings.
Note: The camera supports both AP Mode (direct connection to phone) and WiFi Mode (connection via router). Refer to the app for specific mode selection and setup.
5. Instrucións de funcionamento
5.1 Encendido/apagado
- Encendido: Press and hold the power button for approximately 3 seconds until the indicator light illuminates.
- Apagado: Manteña premido o botón de acendido durante aproximadamente 3 segundos ata que o indicador luminoso se apague.
5.2 En directo View e Gravación
Once connected to the app, open the app to access the live video feed. From the live view interface, pode:
- View vídeo en tempo real.
- Manually start/stop video recording to the Micro-SD card or your phone.
- Fai instantáneas.
- Acceso gravado footage from the Micro-SD card.
5.3 Audio bidireccional
No directo view interface of the app, locate the microphone icon. Tap and hold the icon to speak through the camera's speaker. Release to listen through the camera's microphone.
5.4 Visión nocturna
The camera automatically switches to IR night vision mode in low-light conditions. The 6 infrared LEDs provide clear black and white video up to 5-7 meters.
5.5 Detección de movemento e alarmas
Enable motion detection in the camera settings within the app. You can set sensitivity levels and define detection zones. When motion is detected, the camera can:
- Send push notifications to your smartphone.
- Start recording video to the Micro-SD card.
- Trigger a siren alarm (if enabled in settings).
6. Mantemento
- Limpeza: Usa un pano suave e seco para limpar a lente e o corpo da cámara. Non empregues produtos de limpeza líquidos nin materiais abrasivos.
- Coidado da batería: To prolong battery life, avoid extreme temperatures. If storing for extended periods, charge the battery to about 50% every few months.
- Actualizacións de firmware: Check the camera app periodically for available firmware updates to ensure optimal performance and security.
- Almacenamento: Store the camera in a cool, dry place away from direct sunlight and moisture when not in use.
7 Solución de problemas
7.1 A cámara non se acende
- Ensure the camera is fully charged. Connect it to a power source using the USB cable.
- Manteña premido o botón de acendido durante polo menos 3 segundos.
7.2 Non se pode conectar á wifi
- Verifica que a túa rede wifi sexa de 2.4 GHz. A cámara non é compatible con wifi de 5 GHz.
- Asegúrate de que o contrasinal wifi introducido na aplicación sexa correcto.
- Coloca a cámara máis preto do teu router Wi-Fi durante a configuración.
- Reinicia o teu enrutador e a cámara.
- Reset the camera to factory settings (refer to app or camera for reset button location).
7.3 Mala calidade de vídeo
- Comproba a intensidade do sinal wifi. Un sinal débil pode afectar á calidade da transmisión.
- Asegúrate de que a lente da cámara estea limpa e libre de po ou manchas.
- Adjust the camera's position to avoid glare or strong backlighting.
7.4 Micro-SD Card Not Recording
- Ensure the Micro-SD card is inserted correctly and fully.
- Format the Micro-SD card through the camera app.
- Check if the Micro-SD card is full. Back up important footage and format the card.
- Verify the Micro-SD card is not damaged and is within the supported capacity (up to 128GB).
8. Especificacións
| Número de modelo | NC0399B |
| Resolución | 2MP / 1080P Full HD |
| View Ángulo | (H)110 degrees, (D)140 degrees |
| Visión Nocturna | 6pcs 940nm SMT IR Led, Range 5~7 meters, Built-in IR-CUT |
| Códec de vídeo | H.264/H.264+ |
| Rede | 2.4G WiFi IEEE802.11b/g/n |
| Batería | Built-in 800mAh Li-ion Battery, lasts 3-4 hours (power cut off) |
| Audio | Two-Way Audio (Built-in microphone and speaker) |
| Interface | Micro USB |
| Modos de funcionamento | AP Mode, WiFi Mode, Motion Detection Alarm |
| Almacenamento | Micro-SD Card Max. 128GB (Class 10 recommended) |
| Dispositivos compatibles | Teléfono intelixente |
| Cor | Negro |
| Fabricante | ELECTROGADGETSSTORE |
9. Garantía e soporte
For warranty information and technical support, please refer to the documentation provided at the time of purchase or contact the seller/manufacturer directly. The manufacturer of this product is ELECTROGADGETSSTORE.
Conserve o comprobante de compra para calquera reclamación de garantía.