
1. Introdución
This manual provides detailed instructions for the installation, operation, and maintenance of your ELUSH 100A MPPT Solar Charge Controller. This advanced controller is designed to efficiently manage power from your solar panels to your battery bank, ensuring optimal charging and system protection. It automatically recognizes 12V, 24V, 36V, and 48V systems and features dual USB 5V charging ports.
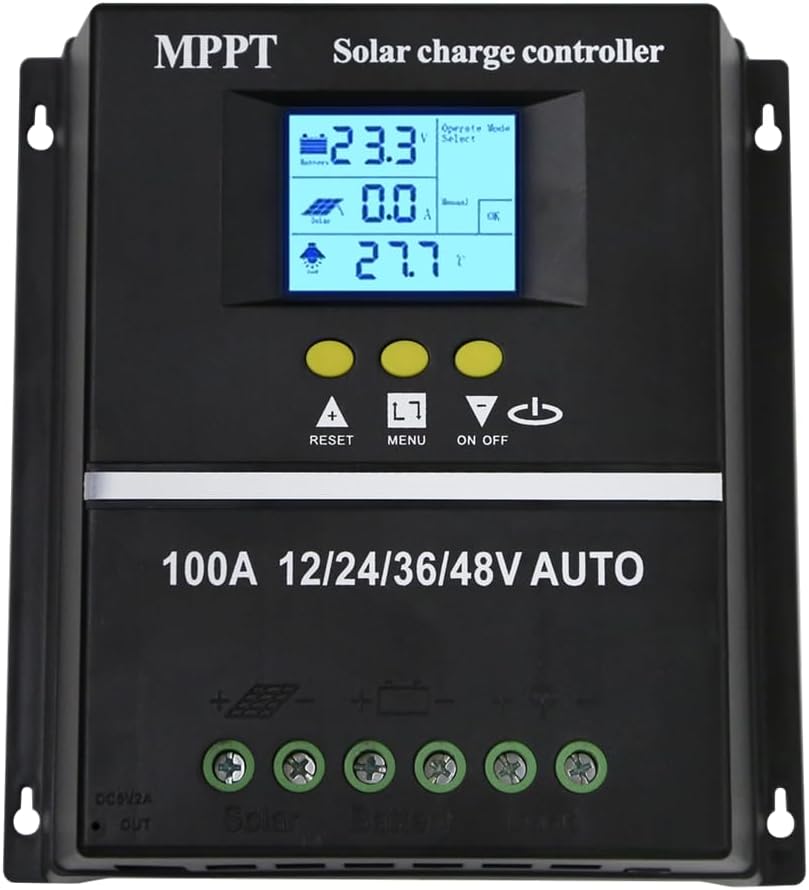
Figura 1.1: Fronte view of the ELUSH 100A MPPT Solar Charge Controller.
2. Instrucións de seguridade
Please read all instructions carefully before installation and operation. Failure to follow these instructions may result in damage to the unit, personal injury, or property damage.
- Asegúrese de que todas as conexións estean seguras e correctas antes de acender o sistema.
- Non desmonte nin intente reparar o controlador vostede mesmo. Póñase en contacto con persoal cualificado para o servizo técnico.
- Instale o controlador nunha zona ben ventilada, lonxe de materiais inflamables e da luz solar directa.
- The controller provides comprehensive voltage protection, including safeguards against battery over-voltage, over-current, power failure, overcharge, deep discharge, reverse connection, and overheating.
- Device Startup Reminder: When connecting the equipment, first connect the rechargeable battery and ensure it has power. After successful startup, then connect the solar panel. This sequence ensures proper operation.
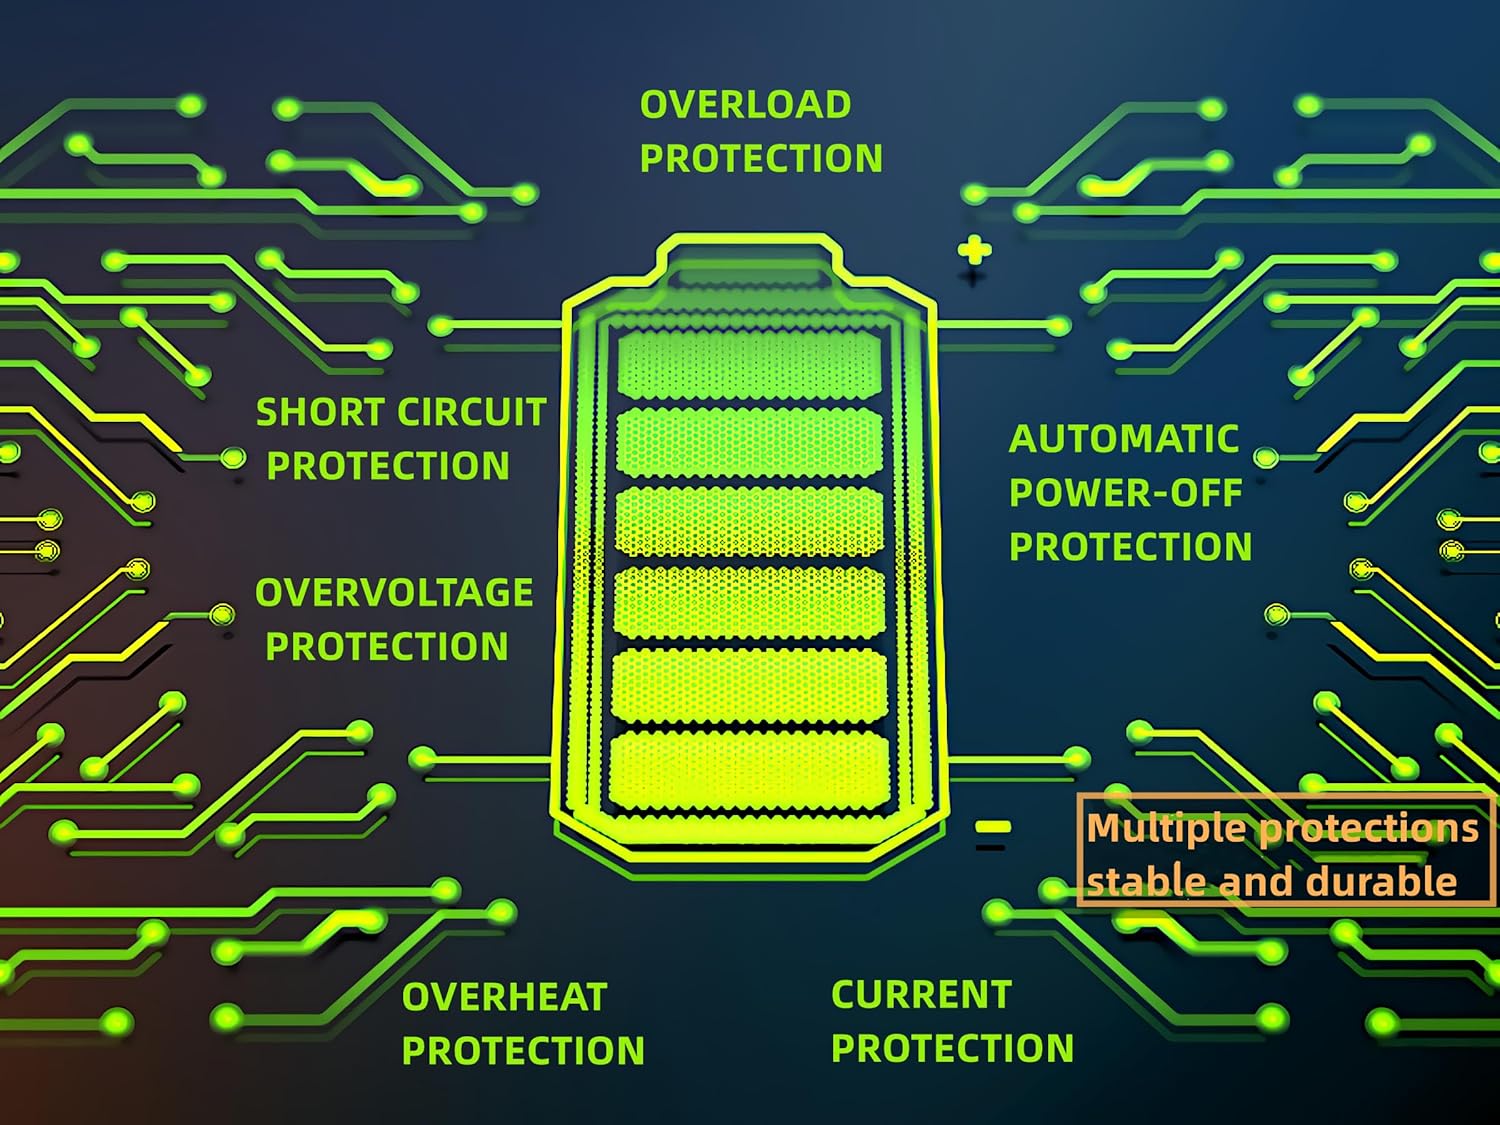
Figure 2.1: Built-in protection features for enhanced safety and durability.
3. Características do produto
The ELUSH MPPT Solar Charge Controller offers a range of features designed for efficient and reliable solar power management:
- Superior MPPT Technology: Equipped with an advanced Maximum Power Point Tracking algorithm, ensuring tracking efficiency of no less than 99.5% for enhanced energy utilization.
- Automatic System Recognition: Automatically recognizes 12V, 24V, 36V, and 48V battery systems.
- Modos de operación versátiles: Features seven operating modes including charging mode, light control mode, light control + time delay control mode, universal control mode, manual control mode, and timing control mode.
- Pantalla LCD multifunción: Dynamically displays operational data such as working mode, battery voltage, PV charging current, battery discharging current, product working temperature, and delay time.
- Portos USB dual: Includes dual USB 5V charging ports for convenient device charging.
- Ampla compatibilidade de baterías: Compatible with various battery types, including Sealed, GEL, Flooded, and LifePO4.
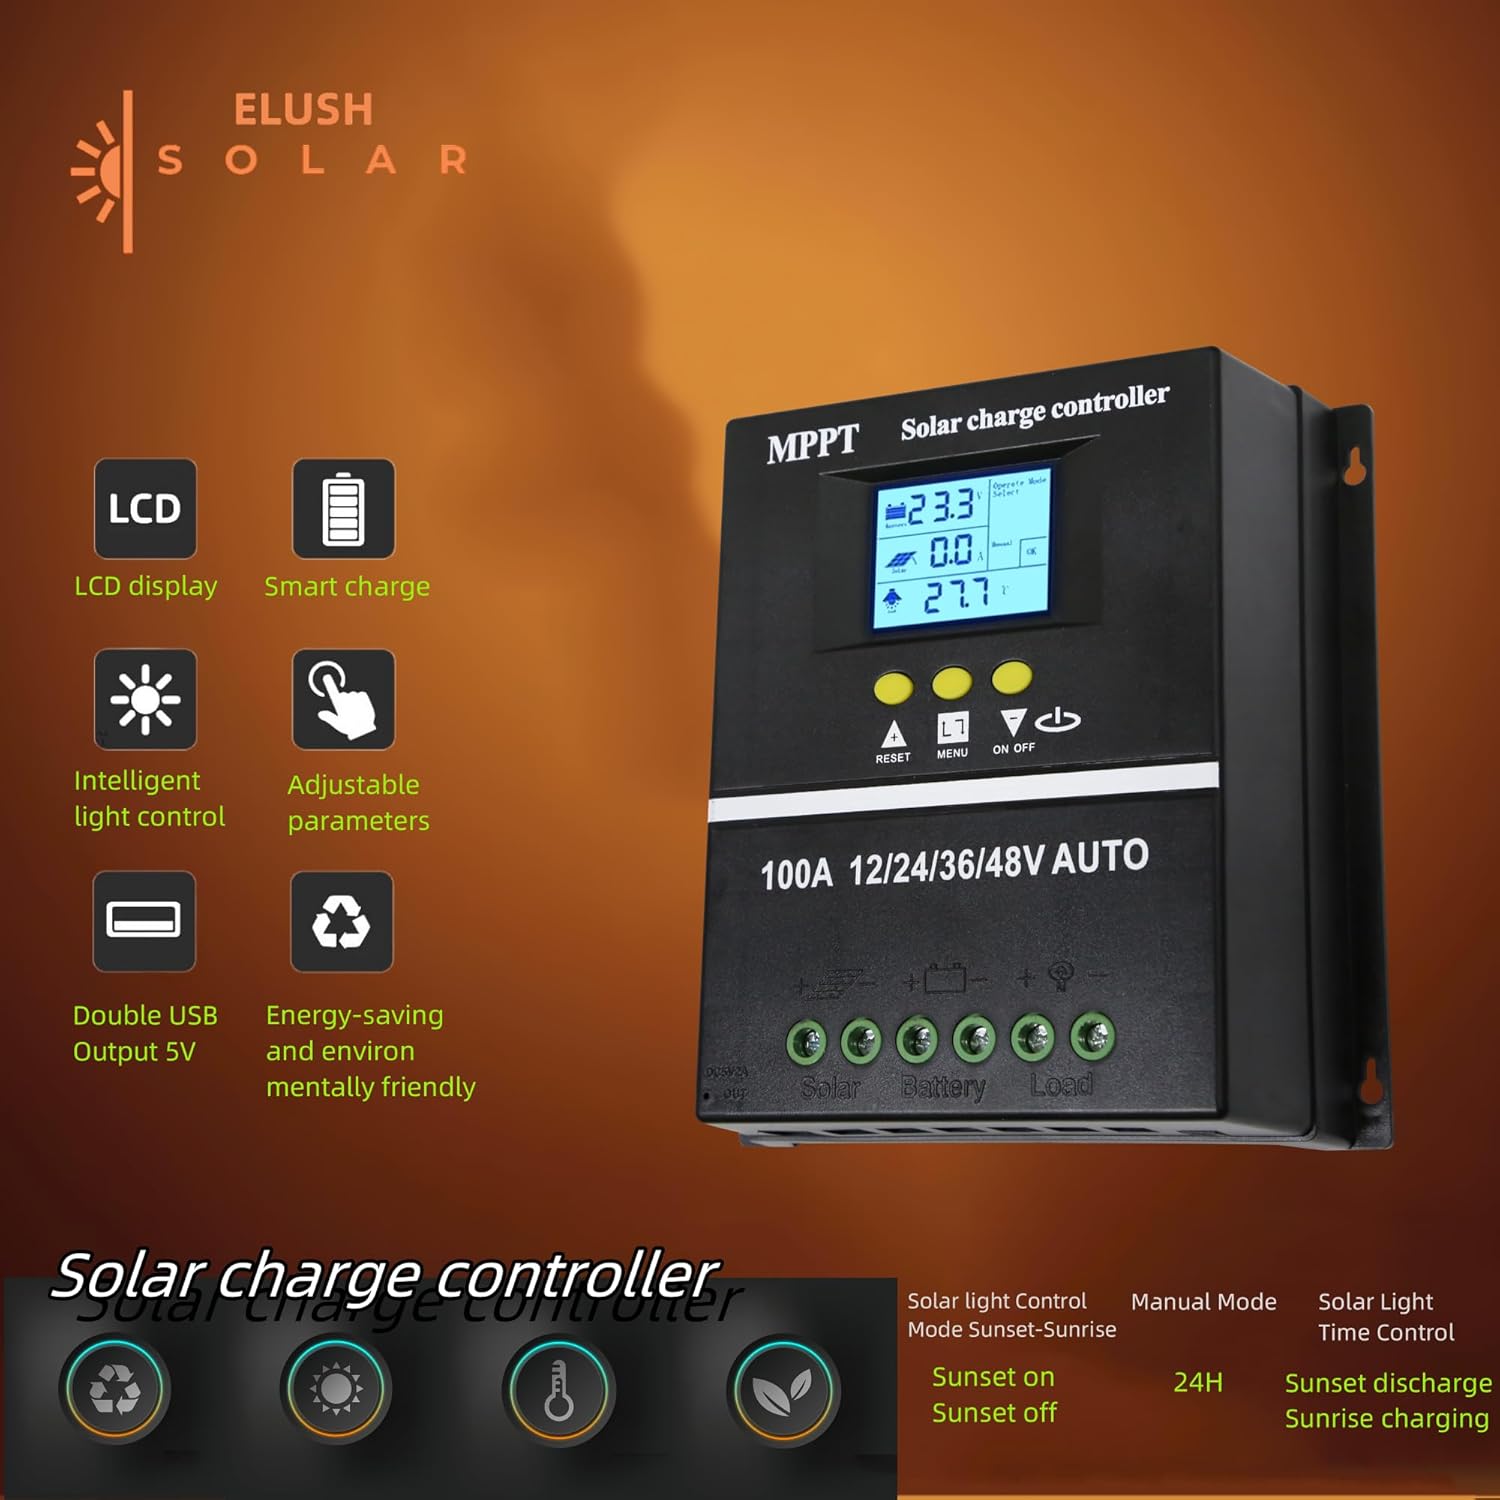
Figure 3.1: Key features of the ELUSH Solar Charge Controller.

Figura 3.2: detallada view of connection ports and heat dissipation design.
4. Configuración e instalación
Siga estes pasos para a correcta instalación do seu controlador de carga solar:
- Prepare o lugar de montaxe: Choose a dry, well-ventilated area, protected from direct sunlight and moisture. Ensure there is enough space around the controller for proper heat dissipation.
- Conecte a batería: First, connect the positive and negative terminals of your battery to the corresponding battery terminals on the controller. Ensure the battery has sufficient charge to power the controller's display.
- Conecta os paneis solares: Next, connect the positive and negative terminals of your solar panel array to the corresponding solar panel terminals on the controller.
- Conectar a carga (opcional): If you are connecting a DC load directly to the controller, connect its positive and negative terminals to the load terminals on the controller.
- Verificar conexións: Comprobe dúas veces todas as conexións para asegurarse de que estean seguras e polarizadas correctamente.

Figure 4.1: Typical connection diagram for the solar charge controller.
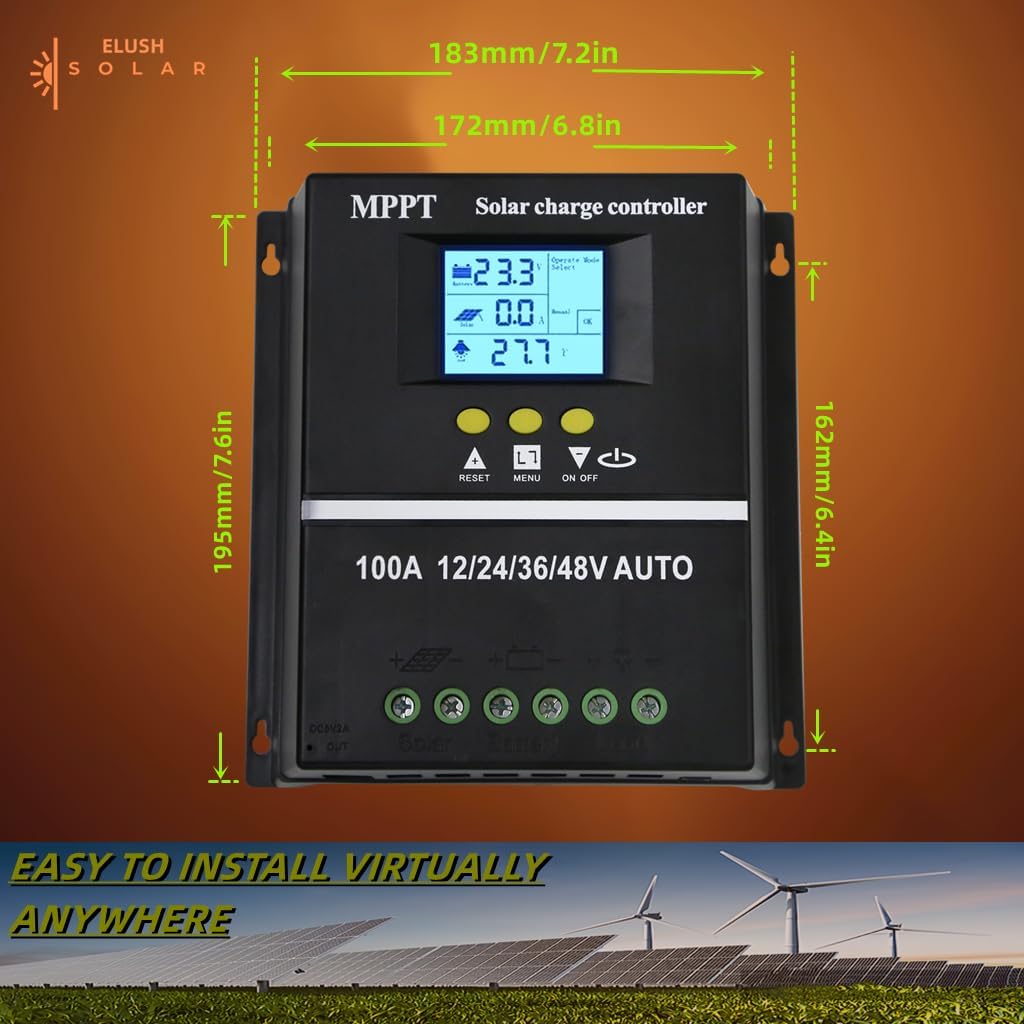
Figura 4.2: Dimensións do produto para a planificación da instalación.
5. Instrucións de funcionamento
The controller's LCD display provides real-time information and allows for configuration of various settings.
5.1 Pantalla LCD e botóns
The LCD dynamically displays operational data. Use the buttons below the screen to navigate menus and adjust settings:
- RESET: Resets certain parameters or enters settings mode.
- MENÚ: Navigates through different display screens and settings.
- Frechas ARRIBA/ABAIXO: Adjust values or select options within menus.
- ON/OFF: Controls the DC load output.
5.2 Modos de carga
The controller supports a rapid, efficient, and safe battery charging algorithm with four stages:
- Carga masiva: s inicialtage where the battery receives maximum current.
- Aumentar a carga: Charges the battery to a higher voltage para garantir unha carga completa.
- Carga flotante: Maintains the battery at a constant voltage para evitar a sobrecarga.
- Cargo de compensación: Sobrecarga a batería periodicamente para equilibrar o volume das celastages (for certain battery types).

Figure 5.1: Four-stage battery charging process.
5.3 Selección do tipo de batería
The controller is compatible with Sealed, GEL, Flooded, and LifePO4 batteries. Ensure you select the correct battery type in the settings for optimal charging and battery longevity.

Figure 5.2: Compatible battery types.
5.4 Escenarios de aplicación
The ELUSH MPPT Solar Charge Controller is suitable for various applications, including:
- Residential solar power systems
- RV and marine solar setups
- Off-grid cabins and remote power solutions
- Portable solar power kits
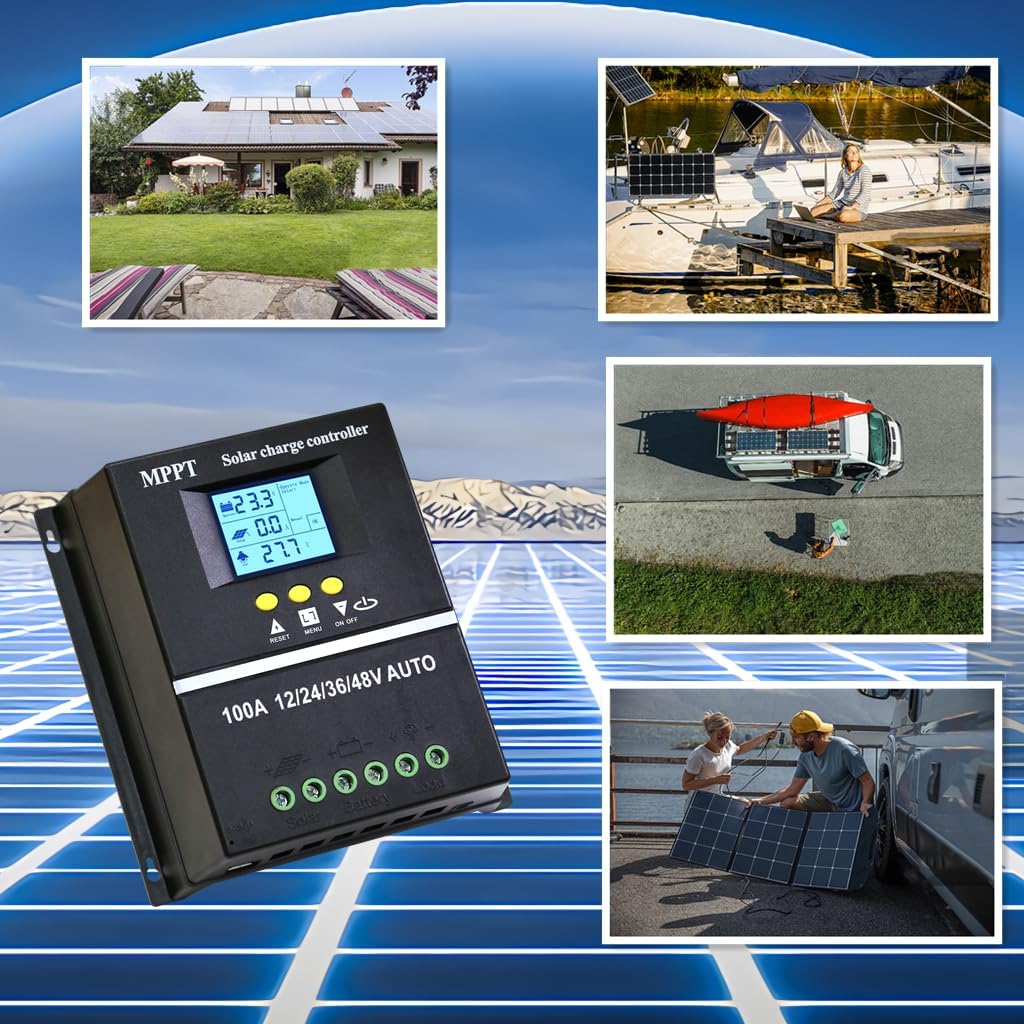
Figure 5.3: Diverse application scenarios for the solar charge controller.
6. Mantemento
Un mantemento regular garante a lonxevidade e o rendemento óptimo do seu controlador de carga solar:
- Limpeza: Keep the controller clean and free from dust and debris. Use a dry, soft cloth for cleaning.
- Conexións: Comprobe periodicamente todas as conexións do cableado para asegurarse de que estean ben axustadas e libres de corrosión. As conexións soltas poden provocar perdas de enerxía ou sobrequecemento.
- Ventilación: Ensure the installation area remains well-ventilated to prevent overheating, especially during peak operation.
- Actualizacións de firmware: Consulte o do fabricante websitio web para ver se hai actualizacións de firmware dispoñibles para garantir que o controlador teña as últimas funcións e correccións de erros.
7 Solución de problemas
Se tes problemas co teu controlador de carga solar, consulta os seguintes problemas e solucións comúns:
| Problema | Causa posible | Solución |
|---|---|---|
| Controller not powering on / No display | Battery not connected or insufficient battery voltage. | Ensure battery is connected first and has adequate charge (minimum 9V for 12V systems). Charge battery externally if completely depleted. |
| No solar charging current | Solar panels not connected, insufficient sunlight, or panel issues. | Check solar panel connections. Ensure panels are receiving direct sunlight. Verify panel voltage. |
| A batería non se está cargando completamente | Configuración incorrecta do tipo de batería, entrada solar insuficiente ou degradación da batería. | Verify battery type setting on the controller. Increase solar panel capacity if needed. Test battery health. |
| A carga non funciona | Load output disabled, overload, or low battery voltage. | Check load output setting (ON/OFF button). Reduce load if overloaded. Charge battery. |
| Sobrequecemento | Poor ventilation or excessive load/charging current. | Ensure adequate airflow around the controller. Reduce load or check for short circuits. |
8. Especificacións
Detailed technical specifications for the ELUSH 100A MPPT Solar Charge Controller:
| Parámetro | Valor |
|---|---|
| Batería Voltage | 12V/24V/36V/48V Automático |
| Corrente de carga | 100A |
| Max Solar Input (Voc) | 15-25V (12V Battery); 30-50V (24V Battery); 45-75V (36V Battery); 60-100V (48V Battery) |
| Potencia máxima de entrada PV | 1200W (12V Battery); 2400W (24V Battery); 3600W (36V Battery); 4800W (48V Battery) |
| Porto USB | DC 5V/1.5A x 2 USB |
| Temperatura de funcionamento | -25 °C ~ 55 °C |
| Fabricante | ELUSH |
| Peso do elemento | 1.79 libras |
| Dimensións do paquete | 8.11 x 8.03 x 2.91 polgadas |

Figure 8.1: Detailed specifications of the 100A model.
9. Garantía e soporte
ELUSH offers a 1-year warranty for this product. For technical support or any issues you may encounter, please feel free to contact our team. Our engineers are available to provide advice and solutions.
Para obter máis información e produtos, visite o ELUSH Store.