
Bmax B3
Manual de usuario do mini ordenador Bmax B3
Model: B3 | Brand: Bmax
1. Introdución
The Bmax B3 Mini PC is a compact and powerful computing solution designed for various applications, from office productivity to multimedia entertainment. Featuring an 11th Gen Intel N5095 Processor, 8GB DDR4 RAM, and a 256GB SSD, it offers efficient performance in a small form factor. This manual provides comprehensive instructions for setting up, operating, maintaining, and troubleshooting your Bmax B3 Mini PC.
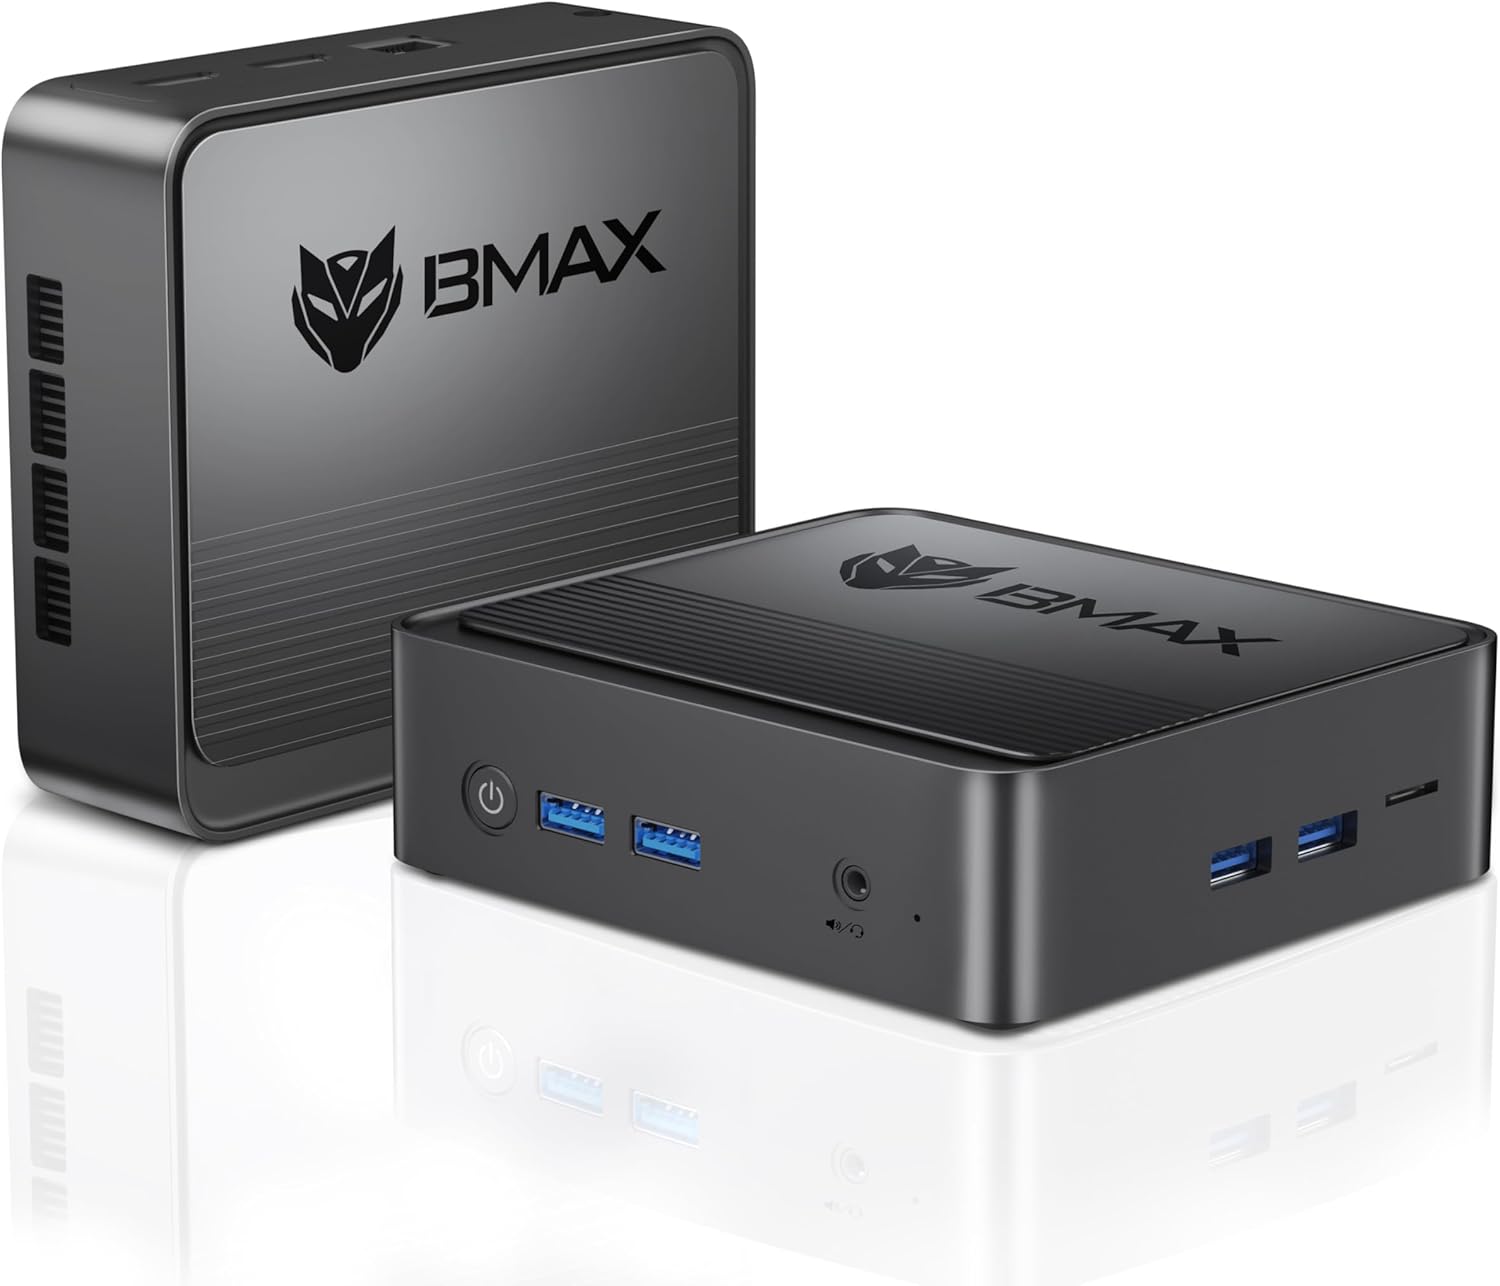
Image: The Bmax B3 Mini PC, showcasing its compact design and side ventilation.
2. Que hai na caixa
Upon unboxing your Bmax B3 Mini PC, please verify that all the following components are included:
- 1 x cable HDMI
- 1 x BMAX B3 8+256GB Mini PC
- 1 x adaptador de alimentación estadounidense
- 1 soporte VESA con parafusos
- 1 x Manual de usuario
3. Produto rematadoview
3.1. Dimensións físicas e peso
The Bmax B3 Mini PC is designed to be highly portable and space-saving. Its compact dimensions allow for flexible placement on a desk or mounted behind a monitor.

Image: The Bmax B3 Mini PC displaying its dimensions (4.92in L x 4.4in W x 1.73in H) and weight (290g).
3.2. Portos e conectores
The Bmax B3 Mini PC offers a comprehensive set of ports for versatile connectivity:
- USB 3.0: 4 ports for high-speed data transfer and peripheral connections.
- HDMI: 2 ports supporting up to 4K 60Hz for dual-screen display.
- Interface de audio de 3.5 mm: Para auriculares ou altofalantes externos.
- Lector de tarxetas Micro SD: Para ampliar o almacenamento ou transferir datos desde tarxetas de memoria.
- RJ45 (Ethernet): Para conectividade de rede con fíos.
- Entrada de alimentación: Entrada de alimentación DC.
- Botón de encendido: Para acender/apagar o dispositivo.
- Borrar CMOS: Button for resetting BIOS settings.

Image: A diagram illustrating the various ports and their labels on the Bmax B3 Mini PC.
4. Guía de configuración
4.1. Conexión inicial
- Connect your monitor(s) to the HDMI ports on the Mini PC using the provided HDMI cable.
- Connect your keyboard and mouse to the available USB 3.0 ports.
- (Optional) Connect an Ethernet cable to the RJ45 port for wired internet access.
- Connect the US Power Adapter to the Power In port on the Mini PC, then plug the adapter into a power outlet.
- Press the Power Button on the front of the Mini PC to turn it on.
4.2. Auto Power On Setting
The Bmax B3 Mini PC supports an "Auto Power On" feature, allowing the system to automatically power on after a power failure. This setting can be configured in the BIOS.
Video: Instructions on how to enable the "Auto Power On" feature in the BIOS settings of the Bmax B3 Mini PC. This allows the device to automatically restart after a power outage.
5. Funcionamento do seu mini PC
5.1. Procesador e rendemento
The Bmax B3 Mini PC is equipped with an 11th Gen Intel Jasper Lake N5095 Processor (4 Cores/4 Threads, 4M Cache, up to 2.9GHz). This processor, combined with 8GB DDR4 RAM and a 256GB SSD, provides sufficient power for daily computing tasks, office applications, web browsing, and multimedia playback.

Image: Close-up of the Intel Jasper Lake N5095 processor, highlighting its 10nm process, 2.90 GHz maximum frequency, 4 cores/4 threads, 4MB cache, and 15W power consumption.
5.2. Dual Screen Display
Leverage the dual HDMI ports to connect two monitors simultaneously, supporting up to 4K resolution at 60Hz. This feature enhances productivity by allowing for an extended workspace.

Image: The Bmax B3 Mini PC connected to two monitors, demonstrating its dual-screen display capability.
5.3. Sistema Operativo
The Bmax B3 Mini PC comes with Windows 11 Pro pre-installed. It also supports other operating systems such as Linux (Ubuntu), offering flexibility for different user preferences.

Image: Visual representation of the Bmax B3 Mini PC supporting both Windows and Ubuntu operating systems.
6. Mantemento e actualizacións
6.1. Ampliación de almacenamento
The Bmax B3 Mini PC features a unique opening cover design, simplifying the process of installing or upgrading a 2.5-inch HDD/SSD. The device supports DIY upgrades up to 2TB SSD / 16GB DDR4. A SATA cable is included in the package for connecting an additional SSD.

Image: The Bmax B3 Mini PC with its top cover removed, revealing the internal slots for RAM and SSD upgrades.
6.2. How to Add an SSD
Follow these steps or refer to the video below for guidance on adding an SSD to your Mini PC:
- Ensure the Mini PC is powered off and disconnected from the power source.
- Carefully slide back the top cover of the Mini PC.
- Locate the M.2 SATA 2280 slot or the bay for a 2.5-inch SSD.
- Insert the SSD into the appropriate slot and secure it if necessary (e.g., with a screw for M.2 SSDs).
- Connect the SATA cable (if using a 2.5-inch SSD) to the SSD and the motherboard.
- Substitúe a tapa superior.
Video: A step-by-step guide demonstrating how to install or upgrade an SSD within the Bmax B3 Mini PC.
7 Solución de problemas
If you encounter issues with your Bmax B3 Mini PC, consider the following common troubleshooting steps:
- Sen enerxía: Ensure the power adapter is securely connected to both the Mini PC and a working power outlet. Verify the power outlet is active.
- Sen visualización: Check that the HDMI cable(s) are firmly connected to both the Mini PC and the monitor(s). Ensure the monitor is powered on and set to the correct input source.
- O sistema non responde: If the system becomes unresponsive, press and hold the power button for 5-10 seconds to force a shutdown, then restart the device.
- One-key Smart Recovery: The Mini PC supports a "One-key Smart Recovery" feature to restore the system to its factory configuration. Refer to the operating system's documentation for specific instructions on performing a system reset or reinstallation.
- Problemas periféricos: If a keyboard, mouse, or other USB device is not working, try connecting it to a different USB port or restarting the Mini PC.
Para problemas persistentes, consulte a sección de Garantía e asistencia para obter información de contacto.
8. Especificacións técnicas
| Característica | Especificación |
|---|---|
| Procesador | 11th Gen Intel N5095 (up to 2.9GHz, 4C/4T) |
| RAM | 8 GB DDR4 |
| Almacenamento | 256 GB SSD (M.2 SATA 2280) |
| Max Storage Expansion | Up to 2TB SSD / 16GB DDR4 |
| Gráficos | Intel UHD Graphics (supports 4K 60Hz) |
| Saída de vídeo | 2 x HDMI |
| Portos USB | 4 x USB 3.0 |
| Interface de audio | 1 x conector de audio de 3.5 mm |
| Rede | 1 x RJ45 (Ethernet 10/100/1000) |
| Conectividade sen fíos | WiFi (2.4GHz/5GHz), Bluetooth 4.2 |
| Lector de tarxetas | 1 x Lector de tarxetas Micro SD |
| Sistema Operativo | Windows 11 Pro (pre-installed), supports Linux (Ubuntu) |
| Dimensións (L x W x H) | 4.92 x 4.4 x 1.73 polgadas |
| Peso | 1.54 libras |
9. Garantía e soporte
BMAX Mini-PCs come with a 12-month warranty. Additionally, Bmax offers 7x24-hour customer support and a 30-day no-reason return policy.
If you experience any problems or require assistance, please contact Bmax customer support via email. Refer to the product packaging or the official Bmax websitio para obter a información de contacto máis actualizada.
For further information and resources, you may visit the official Bmax Store: Bmax Store on Amazon.
Ask a question about this manual
Ask about setup, troubleshooting, compatibility, parts, safety, or missing instructions. Manuals+ will review the question and use this page’s manual context to help answer it.