1. Introdución
This manual provides instructions for the assembly, operation, and maintenance of your vidaXL Polygone Freestanding Bicycle Stand. This galvanized steel bike rack is designed to securely store up to four bicycles, suitable for both indoor and outdoor use.
2. Información de seguridade
- Instalación segura: Always fasten the bicycle stand securely to the ground or a stable surface using the provided screws to prevent tipping or falling, especially when bikes are stored.
- Capacidade de peso: Do not exceed the stand's capacity of four bicycles.
- Largura do pneumático: Ensure bicycle tires do not exceed 2.2 inches in width to ensure proper fit and stability.
- Nenos e animais: Keep children and pets away from the stand during assembly and ensure it is stable before allowing them near it.
- Aviso da Proposición 65 de California: This product may expose you to chemicals known to the State of California to cause cancer or birth defects or other reproductive harm. Wash hands after handling.
3. Contido do paquete
Verifique que estean presentes todos os compoñentes antes de comezar a montaxe. Se falta algunha peza ou está danada, póñase en contacto co servizo de atención ao cliente de vidaXL.
- Galvanized Steel Frame Components (main base, uprights, wheel guides)
- Ferraxes de montaxe (parafusos, porcas, arandelas)
- Mounting Accessories (2 expansion screws, 2 ground screws)
- Manual de instrucións
4. Instrucións de configuración e montaxe
Assembly is required for this bicycle stand. Follow these steps carefully.
4.1 Ferramentas necesarias
- Chave inglesa ou chave inglesa axustable
- Drill (for ground mounting)
- Cinta métrica
4.2 Pasos de montaxe
- Desempaquetar compoñentes: Retire con coidado todas as pezas da embalaxe e colóqueas sobre unha superficie limpa e plana. Comprobe coa lista de contido da embalaxe.
- Montar a estrutura base: Connect the main base sections if they are separate. Ensure all connections are finger-tight before full tightening.
- Attach Uprights and Wheel Guides: Secure the high and low wheel guides to the base frame using the provided hardware. Pay attention to the high-low position design to ensure correct orientation for handlebar clearance.
- Apretar todos os fixadores: Once all components are in place, securely tighten all bolts and nuts using a wrench. Do not overtighten.
- Colocación do stand: Place the assembled bicycle stand in your desired indoor or outdoor location.
- Secure to Ground (Recommended): For maximum stability, especially outdoors or in high-traffic areas, use the provided expansion screws and ground screws to anchor the stand to a solid surface. Mark the drilling points, drill pilot holes, and then secure the stand.

Figure 1: Overall dimensions of the bicycle stand, including length (104 cm / 40.9"), width (39.5 cm / 15.6"), height (73 cm / 28.7"), wheel guide heights (30.5 cm / 12" and 20 cm / 7.9"), and tube spacing (5.5 cm / 2.2").
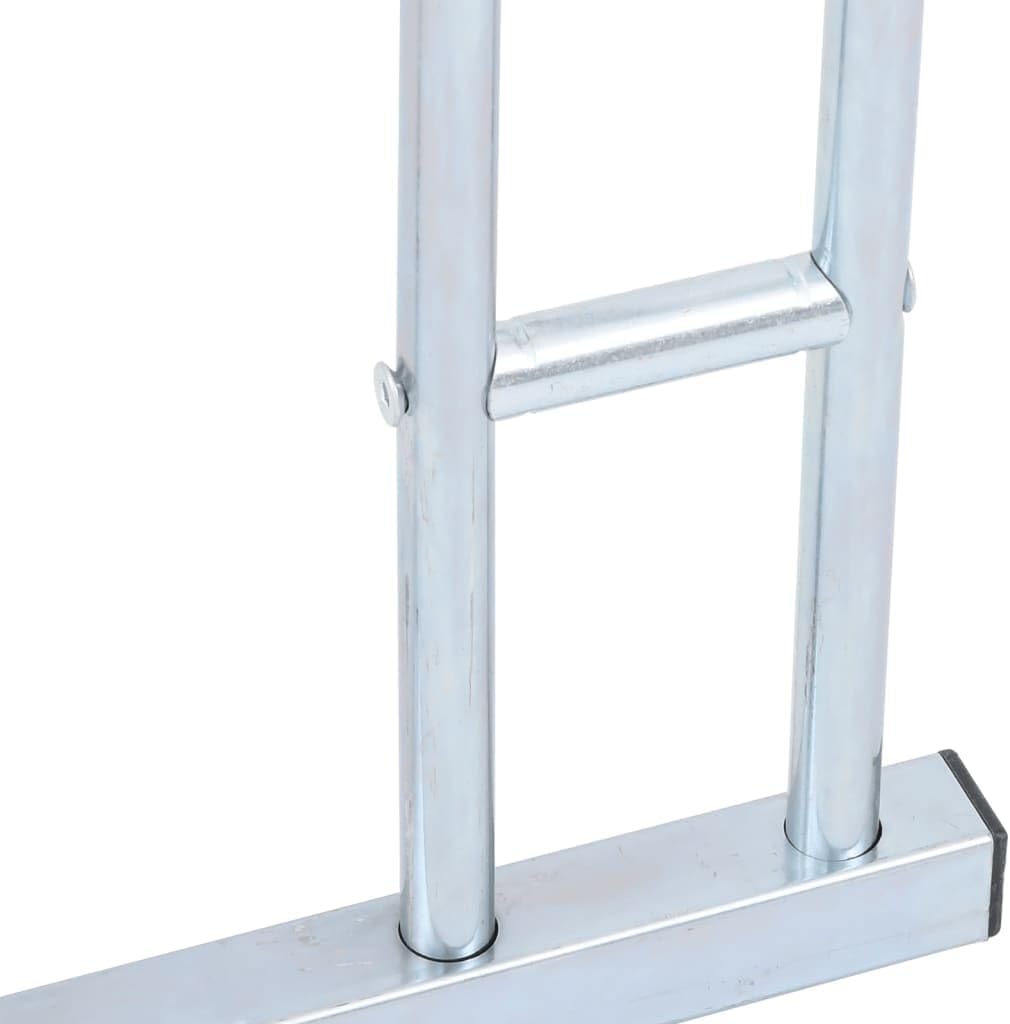
Figure 2: Detail of a secure joint connection, illustrating the assembly method.

Figure 3: Detail of the high-low wheel slot, designed to prevent handlebar tangling.
5. Instrucións de funcionamento
Using your vidaXL Polygone Bicycle Stand is straightforward:
- Positioning Bikes: Roll the front or rear wheel of your bicycle into one of the designated slots. The high-low design allows for efficient parking of multiple bikes by staggering their handlebars.
- Colocación segura: Ensure the bicycle wheel is fully seated in the slot for maximum stability.
- Capacidade: The stand is designed to hold up to four bicycles.

Figure 4: The fully assembled bicycle stand, showcasing its high-low wheel design for efficient bike storage.
6. Mantemento
To ensure the longevity and optimal performance of your galvanized steel bicycle stand, follow these maintenance guidelines:
- Limpeza regular: Wipe down the stand periodically with a damp cloth to remove dirt, dust, and debris. For stubborn grime, a mild soap solution can be used, followed by rinsing and drying.
- Inspeccionar os elementos de fixación: Periodically check all bolts, nuts, and screws to ensure they remain tight. Retighten if necessary to maintain stability.
- Acabado galvanizado: The galvanized steel finish provides corrosion resistance. Avoid using abrasive cleaners or tools that could scratch or damage this protective layer.
- Ancoraxes ao chan: If the stand is anchored to the ground, periodically inspect the ground screws and expansion bolts for any signs of loosening or corrosion.
7 Solución de problemas
| Problema | Causa posible | Solución |
|---|---|---|
| Stand is unstable or tips easily. |
|
|
| Bikes do not fit or handlebars tangle. |
|
|
| Rust appears on the stand. |
|
|
8. Especificacións
| Modelo | Polígono |
| Material | Aceiro Galvanizado |
| Capacidade | 4 bicicletas |
| Dimensións xerais (L x W x H) | 40.7" x 16.1" x 16.5" (104 cm x 39.5 cm x 73 cm) |
| Bicycle Rack Tube Spacing | 2.2 polgadas (5.5 centímetros) |
| Bicycle Center Spacing | 12.6 polgadas (32 centímetros) |
| Deseño | High-low position for handlebar clearance |
| Requírese montaxe | Si |
| Accesorios de montaxe incluídos | 2 Expansion Screws, 2 Ground Screws |
9. Garantía e soporte
Para obter información sobre a garantía ou atención ao cliente, consulte a documentación incluída coa súa compra ou visite o sitio web oficial de vidaXL. websitio. Conserve o recibo de compra para reclamacións de garantía.
vidaXL Oficial Websitio: www.vidaxl.com