T300
Generic T300 LED Mini Projector User Manual
Modelo: T300
1. Introdución
Grazas pola compraasing the Generic T300 LED Mini Projector. This compact and portable projector is designed for home theater use, offering a clear viewing experience with its short-focus optical lens and diffuse reflection imaging technology, which helps reduce eye strain. This manual provides essential information for setting up, operating, maintaining, and troubleshooting your projector.
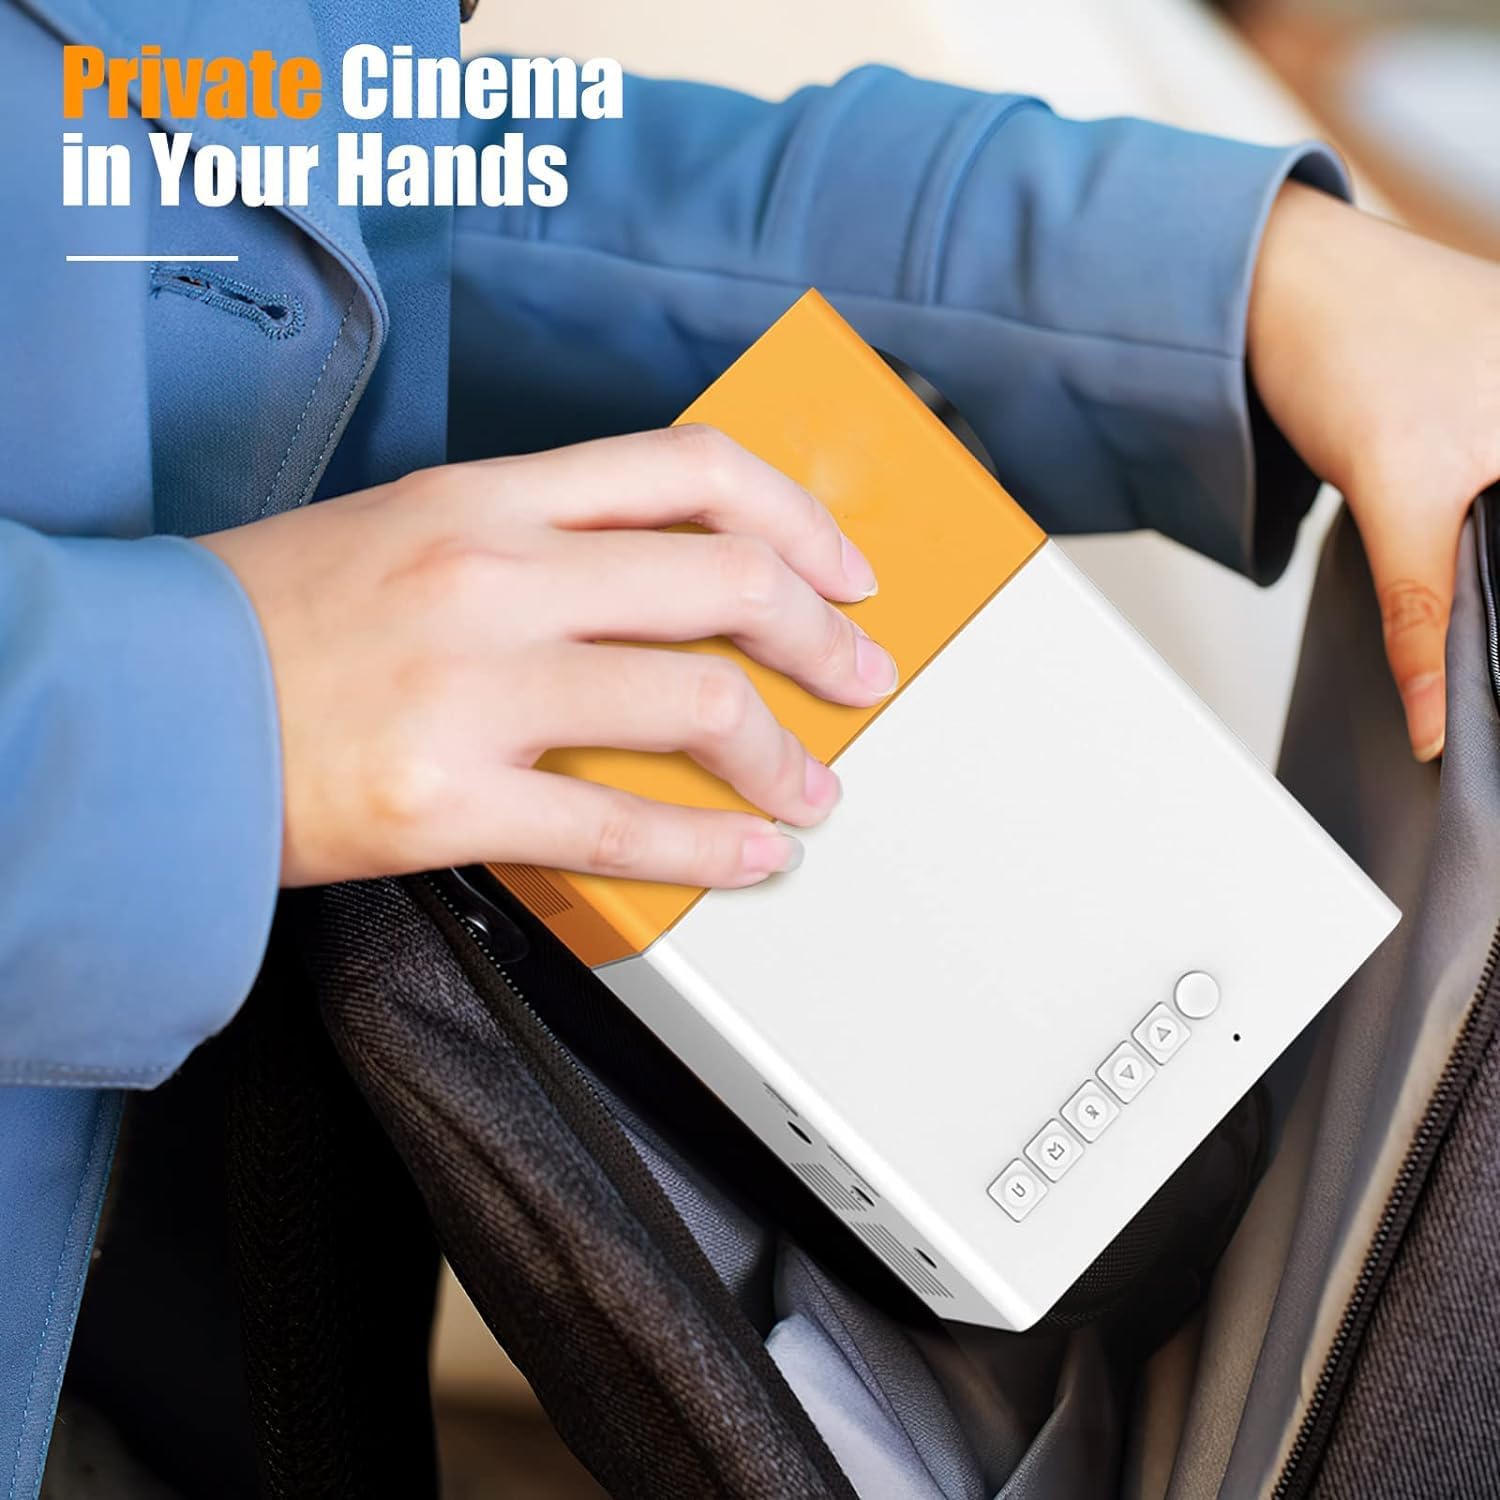
Figura 1.1: The T300 Mini Projector's compact size allows for easy portability, fitting conveniently into a bag.
2. Contido do paquete
Ao desembalar, comproba o contido do paquete para asegurarte de que estean presentes todos os elementos:
- 1x T300 Projector
- 1x Power Adapter (EU Plug)
- 1 x mando a distancia
- 1 cable AV
- 1x Manual de usuario (este documento)
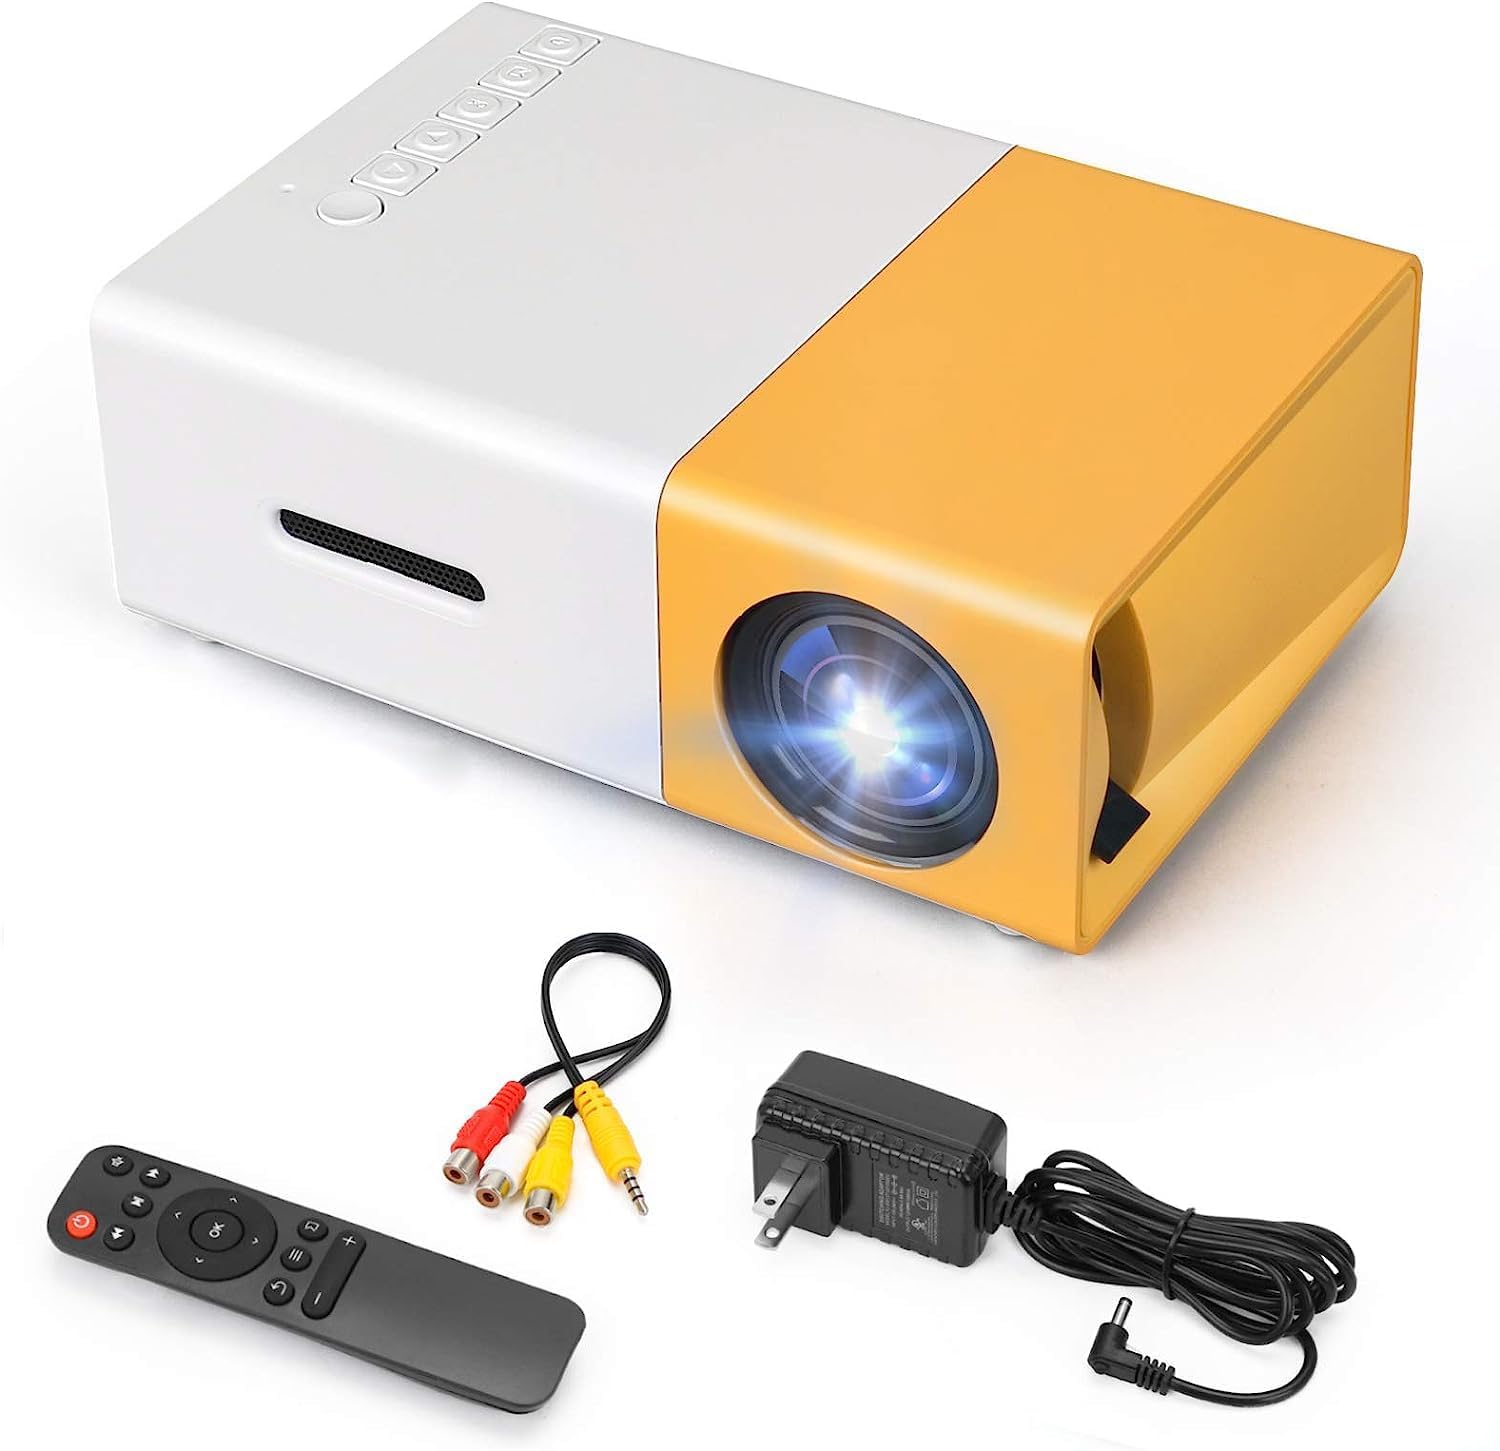
Figura 2.1: The T300 Mini Projector and its included accessories.
3. Produto rematadoview
Familiarize yourself with the various ports and controls on your T300 Mini Projector:

Figura 3.1: Fronte e traseiro views of the T300 Mini Projector, detailing its input/output ports and control buttons.
3.1. Portos e interfaces
- Entrada HDMI: Connect to laptops, TV boxes, gaming consoles, and other HDMI-enabled devices.
- Entrada USB: Para reproducir contido multimedia directamente desde unidades USB.
- Ranura para tarxeta Micro SD: For playing media directly from Micro SD cards.
- Entrada AV: Conéctese a dispositivos máis antigos usando o cable AV incluído.
- Micro USB (5 V/2 A): Power input option, compatible with power banks or car chargers.
- Earphone Slot: Para conectar auriculares ou altofalantes externos.
- Entrada de alimentación DC: Main power input using the provided power adapter.
3.2. Controis
- Interruptor de alimentación: Para acender ou apagar o proxector.
- Navigation Buttons (Left, Right, OK): Para a navegación e selección de menús.
- Botón de entrada: Para seleccionar a fonte de entrada.
- Botón de retorno: To go back in menus.
4. Configuración
4.1. Conexión de alimentación
- Connect the provided power adapter to the DC Power Input port on the projector.
- Enchufe o adaptador de alimentación a unha toma de corrente.
- Alternatively, for portable use, connect a 5V/2A power bank or car charger to the Micro USB (5V/2A) port.
4.2. Conexión do dispositivo
The T300 projector supports various input sources:
- HDMI: Connect your laptop, TV box, gaming console (PS4/PS3), or other HDMI devices using an HDMI cable (not included).
- USB: Insira unha unidade flash USB no porto USB para reproducir contido multimedia files directamente.
- Tarxeta Micro SD: Insert a Micro SD card into the Micro SD card slot to play media files.
- DE: Use the included AV cable to connect to devices with AV output (e.g., DVD players).

Figura 4.1: Multimedia connectivity options for the T300 Mini Projector.
4.3. Colocación e enfoque
- Coloque o proxector sobre unha superficie estable e plana.
- Position the projector at a distance between 2 to 5 meters from the projection surface to achieve an optimal image size of 60 to 150 inches.
- Adjust the focus ring on the projector lens until the image appears clear and sharp. The short-focus optical lens allows focusing at a distance of 50cm.
5. Instrucións de funcionamento
5.1. Acendido/apagado
Press the Power Switch on the projector or the power button on the remote control to turn the projector on or off.
5.2. Selección da fonte de entrada
After powering on, use the 'Input' button on the projector or the remote control to cycle through available input sources (HDMI, USB, TF Card, AV) until your desired source is displayed.
5.3. Reprodución multimedia
The projector supports multi-format video, audio, picture, and e-book playback. Navigate through your media files using the navigation buttons on the projector or remote control and press 'OK' to select.
5.4. Saída de audio
The projector has a built-in miniature speaker. For enhanced audio, connect external speakers or headphones to the Earphone Slot.

Figura 5.1: Versatile applications of the T300 Mini Projector for entertainment.
6. Mantemento
6.1. Limpeza da lente
Use a soft, lint-free cloth or lens cleaning paper to gently wipe the projector lens. Avoid using abrasive materials or harsh chemicals that could scratch the lens.
6.2. Ventilación
Ensure the projector's ventilation openings are not blocked during operation to prevent overheating. Keep the projector in a well-ventilated area.
6.3. Almacenamento
When not in use, store the projector in a cool, dry place, away from direct sunlight and excessive dust. It is recommended to use the original packaging or a protective case.
6.4. Lamp A vida
O LED lamp in your T300 projector has an estimated life of 20,000 hours, providing long-term use without frequent lamp substitución.
7 Solución de problemas
Se tes problemas co teu proxector, consulta os seguintes problemas e solucións comúns:
- Non se mostra ningunha imaxe:
- Ensure the projector is powered on and the power adapter is securely connected.
- Verify the input source is correctly selected (HDMI, USB, AV, etc.).
- Comprobe o cable de conexión entre o proxector e o dispositivo fonte.
- A imaxe está borrosa:
- Axusta o anel de enfoque da lente do proxector ata que a imaxe sexa nítida.
- Ensure the projection distance is within the recommended range (2-5 meters).
- Sen son:
- Comprobe a configuración de volume tanto no proxector como no dispositivo fonte.
- If using external speakers/headphones, ensure they are properly connected to the Earphone Slot.
- Verifica a configuración da saída de audio no teu dispositivo fonte.
- O control remoto non funciona:
- Asegúrate de que non haxa obstrucións entre o mando a distancia e o receptor de infravermellos do proxector.
- Replace the batteries in the remote control if necessary.
8. Especificacións
| Característica | Especificación |
|---|---|
| Modelo | T300 |
| Resolución de soporte | 1920 x 1080 (Full HD) |
| Resolución nativa | 1920 x 1080 |
| Tipo de visualización | LCD, DLP |
| Interfaces | HDMI, USB, TF Card Slot, AV, Micro USB (5V-2A) |
| Altavoz incorporado | Si |
| Lamp A vida | 20,000 horas |
| Tamaño do produto | 114 x 87 x 50 mm |
| Usos recomendados | Cine en casa |
| Característica especial | Portátil |
| Tamaño máximo da imaxe | 150 polgadas |
| Tamaño mínimo da imaxe | 60 polgadas |
| Distancia máxima de lanzamento | 5 metros |
| Distancia mínima de tiro | 2 metros |
| Entrada de enerxía | 5 V/2 A |
9. Garantía e soporte
9.1. Información da garantía
Este produto normalmente vén con un Política de substitución de 10 días from the date of purchase. Please refer to your retailer's specific warranty terms and conditions for detailed information. The LED lamp is designed for a long life of 20,000 hours, which is not typically covered by short-term replacement policies.
9.2. Atención ao cliente
For technical assistance, troubleshooting beyond this manual, or warranty claims, please contact your original retailer or the manufacturer, SHUBH LABH ENTERPRISES. Keep your purchase receipt or proof of purchase handy when contacting support.
Ask a question about this manual
Ask about setup, troubleshooting, compatibility, parts, safety, or missing instructions. Manuals+ will review the question and use this page’s manual context to help answer it.