
1. Introdución
This manual provides instructions for the installation, operation, and maintenance of your Unitek DiskGuard Raiden 2.5" USB-C to SATA III Hard Disk Enclosure. This enclosure is designed to convert a 2.5-inch SATA I/II/III HDD or SSD into an external USB-C storage device, offering convenient data transfer and portability.
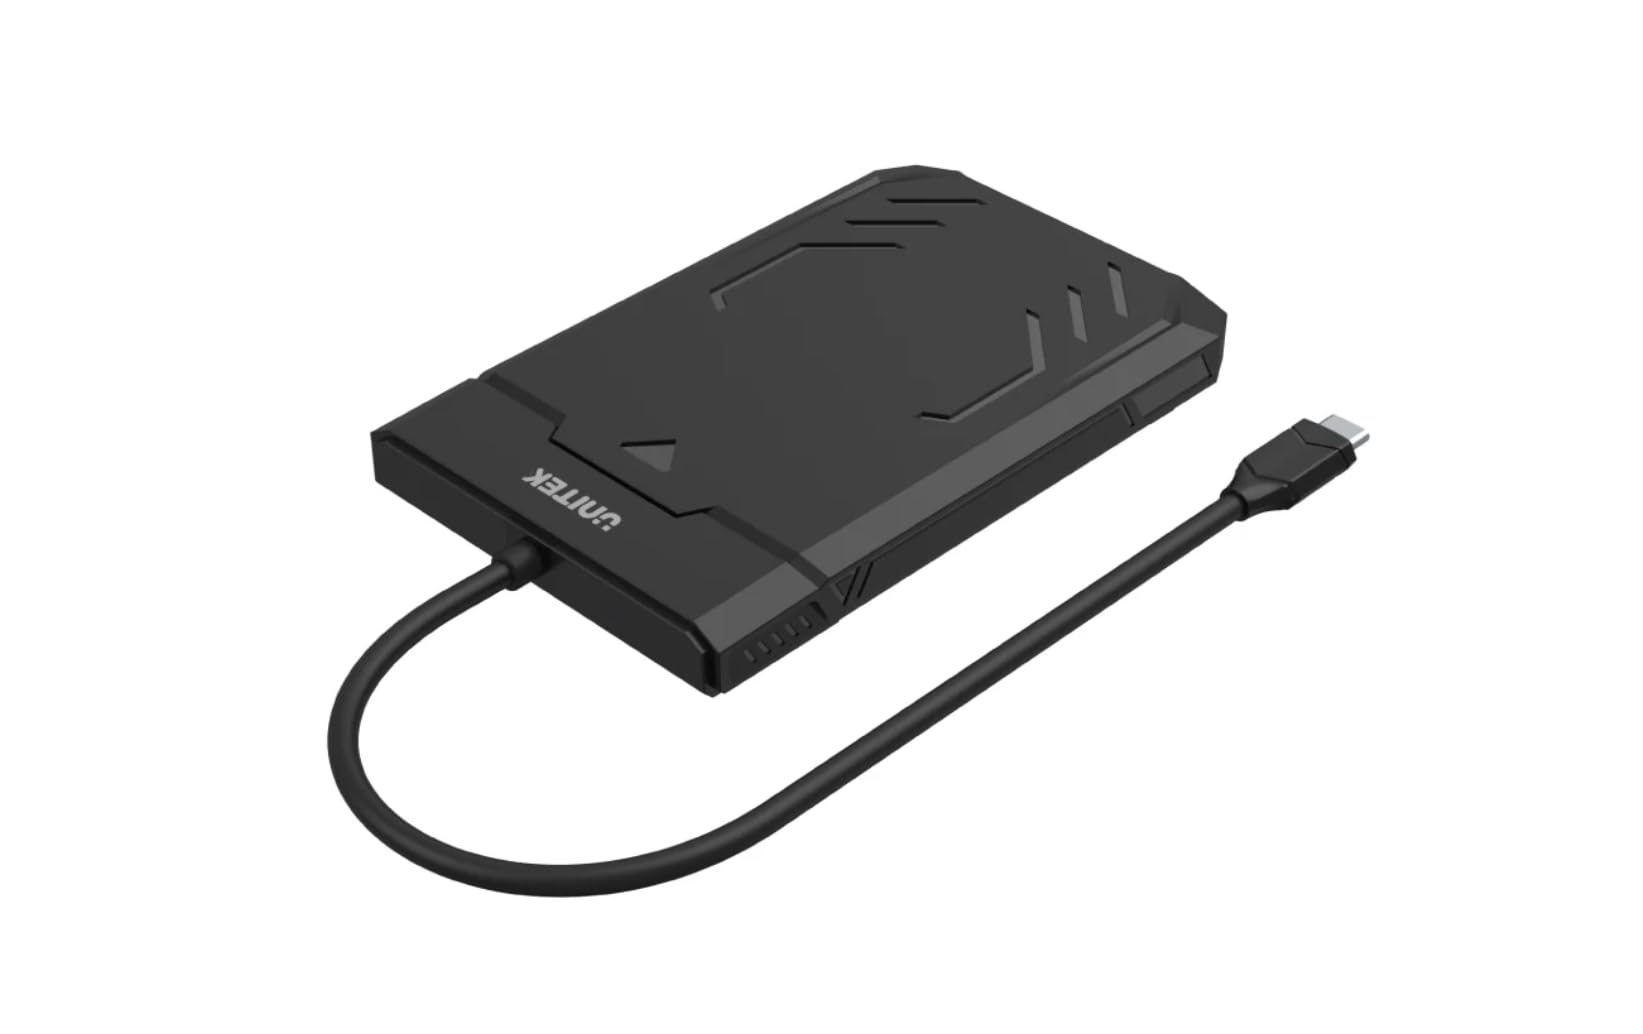
Figure 1: Unitek DiskGuard Raiden 2.5" USB-C to SATA III Hard Disk Enclosure. This image shows the compact, black enclosure with its integrated USB-C cable.
2. Contido do paquete
Comprobe que todos os elementos estean presentes no paquete:
- 1 x Unitek DiskGuard Raiden 2.5" USB-C to SATA III Hard Disk Enclosure
- 1 x Manual de usuario
3. Características do produto
- Supports most 7mm/9.5mm 2.5-inch SATA I/II/III HDDs and SSDs.
- USB 3.0 specification for data transfer rates up to 5Gbps.
- Retrocompatible con USB 2.0.
- Features a sleep mode function for energy saving during idle periods.
- Tool-free installation for quick and easy setup.
- Supports hot-swap functionality.
- Plug and Play operation, requiring no driver installation.
- Durable ABS housing.
4. Instrucións de configuración
Follow these steps to install your 2.5-inch SATA HDD or SSD into the enclosure:
4.1 Apertura do recinto
- Gently slide the top cover of the enclosure to open it. The enclosure is designed for tool-free access.

Figure 2: The enclosure features a tool-free design, allowing the top cover to slide open for drive installation.
4.2 Installing the HDD/SSD
- Align your 2.5-inch SATA HDD or SSD with the SATA connector inside the enclosure.
- Gently push the drive into the connector until it is firmly seated. Ensure the drive is flush with the enclosure's internal tray.
4.3 Closing the Enclosure
- Deslice a tapa superior de volta ao seu lugar ata que faga clic de forma segura.
4.4 Conectando a un ordenador
- Connect the integrated USB-C cable from the enclosure to an available USB-C port on your computer.
- The enclosure is plug-and-play; your operating system should automatically detect the new storage device.
- If this is a new HDD/SSD, it may need to be initialized and formatted before use. Refer to your operating system's documentation for instructions on disk management.
5. Instrucións de funcionamento
5.1 Transferencia de datos
Once connected, the enclosure will appear as an external drive on your computer. You can drag and drop files, copy, paste, and perform other standard file operations as you would with any other storage device. The USB 3.0 interface supports data transfer speeds up to 5Gbps.

Figure 3: The enclosure supports fast data transfer speeds up to 5Gbps, significantly faster than USB 2.0.
5.2 Indicadores LED
The enclosure features two LED indicators:
- Luz LED verde: Indicates power status. It will turn on when the enclosure is connected to a power source (via USB-C).
- Luz LED azul: Indicates read and write status. It will flash when data is being transferred to or from the drive.

Figure 4: The enclosure's LED lights provide visual feedback on power and data activity. The green light indicates power, and the blue light flashes during data transfer.
5.3 Modo de suspensión
The enclosure is equipped with a sleep mode function. If the drive is idle for a period (typically 10-15 minutes, depending on the operating system and drive settings), it will enter sleep mode to conserve energy and extend the life of the drive. The drive will automatically wake up when accessed.
6. Mantemento
- Manteña a carcasa limpa e libre de po. Use un pano suave e seco para limpar.
- Evite expoñer a carcasa a temperaturas extremas, humidade ou luz solar directa.
- Non deixe caer a carcasa nin a someta a impactos fortes.
- Ensure proper ventilation around the enclosure during operation.
- Always safely eject the drive from your operating system before disconnecting the USB-C cable to prevent data corruption.
7 Solución de problemas
7.1 Unidade non detectada
- Comproba as conexións: Ensure the USB-C cable is securely connected to both the enclosure and your computer.
- Proba outro porto USB: Connect the enclosure to a different USB-C port on your computer.
- Verify Drive Installation: Open the enclosure and ensure the HDD/SSD is correctly seated in the SATA connector.
- Check Drive Status: For new drives, ensure they are initialized and formatted in your operating system's Disk Management (Windows) or Disk Utility (macOS).
- Test with Another Drive/Computer: If possible, test the enclosure with a different 2.5-inch SATA drive or connect it to another computer to isolate the issue.
7.2 Velocidades lentas de transferencia de datos
- Porto USB 3.0: Ensure the enclosure is connected to a USB 3.0 (or higher) port on your computer. Connecting to a USB 2.0 port will limit speeds to USB 2.0 performance.
- Drive Performance: The actual transfer speed is also limited by the speed of the installed HDD/SSD.
- Calidade do cable: While the enclosure has an integrated cable, ensure no other factors are affecting USB performance.
7.3 Enclosure Gets Warm
It is normal for the enclosure to become warm during extended use, especially during heavy data transfer. This is due to heat generated by the internal HDD/SSD. Ensure adequate airflow around the enclosure.
8. Especificacións
| Nome do modelo | DiskGuard Raiden 2.5" USB-C to SATA III Hard Disk Enclosure |
| Marca | Unitek |
| Interface de hardware | USB4 Type C (Note: Product description states USB3.0, please refer to product packaging for exact USB version.) |
| Unidades compatibles | 2.5-inch SATA I/II/III HDD & SSD (7mm/9.5mm thickness) |
| Capacidade máxima de almacenamento de memoria | 20 TB |
| Taxa de transferencia de datos | Up to 5 Gigabits Per Second (USB 3.0) |
| Material do recinto | Carcasa ABS |
| Cor | Negro |
| Supported Devices Quantity | 1 |
| ASIN | B0D4XQVFDM |
| GTIN | 04894160044570 |
Nota: as especificacións están suxeitas a cambios sen previo aviso.
9. Garantía e soporte
Unitek products are covered by a limited warranty. For detailed warranty information, technical support, or customer service, please refer to the official Unitek website or contact your local retailer. Please retain your proof of purchase for warranty claims.
Para obter máis axuda, visite: Unitek Official Store on Amazon