Introdución
This manual provides detailed instructions for the proper installation, operation, and maintenance of your Starsound SSA-R2-8400.4 Raptor Series 4-Channel Amplificador. Lea este manual detidamente antes de usar o produto para garantir un rendemento e unha seguridade óptimos.
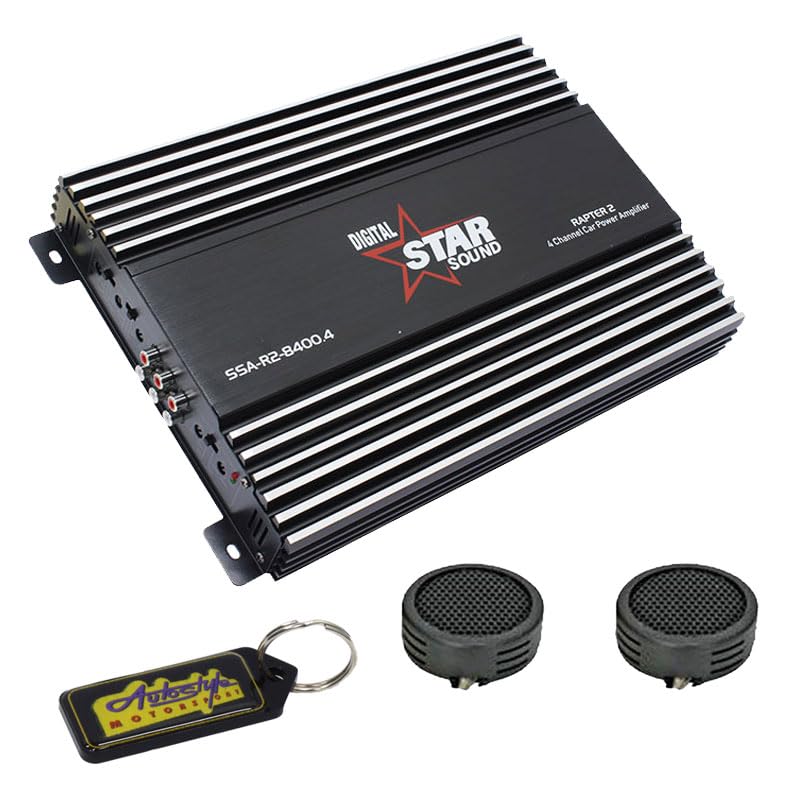
Image: Starsound SSA-R2-8400.4 Raptor Series 4-Channel Amplifier. This image displays the top-down view da ampvidador, mostrarasing é negro casing with silver fins, the 'DIGITAL STAR SOUND' logo, and the model number 'SSA-R2-8400.4' clearly visible.
Precaucións de seguridade
- Ensure the vehicle's battery is disconnected before installation to prevent electrical shorts.
- Monte o amplifier securely in a dry, well-ventilated area, away from direct sunlight or heat sources.
- Empregue un cableado do calibre axeitado para as conexións de alimentación, terra e altofalantes, tal e como se especifica na sección de instalación.
- Non expoña o amphumidade ou temperaturas extremas.
- Busca axuda profesional se non tes dúbidas sobre algún paso de instalación.
Configuración e instalación
1. Desembalaxe
Elimina con coidado amplifier from its packaging. Verify that all components listed in the package contents are present. The package includes: 1 x Starsound SSA-R2-8400.4 Amplifier, 1 x EvoTuning 300W Super Tweeters, 1 x Gel Key Holder.
2. Lugar de montaxe
Escolla unha localización de montaxe que proporcione unha ventilación axeitada para o amplifier's heat sinks. Avoid mounting in enclosed spaces or areas prone to vibration. Common locations include under seats, in the trunk, or behind panels.
3. Conexións de cableado
Conexión de alimentación: Connect a heavy-gauge power cable (e.g., 4-gauge) from the vehicle's positive battery terminal to the amplifier's +12V terminal. Install an in-line fuse holder (not included) within 18 inches (45 cm) of the battery.
Conexión a terra: Conecte un cable de terra de grosor groso da mesma lonxitude que o cable de alimentación do amplifier's GND terminal to a clean, unpainted metal surface on the vehicle chassis. Ensure a good electrical contact.
Encendido remoto: Connect a thin wire from your head unit's remote output to the ampterminal REM do lificador. Este cable activa o ampacende e apaga o activador coa unidade principal.
Entrada RCA: Conecte os cables RCA da toma de corrente da unidade principalamp saídas ao amptomas de entrada RCA do lificador.
Saída do altofalante: Conecta os teus altofalantes ao amplifier's speaker terminals. Ensure correct polarity (+ to + and - to -) for each speaker. This is a 4-channel amplifier, allowing connection of up to four speakers or two speakers in bridged mode.
Instrucións de funcionamento
1. Acendamento inicial
Despois de facer e verificar todas as conexións, volva conectar a batería do vehículo. Acenda a unidade principal. O ampO indicador LED de acendido do lificador debería acenderse.
2. Axuste da ganancia
Comeza co amplifier's gain control set to minimum. Play a familiar piece of music at a moderate volume on your head unit. Slowly increase the amplifier's gain until you hear distortion, then back it off slightly. This sets the ampa sensibilidade de entrada do adaptador para que coincida coa saída da unidade principal.
3. Configuración do crossover
The SSA-R2-8400.4 amplifier typically features built-in crossovers (High-Pass Filter, Low-Pass Filter). Adjust these settings based on the type of speakers connected:
- Altofalantes de gama completa: Set to FULL or OFF.
- Tweeters/Mid-Range: Set to HPF (High-Pass Filter) and adjust the frequency to prevent low bass from reaching them.
- Subwoofers: Set to LPF (Low-Pass Filter) and adjust the frequency to only allow bass frequencies.
4. Reforzo de graves
Use the bass boost control sparingly. Excessive bass boost can lead to distortion and potential speaker damage. Adjust to taste, ensuring sound clarity.
Mantemento
- Limpeza: Limpar periodicamente o ampo exterior do lifador cun pano suave e seco. Non empregue produtos químicos agresivos nin produtos de limpeza abrasivos.
- Ventilación: Asegúrese de que o ampAs aletas de refrixeración do purificador están libres de po e residuos para manter unha disipación da calor axeitada.
- Conexións: Occasionally check all wiring connections for tightness and corrosion. Loose connections can cause performance issues or damage.
Resolución de problemas
| Problema | Causa posible | Solución |
|---|---|---|
| Sen enerxía / Ampo lifier non se acende | Blown fuse, loose power/ground/remote wire, faulty remote turn-on signal. | Check in-line fuse, verify all power, ground, and remote connections. Test remote wire for 12V signal. |
| Sen son | Loose RCA cables, incorrect gain settings, speaker wires disconnected, amplifier en modo de protección. | Check RCA connections, adjust gain, verify speaker wiring, check for protection LED (usually red). |
| Son distorsionado | Gain set too high, incorrect crossover settings, faulty speakers, poor ground connection. | Reduce gain, adjust crossover frequencies, inspect speakers, ensure solid ground connection. |
| Ampsobrequecemento do lificador | Insufficient ventilation, impedance mismatch (too low), prolonged high volume use. | Asegurar un fluxo de aire axeitado arredor do amplifier. Check speaker impedance. Reduce volume or allow cooling time. |
Especificacións
- Modelo: SSA-R2-8400.4
- Serie: Serie Raptor
- Canles: 4 canles
- Potencia máxima de saída: 8400 vatios
- Dimensións do produto (L x W x H): 25 x 17 x 9 cm
- Compoñentes incluídos: 1 x Starsound SSA-R2-8400.4 Amplifier, 1 x EvoTuning 300W Super Tweeters, 1 x Gel Key Holder
- UPC: 759649119351
Información da garantía
This Starsound SSA-R2-8400.4 ampo lifier vén con a 6 meses warranty from the date of purchase. This warranty covers manufacturing defects and faulty workmanship under normal use. It does not cover damage caused by improper installation, abuse, accidents, modifications, or unauthorized repairs. Please retain your proof of purchase for warranty claims.
Atención ao cliente
For technical assistance, troubleshooting, or warranty inquiries, please contact your retailer or the manufacturer's customer support. Refer to your purchase documentation for specific contact details.