
1. Introdución
The EPOMAKER P75 is a 75% compact wireless mechanical keyboard featuring a full CNC aluminum design, tri-mode connectivity (Bluetooth 5.0, 2.4GHz wireless, and USB-C wired), a gasket structure, and RGB backlighting. This manual provides detailed instructions for setting up, operating, maintaining, and troubleshooting your keyboard to ensure optimal performance and longevity.

Image: The EPOMAKER P75 keyboard showcasing its 75% layout and triple connectivity modes.
2. Contido do paquete
Upon unboxing your EPOMAKER P75 keyboard, please verify that all the following items are included:
- EPOMAKER P75 Mechanical Keyboard
- USB-C to USB-A Cable (Braided)
- 2.4GHz Wireless Dongle (stored in the keyboard)
- Keycap Puller / Switch Puller Tool
- Hex Wrench (for disassembly)
- Teclas extra
- Interruptores adicionais
- Manual de usuario (este documento)

Image: A visual representation of the EPOMAKER P75 keyboard and its included accessories.
3. Características do produto
3.1. Minimalist CNC Aluminum Design
The EPOMAKER P75 features a full aluminum chassis with an anodized finish, providing exceptional durability and corrosion resistance. The design emphasizes a clean, minimalist aesthetic with no visible logos on the front or sides. The engraved EPOMAKER logo is discreetly placed on the back.
3.2. 75% Compact Layout with Metal Knob
The 75% layout efficiently arranges function keys, directional keys, and F-keys, offering a compact form factor without sacrificing essential functionality. A metal knob located in the top right corner provides convenient media control. The keyboard is designed with a 22.7mm front height (including silicone feet) and a 6-degree typing angle for ergonomic comfort.

Image: Detailed dimensions and layout of the EPOMAKER P75, showing its compact size and key arrangement.
3.3. Tri-Mode Connectivity with 4000mAh Battery
The P75 offers versatile connectivity options: wired (USB-C), 2.4GHz wireless, and Bluetooth 5.0. A high-capacity 4000mAh battery ensures extended wireless usage, reducing the need for frequent recharging.

Image: The keyboard highlighting its three connectivity modes and compatibility with various devices.
3.4. Gasket Mount Structure
Utilizing a gasket mount design, the P75 provides a superior typing feel and sound profile compared to traditional tray-mount keyboards. This structure offers a slight bounce, enhancing comfort during prolonged typing sessions and reducing finger fatigue.

Imaxe: Unha explosión view of the keyboard's internal structure, detailing the gasket mount and sound dampcapas de envergadura.
3.5. Five Layers of Sound Dampening Materials and PC Plate
The P75 incorporates multiple layers of sound-dampening materials, including sandwich foam, IXPE switch film, PET sound pad, sound-absorbing foam, and EVA case foam. These layers effectively reduce ping and rattle, contributing to a smooth and refined auditory experience. The PC plate further enhances typing quality with a pleasant sound and slight flex.
3.6. Hot-Swappable PCB with Screw-in Stabilizer Support & South-Facing RGB
The hot-swappable PCB allows for easy switch changes without soldering, catering to customization enthusiasts. The default plate-mount stabilizers are pre-tuned for optimal performance, and the PCB also supports screw-in stabilizers. South-facing RGB backlighting ensures that the illumination is clearly visible, especially with non-shine-through keycaps.
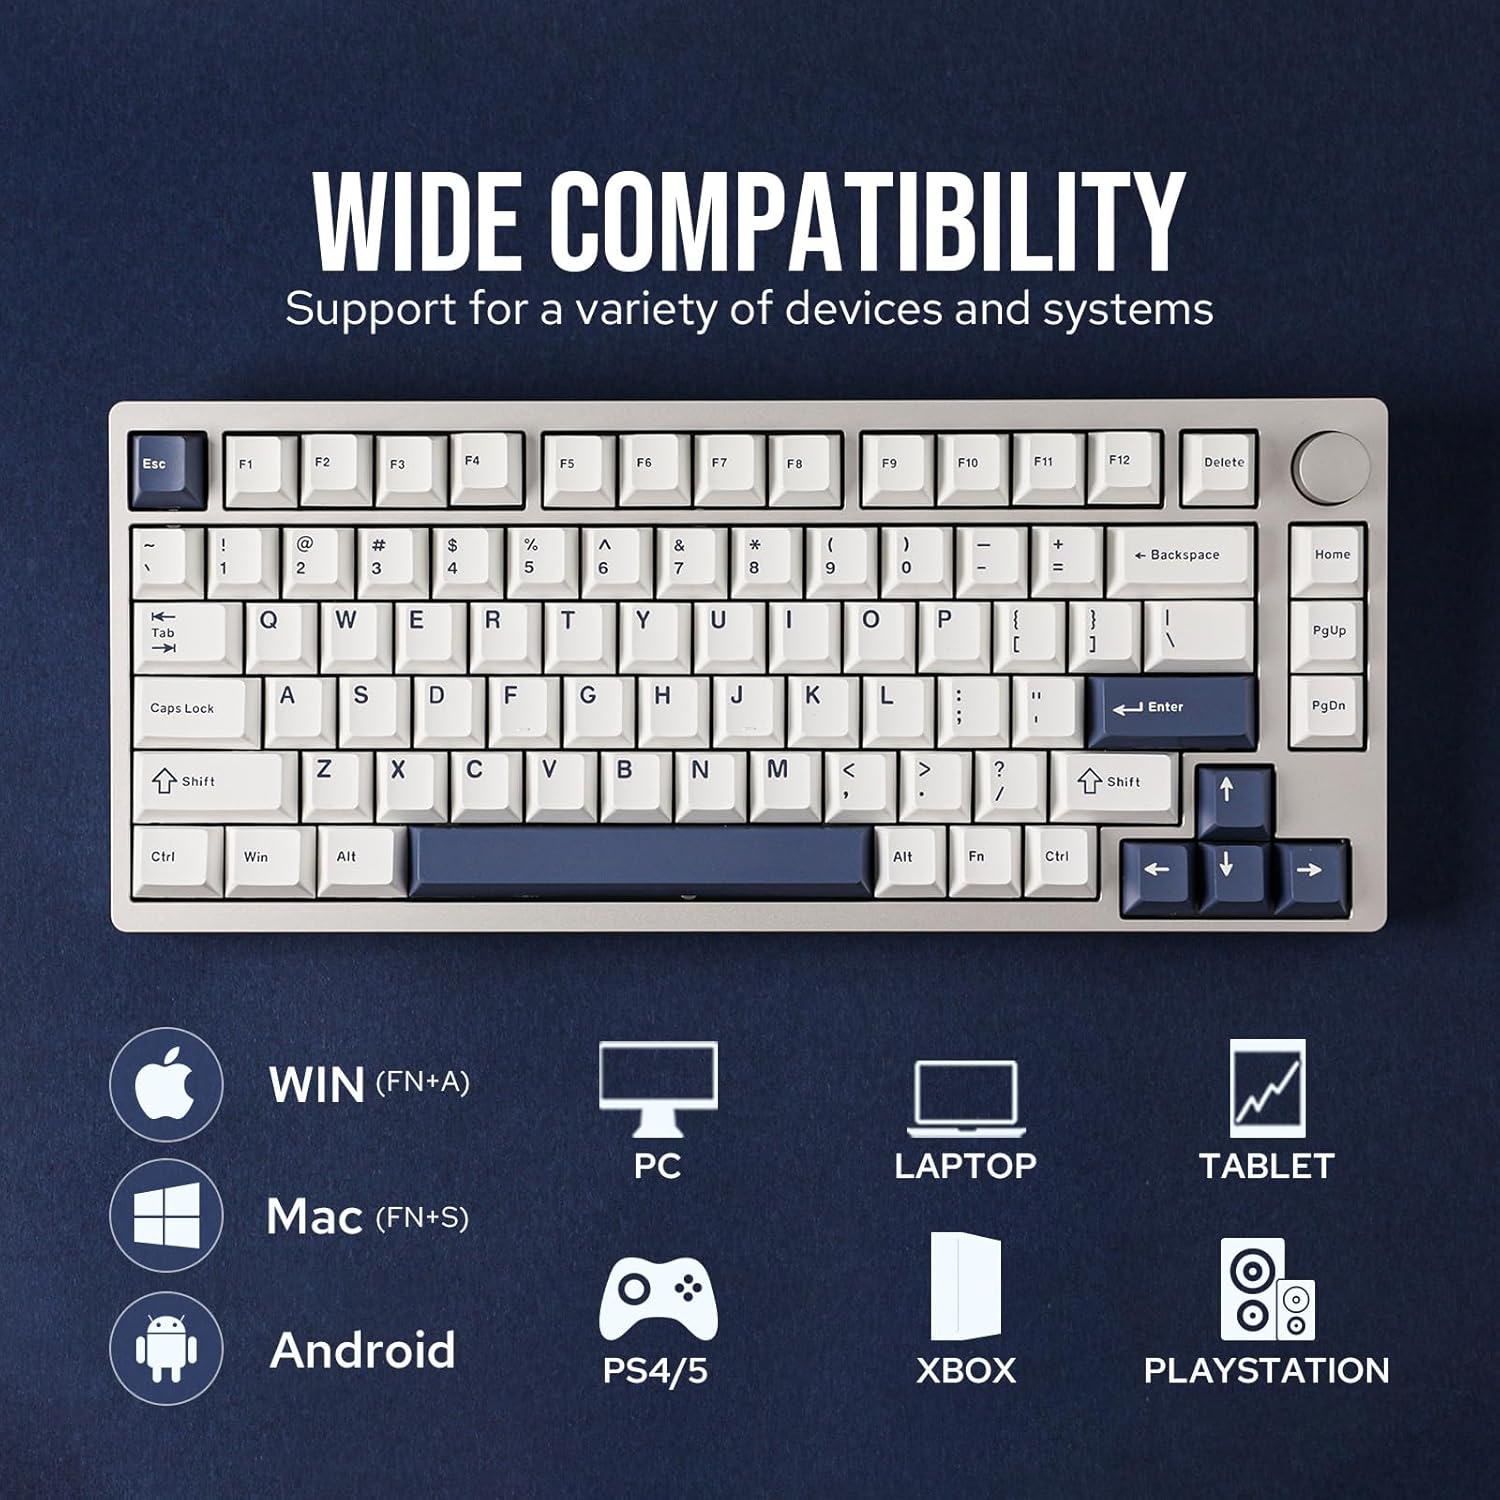
Image: A hand removing a switch from the hot-swappable PCB, highlighting the ease of customization.
3.7. Cherry Profile Teclas PBT de dobre disparo
The keyboard is equipped with durable Cherry profile double-shot PBT keycaps. These keycaps are known for their resistance to shine and their clear, long-lasting legends. The low height and gently curved surface of the Cherry profile provide a comfortable typing experience, while also contributing to a bassier and softer sound profile by reducing internal sound bounce.

Image: A close-up of the Cherry profile keycaps, illustrating their shape and legend clarity.
4. Configuración
4.1. Modos de conectividade
The EPOMAKER P75 supports three connection types:
- USB-C con cable: Connect the provided USB-C cable to the keyboard and your device.
- Sen fíos de 2.4 GHz: Locate the 2.4GHz dongle stored in the keyboard's top edge. Plug the dongle into your device's USB port. Switch the keyboard's mode selector to 2.4GHz.
- Bluetooth 5.0: Switch the keyboard's mode selector to Bluetooth. On your device, search for 'EPOMAKER P75' in Bluetooth settings and pair.
Vídeo: Un overview of the P75 Wireless Gaming Keyboard, demonstrating its features and connectivity.
4.2. Cargando
Connect the USB-C cable to the keyboard and a power source (e.g., computer USB port, wall adapter). The keyboard features a charging indicator to show battery status.

Image: A visual of the keyboard's charging indicator.
5. Funcionamento
5.1. Control da retroiluminación RGB
The P75 features 16.8 million color RGB backlighting. Use the following key combinations to control the lighting effects:
- FN + Retroceso: Turn RGB backlight ON/OFF
- FN + \|: Alterna os efectos de luz de fondo
- FN + ]}: Alterna as cores da luz de fondo

Image: The keyboard illuminated with various RGB lighting effects.
5.2. Funcións do botón multimedia
The metal knob in the top right corner allows for effortless media control:
- Xirar: Axustar o volume
- Prensa: Reproducir/Pausa multimedia

Imaxe: Unha detallada view of the keyboard's metal knob.
5.3. Substitución da tecla N
The keyboard supports N-Key Rollover, allowing for accurate and seamless input of multiple keys simultaneously without delay or missed strokes, which is beneficial for fast typing and gaming.

Image: A visual representation of N-Key Rollover in action.
5.4. Personalización do software
The EPOMAKER P75 can be customized using dedicated software. This software allows for remapping keys, customizing RGB lighting effects, and creating macros to personalize your typing and gaming experience.

Image: The keyboard's software interface for advanced customization.
6. Mantemento
6.1. Limpeza
Para manter a aparencia e a funcionalidade do teclado:
- Use a soft, dry cloth to wipe the aluminum frame.
- For keycaps, use the provided keycap puller to remove them and clean with a mild soap solution if necessary. Ensure they are completely dry before reattaching.
- Usa aire comprimido para eliminar o po e os residuos que hai entre as teclas e os interruptores.
6.2. Substitución do interruptor e da tapa das teclas
The hot-swappable PCB allows for easy replacement of switches without soldering. Use the included switch puller tool to carefully remove switches. Align new 3-pin or 5-pin mechanical switches with the PCB sockets and press firmly until they click into place. Use the keycap puller to remove and replace keycaps as desired.
Video: A comparison between Zebra and Wisteria Tactile switches, demonstrating their sound and feel.
7 Solución de problemas
- O teclado non responde: Ensure the keyboard is charged and properly connected (wired, 2.4GHz dongle, or Bluetooth paired). Try restarting the keyboard and your device.
- Problemas de conexión sen fíos: Check if the 2.4GHz dongle is securely plugged in or if Bluetooth is enabled on your device and the keyboard. Ensure the keyboard is within range.
- A iluminación RGB non funciona: Verify that the backlight is turned on (FN + Backspace). Check brightness levels and try cycling through effects (FN + \|) or colors (FN + ]}).
- Chaves que non se rexistran: If individual keys are not working, try replacing the switch for that key using the provided switch puller and extra switches.
- O software non detecta o teclado: Asegúrate de que o teclado estea conectado mediante USB-C e que o software estea actualizado.
8. Especificacións
| Característica | Detalle |
|---|---|
| Marca | EPOMAKER |
| Número de modelo | P75 |
| Tecnoloxía de conectividade | Sen fíos de 2.4 GHz, Bluetooth 5.0, USB-C con cable |
| Dispositivos compatibles | PC, portátil, tableta, teléfono intelixente, consola de xogos |
| Maquetación | 75% (81 teclas) |
| Tipo de cambio | Linear (Wisteria Linear Switch) |
| Chaves | Cereixa Profile PBT de dobre inxección |
| Retroiluminación | RGB (South-Facing) |
| Capacidade da batería | 4000 mAh |
| Material do recinto | Aluminio |
| Dimensións do produto | 12.7 cm de longo x 1.8 cm de ancho x 5.3 cm de alto |
| Peso | Aprox. 1.6 kg |
9. Garantía e soporte
The EPOMAKER P75 Mechanical Keyboard comes with a 1-year warranty from the date of purchase. This warranty covers manufacturing defects and malfunctions under normal use. For technical support, warranty claims, or any inquiries, please contact EPOMAKER customer service through their official websitio web ou o vendedor onde se comprou o produto.
Garde o comprobante de compra para validar a garantía.