
1. Introdución
This manual provides detailed instructions for the installation, operation, and maintenance of the Novastar TU15PRO LED Vision Controller. Please read this manual thoroughly before using the device to ensure proper and safe operation. The TU15PRO is designed for controlling LED displays, offering robust performance and versatile connectivity.
2. Información de seguridade
- Fonte de alimentación: Use only the specified power adapter (AC100-240V 50/60Hz). Ensure the power source is stable and matches the device's requirements.
- Ambiente: Operate the device in a dry, well-ventilated area. Avoid exposure to extreme temperatures, humidity, dust, or direct sunlight.
- Manexo: Do not drop, disassemble, or modify the device. Refer all servicing to qualified personnel.
- Cables: Ensure all cables are securely connected. Avoid placing heavy objects on cables or bending them sharply.
- Limpeza: Desconecte a alimentación antes de limpar. Use un pano suave e seco. Non empregue produtos de limpeza líquidos nin en aerosol.
3. Contido do paquete
Comprobe o contido do paquete ao desembalar. Se falta algún elemento ou está danado, póñase en contacto co seu vendedor inmediatamente.
- Novastar TU15PRO LED Vision Controller
- Adaptador de alimentación
- Cable USB
- Manual de usuario (este documento)
4. Produto rematadoview
The Novastar TU15PRO is a compact and powerful LED vision controller designed for various display applications. It features multiple input and output ports for flexible connectivity.
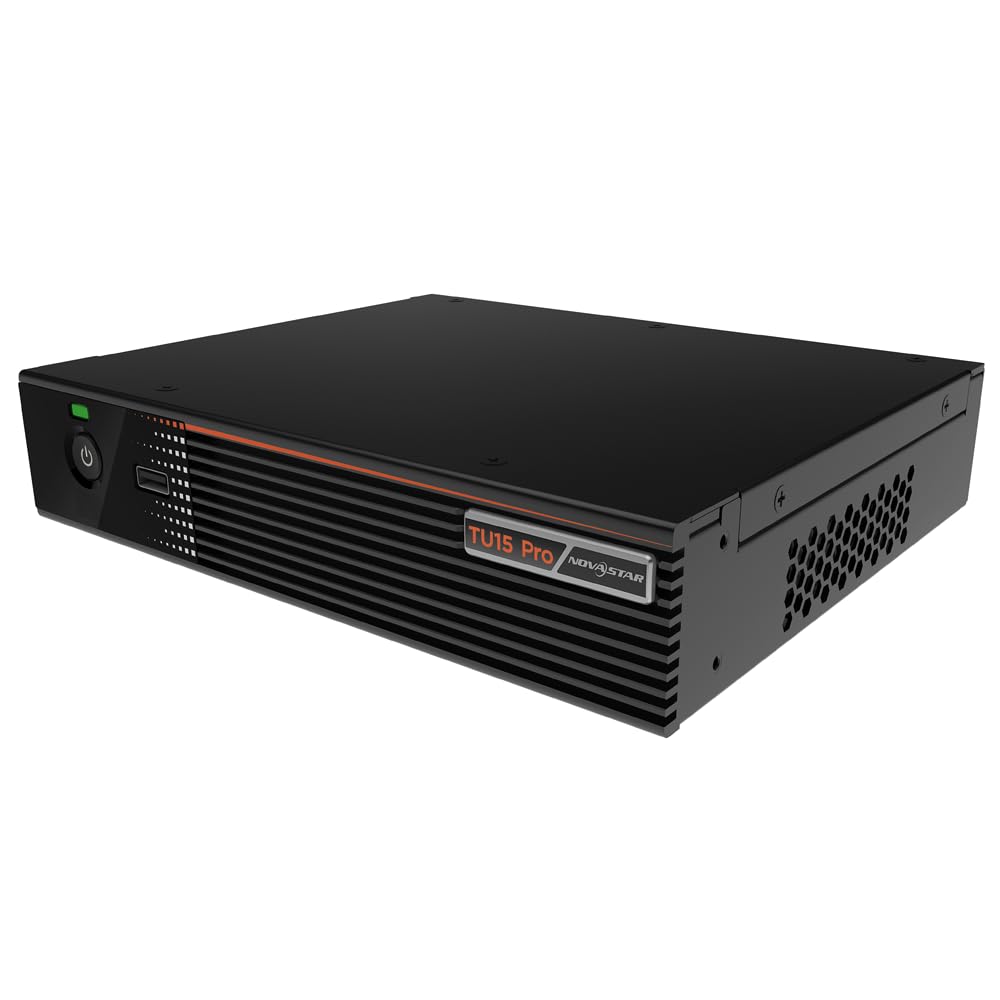
Figura 4.1: En ángulo view of the Novastar TU15PRO LED Vision Controller, highlighting the rear panel with various input and output ports.

Figura 4.2: De arriba abaixo view of the Novastar TU15PRO, showing the front panel with power button and USB port, and a detailed view das conexións do panel traseiro.
4.1. Panel frontal
- Botón de encendido: Úsase para acender ou apagar o dispositivo.
- Porto USB 2.0: For connecting USB devices, such as a mouse or keyboard for control, or for firmware updates.
4.2. Panel traseiro
- WIFI-AP (1, 2): Wi-Fi Access Point antennas for wireless control or network extension.
- WIFI-STA: Wi-Fi Station antenna for connecting the device to an existing Wi-Fi network.
- SENSOR: Port for connecting an external sensor.
- IR / I/O G RELAY: Input/Output General Purpose Relay terminal block for external control signals.
- ETHERNET: Ethernet port for network connection and control.
- USB 2.0 (x2): Additional USB ports for peripherals or data transfer.
- HDMI IN (x2): HDMI input ports for video sources.
- Saída HDMI: HDMI output port for monitoring or cascading.
- SPDIF: Saída de audio dixital.
- AUDIO 12V === 3A: Power input port (DC 12V, 3A).
5. Configuración
- Desempaquetar: Carefully remove the TU15PRO controller from its packaging.
- Conectar antenas: Attach the Wi-Fi antennas to the WIFI-AP and WIFI-STA ports on the rear panel.
- Conectar a fonte de vídeo: Connect your video source (e.g., computer, media player) to one of the ENTRADA HDMI ports using an HDMI cable.
- Connect to LED Display: Connect the controller's Network Ports (1-4) to your LED display receiving cards using Ethernet cables.
- Conectar enerxía: Conecte o adaptador de corrente fornecido ao AUDIO 12V === 3A port and then plug it into a power outlet.
- Encendido: Press the power button on the front panel to turn on the device.
- Network Configuration (Optional): For network control, connect an Ethernet cable to the Ethernet port or configure Wi-Fi settings.
6. Instrucións de funcionamento
Once the device is set up, you can begin operating it. Detailed operation typically involves using dedicated software on a connected computer or through a web interface.
- Instalación de software: Install the Novastar control software on your computer. Refer to the software's documentation for installation and usage.
- Recoñecemento de dispositivos: Ensure the software recognizes the TU15PRO controller. This may require network configuration or direct USB connection.
- Configuración da pantalla: Configure your LED screen parameters within the software, including resolution, cabinet layout, and connection method.
- Selección da fonte de entrada: Select the desired HDMI input source within the control software.
- Mostrar contido: Use the software to manage and display content on your LED screen.
7. Mantemento
- Limpeza regular: Keep the device free from dust. Use a soft, dry cloth to wipe the exterior. Do not use harsh chemicals or abrasive materials.
- Ventilación: Asegúrese de que as aberturas de ventilación non estean bloqueadas para evitar o sobrequecemento.
- Actualizacións de firmware: Periodically check the Novastar official website for firmware updates to ensure optimal performance and access to new features. Follow the update instructions carefully.
- Xestión de cables Keep cables organized and free from kinks or damage to prevent signal loss or power issues.
8 Solución de problemas
- Sen enerxía:
- Comprobe se o adaptador de corrente está conectado correctamente tanto ao dispositivo como á toma de corrente.
- Verifique que a toma de corrente funcione.
- Sen saída de visualización:
- Ensure HDMI input source is active and correctly connected.
- Verify Ethernet cables to the LED display are properly connected.
- Check screen configuration in the control software.
- Device Not Recognized by Software:
- Confirm network settings (IP address, subnet mask) are correct if using Ethernet.
- Ensure USB cable is connected if using direct USB control.
- Temporarily disable firewall or antivirus software to check for interference.
- Sinal intermitente:
- Comprobe se todas as conexións dos cables están soltas ou danadas.
- Ensure cables are of appropriate quality and length for the signal type.
9. Especificacións
| Característica | Descrición |
|---|---|
| Marca | Novastar |
| Modelo | TU15PRO |
| Potencia de entrada | AC100-240V 50 / 60Hz |
| Tamaño do corpo (L × A × A) | 211.7 mm × 185.0 mm × 50.6 mm |
| Control Dots | 2,600,000 |
| Output LAN | Network Port × 4 |
| Anchura máxima de saída | 4096 píxeles |
| Altura máxima de saída | 1920 píxeles |
| ASIN | B0D791C3C7 |
10. Garantía e soporte
For warranty information and technical support, please refer to the official Novastar websitio web ou póñase en contacto co seu distribuidor autorizado. Garde o recibo de compra como proba de compra para reclamacións de garantía.
Recursos en liña: For the latest drivers, software, and additional documentation, please visit the official Novastar support page.