
Introdución
This manual provides essential information for the safe and efficient operation, installation, and maintenance of your Kanartic ZERO 18000 BTU 22 SEER Mini-Split Heat Pump. Please read this manual thoroughly before using the unit and retain it for future reference. Proper understanding and adherence to these instructions will ensure optimal performance and longevity of your system.
Información de seguridade
Instrucións de seguridade importantes:
- Installation must be performed by a qualified and certified HVAC technician in accordance with all local and national electrical and refrigeration codes.
- Do not attempt to repair or service the unit yourself. Refer all servicing to qualified personnel.
- Ensure the power supply is disconnected before any maintenance or cleaning.
- Manteña os nenos e as mascotas lonxe da unidade exterior.
- Do not block the air intake or outlet of either the indoor or outdoor unit.
- Use only the specified refrigerant type.
Produto rematadoview
The Kanartic ZERO Mini-Split Heat Pump system consists of an indoor unit, an outdoor unit, a remote control, and a refrigerant line set. This system provides efficient heating and cooling for your space.
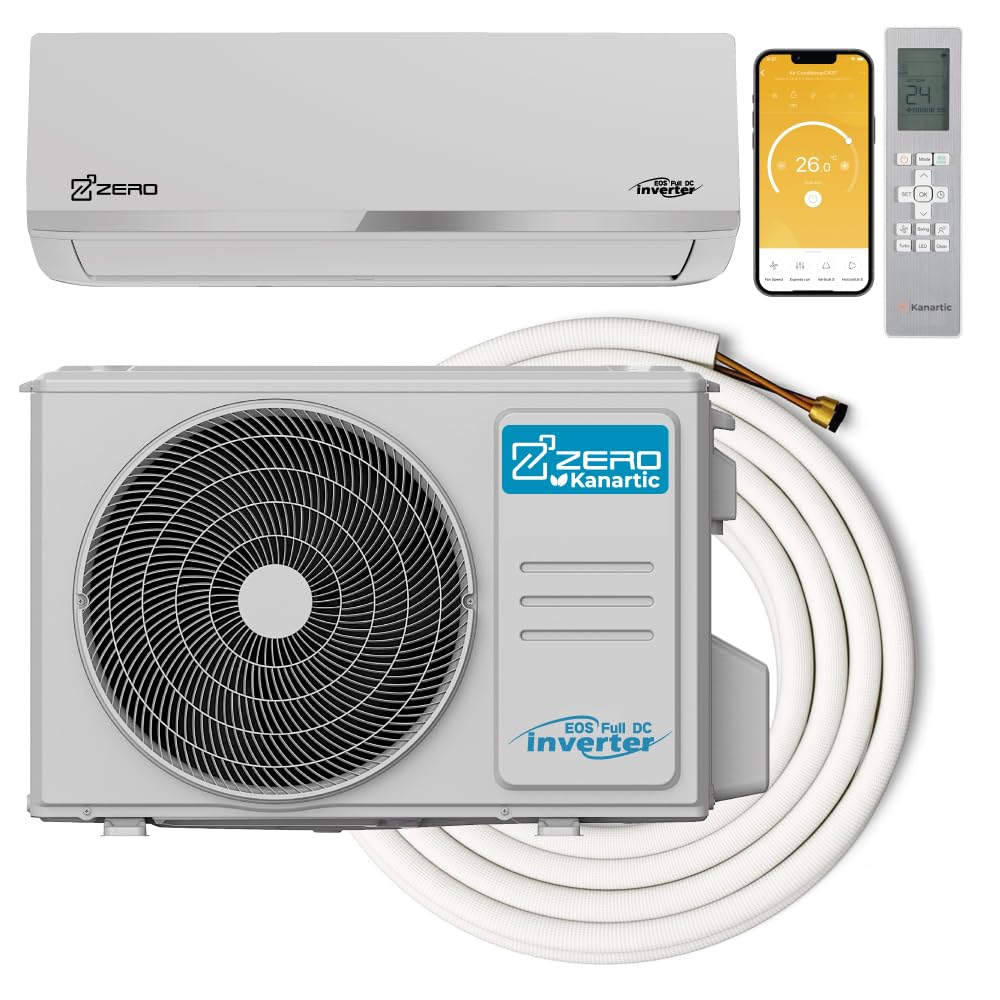
Figura 1: Acabadoview of the Kanartic ZERO Mini-Split Heat Pump system components, including the indoor unit, outdoor unit, and connecting line set.
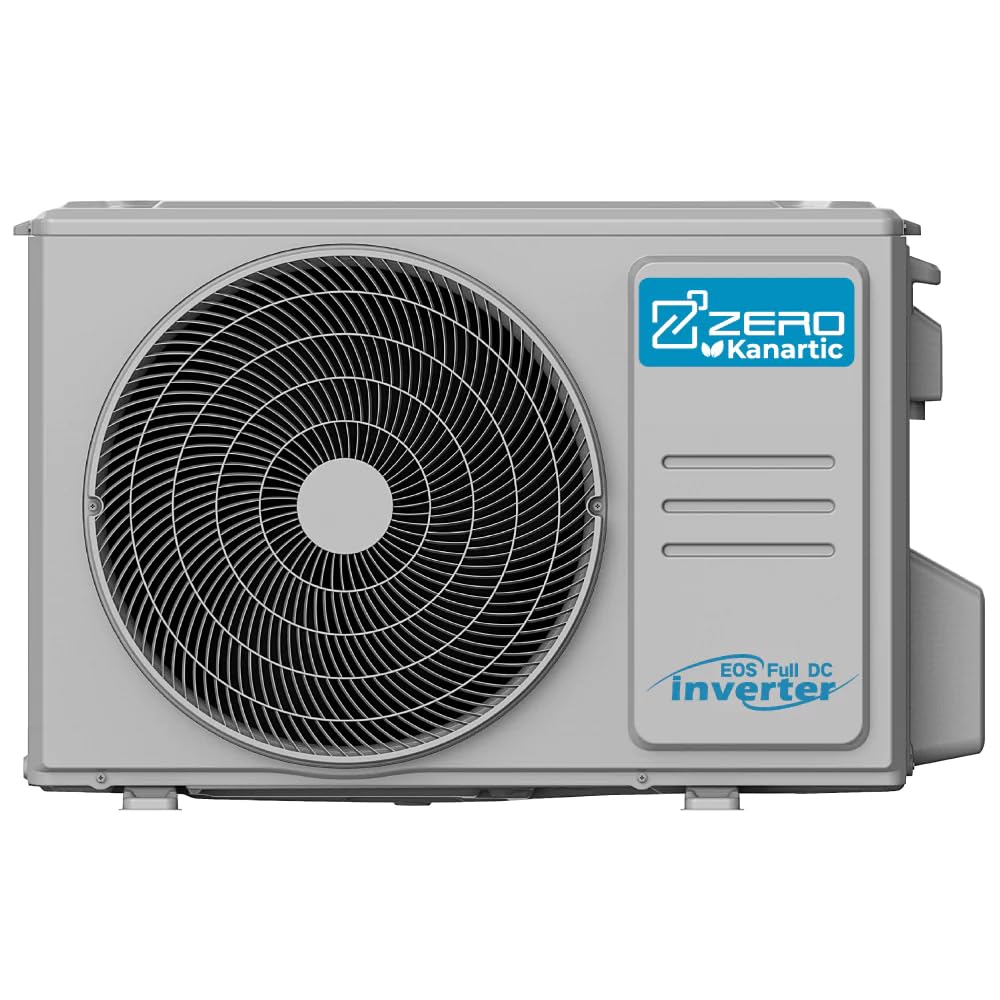
Figura 2: The outdoor condenser unit of the Kanartic ZERO Mini-Split Heat Pump, featuring the fan grille and Kanartic ZERO branding.
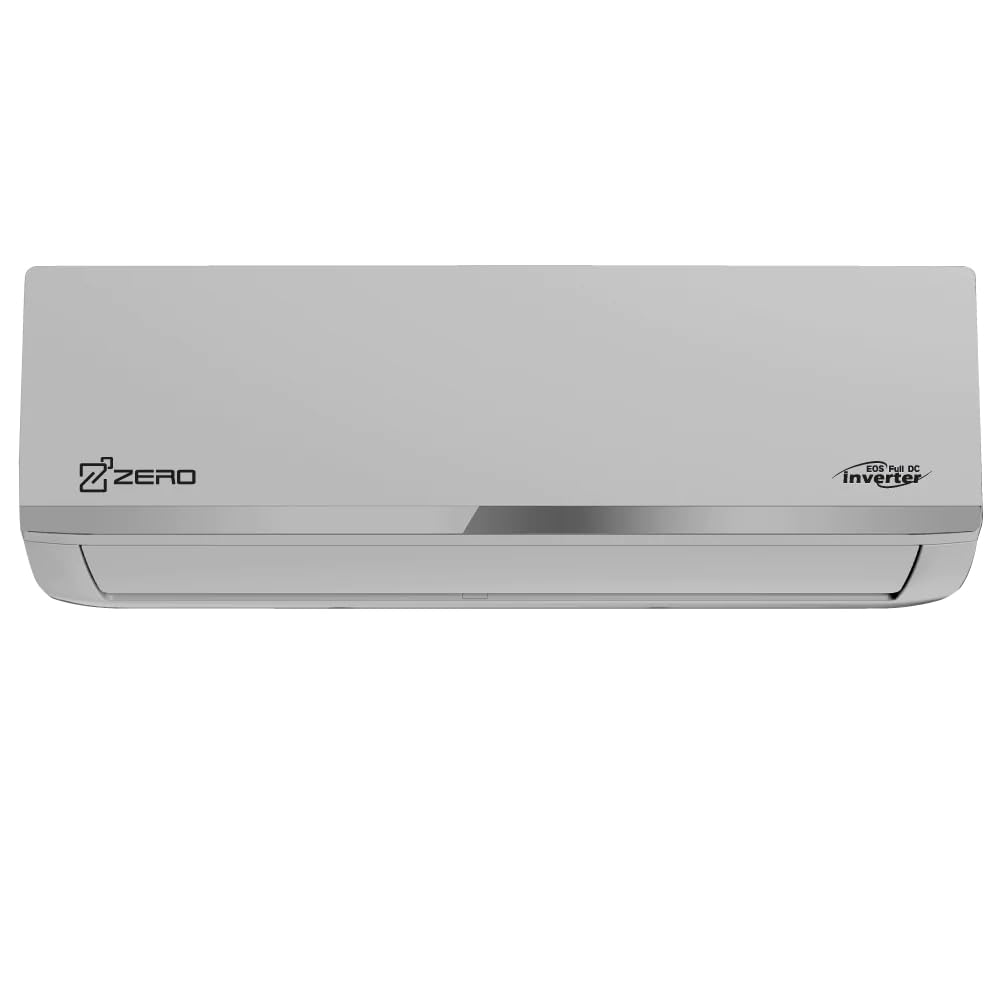
Figura 3: The sleek indoor air handler unit of the Kanartic ZERO Mini-Split Heat Pump, designed for wall mounting.
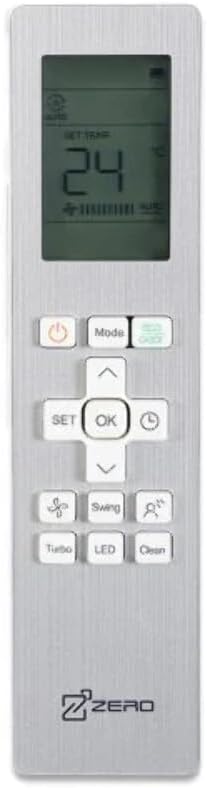
Figura 4: The remote control for the Kanartic ZERO Mini-Split Heat Pump, showing the display and various function buttons for operation.

Figura 5: The insulated refrigerant line set, used to connect the indoor and outdoor units of the mini-split system.
Configuración e instalación
The Kanartic ZERO Mini-Split Heat Pump is a split system that requires professional installation. This involves mounting the indoor unit, securing the outdoor unit, connecting the refrigerant lines, electrical wiring, and vacuuming the system. Attempting self-installation can void the warranty and lead to improper operation or safety hazards.
Key Installation Steps (Performed by Certified Technician):
- Colocación da unidade interior: Select a location that allows for optimal airflow and drainage.
- Colocación da unidade exterior: Ensure adequate clearance for airflow and maintenance, away from direct sunlight or obstructions.
- Conexión do conxunto de liñas: Connect the refrigerant lines between the indoor and outdoor units.
- Cableado eléctrico: Connect power and communication cables according to the wiring diagram.
- Aspiración e carga de refrixerante: Evacuate air and moisture from the system and charge with the correct amount of refrigerant.
- Drenaxe: Asegúrese de que o condensado saia axeitadamente da unidade interior.
Instrucións de funcionamento
Your Kanartic ZERO Mini-Split Heat Pump is controlled via the provided wireless remote control (Figure 4).
Operación básica:
- Encendido/apagado: Preme o Poder botón para acender ou apagar a unidade.
- Selección de modo: Preme o Modo button to cycle through available modes: Cool, Heat, Fan, Dry, Auto.
- Axuste de temperatura: Usa o Arriba/Abaixo frechas para axustar a temperatura desexada.
- Velocidade do ventilador: Preme o Ventilador button to adjust fan speed (Auto, Low, Medium, High).
- Función de balanceo: Usa o Swing button to control the louver movement for optimal air distribution.
Refer to the remote control's specific manual for advanced functions such as Timer, Sleep mode, and Turbo mode.
Mantemento
Un mantemento regular garante un funcionamento eficiente e prolonga a vida útil da súa unidade.
Mantemento do usuario:
- Limpeza do filtro de aire: The indoor unit's air filters should be cleaned every 2-4 weeks, or more frequently depending on usage and air quality. Open the front panel, remove the filters, wash them with lukewarm water and mild detergent, rinse thoroughly, and allow them to dry completely before reinserting.
- Limpeza exterior: Limpe os exteriores das unidades interior e exterior cun pano suave eamp pano. Non use produtos químicos agresivos ou produtos de limpeza abrasivos.
Mantemento profesional:
- It is recommended to have a qualified technician perform annual maintenance, including checking refrigerant levels, cleaning coils, inspecting electrical connections, and verifying drainage.
Resolución de problemas
Antes de chamar ao servizo técnico, comprobe os seguintes problemas comúns:
| Problema | Causa posible | Solución |
|---|---|---|
| A unidade non se acende | No power, remote control batteries dead | Check circuit breaker, replace remote batteries |
| Refrixeración/quecemento insuficiente | Dirty air filters, blocked outdoor unit, wrong mode selected, temperature setting too high/low | Clean filters, clear obstructions, select correct mode, adjust temperature |
| Ruído insólito | Loose parts, foreign objects, refrigerant flow noise (normal) | Inspect for loose parts, remove objects. If persistent or loud, contact service. |
| Fuga de auga da unidade interior | Blocked drain hose, improper installation | Check and clear drain hose. If issue persists, contact installer. |
Se o problema persiste despois de intentar estas solucións, póñase en contacto co servizo de atención ao cliente.
Especificacións
| Característica | Especificación |
|---|---|
| Marca | Kanártic |
| Potencia de refrixeración | 18000 unidades térmicas británicas |
| Índice de eficiencia enerxética estacional (SEER) | 22 |
| Heating Seasonal Performance Factor (HSPF) | 11 |
| Temperatura de funcionamento (calefacción) | Down to -30°C (-22°F) |
| Factor de forma | Mini-Split |
| Método de control | Control remoto |
| Tipo de instalación | Sistema dividido |
| Peso do elemento | 50000 Grams (Outdoor Unit) |
| UPC | 628251090047 |
Garantía e Soporte
Información da garantía:
- Limited 10-Year Warranty on Compressor.
- Limited 5-Year Warranty on Parts.
- Warranty is valid with proof of professional installation invoice.
Atención ao cliente:
For technical assistance, warranty claims, or service inquiries, please contact Kanartic customer support. Refer to your purchase documentation for specific contact details or visit the official Kanartic websitio.