
1. Introdución
This manual provides comprehensive instructions for the installation, operation, and maintenance of your Gravity MGR5 Marine Stereo Receiver. Please read this manual thoroughly before using the product to ensure proper function and to prevent damage. Keep this manual for future reference.
2. Información de seguridade
- Fonte de alimentación: Ensure the power supply is 12V DC (direct current) only. Incorrect voltagPodemos danar a unidade.
- Cableado: All wiring should be performed by a qualified technician. Incorrect wiring can lead to electrical shock or fire.
- Resistencia á auga: The MGR5 is designed with IPX5 water resistance. While it can withstand splashes and light rain, it is not designed for submersion.
- Temperatura: Evite expoñer a unidade a temperaturas extremas ou á luz solar directa durante períodos prolongados.
- Limpeza: Use un pano suave e seco para a limpeza. Non use produtos de limpeza ou disolventes abrasivos.
- Ventilación: Asegúrese de que haxa unha ventilación axeitada arredor da unidade para evitar o sobrequecemento.
3. Contido do paquete
Verifica que todos os elementos estean presentes no paquete:
- Gravity MGR5 Marine Stereo Receiver
- Control remoto
- Cableado
- Hardware de montaxe
- Manual de usuario (este documento)
4. Produto rematadoview
The Gravity MGR5 is a versatile marine stereo receiver featuring a 4.1-inch LCD display, multi-mode playback options, and Bluetooth connectivity. It is designed for use in various environments, including marine, automotive, and recreational vehicles.

Figura 4.1: Fronte view of the Gravity MGR5 Marine Stereo Receiver, showcasing its 4.1-inch LCD display and control buttons. The display shows a vibrant image of a harbor.
4.1. Funcións do panel de control
Refer to the diagram below for an explanation of the main control buttons on the MGR5 unit.

Figure 4.2: Detailed diagram illustrating the MGR5 control buttons and their corresponding functions.
- PWR/SEL/VOL: Controls power, sound settings, and volume levels.
- MODE/SUB-: Switches audio sources and controls subwoofer levels.
- BAND/AV/SUB+: Changes radio bands and audio/video output, adjusts subwoofer.
- TUNE/TRACK BUTTONS: Selects radio stations or media tracks, fast-forwards or rewinds.
- MENÚ: Accesses the main menu for various system settings.
- AMS: Searches and stores radio stations automatically, toggles play/pause in media mode.
- CH +: Skips through or saves radio presets.
- Botón Reproducir/Pausa: Manages playback of media.
- Configuración: Enters detailed settings for the system like color, light, time, and language.
4.2. Características clave
- 4.1" LCD Display for video playback and navigation.
- Conectividade Bluetooth para transmisión de audio sen fíos.
- Multi-mode playback: USB, SD card, AUX input, FM radio.
- Subwoofer control and preset equalizer modes.
- IPX5 water-resistant and durable construction.
- Multi-color buttons for enhanced usability.

Figure 4.3: Visual representation of key features such as AUX, USB, Preset EQ, Subwoofer control, and IPX5 water resistance.
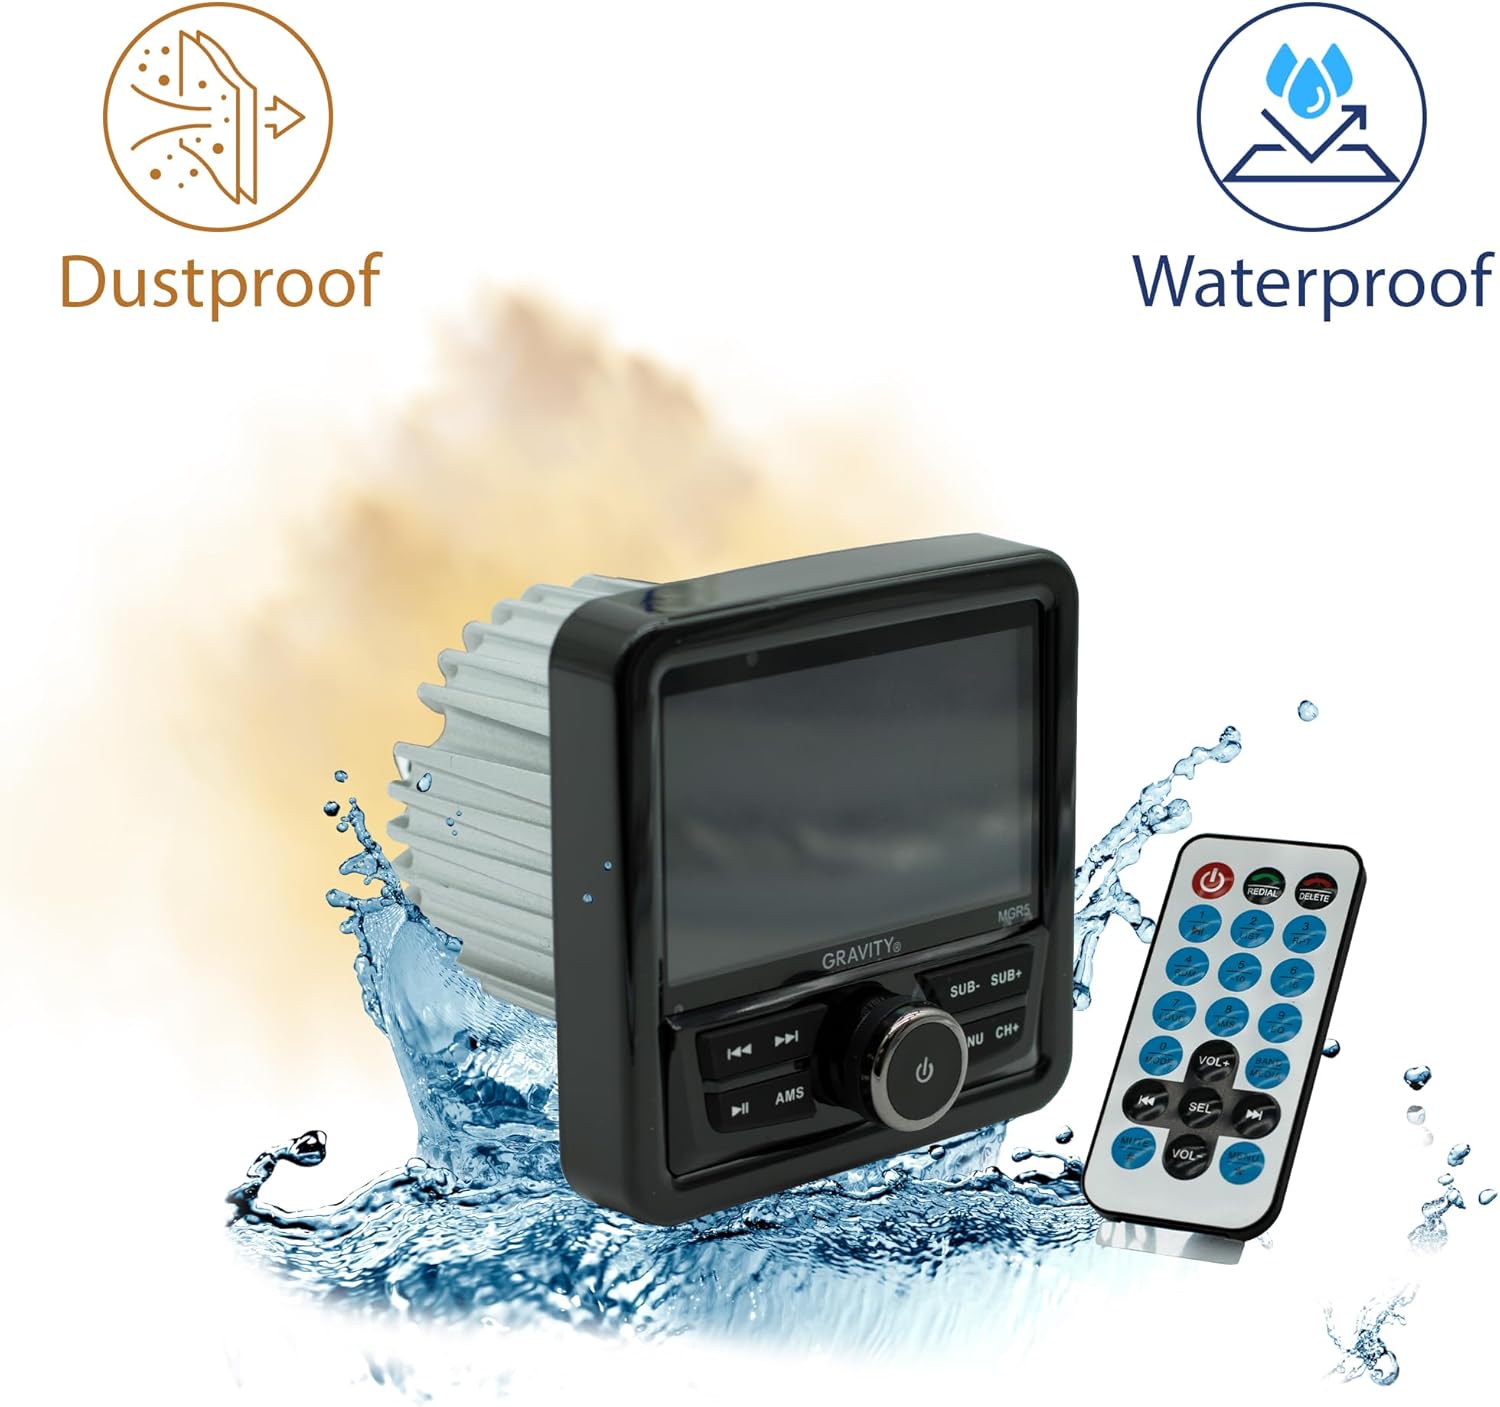
Figure 4.4: The MGR5 unit highlighting its dustproof and waterproof design, suitable for challenging environments.
5. Instalación
Proper installation is crucial for the performance and longevity of your MGR5 receiver. Consult a professional if you are unsure about any steps.
5.1. Dimensións de montaxe
Before installation, ensure you have adequate space for the unit. Refer to the dimensions below.

Figure 5.1: Detailed dimensions of the MGR5 unit, including front panel and chassis measurements, essential for proper mounting.
- Front Panel Width: Aproximadamente 4.33 polgadas
- Profundidade do chasis: Aproximadamente 3.98 polgadas
- Altura do chasis: Aproximadamente 2.89 polgadas
5.2. Diagrama de cableado
Connect the wiring harness according to the diagram provided in the separate wiring guide (if applicable) or the labels on the harness itself. Ensure all connections are secure and insulated.
- Fío vermello: ACC (Accessory Power)
- Fío amarelo: B+ (Constant 12V Power)
- Fío negro: GND (terra)
- Fío azul: Acendido remoto (para amplificador/antena)
- Fíos dos altofalantes: Connect to appropriate speakers (Front Left, Front Right, Rear Left, Rear Right). Ensure correct polarity.
Aviso: Incorrect wiring can cause severe damage to the unit or vehicle's electrical system. Always disconnect the vehicle's battery before beginning installation.
6. Funcionamento
6.1. Funcións básicas
- Encendido/apagado: Preme o PWR/SEL/VOL knob to turn the unit on or off.
- Control de volume: Xire o PWR/SEL/VOL botón para axustar o volume.
- Selección da fonte: Preme o MODE/SUB- button to cycle through available audio sources (FM, AM, Bluetooth, USB, SD, AUX).
6.2. Funcionamento Bluetooth
- Emparejamento:
- Select Bluetooth as the source. The unit will enter pairing mode automatically.
- On your mobile device, search for Bluetooth devices and select "MGR5".
- Unha vez emparellado, a unidade confirmará a conexión.
- Transmisión de audio: Play audio from your paired device. Use the TUNE/TRACK buttons to skip tracks and the AMS button for play/pause.
6.3. Reprodución por USB/SD
- Insira unha unidade USB ou unha tarxeta SD na ranura correspondente.
- The unit will automatically switch to USB/SD mode and begin playback. If not, select USB/SD as the source using the MODE/SUB- botón.
- Usa o TUNE/TRACK botóns para navegar polas pistas e AMS para reproducir/pausar.
6.4. Radio FM
- Select FM as the source.
- Escaneo automático: Manteña premido o AMS button to automatically scan and store strong stations.
- Sintonización manual: Usa o TUNE/TRACK buttons for fine-tuning.
- Estacións predefinidas: Usa o CH+ para percorrer os preajustes gardados.
6.5. Subwoofer Control and EQ Settings
- Nivel de subwoofer: Preme MODE/SUB- or BAND/AV/SUB+ to adjust subwoofer output.
- Preconfiguracións do ecualizador: Preme o MENÚ button to access audio settings, then navigate to EQ presets (e.g., Pop, Rock, Classic, Flat).
7. Mantemento
- Limpeza da unidade: Use a soft, dry cloth to wipe the exterior of the unit. For stubborn dirt, slightly dampEnxágüe o pano con auga. Non empregue produtos químicos agresivos nin materiais abrasivos.
- Mostrar coidado: The LCD display is sensitive. Clean it gently with a microfiber cloth. Avoid pressing hard on the screen.
- Comprobacións de conexión: Comprobe periodicamente todas as conexións do cableado para garantir que estean seguras e libres de corrosión, especialmente en ambientes mariños.
- Actualizacións de software: Consulte o do fabricante websitio web para ver se hai actualizacións de firmware dispoñibles para garantir un rendemento e unha compatibilidade óptimos.
8 Solución de problemas
| Problema | Causa posible | Solución |
|---|---|---|
| Sen poder | Cableado incorrecto, fusible fundido, conexión solta. | Check power and ground connections. Inspect fuse. Ensure battery is connected. |
| Sen son | Volume too low, incorrect source selected, speaker wires disconnected, ampproblemas de lificadores. | Increase volume. Select correct source. Check speaker wiring. Verify external ampO activador (se se usa) está acendido. |
| Bluetooth non se conecta | Device not in pairing mode, MGR5 not in Bluetooth mode, interference. | Ensure MGR5 is in Bluetooth mode. Put mobile device in pairing mode. Try restarting both devices. |
| Non se reproduce o USB/SD | Non é compatible file format, corrupted media, incorrect source. | Comproba file formats (e.g., MP3, WMA). Try a different USB/SD card. Select USB/SD source. |
| Mala recepción de radio | Antenna not connected, weak signal, interference. | Ensure antenna is properly connected. Try auto-scanning for stations. Move to an area with better signal. |
9. Especificacións
| Característica | Detalle |
|---|---|
| Número de modelo | MGR5 |
| Potencia de saída | 200W (50W x 4 channels) |
| Mostrar | Pantalla LCD de 4.1 polgadas |
| Conectividade | Bluetooth, USB, SD, AUX, FM Radio |
| Resistencia á auga | IPX5 |
| Fonte de alimentación | 12V DC |
| Modo de saída de audio | Estéreo |
| Configuración da canle de son envolvente | 4.1 |
| Peso do elemento | 1.2 libras |
| Dimensións do paquete | 6 x 6 x 6 polgadas |
10. Garantía e soporte
Gravity products are designed for reliability and performance. For warranty information and technical support, please refer to the warranty card included with your product or visit the official Gravity websitio.
For assistance, please contact Gravity customer support with your model number (MGR5) and purchase details ready.