1. Garantías importantes
Please read these instructions carefully before using your Salter Retro 4-Slice Toaster. Keep this manual for future reference.
- Non toque superficies quentes. Use sempre asas ou botóns.
- Para protexerse contra descargas eléctricas, non mergulle o cable, os enchufes nin a torradora en auga ou noutro líquido.
- É necesaria unha estreita supervisión cando calquera aparello é usado por nenos ou preto de eles.
- Desenchufe da toma cando non estea en uso e antes de limpalo. Deixar arrefriar antes de poñer ou quitar pezas.
- Non faga funcionar ningún aparello cun cable ou enchufe danados, ou despois de que o aparello funcione mal ou teña dano dalgún xeito.
- Non use ao aire libre.
- Non deixes que o cable colgue do bordo da mesa ou do mostrador nin toque superficies quentes.
- Non o coloque sobre ou preto dun queimador eléctrico ou de gas quente, nin nun forno quente.
- Non use o aparello para outros usos que os previstos.
- Non se deben inserir alimentos, envases de papel de aluminio ou utensilios de gran tamaño na torradora, xa que poden supoñer un risco de incendio ou descarga eléctrica.
- Pode producirse un incendio se as torradeiras están cubertas ou tocan materiais inflamables, incluídas cortinas, cortinas, paredes e similares, cando estean en funcionamento.
- Non intente desprender alimentos cando a torradeira estea enchufada.
- Always unplug the toaster before cleaning the crumb tray.
2. Produto rematadoview
The Salter Retro 4-Slice Toaster is designed for efficient and convenient toasting. It features four wide slots, allowing you to toast various bread types, including bagels and crumpets. With 6 browning levels and dedicated functions for defrosting, reheating, and canceling, you can achieve your desired toast consistency every time.
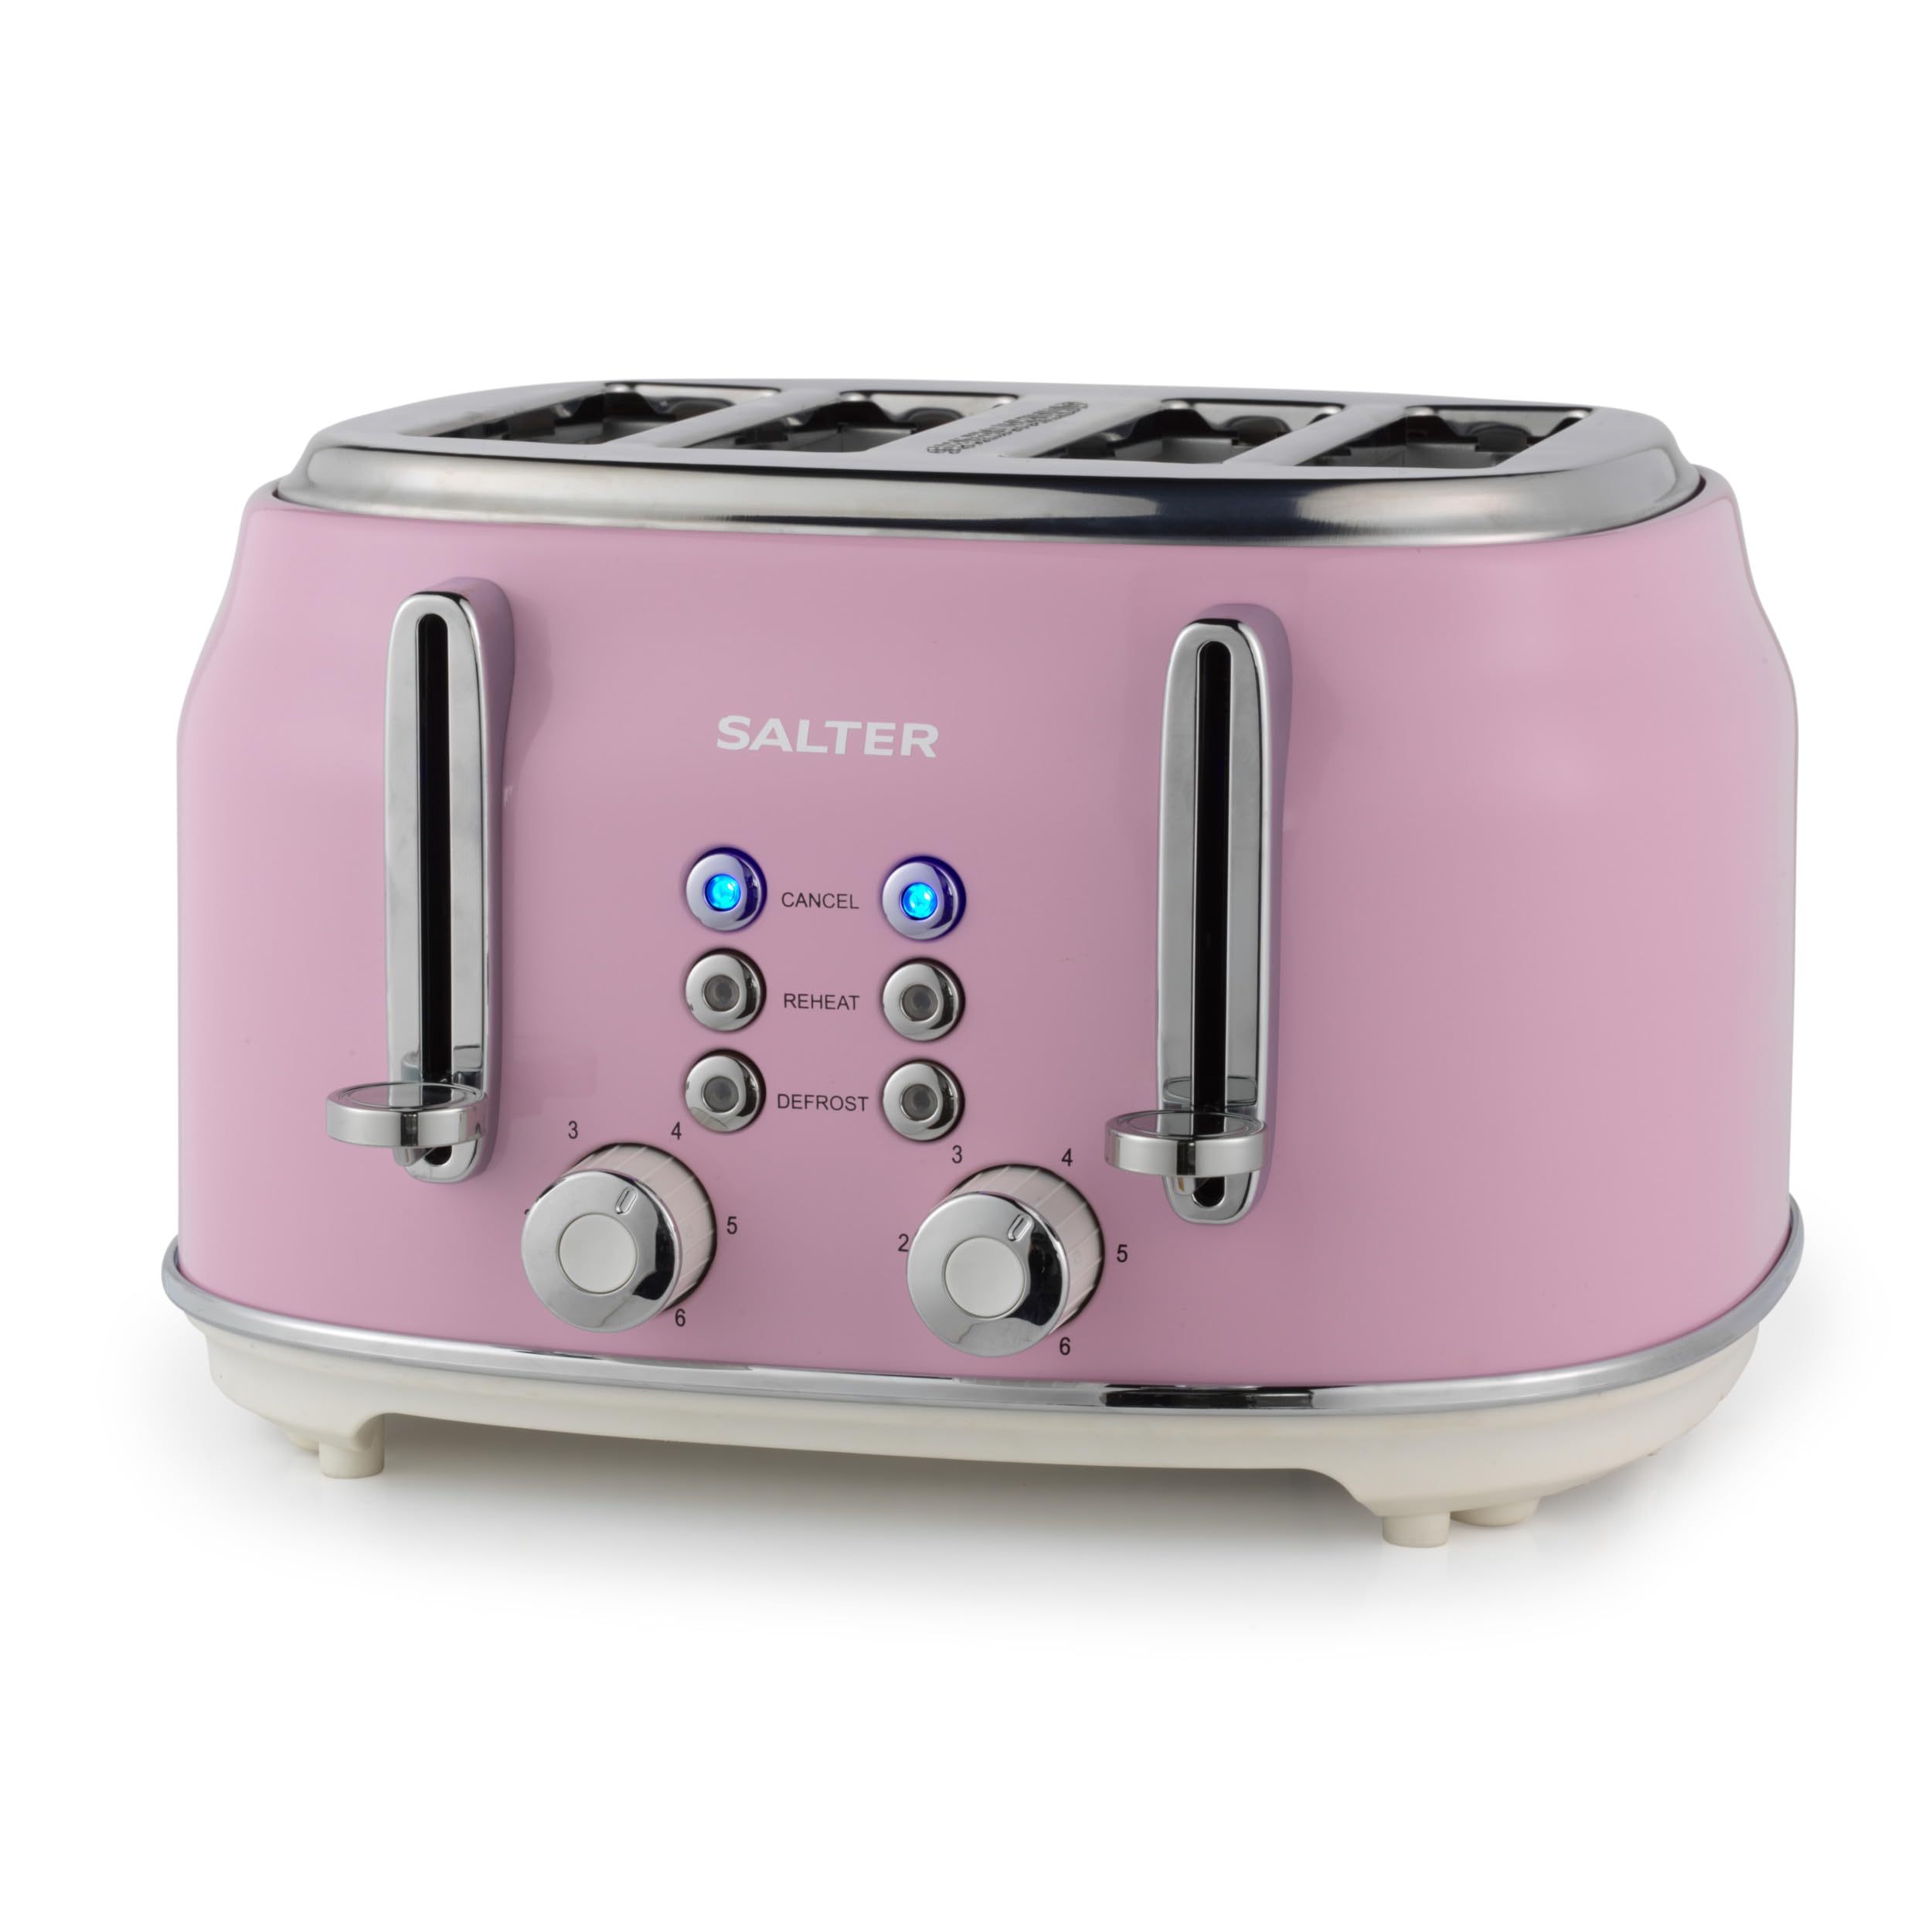
Image: The Salter Retro 4-Slice Toaster in a stylish pink finish, featuring chrome levers and control knobs, positioned on a kitchen counter.
3. Configuración
- Desembale a torradeira e retire todos os materiais de embalaxe.
- Place the toaster on a stable, heat-resistant, and dry surface, away from flammable materials.
- Asegúrate de que a bandexa de migallas estea inserida correctamente na parte inferior da torradora.
- Before first use, operate the toaster without bread on the highest browning setting to burn off any manufacturing residues. This may produce a slight odor and smoke, which is normal. Ensure adequate ventilation.
4. Instrucións de funcionamento
4.1. Torrar pan
- Insert up to four slices of bread into the toaster slots. The wide slots accommodate various bread types.
- Seleccione o nivel de dourado desexado usando o dial de control de dourado (1-6). O nivel 1 é para torradas claras e o nivel 6 é para torradas escuras.
- Press down the toast lever until it locks into place. The indicator light will illuminate, and the toasting cycle will begin.
- Once the toasting cycle is complete, the toast will automatically eject, and the lever will return to its original position.

Image: Close-up of the toaster's control panel, showing the browning level dial and the 'Cancel', 'Reheat', and 'Defrost' buttons.
4.2. Funcións especiais
The toaster includes three special functions:
- Cancelar: Press the 'CANCEL' button to stop the toasting cycle at any time. The toast will immediately eject.
- Requentar: Use the 'REHEAT' button to warm up previously toasted bread without further browning. Insert the toast, press the lever, then press 'REHEAT'.
- Desconxelar: The 'DEFROST' function allows you to toast frozen bread. Insert frozen bread, press the lever, then press 'DEFROST'. The toaster will automatically adjust the toasting time.

Image: The toaster with the 'CANCEL' button glowing blue, indicating the function is active or has been pressed.
4.3. High-Lift Ejection
The high-lift ejection feature allows you to easily retrieve smaller items like crumpets or bagels without burning your fingers. Simply lift the toast lever further up after the toasting cycle is complete.

Image: A hand demonstrating the high-lift function by pushing the toast lever upwards to raise the toast higher from the slots.
5. Mantemento e Limpeza
Unha limpeza regular garante un rendemento óptimo e prolonga a vida útil da súa torradora.
5.1. Cleaning the Crumb Tray
- Ensure the toaster is unplugged and completely cool.
- Tire da bandexa de migallas extraíble situada na parte inferior da torradora.
- Discard accumulated crumbs.
- Limpar a bandexa con anunciosamp un pano e seque ben antes de volvelo colocar.
- Nunca utilice a torradeira sen a bandexa de migas colocada.

Image: A hand pulling out the removable crumb tray from the bottom of the toaster, showing accumulated crumbs.
5.2. Limpeza do exterior
- Limpe o exterior da torradora cun pano suave eamp pano. Non utilice produtos de limpeza abrasivos nin estropajos.
- Ensure the toaster is completely dry before plugging it back in.
6 Solución de problemas
| Problema | Causa posible | Solución |
|---|---|---|
| A torradora non se acende. | Not plugged in; power outlet faulty; toast lever not fully depressed. | Check power connection; try a different outlet; ensure toast lever is fully locked down. |
| O pan está metido na torradeira. | Bread slice too thick or uneven. | Unplug the toaster and carefully remove the bread using non-metallic tongs. Do not use metal objects. |
| A torrada está demasiado clara/escura. | O axuste do nivel de dourado é incorrecto. | Adjust the browning control dial to a higher or lower setting for future use. |
| Sae fume da torradora. | Crumbs accumulated; food stuck; first use burn-off. | Unplug immediately. Clean crumb tray. Remove any stuck food. If first use, ensure ventilation. |
7. Especificacións
- Número de modelo: EK5739PNKVDE
- Marca: Salgador
- Cor: Rosa
- Material: Aluminio
- Potencia: 1630 W
- Número de porcións: 4
- Configuración de Browning: 6
- Características especiais: Wide Slots, Defrost, Reheat, Cancel Functions, Removable Crumb Tray, High-Lift Ejection, Auto-Centering
- Peso: 3 quilogramos
8. Garantía e soporte
Your Salter Retro 4-Slice Toaster comes with a standard manufacturer's warranty. For detailed warranty information, product support, or to inquire about replacement parts, please refer to the warranty card included in your product packaging or visit the official Salter website. Do not attempt to repair the appliance yourself, as this may void the warranty and pose a safety risk.