
Introdución
This manual provides essential information for the safe and efficient operation, installation, and maintenance of your Cecotec Bolero DressCode 12500 Inverter washing machine. Please read it thoroughly before first use and keep it for future reference.

Figura 1: Fronte view of the Cecotec Bolero DressCode 12500 Inverter washing machine.
1. Configuración e instalación
1.1 Desembalaxe
Carefully remove all packaging materials. Ensure all transport bolts and packing blocks are removed from the rear of the machine before installation. Failure to do so will cause severe damage during operation.
1.2 Colocación e nivelación
Place the washing machine on a firm, level surface. Adjust the leveling feet to ensure the machine is stable and balanced. Proper leveling prevents excessive vibration and noise during cycles.
1.3 Conexión de auga
Connect the supplied water inlet hose to the cold water tap and the corresponding inlet valve on the back of the washing machine. Ensure connections are tight to prevent leaks.
1.4 Conexión de drenaxe
Position the drain hose into a standpipe or over the edge of a sink, ensuring it is securely fixed to prevent displacement during draining. The drain hose should not be kinked or obstructed.
1.5 Conexión de alimentación
Conecte o cable de alimentación a unha toma de corrente con conexión a terra. Asegúrese de que o volumetage and frequency match the specifications of your washing machine.
1.6 Uso inicial
Before washing clothes for the first time, run a short cycle without laundry and detergent to clean the drum and internal components.

Figure 2: Proper installation and energy efficiency of the washing machine.
2. Instrucións de funcionamento
2.1 Panel de control rematadoview
The washing machine features a touch control panel and a rotary knob for program selection. The digital display shows cycle time, selected options, and error codes.

Figura 3: detallada view do panel de control.
2.2 Carga da roupa
Open the door and load laundry into the drum. Do not overload the machine; ensure there is enough space for clothes to tumble freely. The maximum capacity is 12 kg.
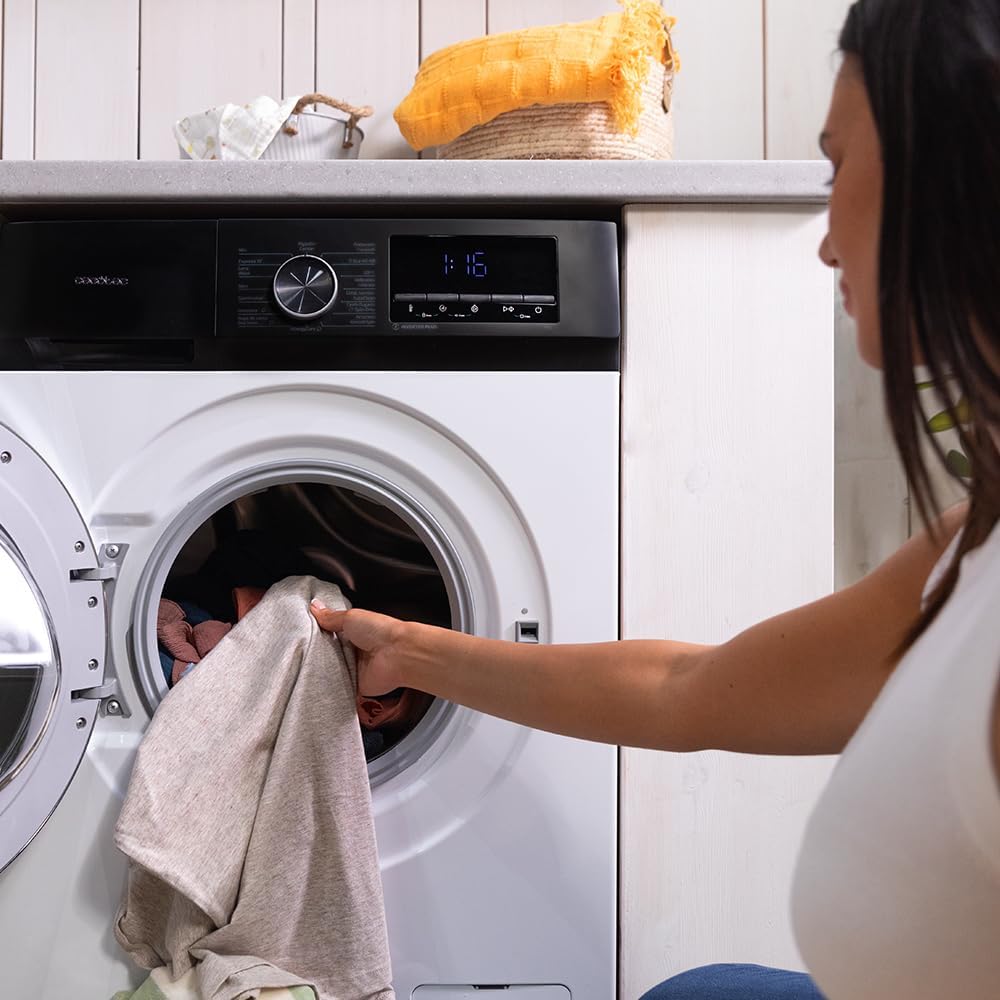
Figure 4: Loading laundry into the drum.
2.3 Engadir deterxente
Add the appropriate amount of detergent and fabric softener to their respective compartments in the dispenser drawer. Refer to detergent packaging for dosage recommendations.
2.4 Selección de programas
Turn the program selector knob to choose one of the 16 available programs:
- Mixto
- Algodón
- Super rápido
- Eco 40-60
- La
- Prelavado
- Camisas
- Roupa deportiva
- Intensivo
- Roupa de cama
- Anti-alerxia
- Xirar / escorrer
- Xirar
- Limpeza do tambor
- Delicado
- Cotton 20ºC
2.5 Funcións especiais
- SteamMax: Activates steam cleaning for deeper penetration into fabrics, leaving clothes refreshed.
- Coidados de alerxias: Utilizes steam to sterilize clothes by 99.9% before the wash cycle, effective even in cold water.
- Inicio atrasado: Allows you to program the desired end time for your wash cycle, offering flexibility.
- Parar e ir: Pause the current wash cycle to add or remove garments, then resume.

Figure 5: Setting the Delay Start function.
2.6 Inicio dun ciclo
After selecting the program and any desired options, press the Start/Pause button to begin the wash cycle.
3. Mantemento
3.1 Función de limpeza do tambor
Regularly use the dedicated 'Drum Clean' program to prevent the accumulation of bacteria, dirt, and odors inside the drum. This program runs at a high temperature to sanitize the drum.

Figure 6: The Pearl Drum interior, designed for gentle and effective cleaning.
3.2 Limpeza do dispensador de deterxente
Remove the detergent dispenser drawer and rinse it under running water to remove any detergent residue. Clean the housing of the dispenser with a brush if necessary.
3.3 Limpeza do filtro
Locate the drain pump filter, usually at the bottom front of the machine. Open the cover, drain any residual water, and unscrew the filter. Clean it of any lint or foreign objects and reassemble securely.
3.4 Limpeza exterior
Limpe as superficies exteriores da lavadora cun pano suave eamp pano. Evite o uso de produtos de limpeza abrasivos ou solventes que poidan danar o acabado.
4 Solución de problemas
If you encounter issues with your washing machine, consult the table below for common problems and solutions. If the problem persists, contact customer support.
| Problema | Causa posible | Solución |
|---|---|---|
| A máquina non arranca | Cable de alimentación desconectado, porta non pechada, programa non seleccionado, Inicio/Pausa non premido. | Check power connection, ensure door is latched, select program, press Start/Pause. |
| Fuga de auga | Hoses loose, drain filter clogged, too much detergent. | Tighten hose connections, clean drain filter, use correct detergent amount. |
| Vibración / ruído excesivos | Máquina non nivelada, parafusos de transporte non retirados, carga desigual. | Adjust leveling feet, remove transport bolts, redistribute laundry. |
| Roupa non limpa | Incorrect program, insufficient detergent, overloaded drum. | Select appropriate program, use correct detergent, do not overload. |
5. Especificacións
| Característica | Detalle |
|---|---|
| Número de modelo | A01_EU01_100637 |
| Capacidade | 12 kg |
| Velocidade de centrifugado | Ata 1400 rpm |
| Clase de eficiencia enerxética | Un 20% |
| Número de programas | 16 |
| Tipo de motor | Inversor Plus |
| Funcións especiais | SteamMax, Allergy Care, Delay Start, Stop&Go, Pearl Drum, Drum Clean |
| Dimensións (W x H x D) | 64 x 85.5 x 59.3 cm |
| Peso | 70.5 kg |
| Controis | Toca |
6. Información da garantía
Your Cecotec Bolero DressCode 12500 Inverter washing machine comes with a standard manufacturer's warranty. The Inverter Plus motor is specifically covered by an extended 10-year warranty, ensuring long-term reliability and performance.
For detailed terms and conditions, please refer to the warranty card included with your product or visit the official Cecotec websitio.
7. Atención ao cliente
Should you require assistance, have questions, or need to report a fault, please contact Cecotec customer support. Have your product model number (A01_EU01_100637) and purchase date ready when contacting support.
You can find contact details on the official Cecotec websitio: www.cecotec.com