1. Introdución
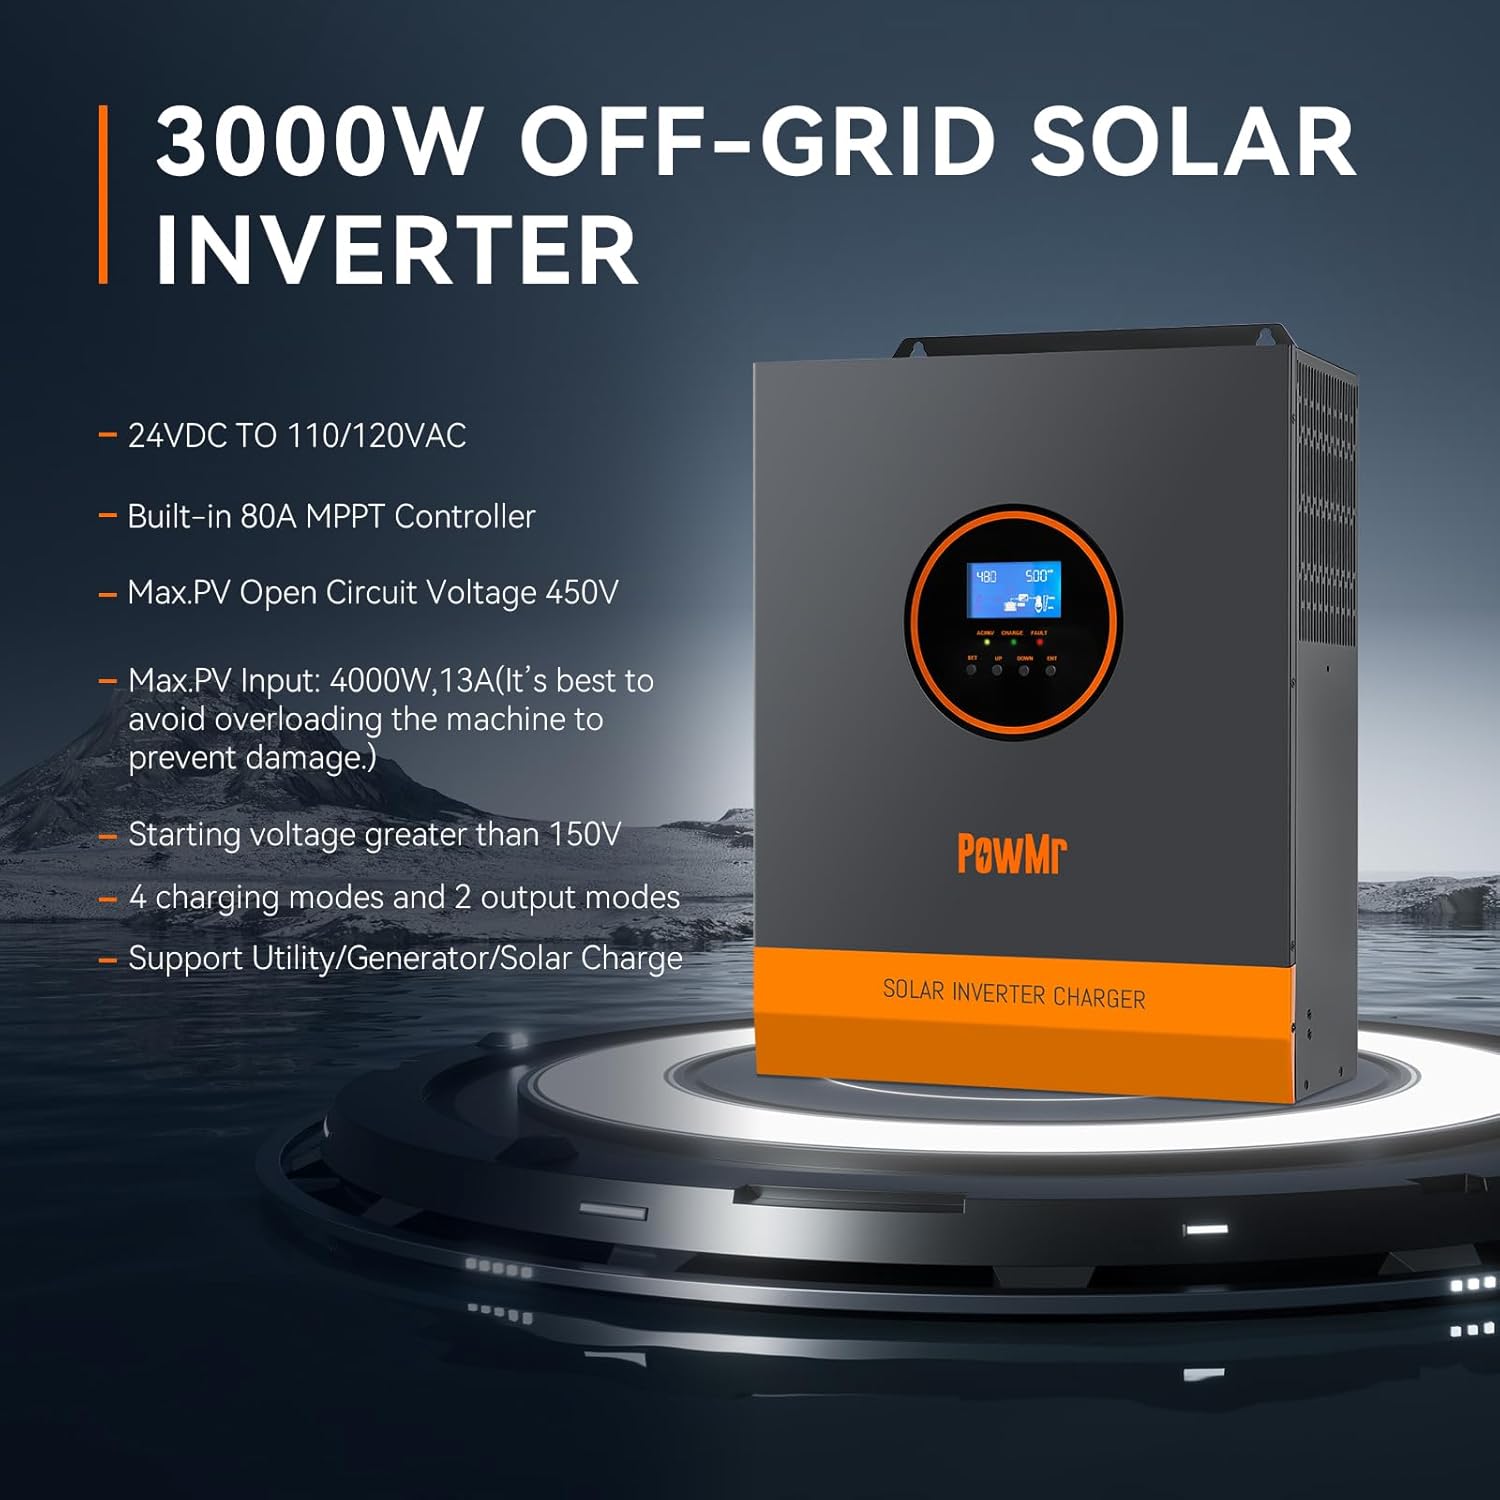
This manual provides essential information for the safe and efficient operation of your PowMr Pure Sine Wave Solar Inverter, Model LVM3K-24V. This device is designed to convert 24V DC power from batteries or solar panels into 110/120V AC power, suitable for various household and office loads. It features a built-in 80A MPPT charge controller and supports multiple charging and output modes.
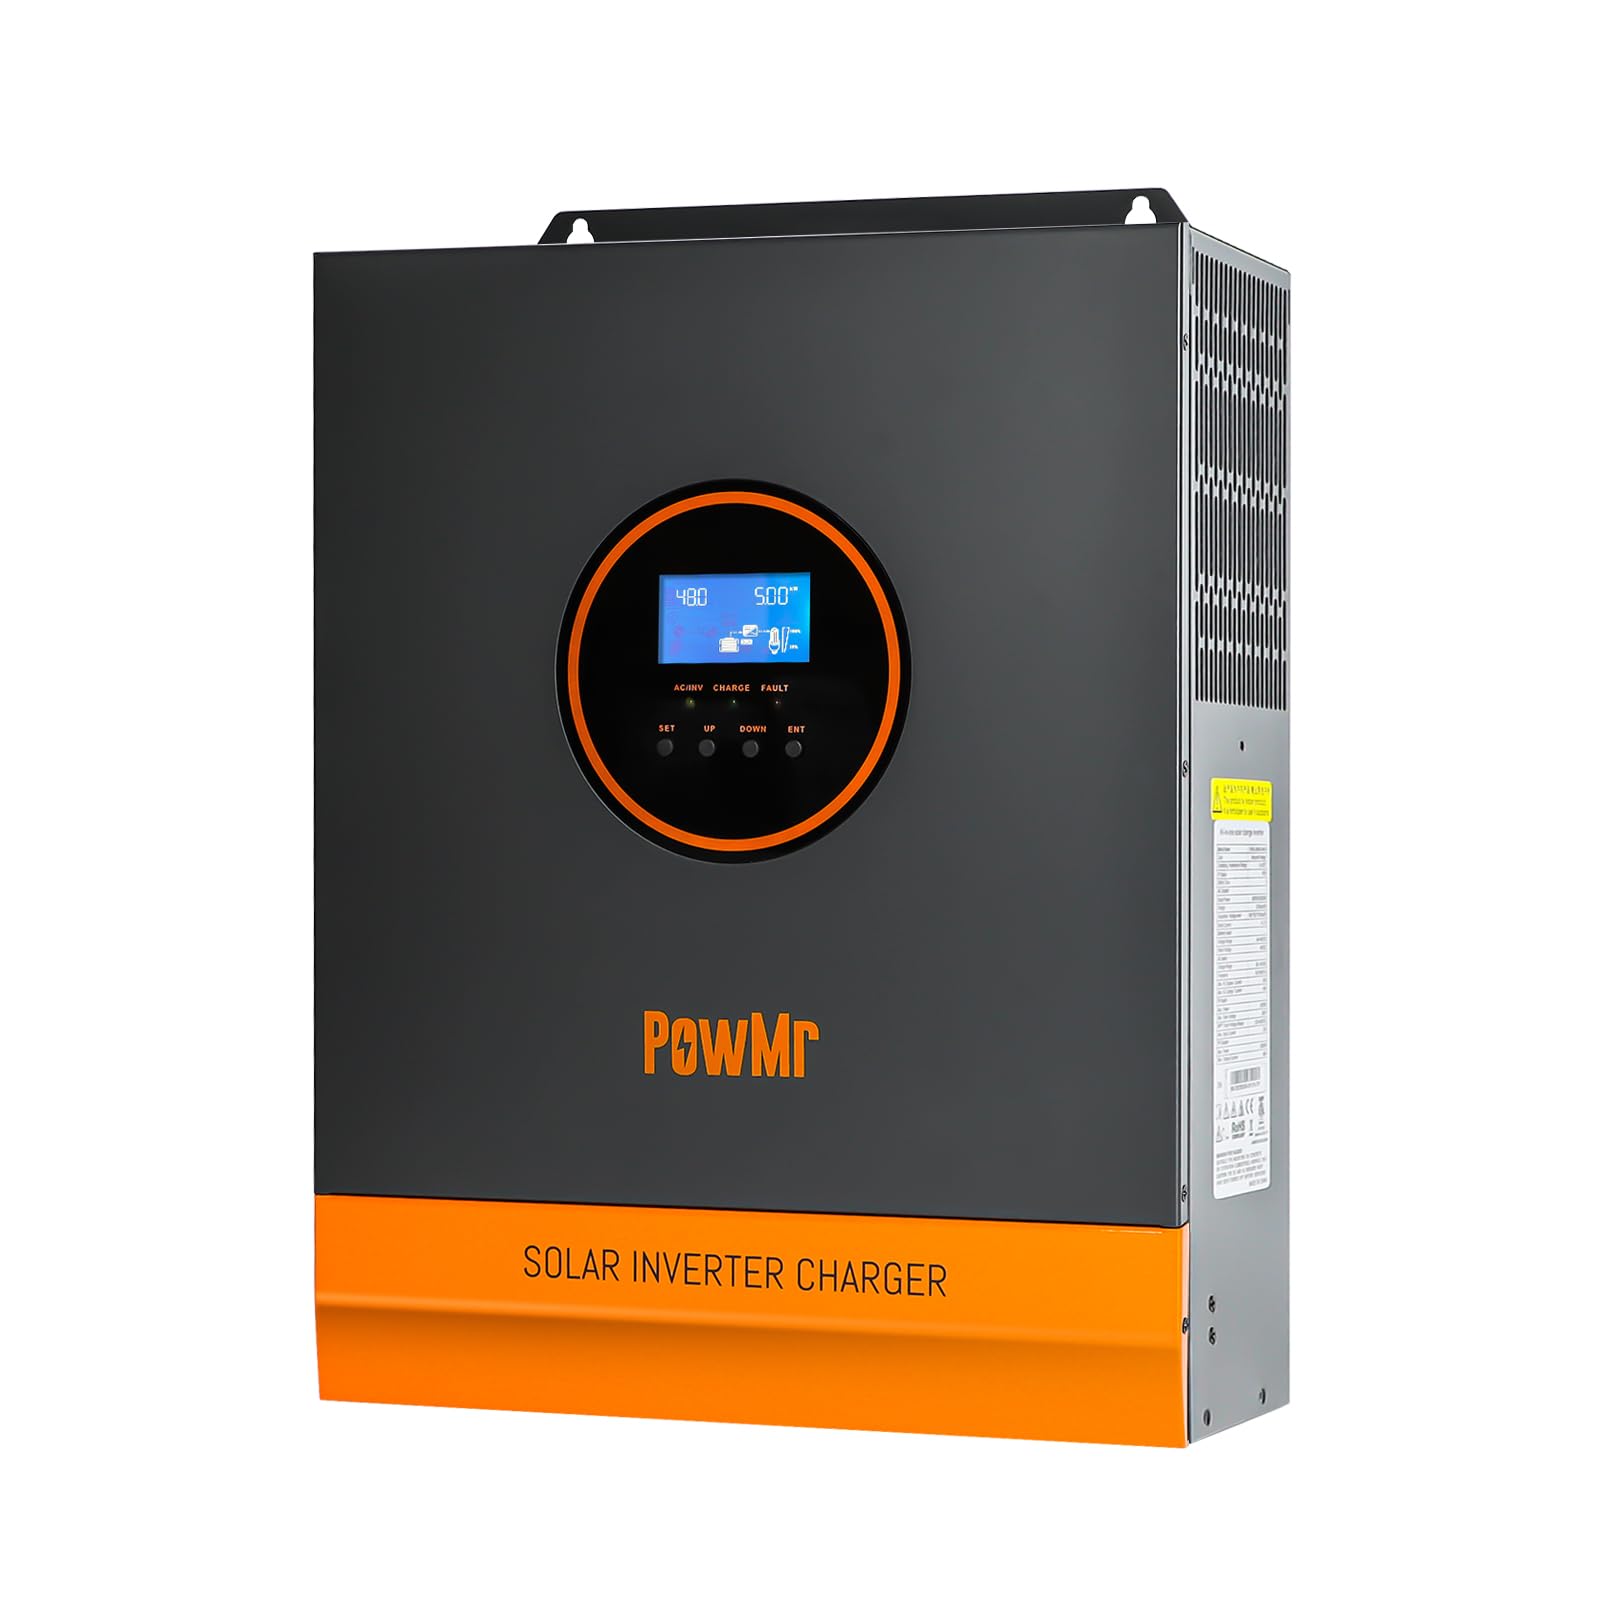
Imaxe: Fronte view of the PowMr 3KW Solar Inverter, highlighting its key features and design.
2. Instrucións de seguridade
Please read and follow all safety instructions carefully before installation and operation. Failure to do so may result in electric shock, fire, or serious injury.
- A instalación debe ser realizada por persoal cualificado.
- Asegurar a correcta posta a terra do inversor.
- Non desmonte o inversor. Non hai pezas no seu interior que o usuario poida reparar.
- Manteña o inversor lonxe de materiais inflamables, humidade e luz solar directa.
- Asegúrese de que haxa unha ventilación axeitada arredor do inversor para evitar o sobrequecemento.
- Verifique que todas as conexións estean seguras e correctas antes de aplicar a alimentación.
- Always disconnect power before performing any maintenance or wiring.
3. Produto rematadoview
Familiarize yourself with the various ports and indicators on your inverter.
Imaxe: Parte traseira e lateral view of the PowMr 3KW Solar Inverter with numbered labels for each port and indicator.
- Porto de entrada de CA: Connects to grid utility or generator AC power.
- Porto de saída de CA: Connects to AC loads (e.g., appliances).
- Porto de comunicación CAN: For advanced communication.
- Porto de comunicación USB: For data monitoring and configuration.
- Porto de comunicación RS485: For data monitoring and configuration.
- Porto de contacto seco: Para control ou sinalización externa.
- Grounding screw hole: For connecting the system ground.
- Protector de sobrecarga: Circuit breaker for overload protection.
- Battery port: Connects to the battery bank (24V DC).
- Ventilador de refrixeración: Disipación de calor durante o funcionamento.
- ON/OFF rocker switch: Interruptor principal de alimentación para o inversor.
- PV port: Conéctase a un conxunto de paneis solares.
- Tecla táctil: For navigating the LCD display.
- Indicador LED: Displays operational status.
- Pantalla LCD: Displays system data and settings.
4. Configuración e instalación
4.1 Diagrama de cableado
Refer to the following diagram for proper wiring connections. Ensure all connections are secure and follow local electrical codes.

Image: Detailed wiring diagram showing connections for solar panels, battery, AC input (utility/generator), and AC output (loads).
- Conexión do panel solar: Max PV Input Power 4000W, Max PV Input Current 13A. Total Open Circuit Voltage (Voc) ≤ 450V. Start-up voltage needs to be greater than 150V. Use 12AWG PV wire. At least 4-6 solar panels are typically needed to meet the starting voltage, depending on individual panel specifications.
- Conexión da batería: Compatible with 24V Lithium/Lead-acid batteries. Recommended battery capacity: 200AH. Use 2AWG battery wire. The battery must be connected for the system to operate.
- Conexión de entrada de CA: Connect to 120Vac±5% utility or generator. Frequency: 50Hz/60Hz. Max AC Bypass Current: 40A. Max AC Charge Current: 40A. Use 10 AWG AC wire. Be sure to connect the PE protective conductor (ground) first.
- Conexión de saída de CA: Max Output Power ≤ 3000W. Rate Voltage: 120Vac±5%. Rate Current: 27.5A.
4.2 Compatibilidade da batería
The inverter is compatible with a wide range of 24V battery types.

Image: Graphic illustrating compatibility with various battery types including AGM, GEL, FLD (Flooded), LI (Lithium), and SLD (Sealed Lead-Acid).
- Lead-Acid Batteries (Sealed, AGM, Gel, Flooded)
- Baterías de litio
Ensure the correct battery type is selected in the inverter settings for optimal charging and discharge performance.
5. Modos de funcionamento
The inverter offers flexible operating modes to suit different application requirements.
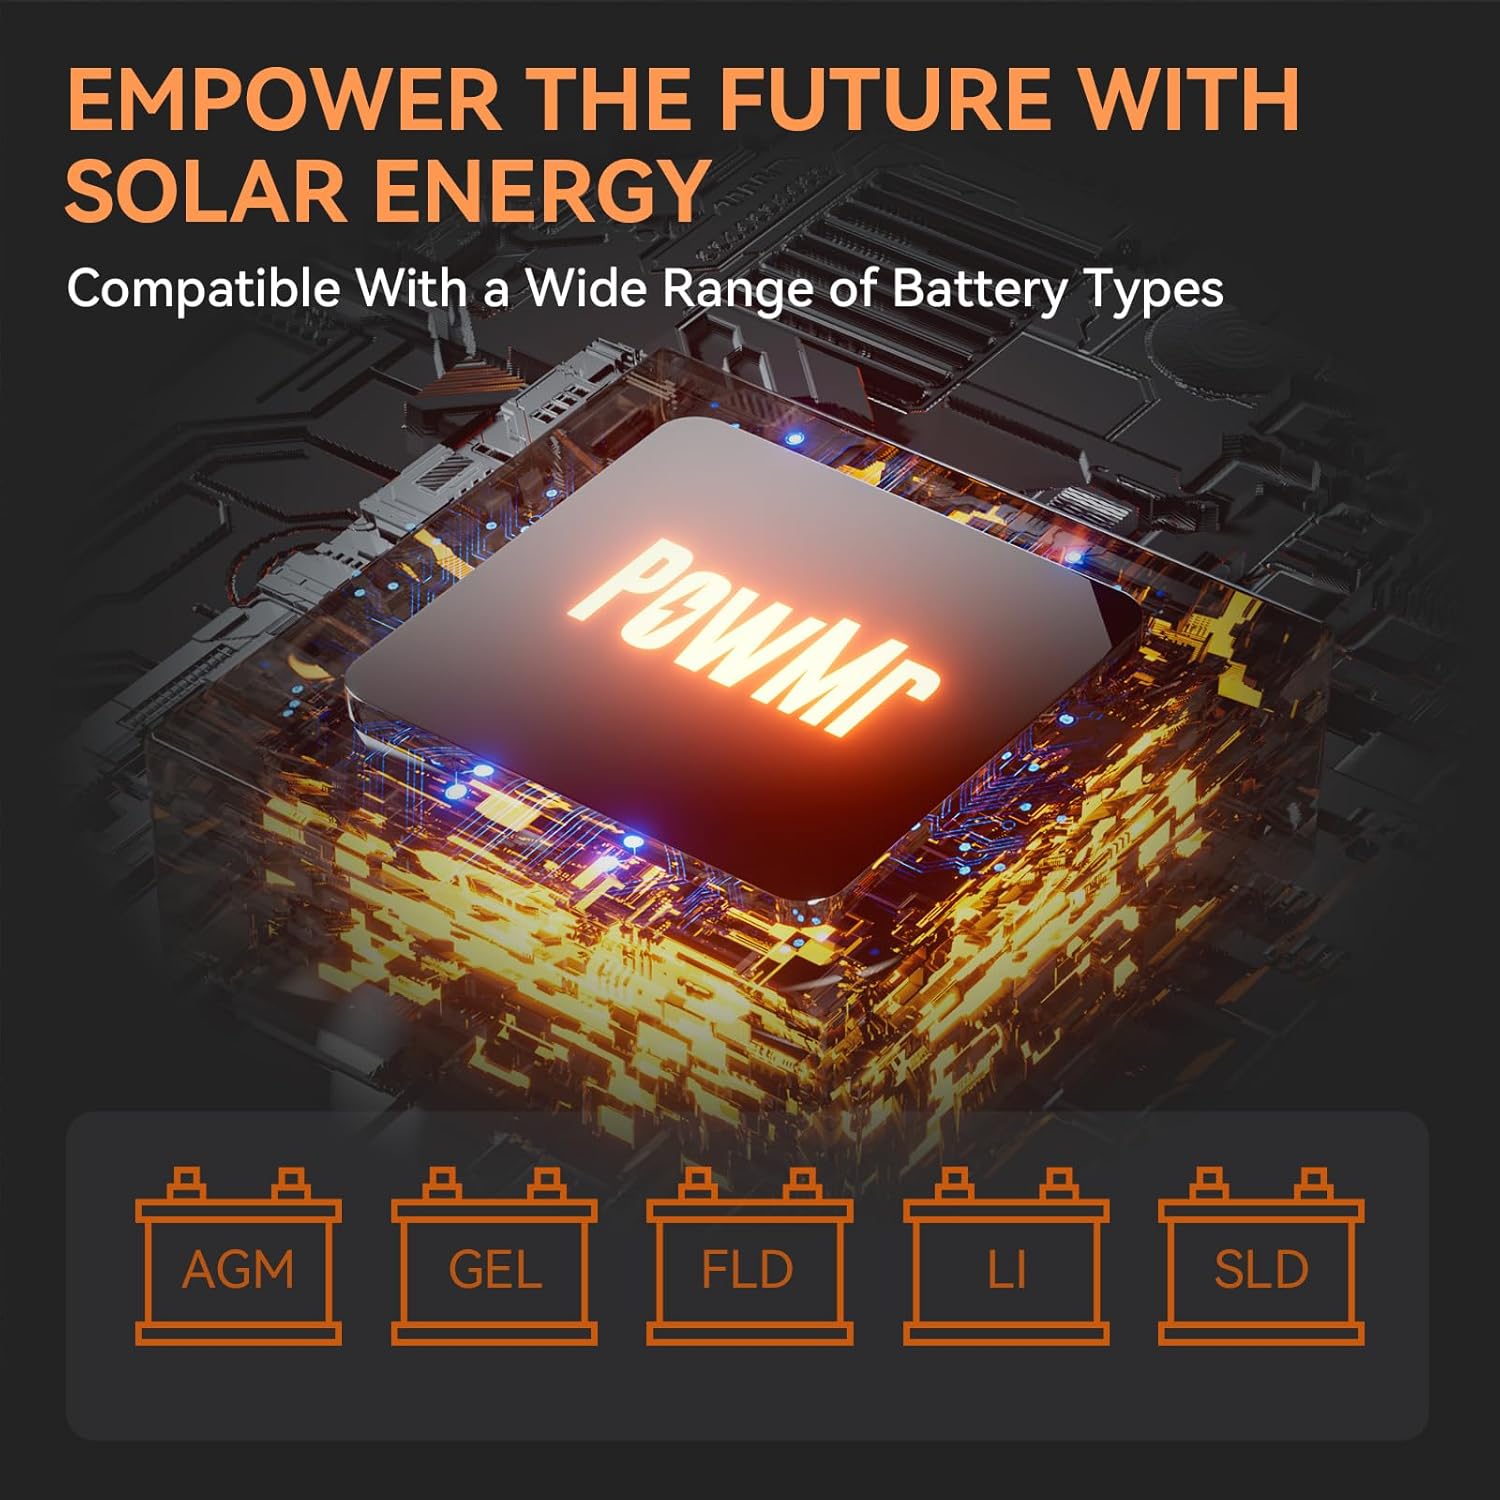
Image: Diagram showing the four charging modes and three load output working modes of the inverter.
5.1 Modos de carga
- PV Priority (Solar Charging): Solar power is prioritized for charging the battery.
- Utility Priority (Electricity Utility Priority): Grid power is prioritized for charging the battery.
- Carga híbrida: A combination of solar and utility power is used for charging.
- Only Solar Charging: Only solar power is used for charging the battery.
5.2 Modos de traballo da saída de carga
- Prioridade fotovoltaica: Solar power is prioritized to supply the loads.
- Prioridade de servizos públicos: Grid power is prioritized to supply the loads.
- Modo inversor: Battery power is used to supply the loads via the inverter.
These modes can be configured via the LCD display to optimize energy usage based on your specific needs.
6. Pantalla LCD e indicadores
The inverter features an LCD display and three LED indicators for real-time monitoring of system data and operational status.
- Pantalla LCD: Provides detailed information such as input/output voltage, current, power, battery status, and selected operating modes. Use the touch keys to navigate through the menus.
- Indicadores LED: Provide quick visual status updates (e.g., power on, fault, charging status). Refer to the user manual for specific LED patterns and their meanings.
An intelligent variable speed fan is integrated to efficiently dissipate heat, extending the system's lifespan.
7. Características de protección
The PowMr Solar Inverter is equipped with comprehensive protection mechanisms to ensure safe and reliable operation:
- Protección contra curtocircuítos: Evita danos por curtocircuítos.
- Máis de Voltage Protección: Proteccións contra o exceso de volumetage entrada.
- Baixo o voltage Protección: Protects batteries from deep discharge.
- Protección contra sobrecarga: Prevents damage when connected loads exceed the inverter's capacity.
- Protección inversa: Protects against incorrect battery polarity connection.
8. Mantemento
Un mantemento regular garante a lonxevidade e o rendemento óptimo do seu inversor.
- Limpeza: Periodically clean the inverter's exterior and ventilation openings to prevent dust buildup. Ensure the inverter is off and disconnected from all power sources before cleaning.
- Conexións: Annually check all electrical connections (PV, battery, AC input/output) for tightness and corrosion.
- Ambiente: Asegúrese de que o ambiente de instalación se manteña dentro dos rangos de temperatura e humidade especificados.
- Saúde da batería: Monitor battery health and perform maintenance as recommended by the battery manufacturer.
9 Solución de problemas
If the inverter is not operating as expected, refer to the following basic troubleshooting steps. For complex issues, contact customer support.
- Sen enerxía: Check the ON/OFF switch, battery connections, and battery voltage. Ensure the overload protector has not tripped.
- Sen saída de CA: Verify AC output connections and ensure no overload condition exists. Check if the inverter is in a fault state indicated by LEDs or LCD.
- Sen carga solar: Check PV panel connections, ensure PV voltage is above the starting voltage (150V), and verify sufficient sunlight.
- Aviso de sobrecarga: Reduce the connected load. The inverter may automatically restart after a cool-down period.
- Códigos de erro: Consult the full user manual for specific error codes displayed on the LCD and their corresponding solutions.
10. Especificacións
| Característica |
Especificación |
| Marca |
Pow Sr |
| Nome do modelo |
LVM3K-24V |
| Wattage |
3000 vatios |
| Potencia máxima de saída |
4000 vatios |
| Vol. De entradatage |
24 voltios (DC) |
| Vol. De saídatage |
110/120 Vca |
| Electrical Output Waveform |
Pura Sine Wave |
| Potencia máxima de entrada PV |
4000 W |
| Vol. de entrada PV máxtage (circuíto aberto) |
450 V |
| Vol. inicial de PVtage |
> 150 V |
| Built-in Charge Controller |
80A MPPT |
| Dimensións do artigo (L x W x H) |
11.02 cm de longo x 14.88 cm de ancho x 4 cm de alto |
| Peso do elemento |
8 quilogramos |
| Usos recomendados |
Home, Recreational Vehicle, Travel |
11. Garantía e soporte
11.1 Información da garantía
This PowMr Solar Inverter comes with a 1 ano de garantía desde a data de compra. A garantía cobre defectos de materiais e fabricación en condicións de uso normal. Non cobre danos causados por unha instalación incorrecta, mal uso, accidentes ou modificacións non autorizadas.
11.2 Atención ao cliente
For technical assistance, troubleshooting beyond this manual, or warranty claims, please contact PowMr customer support. Have your model number (LVM3K-24V) and purchase information ready when contacting support.
You can find contact information on the official PowMr websitio web ou a través do seu vendedor.
