
Introdución
Grazas pola compraasing the Andoer Digital Camera H12. This manual provides detailed instructions for the proper use and maintenance of your camera. Please read this manual thoroughly before using the camera to ensure optimal performance and longevity.
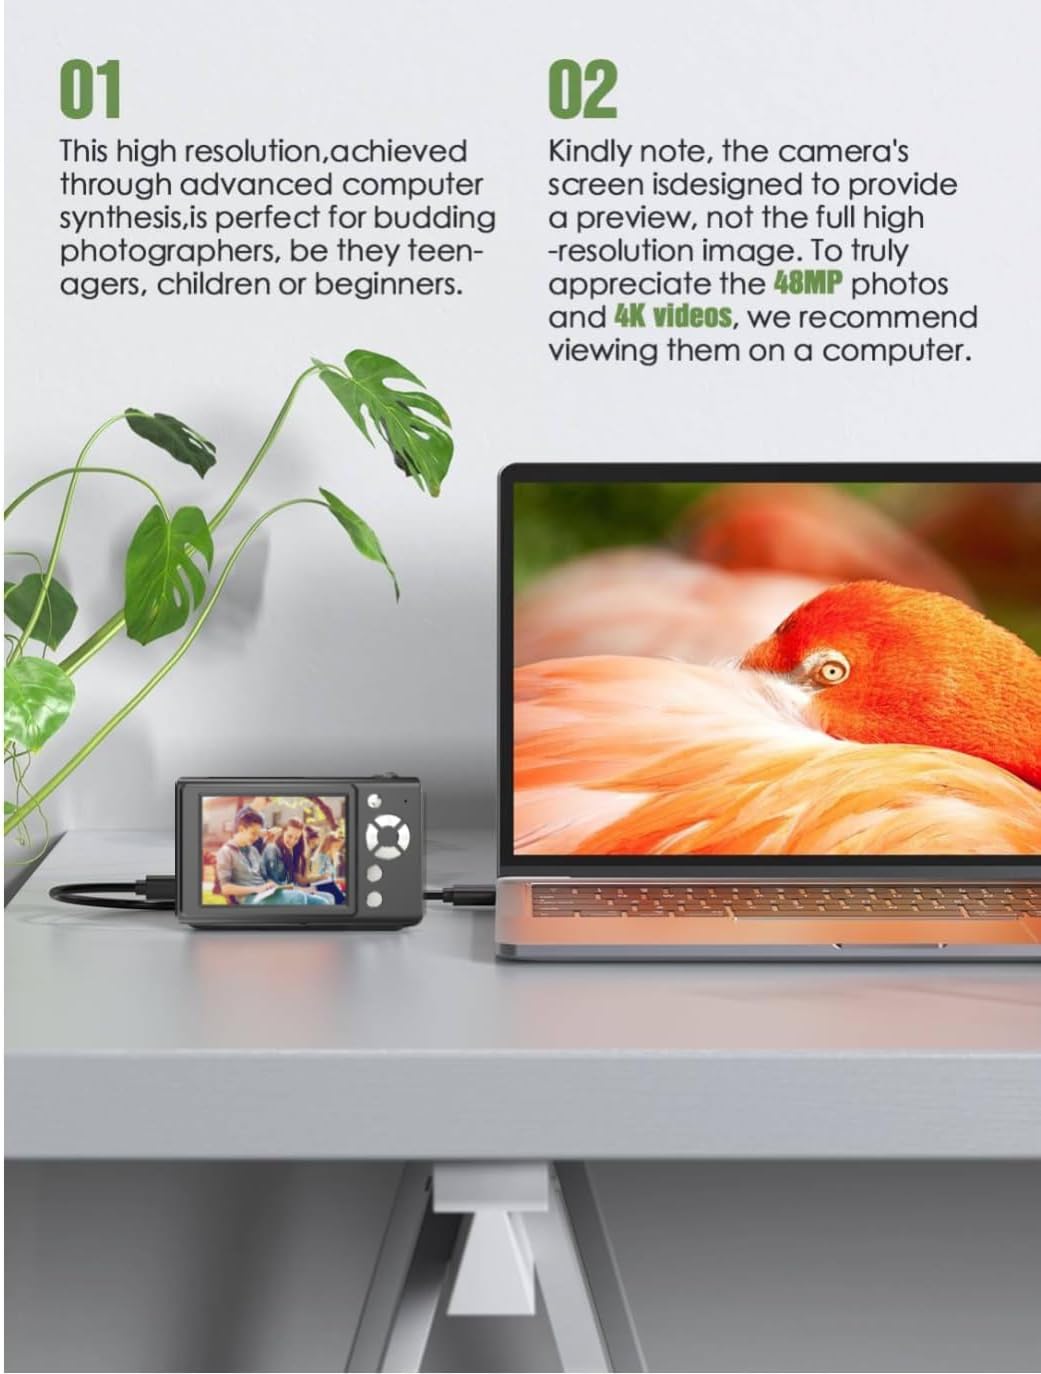
The Andoer H12 is a compact digital point-and-shoot camera featuring 1080P video recording, 48MP photo resolution, 16x digital zoom, autofocus, and an anti-shake function. It is designed for ease of use, making it suitable for various users.
Contido do paquete
Ao desembalar, comproba o contido do paquete para asegurarte de que estean presentes todos os elementos:
- 1 x Andoer Digital Camera H12
- 1 cable USB (tipo C)
- 1 x Correa de boneca
- Tarxeta de memoria 1 x 32GB
- 1 x lector de tarxetas
- 1 x Manual de usuario
Configuración
1. Cargando a batería
The camera is equipped with a built-in 3.7V 700mAh lithium battery. Before first use, fully charge the battery.
- Connect the included Type-C USB cable to the camera's USB port.
- Conecta o outro extremo do cable USB a un adaptador de corrente USB (non incluído) ou ao porto USB dun ordenador.
- The charging indicator light will illuminate. Once charging is complete, the indicator light will change or turn off.
Nota: A full charge typically takes approximately 2-3 hours. Do not use the camera while it is charging.
2. Inserción da tarxeta de memoria
The camera supports TF (MicroSD) cards up to 128GB. A 32GB memory card is included in the package.
- Localice a ranura da tarxeta de memoria no lateral da cámara.
- Gently insert the TF card into the slot with the metal contacts facing the front of the camera until it clicks into place.
- Para retirar a tarxeta, empúrea suavemente de novo ata que saia.

3. Colocación da correa de pulso
Attach the included wrist strap to the camera for added security and to prevent accidental drops.
- Thread the thin loop of the wrist strap through the strap eyelet on the camera body.
- Pass the larger end of the strap through the thin loop and pull tight to secure it.
Instrucións de funcionamento
1. Acendido/apagado
- Para acender, manteña premido o botón de acendido ata que a pantalla se ilumine.
- Para apagar, manteña premido o botón de acendido de novo ata que a pantalla se apague.
- The camera features an auto power-off function (off/3 mins/5 mins) which can be configured in the settings.
2. Facendo fotos
- Turn on the camera. The camera will typically start in photo mode.
- Frame your shot using the 2.8-inch IPS display.
- Press the shutter button halfway down to activate autofocus. The camera will recognize and track subjects.
- Unha vez que se consiga o enfoque (indicado por un marco verde), prema o botón do obturador ata o fondo para sacar a foto.

3. Gravación de vídeos
- Switch to video mode (refer to the camera's on-screen interface for the mode switch button).
- Press the shutter button to start recording. A red indicator or timer will appear on the screen.
- Preme de novo o botón disparador para deter a gravación.
The camera supports 1080P and 720P video resolutions in AVI format. Loop recording can be set for 3, 5, or 10 minutes.
4. Función de zoom
Use the zoom buttons (usually marked 'W' for Wide and 'T' for Telephoto) to adjust the 16x digital zoom. This allows you to magnify distant subjects.

5. LED Fill Light
The camera features a built-in ring LED fill light with three lighting modes to assist in low-light conditions.
- Luz branca: Bright, even, and soft illumination.
- Luz branca cálida: Pure natural light, soft and comfortable.
- Luz amarela: Warm color adjustment for a warm atmosphere.
Access and cycle through these modes via the camera's menu or a dedicated button (refer to the on-screen interface).

6. Outras funcións
- Temporizador para selfies: Options for off, 2s, 5s, or 10s delay before taking a photo.
- Disparo continuo: Capture a series of photos rapidly.
- Antivibración: Helps reduce blur caused by camera movement.
- Efectos de filtro: Various built-in filters to enhance your photos.
- Xogos: Includes 4 simple games for entertainment.
- Reprodución MP3: Download MP3 music to the memory card and play it through the camera.

Mantemento
- Limpeza do corpo da cámara: Use un pano suave e seco para limpar o corpo da cámara. Para a sucidade persistente, dóreo lixeiramenteampEnxágüe o pano con auga e logo séqueo. Evite o uso de produtos de limpeza químicos.
- Limpeza da lente e da pantalla: Use a specialized lens cleaning cloth or brush to gently remove dust and smudges. Do not use abrasive materials or excessive force.
- Almacenamento: When not in use for extended periods, store the camera in a cool, dry place away from direct sunlight and extreme temperatures. Remove the memory card if not in use.
- Coidado da batería: Avoid fully discharging the battery frequently. Charge the battery regularly, even if the camera is not in use, to maintain battery health.
- Resistencia á auga: Esta cámara é non resistente á auga. Avoid exposure to water, rain, or high humidity.
Resolución de problemas
| Problema | Causa posible | Solución |
|---|---|---|
| A cámara non se acende. | A batería está esgotada ou non está cargada. | Charge the camera battery fully using the provided USB cable. |
| Cannot take photos/record videos. | Memory card is full, not inserted correctly, or corrupted. | Check if the memory card is inserted correctly. Delete unnecessary files or replace the memory card. Format the card if necessary (this will erase all data). |
| As imaxes son borrosas. | Autofocus failed, camera shake, or dirty lens. | Ensure autofocus is engaged. Hold the camera steady or use the anti-shake function. Clean the lens with a soft cloth. |
| A pantalla está en branco ou conxelada. | System error or temporary malfunction. | Press and hold the power button for 10 seconds to force a shutdown, then restart the camera. If the issue persists, contact customer support. |
| Non se pode transferir files ao ordenador. | Conexión incorrecta do cable ou problema co controlador. | Ensure the USB cable is securely connected. Try a different USB port or computer. Use the included card reader to transfer files directamente desde a tarxeta de memoria. |
Especificacións
| Característica | Detalle |
|---|---|
| Nome do modelo | H12 |
| Mostrar | LCD IPS de 2.8 polgadas |
| Resolución fotográfica | Up to 48MP (48M, 40M, 24M, 20M, 18M, 16M, 12M, 10M, 8M, 5M, 3M, 2M, 1M) |
| Formato fotográfico | JPG |
| Resolución de vídeo | 1080P, 720P |
| Formato de vídeo | AVI |
| Zoom dixital | 16X |
| Enfoque automático | Yes (Contrast Detection, 9 points) |
| Estabilización da imaxe | Óptica |
| Tipo de sensor | CMOS (1/4-inch) |
| Almacenamento | TF card, max. 128GB (32GB included) |
| Batería | Batería de litio integrada (3.7 V 700 mAh) |
| Interfaz de carga | USB tipo C |
| Temporizador para selfies | Off/ 2s/ 5s/ 10s |
| Apagado automático | Off/ 3 mins/ 5 mins |
| Gravación en bucle | 3 mins/ 5 mins/ 10 mins |
| Características incorporadas | LED Fill Light (3 modes), Filter Effects, 4 Games, MP3 Playback |
| Tamaño do produto | 103 x 31 x 65 mm |
| Peso do produto | 149g (camera body) / 260g (item weight including packaging/accessories) |
| Nivel de resistencia á auga | Non resistente á auga |
Información da garantía
The Andoer Digital Camera H12 comes with a 1 ano de garantía desde a data de compra. Esta garantía cobre defectos de fabricación e avarías en condicións de uso normal. Non cobre danos causados por mal uso, accidentes, reparacións non autorizadas ou desastres naturais.
Conserve o comprobante de compra para reclamacións de garantía.
Atención ao cliente
If you encounter any issues or have questions not covered in this manual, please contact Andoer customer support. You can typically find support contact information on the official Andoer websitio web ou a través do seu vendedor.
Para obter máis axuda, visite o Andoer Store on Amazon.