1. Introdución
Grazas pola compraasing the Portable Mini Projector. This device is designed to provide a versatile and immersive viewing experience, supporting high-definition decoding and various connectivity options for both indoor and outdoor use. Please read this manual thoroughly before operating the projector to ensure proper use and to maximize its performance and lifespan.
2. Información de seguridade
To prevent fire, electric shock, or damage to the projector, please observe the following safety precautions:
- Non bloquee as aberturas de ventilación. Asegúrese de que haxa un fluxo de aire axeitado arredor do proxector.
- Non expoñas o proxector á choiva nin á humidade. Mantéñao lonxe de fontes de auga.
- Empregue só o adaptador de corrente subministrado co proxector.
- Evite mirar directamente a lente do proxector cando o lamp is on, as the bright light can cause eye strain or damage.
- Non intente desmontar nin modificar o proxector. Encargue calquera mantemento a persoal cualificado.
- Coloque o proxector sobre unha superficie estable e nivelada para evitar que caia.
- Keep the projector away from direct sunlight, heat sources, and extreme temperatures.
3. Contido do paquete
Comprobe o contido do paquete ao desembalar:
- Mini proxector portátil
- Adaptador de alimentación
- Control remoto (baterías non incluídas)
- Cable HDMI
- Manual de usuario
4. Características e compoñentes do produto
Familiarize yourself with the projector's key features and components:
- Lente de proxección: Emits the image onto the screen or surface.
- Anel de enfoque: Adjusts the clarity of the projected image.
- Portos de entrada: HDMI, USB, AV, Memory Card slot for various device connections.
- Altavoz incorporado: Ofrece saída de audio.
- Reixas de ventilación: Para a disipación da calor.
- Botón de encendido: Acende/apaga o proxector.
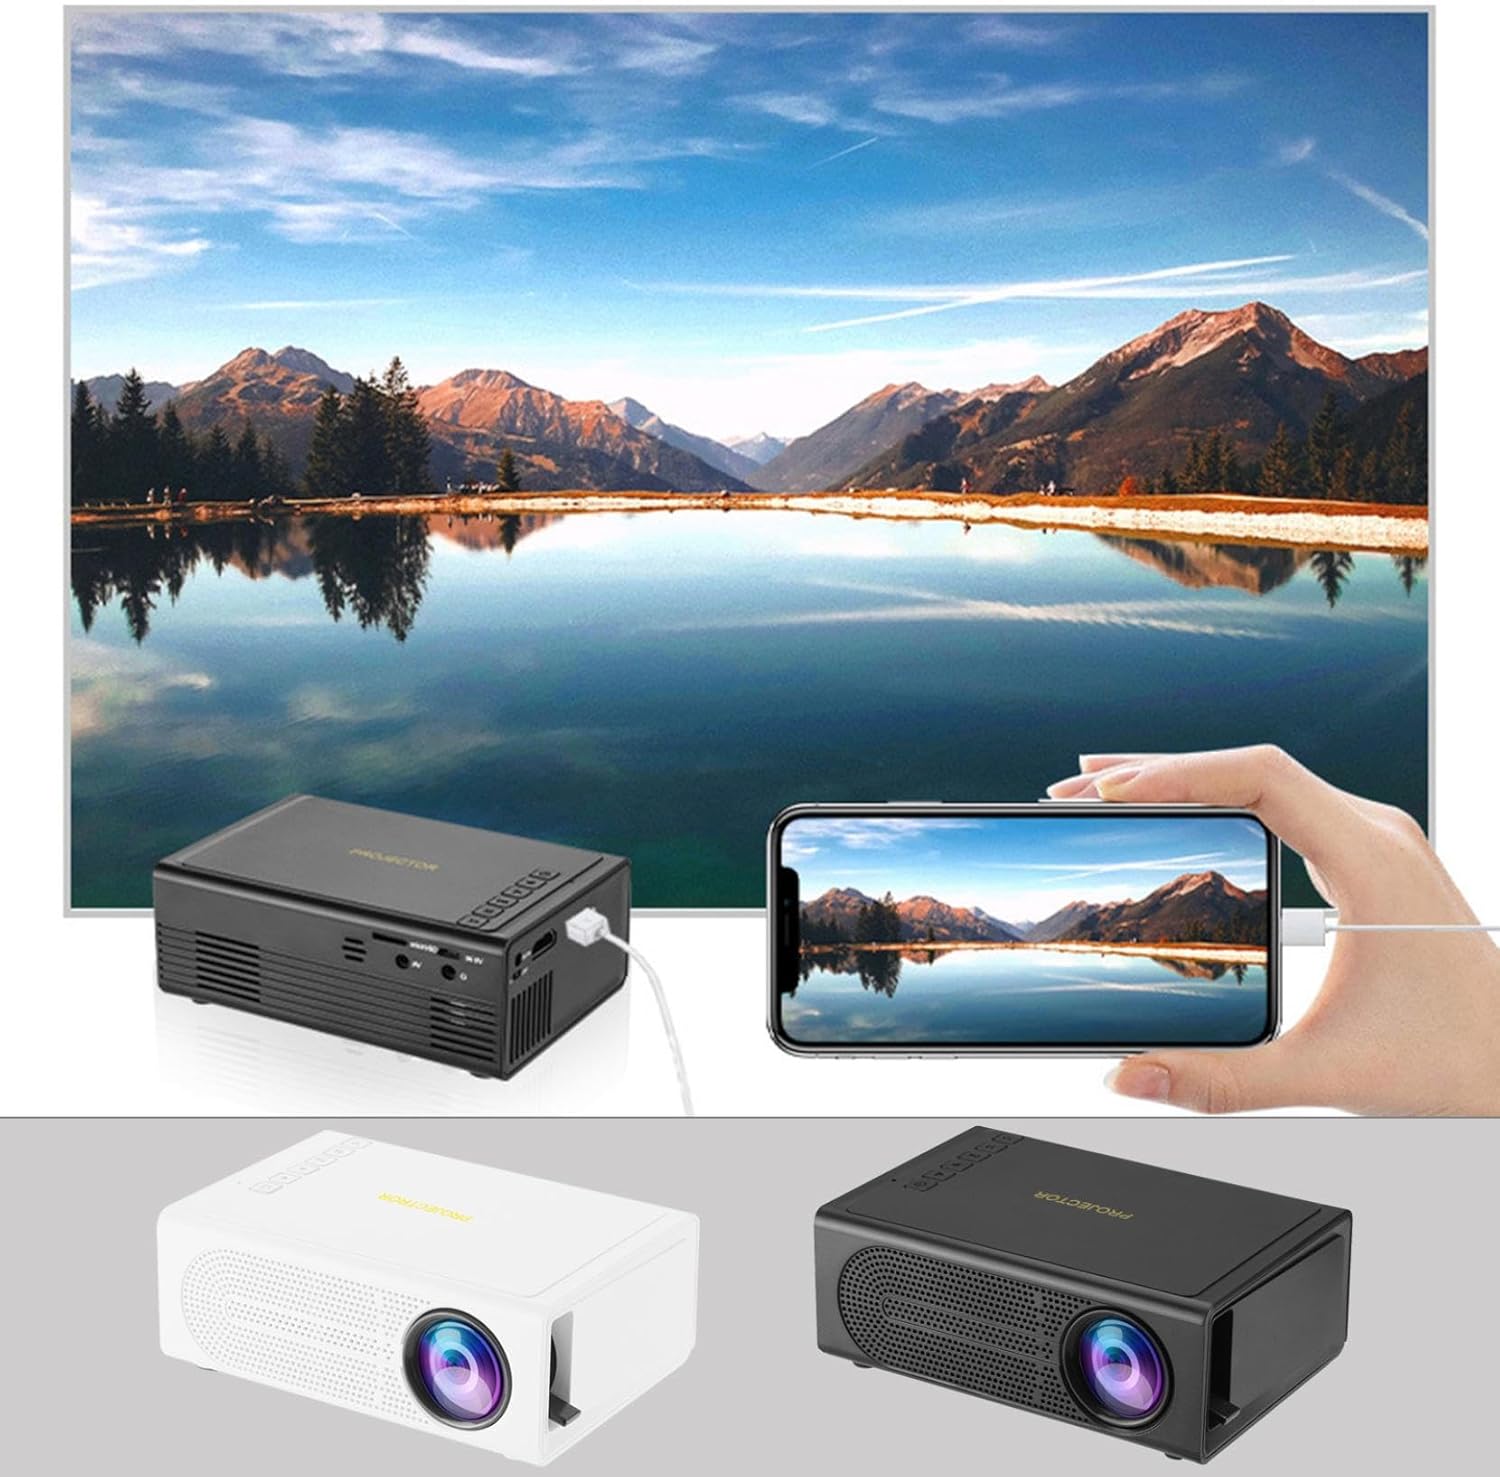
Image: The Portable Mini Projector in use, demonstrating its ability to mirror a smartphone screen onto a large display. Both black and white color options of the projector are shown.

Image: Physical dimensions of the projector, indicating its compact size.
5. Configuración
- Conexión de alimentación: Connect the supplied power adapter to the projector's power input port and then plug it into a power outlet.
- Colocación: Coloque o proxector sobre unha superficie estable e plana. Para unha viewing, position the projector perpendicular to the projection surface (wall or screen).
- Encendido: Preme o botón de acendido do proxector ou do control remoto para acender o dispositivo.
- Axuste do foco: Once powered on, rotate the focus ring on the projector until the projected image appears clear and sharp.
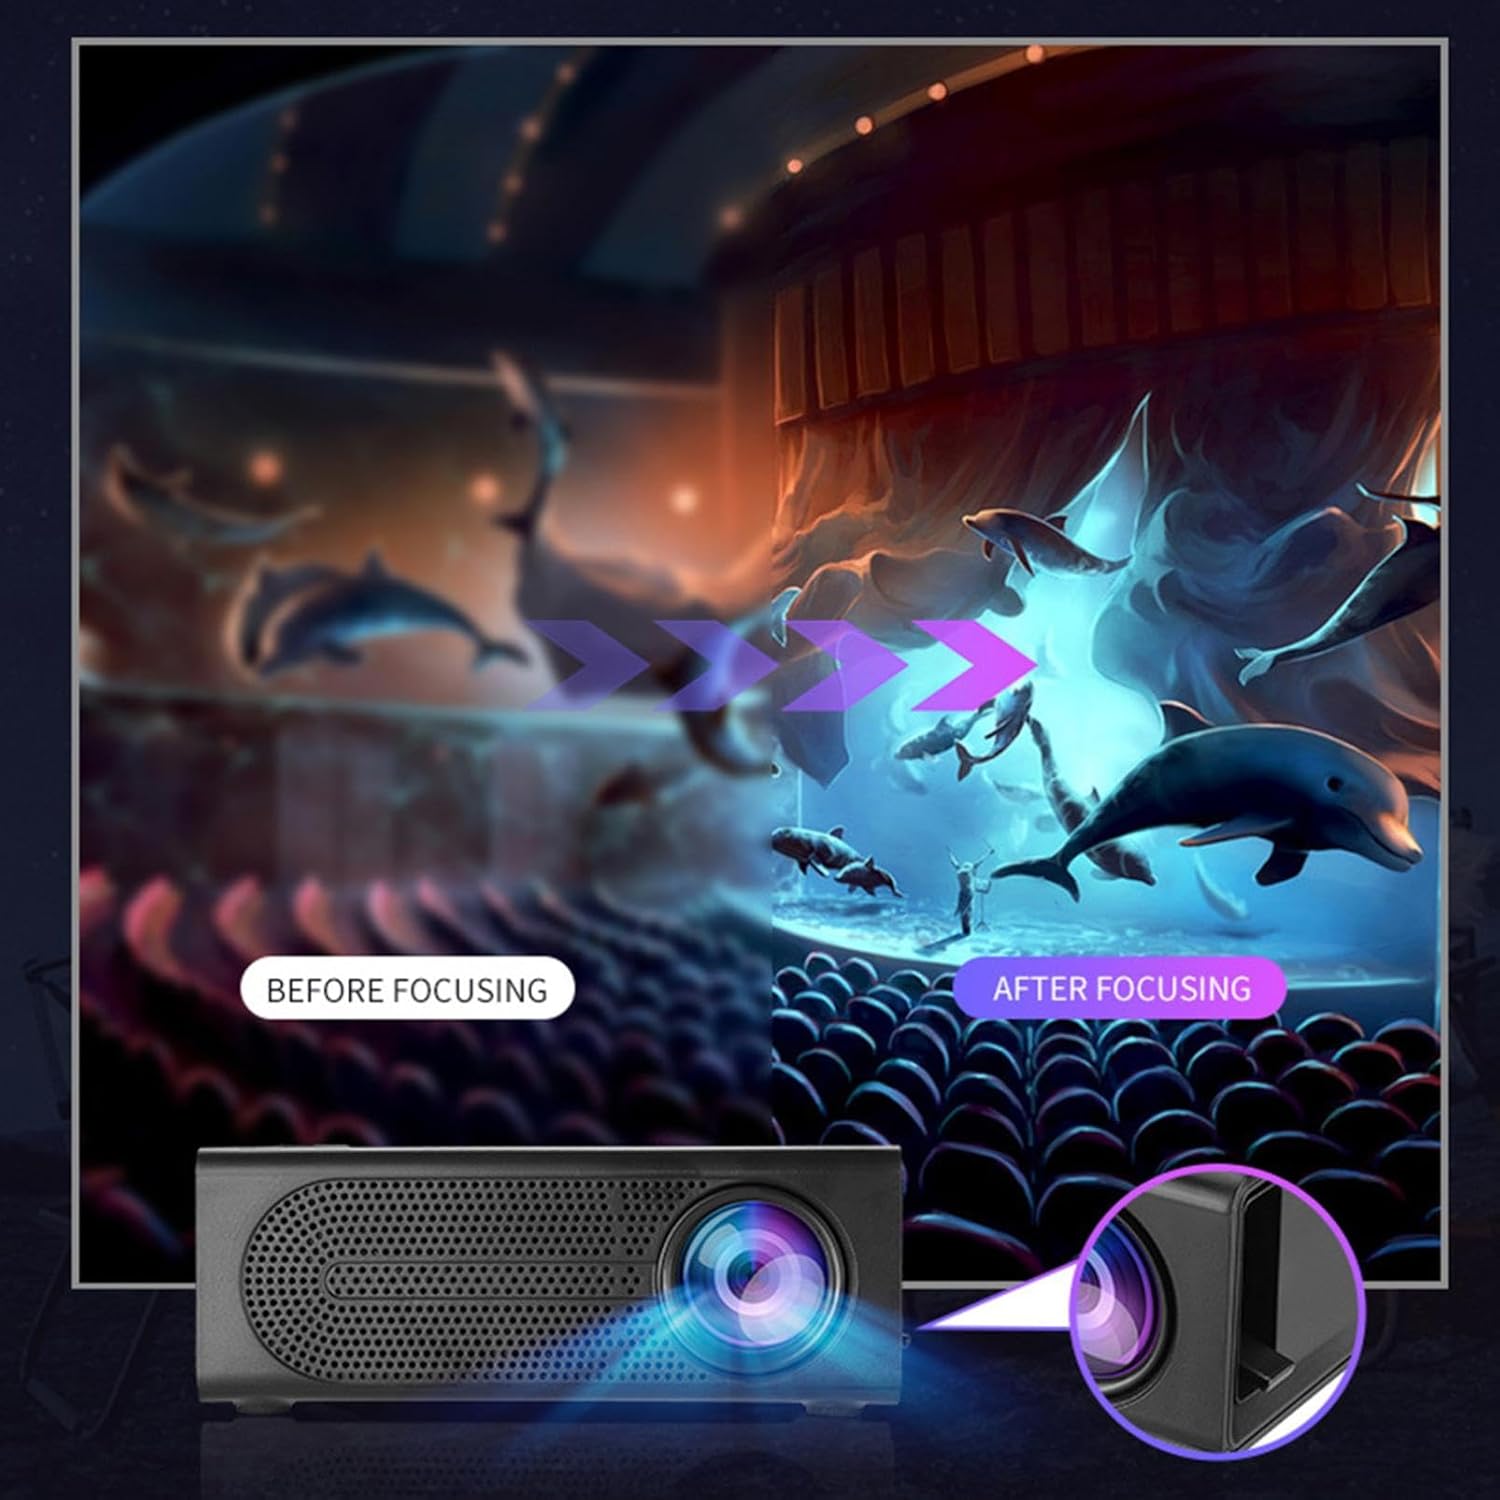
Image: Visual demonstration of focus adjustment, showing the difference between a blurry and a sharp image.
6. Instrucións de funcionamento
6.1 Conexión de dispositivos
The projector supports various input sources. Select the appropriate input mode from the projector's menu after connecting your device.
- HDMI: Connect laptops, gaming consoles, DVD players, or other HDMI-enabled devices using an HDMI cable.
- USB: Insira unha unidade flash USB para reproducir contido multimedia files directamente.
- DE: Use an AV cable to connect older devices like VCRs or some set-top boxes.
- Tarxeta de memoria: Insert a compatible memory card to view fotos ou vídeos.
- Smartphone/Tablet: For wired phone same screen playback, connect your smartphone or tablet via a compatible cable (e.g., USB to Lightning/USB-C for screen mirroring, if supported by your device and the projector).

Image: Connectivity diagram illustrating the wide range of devices compatible with the projector.
6.2 Axustar o tamaño da proxección
The projector can project images ranging from 32 to 100 inches. The projection size is determined by the distance between the projector and the projection surface. Move the projector closer to the surface for a smaller image, and further away for a larger image.
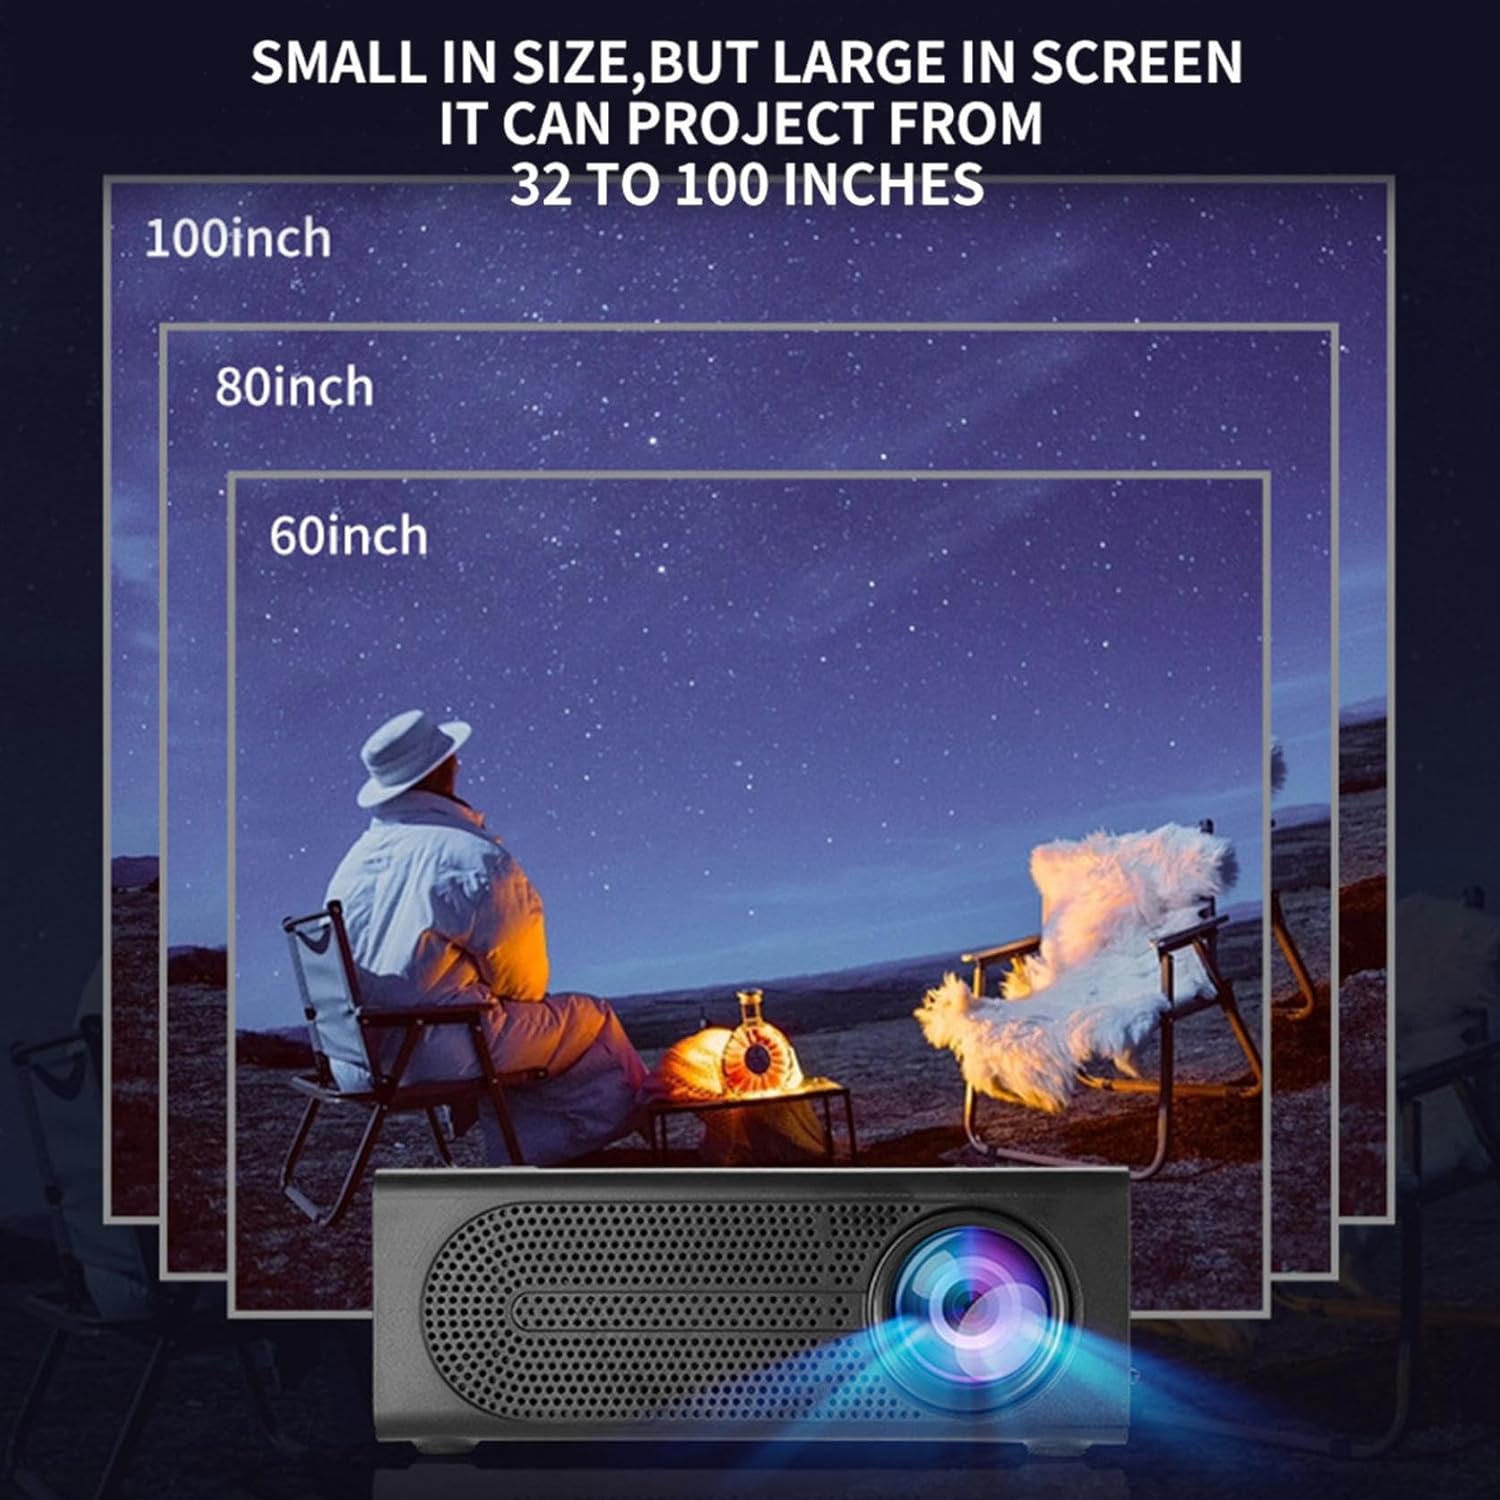
Image: Illustration of various projection sizes achievable with the projector, from 32 to 100 inches.
6.3 Escenarios de uso
This projector is suitable for a variety of environments and uses:
- Parent-child interaction: Enjoy movies or educational content with family.
- Outdoor cinema: Set up a movie night in your backyard.
- Bedroom projection: Watch content comfortably from your bed.
- Living room cinema: Transform your living space into a home theater.

Imaxe: Examples of diverse usage scenarios for the projector, from indoor home theater to outdoor entertainment.

Image: Depiction of family entertainment using the projector, alongside a technical diagram explaining the benefit of diffuse reflection for eye comfort compared to direct-ray light from a TV.
7. Mantemento
Un mantemento axeitado garante a lonxevidade e o rendemento óptimo do seu proxector:
- Limpeza de lentes: Usa un pano suave e sen fiapos deseñado especificamente para lentes ópticas para limpar con coidado a lente do proxector. Non empregues produtos de limpeza abrasivos nin forzas excesivas.
- Eliminación de po: Regularly clean the ventilation grilles with a soft brush or compressed air to prevent dust buildup, which can affect cooling and performance.
- Almacenamento: Cando non o use durante períodos prolongados, garde o proxector nun lugar fresco e seco, lonxe da luz solar directa e de temperaturas extremas.
- Apagar correctamente: Apague sempre o proxector co botón de acendido e deixe que arrefríe antes de desconectalo ou movelo.
8 Solución de problemas
Se tes problemas co teu proxector, consulta os seguintes problemas e solucións comúns:
| Problema | Causa posible | Solución |
|---|---|---|
| Non se proxecta ningunha imaxe | Power not connected; Input source not selected; Lens cap on. | Ensure power is connected and unit is on; Select correct input source; Remove lens cap. |
| A imaxe está borrosa | Enfoque non axustado; proxector demasiado preto/lonxe da pantalla. | Axuste o anel de enfoque; axuste a distancia de proxección. |
| Sen son | Volume demasiado baixo; cable de son non conectado; silenciado. | Increase volume; Check audio connections; Unmute projector/source device. |
| O control remoto non funciona | Pilas gastadas/inseridas incorrectamente; Obstrución entre o mando a distancia e o proxector. | Substitúa as pilas; asegúrese de que haxa unha liña de visión libre co receptor de infravermellos. |
Se o problema persiste despois de probar estas solucións, póñase en contacto co servizo de atención ao cliente.
9. Especificacións
- Tipo de produto: Mini proxector portátil
- Marca: Xenérico
- Dispositivos compatibles: Laptop, Gaming Console, Tablet, Camera, Smartphone
- Relación de contraste da imaxe: Alto
- Tamaño da proxección: 32 a 100 polgadas
- Decodificación de vídeo: H.264, H.265
- Conectividade: HDMI, USB, AV, Memory Card
- Dimensións: Approximately 5in (L) x 3.2in (W) x 1.9in (H) / 12.7cm (L) x 8.15cm (W) x 4.85cm (H)
10. Garantía e soporte
This product comes with a standard manufacturer's warranty. Please refer to the warranty card included in your package for specific terms and conditions. For technical support, troubleshooting assistance, or warranty claims, please contact the retailer or manufacturer's customer service department.
Contacto de atención ao cliente: Please refer to retailer or manufacturer websitio para os detalles de contacto.