1. Introdución
The ASUS AirVision M1 Smart AR Glasses are a wearable display device designed to provide an expansive and immersive visual experience. This device integrates a 100-inch virtual Micro-OLED display with 1100 nits brightness and 95% DCI-P3 color gamut, offering clear and vibrant visuals for both productivity and entertainment. The glasses feature multi-screen capabilities, built-in speakers, and a noise-canceling microphone, connecting via USB-C to a variety of compatible devices.
As características principais inclúen:
- Up to a 100-inch virtual display with 1,100 nits brightness and 95% DCI-P3 color gamut.
- Multi-screen functionality for enhanced productivity.
- Seamless integration with devices supporting USB-C with DisplayPort Alt-Mode or Thunderbolt 4.
- Built-in speakers and a noise-canceling microphone.
- Lightweight design (87g) with high transparency for situational awareness.
- Personalizable viewing experience via the AirVision App, including screen distance and pupil distance adjustments.

Figure 1.1: ASUS AirVision M1 Smart AR Glasses.

Figura 1.2: Máisview of ASUS AirVision M1 display capabilities, including 100-inch display, 1100 nits brightness, and optimization for Windows devices.
2. Que hai na caixa
Verifica que todos os elementos estean presentes no paquete:
- ASUS AirVision M1 Glasses
- Maletín de transporte
- Cable USB-C
- Tarxeta de garantía
- Guía de inicio rápido (QSG)
- User manual (Web)
- Pano de limpeza
- Prescription lens module (optional, included)
- Escudo de luz
- Nose pads (2 pairs)

Figure 2.1: All components included in the ASUS AirVision M1 package.

Cable USB-C

Maletín de transporte

Almohadillas nasais

Escudo de luz

Prescription Lens Module
3. Configuración
3.1 Fitting the Glasses
- Choose the Correct Nose Pads: Select the nose pads that provide the most comfortable and stable fit on your nose. Gently attach them to the glasses.
- Install Prescription Lens Module (if applicable): If you require corrective lenses, attach the prescription lens module to the designated area on the glasses.
- Axustar para limpar View: Once worn, ensure the glasses are positioned to achieve a clear and focused image. Minor adjustments to the nose pads or the glasses' position on your face may be necessary.
3.2 Attaching the Light Shield
For enhanced immersion or to reduce external light interference, attach the magnetic light shield to the front of the glasses. The shield will snap into place magnetically.
3.3 Initial Connection and Software Installation
- Conectar ao dispositivo: Use the provided USB-C cable to connect the ASUS AirVision M1 glasses to a compatible device (e.g., laptop, ROG Ally, smartphone, tablet). Ensure your device supports USB-C with DisplayPort Alt-Mode or Thunderbolt 4.
- Install AirVision App: For full functionality, including multi-screen setups and advanced display adjustments, install the ASUS AirVision App on your Windows-based device. The app can typically be found on the official ASUS support website for the AirVision M1.
- First-Time Setup in App: Follow the on-screen instructions within the AirVision App to calibrate screen distance and pupil distance for optimal viewcomodidade.
4. Operating the Glasses
4.1 Connecting to Compatible Devices
The AirVision M1 glasses connect via a single USB-C cable. This connection provides both power and video signal. Ensure your host device has a USB-C port that supports DisplayPort Alt-Mode or Thunderbolt 4 for video output.
- PC/Portátil: Connect directly to a compatible USB-C port.
- ROG Ally/Steam Deck: Connect directly for an enhanced portable gaming experience.
- Smartphones/Tablets: Compatible with select Android and iOS devices (iPhone 15/16) that support USB-C video output.
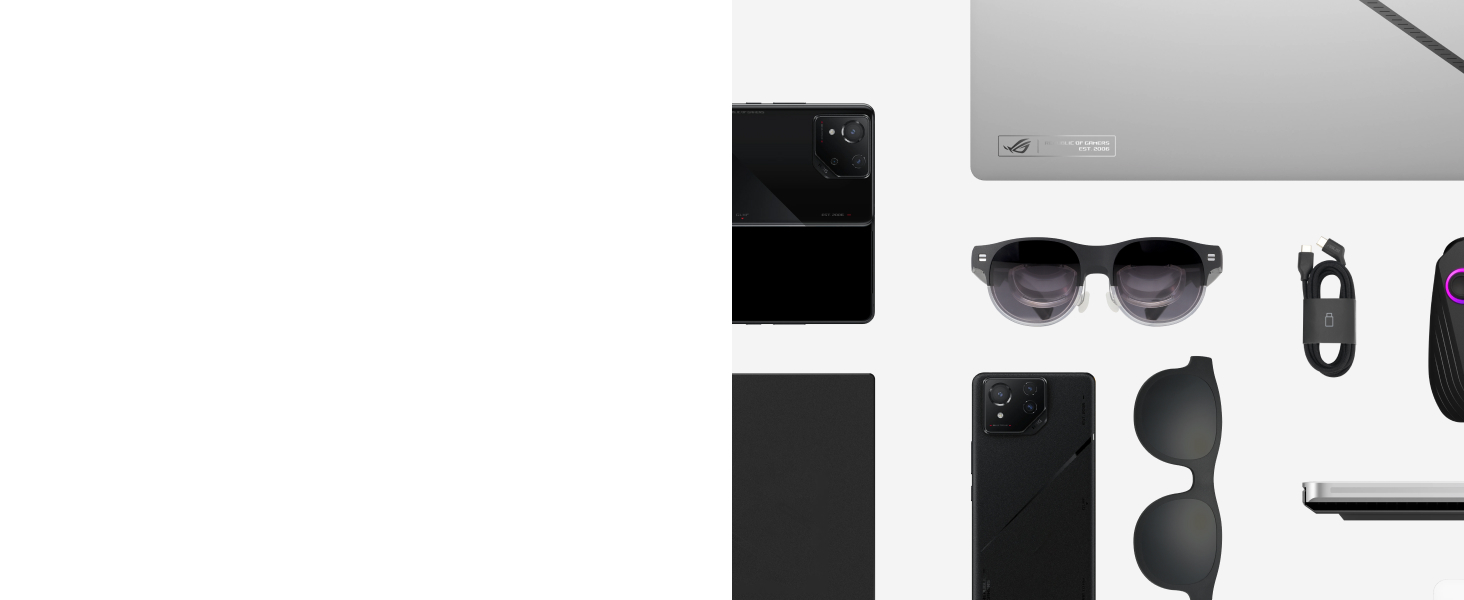
Figure 4.1: The ASUS AirVision M1 offers seamless compatibility with a range of Type-C Alt mode devices.
4.2 Using the AirVision App (Windows Only)
The AirVision App provides advanced customization and multi-screen management for Windows devices.
- Multi-screen Setup: Arrange multiple virtual screens for enhanced productivity. You can position and resize screens as needed.
- Screen Distance Adjustment: Fine-tune the perceived distance of the virtual screen for optimal comfort.
- Pupil Distance Customization: Adjust the display to match your individual pupil distance for a clearer image.
- ViewModos de ing: Switch between various modes tailored for different usage scenarios, such as:
- Modo de traballo: Optimized for multi-tasking with several virtual displays.
- Modo de xogo: Provides an immersive, wide-screen experience for gaming.
- Infinity Mode: Offers a vast, expansive virtual environment.

Figure 4.2: AirVision App interface showing options for multiscreen setup, screen distance, pupil distance, and different viewmodos de ing.

Figura 4.3: Example of a multi-screen work environment using the AirVision M1 glasses.
4.3 Gesture Controls
The glasses feature intuitive gesture controls for quick adjustments (requires AirVision App for full functionality):
- Center Virtual Screen: One-finger tap on the temple to re-center the display.
- Cambiar ViewModos de ing: One-finger double tap to cycle through available viewmodos de ing.
- Axuste de brillo: One-finger swipe on the temple to adjust display brightness.

Figure 4.4: Visual guide to gesture controls for screen centering, mode switching, and brightness adjustment.
4.4 Funcións de audio
The AirVision M1 glasses include built-in speakers for audio output and a noise-canceling microphone for communication. These are designed for convenience during use, whether for calls, gaming, or media consumption.

Figure 4.5: The glasses feature built-in speakers and a noise-canceling microphone for integrated audio.

Figure 4.6: The AirVision M1 provides an immersive experience for gaming and private media viewing.
5. Mantemento
5.1 Limpeza
- Lentes: Use the provided cleaning cloth or a soft, lint-free microfiber cloth specifically designed for optics. Gently wipe the lenses to remove dust and smudges. Do not use abrasive materials, paper towels, or harsh chemical cleaners, as these can scratch or damage the lens coatings.
- Marco: Limpe o marco cun pano suave eamp cloth. Avoid getting moisture into any openings or ports.
- Porto USB-C: Ensure the USB-C port is free of dust and debris. Use a dry, soft brush if necessary.
5.2 Almacenamento
- When not in use, store the glasses in the provided carrying case to protect them from dust, scratches, and impacts.
- Garda os lentes nun lugar fresco e seco, lonxe da luz solar directa e de temperaturas extremas.
6 Solución de problemas
If you encounter issues with your ASUS AirVision M1 glasses, refer to the following common troubleshooting steps:
- No Display or Blurry Image:
- Ensure the USB-C cable is securely connected to both the glasses and the host device.
- Verify that your host device's USB-C port supports DisplayPort Alt-Mode or Thunderbolt 4.
- Adjust the glasses' position on your face and try different nose pads for a better fit.
- Use the AirVision App to adjust the pupil distance (IPD) and screen distance settings for optimal clarity. Individual eye differences can significantly impact perceived image quality.
- Limpa as lentes co pano de limpeza fornecido.
- Sen son ou mala calidade de son:
- Check your host device's audio output settings to ensure the AirVision M1 is selected as the output device.
- Adjust the volume on both the host device and using the gesture controls on the glasses.
- Ensure the USB-C connection is stable.
- AirVision App Not Functioning Correctly:
- Ensure you have the latest version of the AirVision App installed from the official ASUS websitio.
- Restart the AirVision App and reconnect the glasses.
- Verifica que o teu sistema operativo estea actualizado.
- Glasses Not Recognized by Device:
- Try connecting the glasses to a different USB-C port or a different compatible device to isolate the issue.
- Asegúrate de que os controladores do teu dispositivo estean actualizados.
7. Especificacións
| Característica | Detalle |
|---|---|
| Número de modelo | M1 |
| Marca | ASUS |
| Resolución de visualización | 1920 x 1080 (Full HD) |
| Tipo de visualización | Micro-OLED |
| Brillo | 1100 nits |
| Gama de cores | 95% DCI-P3 |
| Tecnoloxía de conectividade | USB-C cable (DisplayPort Alt-Mode / Thunderbolt 4 compatible) |
| Características especiais | Built-In Speaker, Micro OLED, Portable, Noise-Canceling Mic, Ambient Light Sensor |
| Usos recomendados | Business, Gaming, Personal |
| Peso do elemento | 3.2 onzas (aprox. 90.7 g) |
| Dimensións do paquete | 8.86 x 5.47 x 4.33 polgadas |
8. Garantía e soporte
8.1 Información da garantía
The ASUS AirVision M1 Smart AR Glasses come with a manufacturer's warranty. Please refer to the warranty card included in your product package for specific terms, conditions, and duration of coverage. Keep your proof of purchase for warranty claims.
8.2 Soporte técnico
For technical assistance, product updates, or further information, please visit the official ASUS support websitio. Alí podes atopar controladores, preguntas frecuentes e información de contacto para o servizo de atención ao cliente.
Soporte ASUS Websitio: www.asus.com/support/