
1. Produto rematadoview
The TOWODE 16 Channel H.265+ Security DVR System is a comprehensive surveillance solution designed for various environments, including homes, offices, warehouses, and retail spaces. This system supports up to 16 cameras simultaneously, offering versatile monitoring capabilities. It features 5MP ultra-high-definition cameras, advanced H.265+ video compression for efficient storage, and intelligent alarm functions. Remote access via mobile app and PC ensures you can monitor your property from anywhere.

Imaxe: Máis deview of the TOWODE 16 Channel Security DVR System, showing the DVR unit, four bullet cameras, and a 1TB hard drive.
2. Que hai na caixa
- 1x 16CH DVR recorder
- 4x 5MP HD Cameras
- 1x 1TB HDD (Pre-installed)
- 4x 15 meters integrated video/power cables
- 4x 12V2A power supply for cameras
3. Características clave
- 16-Channel High Capacity: Connects up to 16 surveillance cameras, supporting AHD/TVI/CVI/CVBS/IP camera 5-in-1 access mode for flexible monitoring.
- 5MP Ultra High Definition: Cameras record 5MP video at 25fps (2592*1944 HD), capturing clear details. Features a 3.6mm lens and 80-foot infrared night vision range.
- Resistente ás inclemencias do tempo IP66: Cameras are constructed from high-quality metal aluminum, designed to withstand outdoor conditions including rain and snow.
- H.265+ Efficient Video Compression: Advanced H.265+ encoding improves compression ratio, offering longer recording times and up to 80% storage savings compared to H.264 systems.
- Intelligent Alarm System: Features mobile detection that triggers alarms and sends notifications via email or mobile phone upon detecting abnormal activity.
- Funcionamento remoto cómodo: Supports remote access for real-time viewing and video playback via mobile phones, computers, and other network-connected devices.
- Almacenamento ampliable: Includes a pre-installed 1TB HDD, expandable up to 14TB for extensive recording needs.
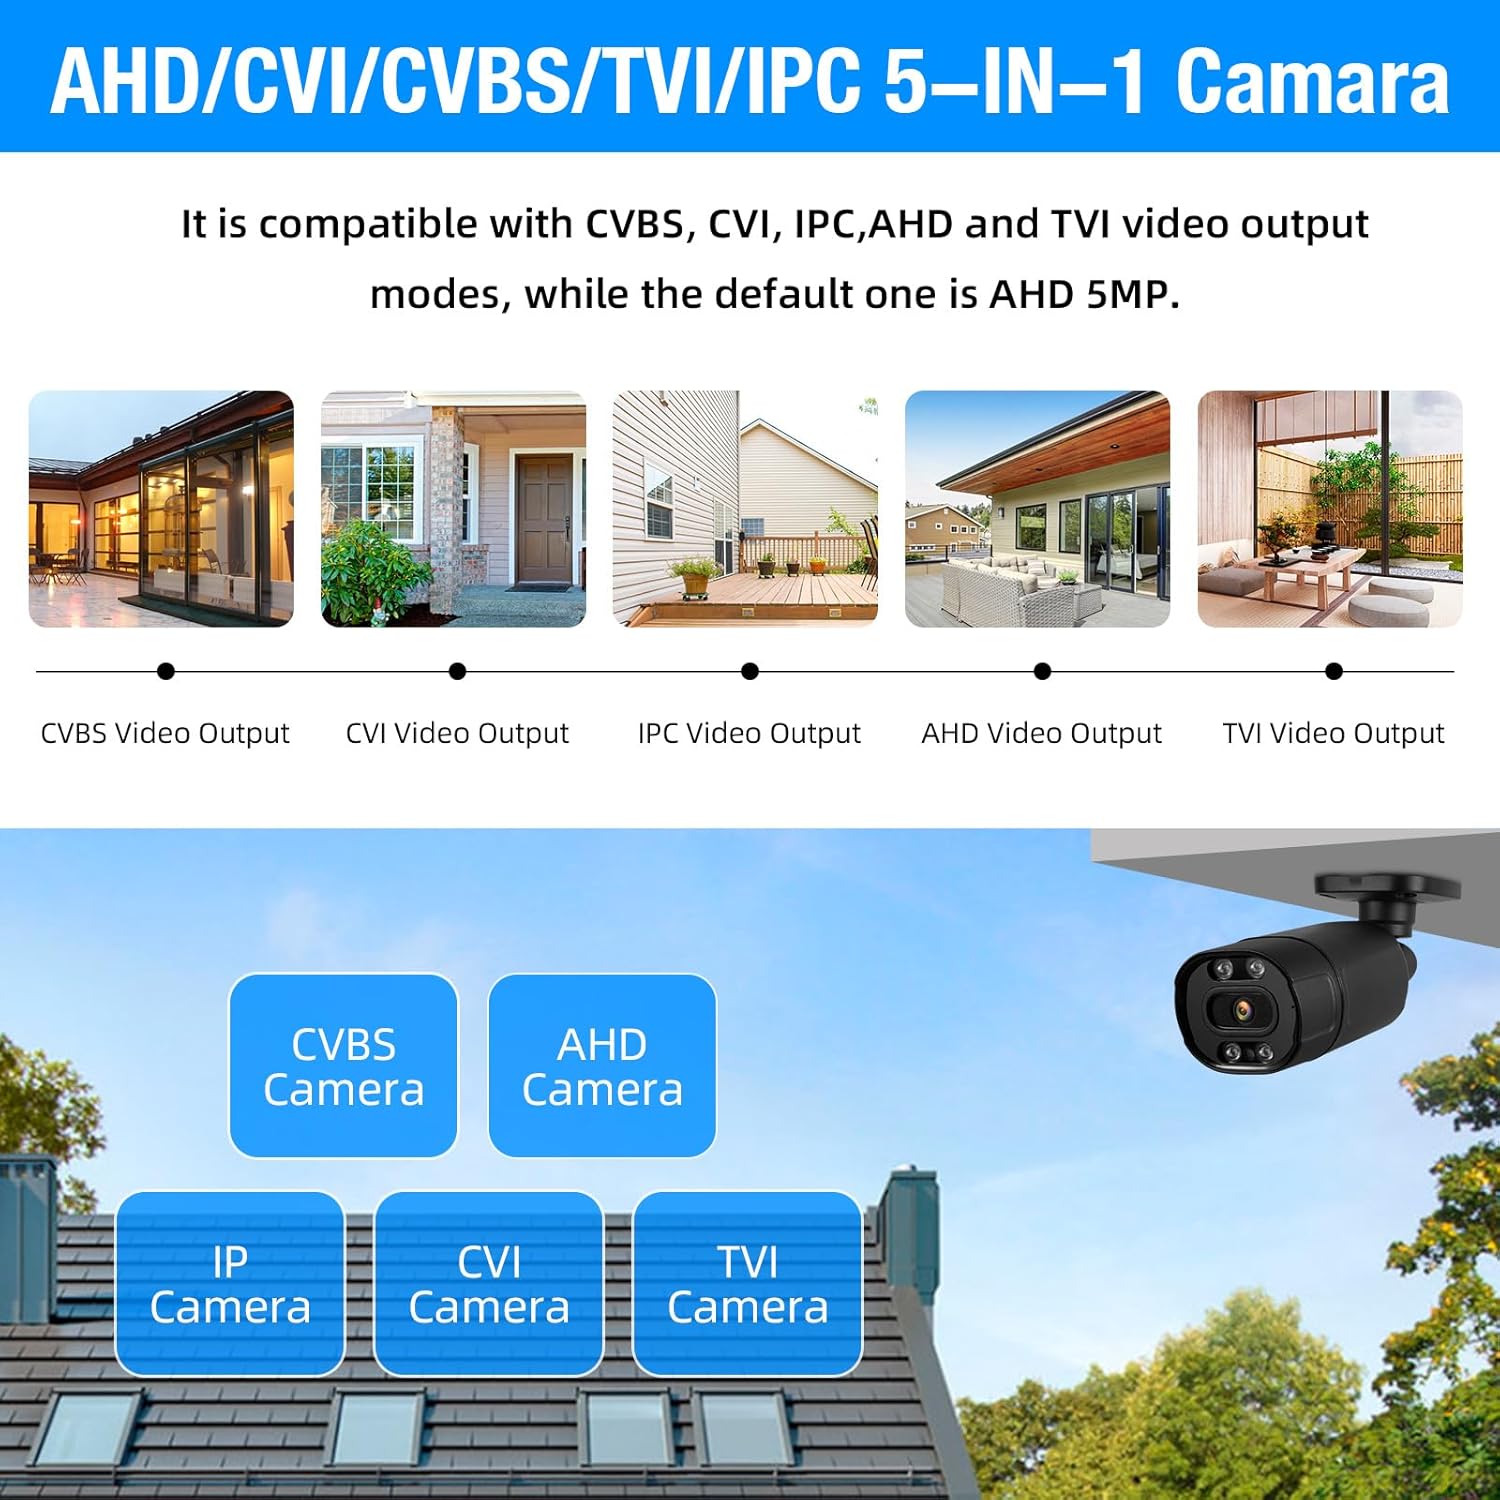
Image: Diagram illustrating the 5-in-1 compatibility of the cameras with CVBS, CVI, IPC, AHD, and TVI video output modes.

Image: Comparison showing the benefits of H.265+ video compression over H.264, highlighting smoother viewing and reduced memory space.
4. Configuración e instalación
4.1 DVR and Camera Connection
Follow these steps to connect your DVR and cameras:
- Connect your monitor to the DVR using an HDMI or VGA cable.
- Plug in the USB mouse to the DVR's USB port.
- Connect the DVR to its power supply.
- Connect each camera to the DVR using the provided video cables (BNC connectors).
- Connect the camera power cables to the camera power supplies.
- For remote access, connect the DVR to your network router using an Ethernet cable.

Image: Detailed diagram showing the various ports on the DVR (Video In, Video Out, HDMI, VGA, USB, Network, Audio In/Out, Power) and how to connect a camera with its video and power cables.
4.2 Initial DVR Setup
Upon first power-up, the DVR will guide you through an initial setup wizard. This typically includes setting the date/time, creating an administrator password, and configuring network settings. Ensure DHCP is enabled for automatic IP address assignment, or configure a static IP if required by your network.
4.3 Configuración da aplicación móbil
To enable remote monitoring, download the recommended mobile application (e.g., XMeye or ICSee, as indicated in product images) from your device's app store. Follow these steps:
- Open the mobile app and register an account if you don't have one.
- Navega ata a sección "Engadir dispositivo".
- Seleccione a opción para escanear un código QR.
- On your DVR's monitor, go to the Network settings to find the QR code for device binding. Scan this QR code with your mobile app.
- Follow the on-screen prompts to add the device. Once added, you should be able to view live feeds and playback recordings remotely.
Video: A step-by-step guide on how to bind the DVR to a mobile application, demonstrating scanning a QR code for remote access.
Vídeo: Un overview of the 16-channel DVR system with 4 cameras, showcasing the connection process and basic interface.
5. Instrucións de funcionamento
5.1 En directo View
After successful setup, the DVR will display live feeds from all connected cameras on your monitor. You can switch between single-camera view, grella multicámara views (e.g., 4-screen, 9-screen, 16-screen), and customize the display layout using the DVR's menu or the mobile app.

Image: A monitor displaying a 16-channel live view grid from the security cameras, showing various surveillance scenes.
5.2 Gravación e reprodución
The system supports 24/7 continuous recording to the pre-installed 1TB HDD. You can also configure motion-triggered recording to save storage space. To play back recorded footage:
- Access the 'Playback' option from the DVR's main menu or the mobile app.
- Seleccione o intervalo de datas e horas desexado.
- Escolla o canal da cámara que desexa reiniciarview.
- Usa os controis de reprodución (reproducir, pausar, avanzar, rebobinar) para navegar polas imaxes.tage.

Image: A visual representation of the smart playback feature, showing a timeline with detected events and corresponding video snippets.
5.3 Detección de movemento e alarmas
Configure motion detection settings to receive alerts when activity is detected. This system supports human detection and can send push notifications to your mobile app or email. Adjust sensitivity and detection zones to minimize false alarms.

Image: Illustration of AI motion and face detection, showing detected individuals highlighted and mobile app notification for motion detection alarm.
5.4 Acceso remoto
Utilize the mobile app or PC client (VMS software) to access your DVR system remotely. This allows you to view live feeds, play back recordings, and manage settings from any location with an internet connection.

Imaxe: Unha persoa viewing live camera feeds on a smartphone, demonstrating the remote monitoring capability of the system.
6. Mantemento
- Limpeza regular: Periodically clean camera lenses and DVR vents to ensure optimal performance and prevent overheating.
- Actualizacións de firmware: Consulte o do fabricante websitio para actualizacións de firmware para garantir que o sistema teña as últimas funcións e parches de seguridade.
- Estado do disco duro: Monitor the health of your hard drive through the DVR's system settings. Consider backing up important footage regularmente.
- Inspección de cables: Inspect all cables for wear and tear, especially outdoor cables, to prevent signal loss or power issues.
7 Solución de problemas
7.1 Sen visualización de vídeo
- Comproba as conexións: Ensure all video cables (BNC) are securely connected between cameras and DVR, and the monitor is correctly connected to the DVR (HDMI/VGA).
- Fonte de alimentación: Verify that the DVR and all cameras are receiving power. Check power adapters and outlets.
- Entrada de monitor: Confirm your monitor is set to the correct input source (HDMI or VGA).
7.2 Problemas de acceso remoto
- Conexión de rede: Ensure the DVR is connected to the internet via an Ethernet cable and your router is functioning correctly.
- Configuración da aplicación: Double-check that the device is correctly added to your mobile app using the QR code or serial number.
- Configuración do cortafuegos/enrutador: Your router's firewall or network settings might be blocking access. Consult your router's manual or ISP for port forwarding or UPnP settings if necessary.
7.3 Problemas de gravación
- Estado do disco duro: Check the DVR's system settings to ensure the 1TB HDD is detected and functioning correctly.
- Horario de gravación: Verify that the recording schedule is properly configured for continuous or motion-triggered recording.
- Espazo de almacenamento: If the hard drive is full, configure it to overwrite older footage or consider upgrading to a larger capacity HDD.
8. Especificacións
| Característica | Especificación |
|---|---|
| Marca | TODO |
| Número de modelo | A6516L2 |
| Tecnoloxía de conectividade | Con cable |
| Resolución de captura de vídeo | 2592p (5MP) |
| Número de canles | 16 |
| Capacidade de almacenamento da memoria | 1 TB (Pre-installed), expandable up to 14 TB |
| Fonte de enerxía | Eléctrico con cable |
| Dimensións do DVR (L x A x H) | 8.28 x 7.87 x 1.57 polgadas |
| Dispositivos compatibles | Smartphones, Personal Computers, Cameras |
| Outras características da cámara | 5MP, Night Vision, Indoor/Outdoor Use |
| Range de visión nocturna | 80 pés |
| Velocidade de cadros | 25 fps |
| Modo de gravación | Continuo, detección de movemento |
| Entrada de vídeo | BNC |
| Características especiais | App Control, Audio Recording, Human Detection, Image Sensor, Motion Sensor |
9. Garantía e soporte
For warranty information, technical support, or service inquiries, please refer to the official TOWODE websitio web ou póñase en contacto directamente co servizo de atención ao cliente. Garde o recibo da compra como proba de compra para reclamacións de garantía.
Recursos en liña:
- Visita o TOWODE Store on Amazon for product updates and related information.