1. Introdución
This manual provides essential instructions for the safe installation, operation, and maintenance of your Tylza Commercial Refrigerator with Glass Door Display, Model TYKD360P-1. Please read this manual thoroughly before using the appliance and retain it for future reference.
The Tylza TYKD360P-1 is a 360-liter upright commercial display refrigerator designed for efficient cooling and clear product visibility. It features a glass door, fast cooling capabilities, and low noise operation, making it suitable for various commercial and home environments.
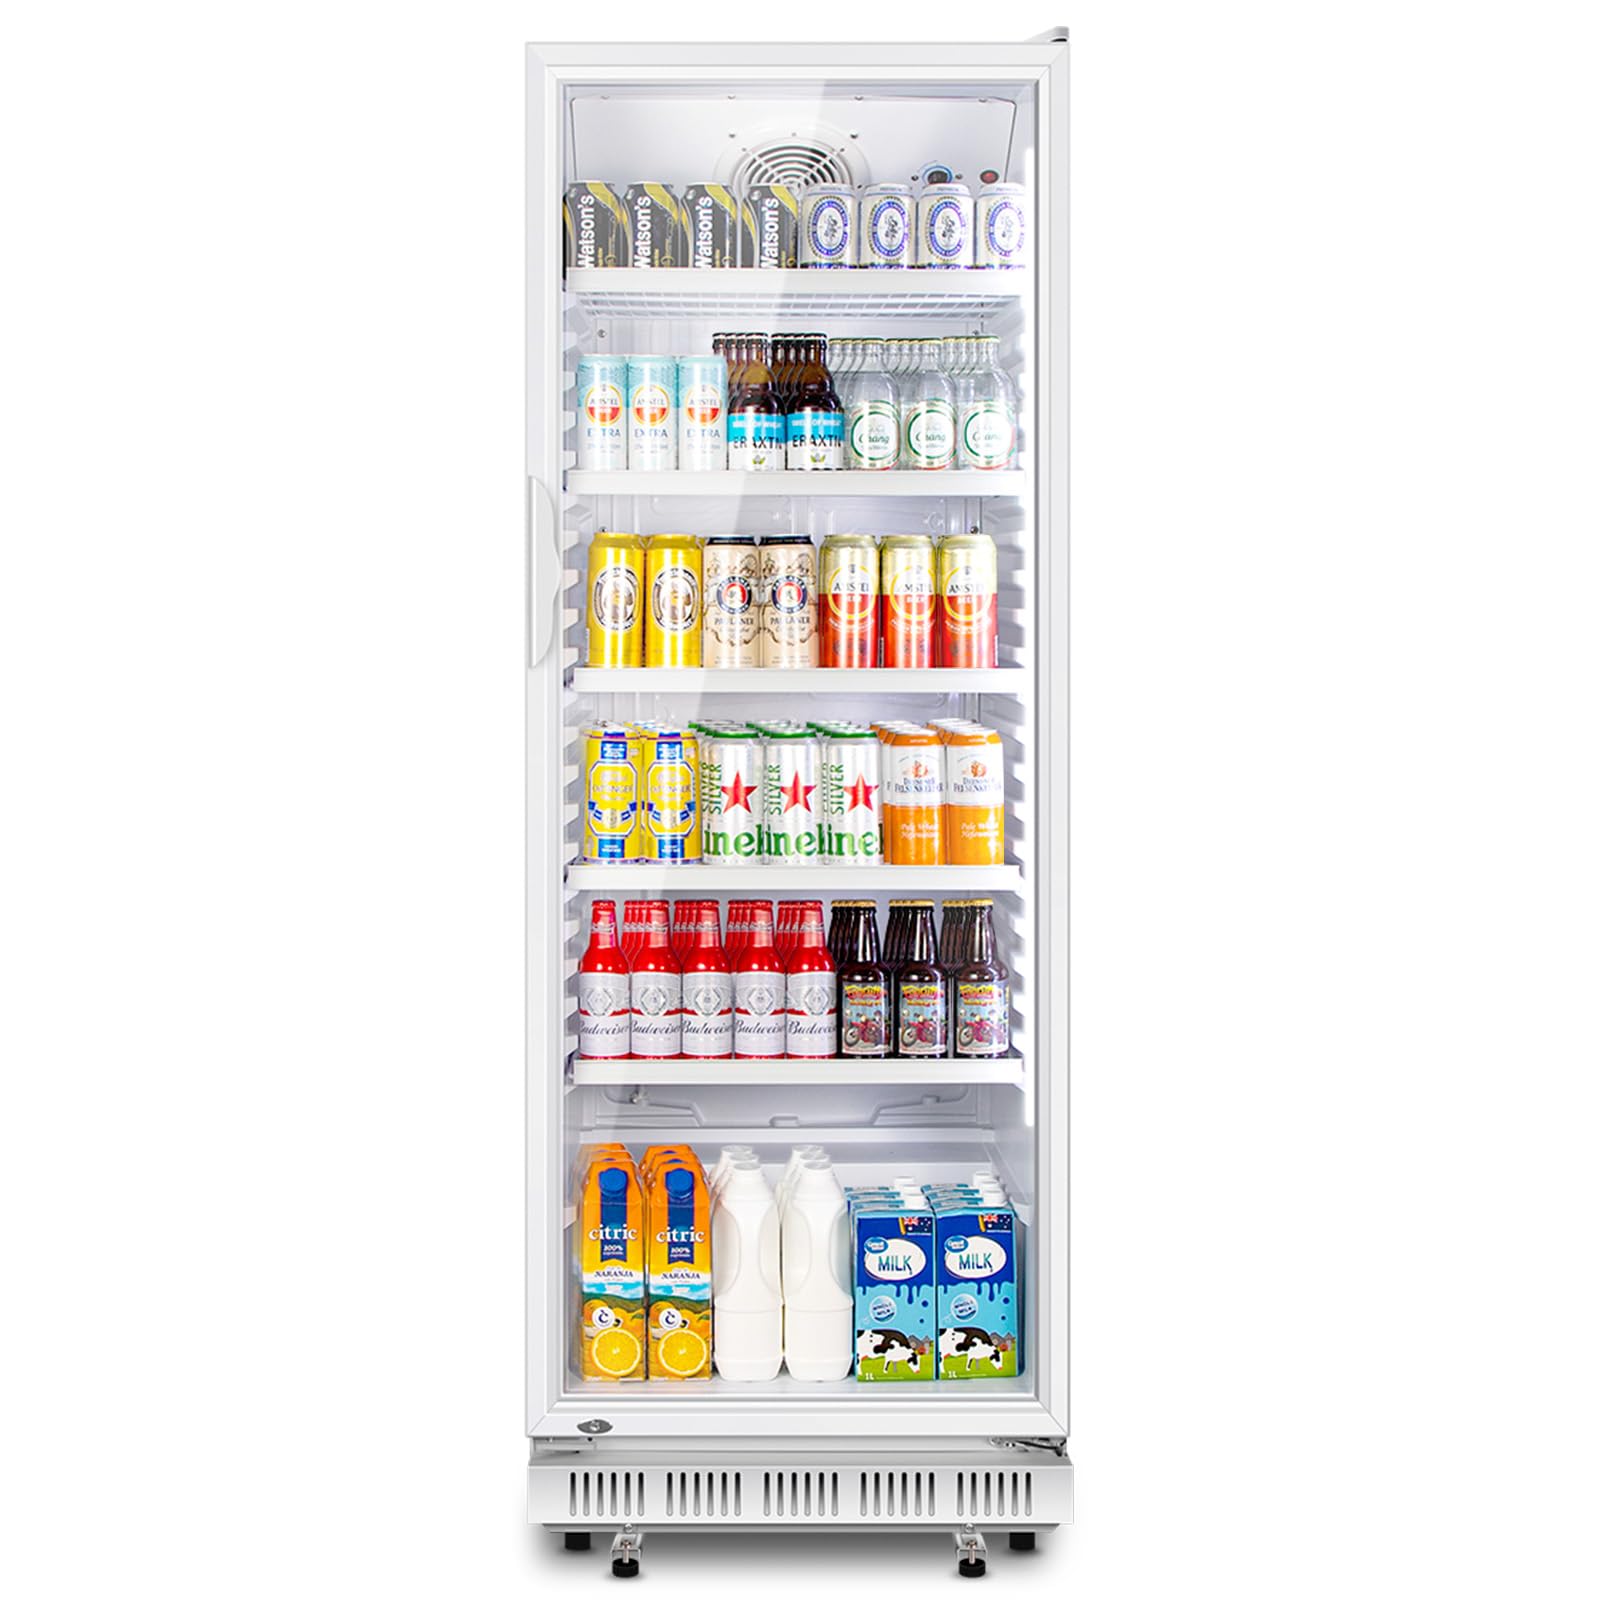
Figure 1: Tylza Commercial Refrigerator, Model TYKD360P-1.
1.1 Información de seguridade
- Asegúrese sempre de que o aparello estea debidamente conectado á terra.
- Non fagas funcionar o frigorífico cun cable de alimentación ou enchufe danados.
- Manter as aberturas de ventilación libres de obstáculos.
- Non almacene neste aparello substancias explosivas, como latas de aerosol con propelente inflamable.
- Desconecte o aparello antes de limpalo ou realizar calquera mantemento.
2. Configuración e instalación
2.1 Desembalaxe
Carefully remove all packaging materials, including foam and adhesive tape. Inspect the refrigerator for any shipping damage. Report any damage to your retailer immediately. Retain packaging materials for potential future transport.
2.2 Colocación
Choose a location that is firm, level, and strong enough to support the refrigerator when fully loaded. Ensure adequate ventilation around the unit. Avoid direct sunlight, heat sources (e.g., ovens, radiators), and areas with high humidity.
- Deixa polo menos 10 cm (4 polgadas) de espazo na parte traseira e nos laterais para unha correcta circulación do aire.
- The unit features a hidden front heat dissipation design, which means the primary heat exhaust is from the front bottom. Ensure this area is not obstructed.

Figure 2: Refrigerator dimensions (25"D x 24.41"W x 76.18"H) and 360L capacity indication.

Figure 3: Illustration of the hidden front heat dissipation design for efficient cooling.
2.3 Leveling and Mobility
The refrigerator is equipped with heavy-duty wheels for easy mobility. Two moving wheels are located at the back, and height-adjustable support feet are at the front. Use the adjustable feet to level the unit and prevent vibrations once it is in its final position.
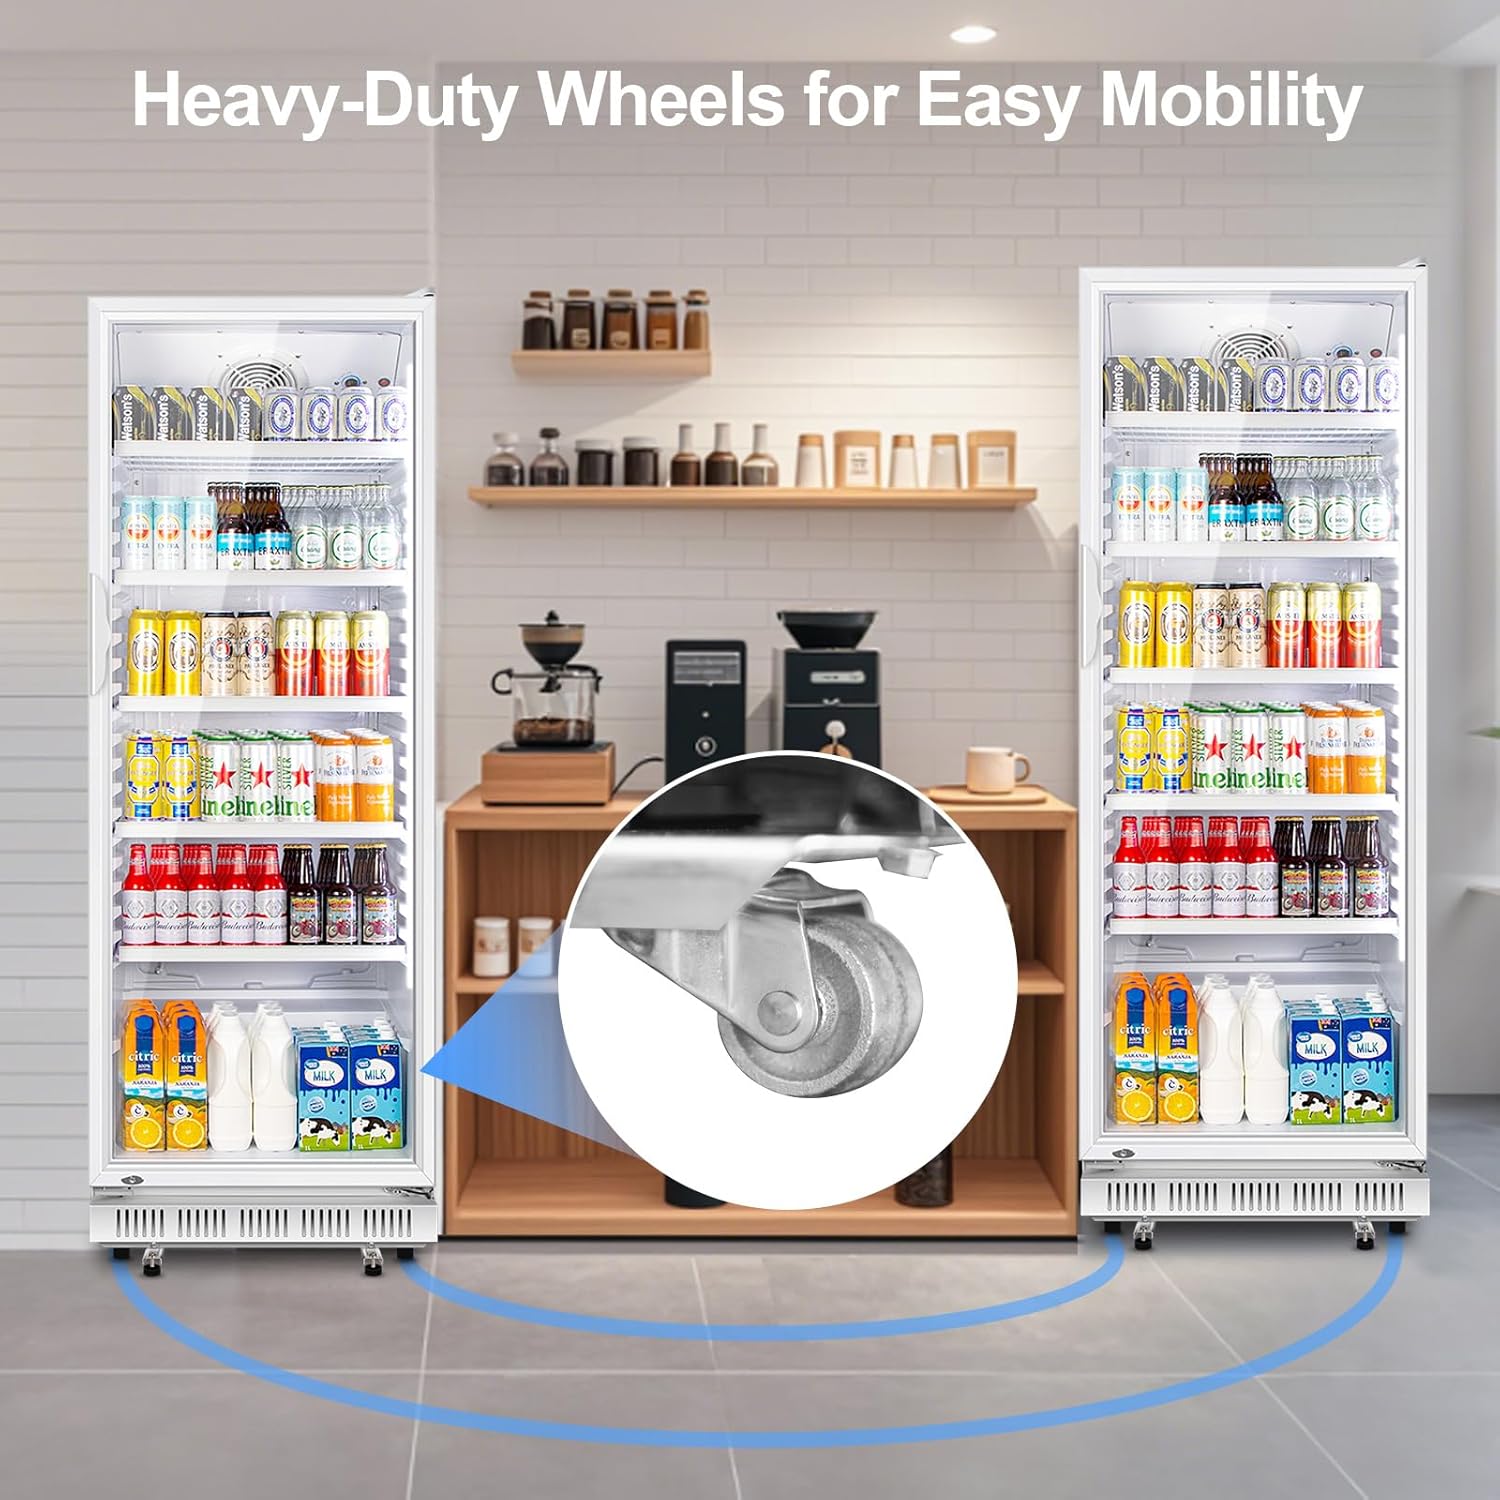
Figure 4: Detail of the heavy-duty wheels and adjustable support feet for easy positioning and leveling.

Figure 5: Diagram showing the mobile wheels at the back and height-adjustable support foot at the front.
2.4 Conexión eléctrica
Connect the refrigerator to a dedicated, grounded 115 Volt, 60 Hz AC outlet. Do not use extension cords or adapter plugs. Ensure the power cord is not pinched or damaged.
2.5 Inicio inicial
After placement and electrical connection, allow the refrigerator to stand upright for at least 2-4 hours before plugging it in. This allows the refrigerant to settle. Once plugged in, allow the unit to cool for several hours before loading with beverages.
3. Funcionamento
3.1 Control de temperatura
The refrigerator features a temperature control knob, allowing for 6-speed temperature adjustment. Adjust the knob to your desired cooling level. The unit is designed for fast cooling to ensure beverages reach optimal drinking temperatures efficiently.

Figure 6: Control panel showing the air circulation fan, temperature control knob, and light ON/OFF switch.

Figure 7: Illustration of 360° air cooling circulation, upgraded circulating fan, quiet compressor system, and 6-speed temperature adjustment.
3.2 Iluminación interna
The refrigerator is equipped with white LED lighting to illuminate the interior. The light can be controlled via a dedicated ON/OFF switch on the control panel.
3.3 Carga e capacidade
The unit has a spacious 360-liter interior, capable of accommodating up to 600 standard 12-ounce cans. It includes 5 freely removable metal shelves for flexible storage arrangements.

Figura 8: Interior view showing removable metal shelves and indicating a capacity of up to 600 beverage cans.

Figure 9: Visual representation of the 600-can capacity and the 5 freely removable shelves.
3.4 Automatic Rebound Door and Door Lock
The glass door features an automatic rebound mechanism. If the door opening angle is greater than 80 degrees, the door will automatically close when released, preventing cold air loss. A concealed security key lock is located at the bottom of the door for added security.

Figure 10: Explanation of the automatic rebound door feature, which closes the door when opened beyond 80 degrees.

Figure 11: Close-up of the concealed security key lock located at the bottom of the refrigerator door.
4. Mantemento
4.1 Limpeza do interior
Before cleaning, unplug the refrigerator. Remove all contents and shelves. Wash the interior surfaces with a solution of mild detergent and warm water. Rinse thoroughly and dry with a soft cloth. Do not use abrasive cleaners or sharp objects.
4.2 Limpeza do exterior
Clean the exterior surfaces with a soft cloth dampened with mild detergent. For the glass door, use a glass cleaner. Ensure no water enters the control panel or electrical components. Regularly clean the front ventilation area to ensure proper heat dissipation.
4.3 Desconxelación
This appliance features manual defrost. When ice buildup on the evaporator coils becomes excessive (approximately 1/4 inch or 6 mm thick), unplug the unit and allow the ice to melt naturally. Place towels at the bottom to absorb water. Do not use sharp objects or heating devices to speed up defrosting.
4.4 Coidado das estanterías
The metal shelves can be removed for cleaning or to adjust storage space. Wash them with mild soap and water, rinse, and dry completely before reinserting.
5 Solución de problemas
Antes de contactar co servizo de atención ao cliente, comproba os seguintes problemas e solucións comúns:
| Problema | Causa posible | Solución |
|---|---|---|
| A neveira non funciona. | Non conectado; interruptor automático saltado; apagadatage. | Asegúrese de que a ficha estea ben colocada; comprobe o disxuntor; verifique a fonte de alimentación. |
| A temperatura non é o suficientemente fría. | Door not closed properly; excessive door opening; warm items added recently; poor ventilation; temperature setting too high. | Ensure door is sealed; reduce door openings; allow time for new items to cool; ensure adequate clearance around unit; adjust temperature setting lower. |
| Ruído excesivo. | Unidade non nivelada; obxectos que traquetean no interior; funcionamento normal do compresor. | Adjust leveling feet; rearrange items; note that some compressor noise is normal (unit operates at approx. 40dB). |
| A porta non se pecha por completo. | Unit not level; items obstructing door; door gasket dirty or damaged. | Adjust leveling feet; clear obstructions; clean or replace door gasket. |

Figure 12: Illustration indicating the refrigerator's quiet operation at approximately 40dB.
6. Especificacións
| Característica | Detalle |
|---|---|
| Marca | Tylza |
| Número de modelo | TYKD360P-1 |
| Capacidade | 360 Liters (approx. 600 standard 12-oz cans) |
| Dimensións (D x W x H) | 25" x 24.41" x 76.18" (63.5 cm x 62 cm x 193.5 cm) |
| Peso do elemento | 154 libras (aprox. 69.85 kg) |
| Voltage | 115 voltios |
| Consumo Enerxético Anual | 250 quilovatios hora ao ano |
| Tipo de instalación | Built-In/Freestanding |
| Sistema de desconxelación | Manual |
| Número de portas | 1 (Porta de vidro) |
| Estantes | 5 (Adjustable, Removable Metal) |
| Características especiais | Digital Temperature Control, Door Lock, Front Ventilation, Inverter Compressor, LED Display, Low Noise, Automatic Rebound Door |
| Cor | Branco |
7. Vídeos de produtos
Vídeo 1: Información completaview of the Tylza Commercial Refrigerator, demonstrating key features and design. (Duration: 1:34)
Video 2: Short demonstration of a specific feature of the Tylza Commercial Refrigerator. (Duration: 0:26)
8. Garantía e soporte
8.1 Información da garantía
This product comes with a manufacturer's warranty. Please refer to the warranty card included with your purchase or contact Tylza customer support for specific warranty terms and conditions. Keep your proof of purchase for warranty claims.
8.2 Atención ao cliente
For technical assistance, troubleshooting beyond this manual, or warranty inquiries, please contact Tylza customer support. Contact information can typically be found on the manufacturer's websitio web ou na embalaxe do produto.
The original instruction manual is included with the product for your reference.