1. Introdución
This user manual provides detailed instructions for the installation, operation, and maintenance of your Austin 23" LED Chandelier Ceiling Fan Fandelier. Please read this manual thoroughly before installation and use to ensure safe and efficient operation of the product. Keep this manual for future reference.
The Austin LED fandelier is designed to cool any room while providing powerful and adjustable lighting. It features a remote control for easy adjustment of fan speed, airflow direction, light intensity, and color temperature. Its high-quality, quiet motor is built for durability, and the integrated LED light has a lifespan of 50,000 hours. This product is JA8-2022 Compliant.
2. Información de seguridade
Siga sempre as precaucións de seguridade básicas ao instalar e usar electrodomésticos para reducir o risco de incendio, descarga eléctrica e lesións persoais.
- Ensure the power is turned off at the circuit breaker before beginning installation or performing any maintenance.
- All electrical wiring must be performed by a qualified electrician and comply with all local and national electrical codes.
- A estrutura de montaxe debe ser capaz de soportar o peso do ventilador (aproximadamente 15.17 libras).
- Non fagas funcionar o ventilador cun cable de alimentación ou enchufe danados.
- Evite colocar os dedos ou obxectos nas aspas do ventilador mentres este estea en funcionamento.
- Este produto está deseñado só para uso en interiores.
- Use só pezas de recambio especificadas polo fabricante.
3. Que hai na caixa
Carefully unpack your Austin Fandelier and ensure all components are present and undamaged. If any parts are missing or damaged, contact customer support immediately.
- Unidade de ventilador
- Luz LED integrada
- Control remoto
- Ferraxes de instalación (parafusos, porcas de arame, etc.)
- Manual de usuario (este documento)
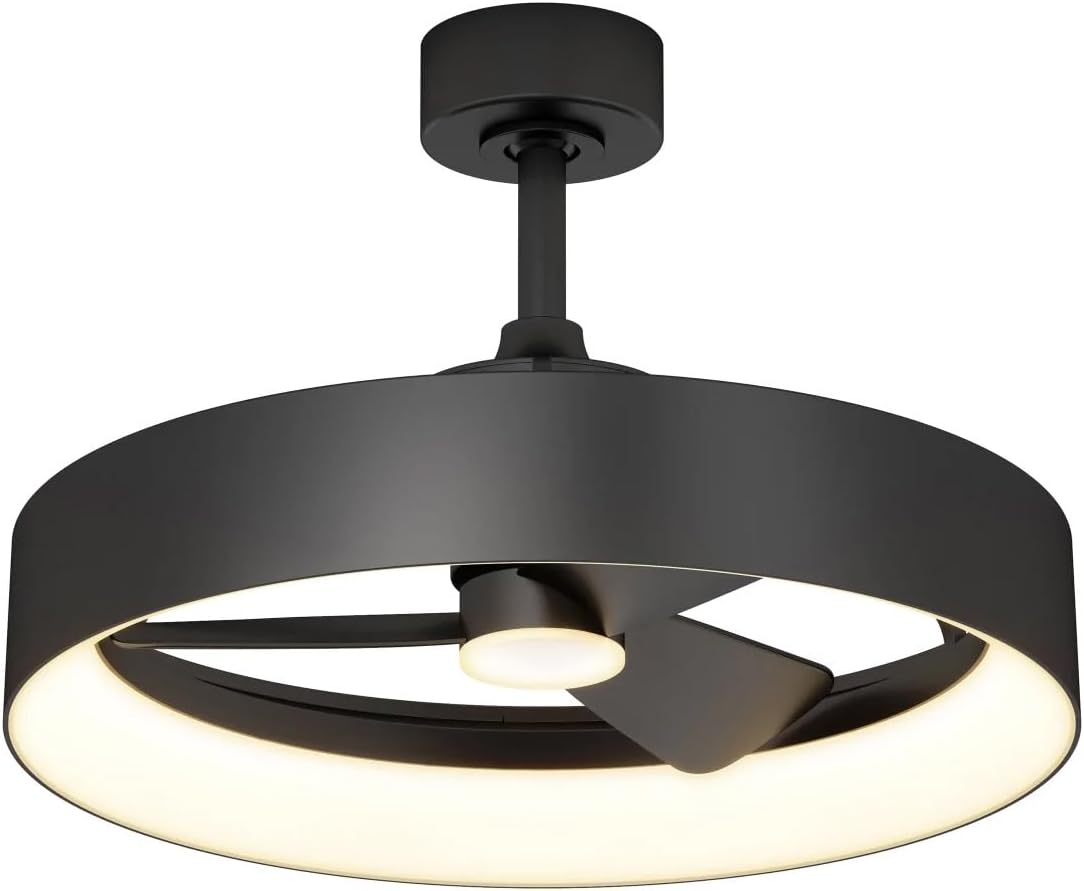
Image: The Austin 23" LED Chandelier Ceiling Fan Fandelier, showcasing its black finish, integrated LED light ring, and central fan blades. This image represents the complete product as it appears after assembly.
4. Configuración e instalación
This product is designed for self-installation, however, it is highly recommended to consult a qualified electrician for all electrical wiring to ensure safety and compliance with local codes.
4.1 Lista de comprobación previa á instalación
- Verify that all components listed in Section 3 are present.
- Ensure the power supply to the installation location is turned OFF at the circuit breaker.
- Confirm the ceiling junction box is securely mounted and capable of supporting the fan's weight.
- Reúne as ferramentas necesarias: destornillador, pelacables, cinta illante, escaleira.
4.2 Pasos da instalación
- Instalación do soporte de montaxe: Fixa o soporte de montaxe á caixa de conexións do teito cos parafusos proporcionados. Asegúrate de que estea firmemente fixado.
- Conexións de cableado: Connect the fan's electrical wires to the household wiring according to the wiring diagram provided in the separate wiring guide (if applicable) or standard electrical practices (Live to Live, Neutral to Neutral, Ground to Ground). Use wire nuts to secure connections.
- Conexión da unidade de ventilador: Carefully lift the fan unit and attach it to the mounting bracket. Ensure all safety clips or screws are engaged to secure the fan in place.
- Instalación de canopy: Slide the canopy up to the ceiling and secure it with the designated screws, covering the wiring connections.
- Restauración de enerxía: Unha vez completada a instalación e todas as conexións estean seguras, restableza a alimentación no disxuntor.
5. Instrucións de funcionamento
Your Austin Fandelier is controlled by the included remote control. Ensure the remote has fresh batteries installed (not included, typically AAA).
5.1 Funcións de control remoto
- Encendido/apagado: Preme o Poder botón para acender ou apagar o ventilador e a luz.
- Control de velocidade do ventilador: Usa o Velocidade do ventilador buttons (typically marked with fan icons or numbers 1-3) to cycle through slow, medium, and fast speeds.
- Dirección do fluxo de aire: O Inversa button allows you to change the direction of the fan blades (downward for cooling, upward for circulating warm air).
- Luz On/Off: Preme o Luz button to toggle the LED light on or off independently of the fan.
- Brillo axustable: Usa o Dimmer buttons (often marked with + and -) to adjust the light intensity from 10% to 100%.
- Axuste da temperatura da cor: O CCT button (or similar) allows you to cycle through different color temperatures, from warm to cool white.
- Función de temporizador: Set the fan to automatically turn off after 1, 3, or 8 hours using the Temporizador botóns.
6. Mantemento
Regular maintenance will help prolong the life and performance of your Austin Fandelier.
- Limpeza: Before cleaning, ensure the power is turned off at the circuit breaker. Use a soft, damp cloth to wipe down the fan and light fixture. Do not use abrasive cleaners or solvents, as they may damage the finish.
- Limpeza de láminas: Periodically wipe the fan blades to remove dust buildup, which can affect performance and balance.
- Parafusos de apriete: Comprobe todos os parafusos e conexións periodicamente para asegurarse de que estean axustados e seguros.
- Luz LED: The integrated LED light is designed for a long lifespan (50,000 hours) and does not require bulb replacement.
7 Solución de problemas
If you encounter issues with your Austin Fandelier, refer to the following common problems and solutions:
| Problema | Causa posible | Solución |
|---|---|---|
| O ventilador non funciona. | Sen alimentación ao ventilador; conexións dos cables soltas; batería do mando a distancia descargada. | Check circuit breaker; ensure all wire connections are secure; replace remote control batteries. |
| A luz non acende. | No power to the light; loose wire connections; light function not activated on remote. | Verify power supply; check light wire connections; press the light button on the remote. |
| O control remoto non funciona. | Dead batteries; remote not paired (if applicable); obstruction between remote and receiver. | Replace batteries; refer to pairing instructions (if any); ensure clear line of sight. |
| Os abanos cambalean. | Loose mounting screws; unbalanced blades. | Tighten all mounting screws; ensure blades are clean and free of debris. |
Se o problema persiste despois de intentar estas solucións, póñase en contacto co servizo de atención ao cliente.
8. Especificacións
| Característica | Detalle |
|---|---|
| Marca | Xenérico |
| Nome do modelo | Ventilador de teito con lámpara LED |
| Número de modelo do artigo | FAN-AUR-C2BL |
| Número de peza | 2323099 |
| Cor | Negro |
| Material | Plástico, Cristal (Sombra) |
| Dimensións do produto | 25 cm de longo x 15.75 cm de ancho x 25 cm de alto |
| Peso do elemento | 15.17 libras |
| Fonte de enerxía | Eléctrico |
| Voltage | 12 voltios (DC) |
| Wattage | 12 vatios |
| Tipo de fonte de luz | LED integrado |
| Light Lifespan | 50,000 horas |
| Método de control | Control remoto |
| Características especiais | Adjustable brightness (10%-100%), Timer (1, 3, or 8 hours), Adjustable color temperature (warm to cool) |
| Tipo de habitación | Kitchen, Bedroom, Living Room, Study Room, Game Room |
| Fabricante | Artica |
9. Garantía e soporte
This product is manufactured by Artika. For specific warranty details and customer support, please refer to the warranty card included with your purchase or visit the manufacturer's official website. Typically, products come with a limited warranty covering defects in materials and workmanship under normal use.
When contacting support, please have your model number (FAN-AUR-C2BL) and purchase information readily available.
For assistance, you may contact Artika customer service through their official channels. Contact information is usually found on their websitio web ou na embalaxe do produto.


