
ClokoWe T800
ClokoWe Mini Projector T800 User Manual
Modelo: T800
1. Introdución
This manual provides detailed instructions for the safe and effective use of your ClokoWe Mini Projector T800. Please read this manual thoroughly before operating the device and retain it for future reference.
Información de seguridade
- Non mire directamente á lente do proxector cando estea aceso.amp está activado.
- Asegure unha ventilación adecuada ao redor do proxector para evitar o sobreenriquecido.
- Manteña o proxector lonxe da auga ou outros líquidos.
- Use só o adaptador de alimentación proporcionado co dispositivo.
- Non intente desmontar nin reparar o proxector vostede mesmo. Póñase en contacto co servizo de atención ao cliente para obter axuda.
2. Contido do paquete
Verifica que todos os elementos estean presentes no paquete:
- ClokoWe Mini Projector T800
- Cable HDMI
- Control remoto
- Cable de alimentación
- Manual de usuario (este documento)
3. Produto rematadoview
Familiarize yourself with the projector's components and features.
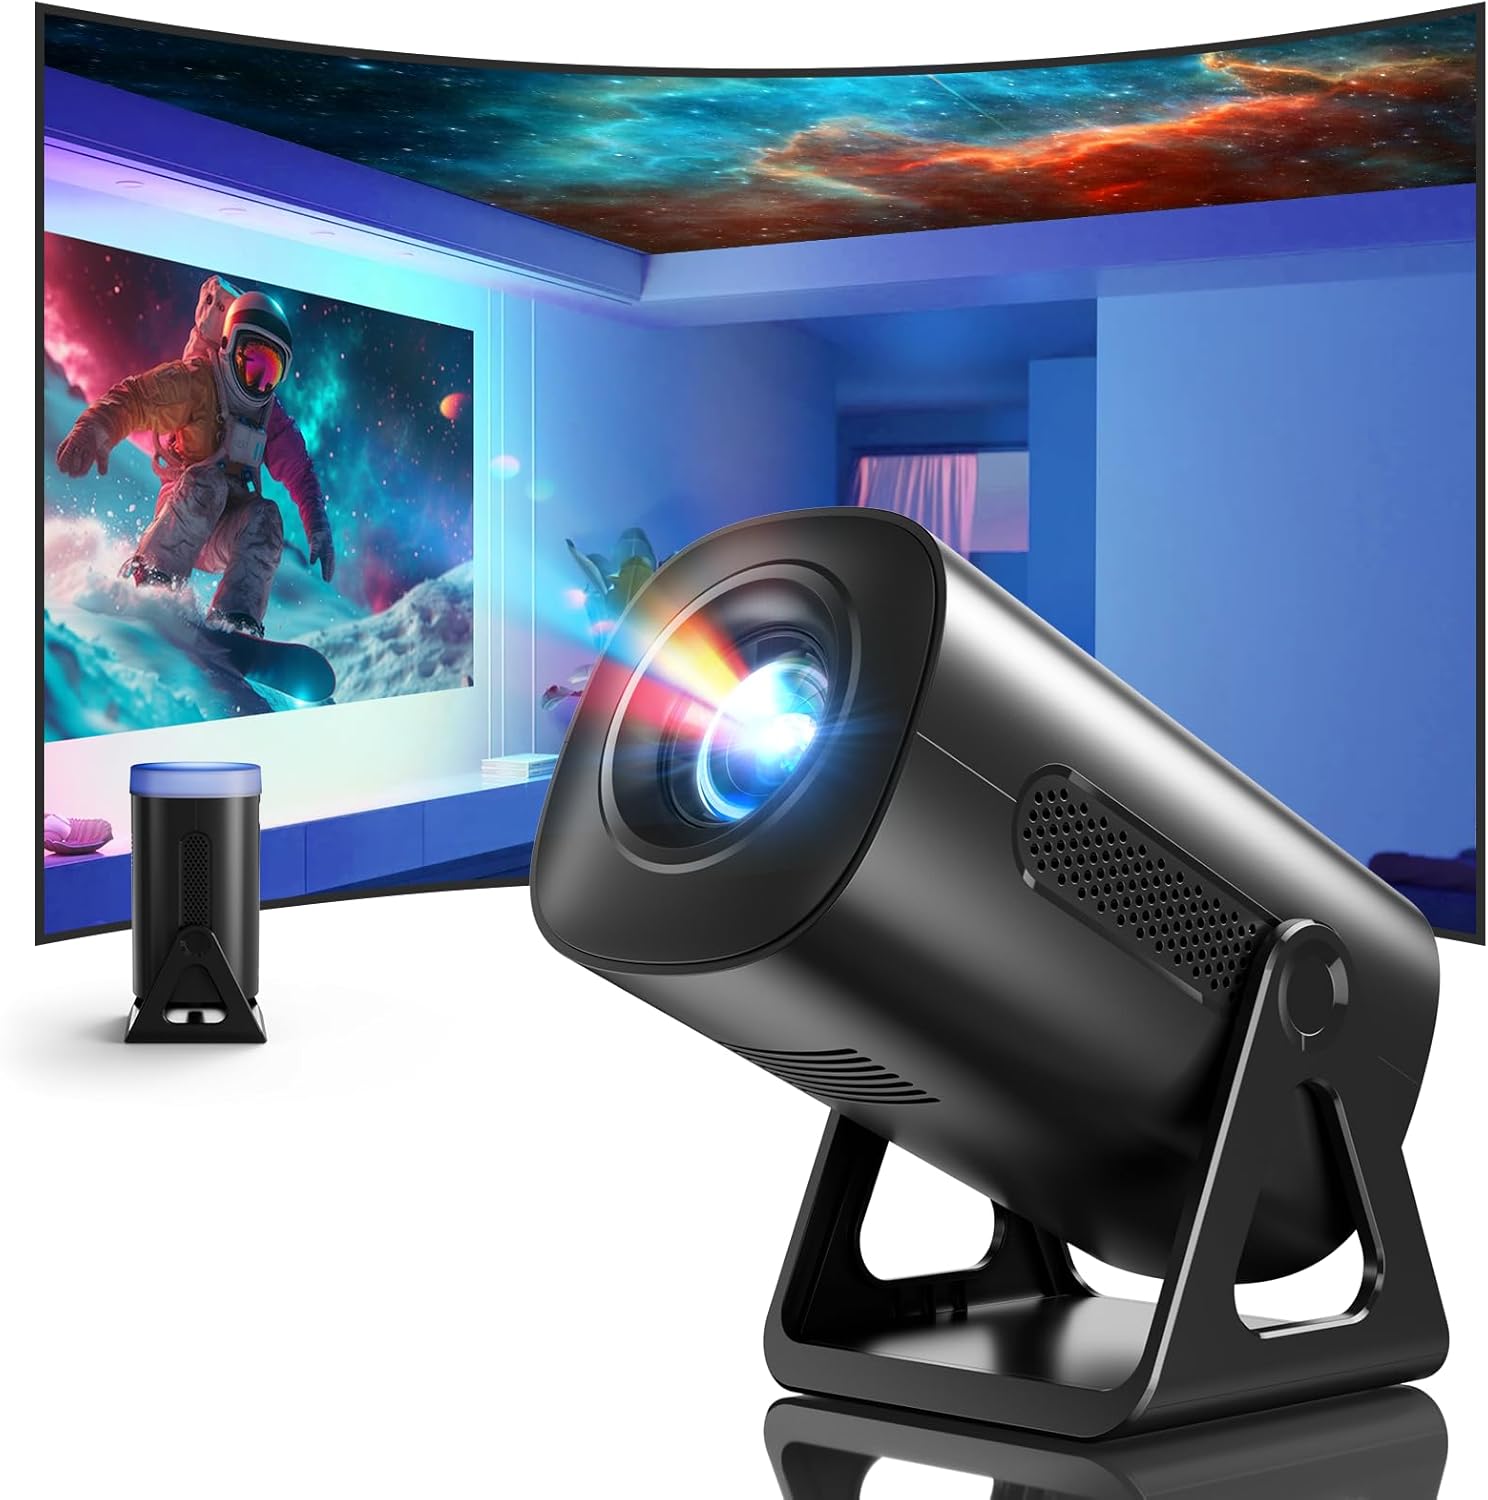
Imaxe 3.1: Fronte view of the ClokoWe Mini Projector T800, showcasing its compact design and projection capability.
Características principais:
- Native 1080p Resolution with 4K Support
- 270° Rotatable Stand for flexible projection angles
- Integrated Star Projector with 6 Galaxy Projection Modes and 7 Ambient Night Light Colors
- Dual Band WiFi 6 (2.4G/5G) for stable wireless connectivity
- Bluetooth 5.2 HiFi Speaker for enhanced audio
- Automatic Keystone Correction and 50%-100% Zoom function
- Multiple connectivity options: USB, HDMI, AV, Audio

Image 3.2: Dimensions and weight of the projector, highlighting the 270-degree rotatable stand.
4. Configuración
4.1 Conexión de alimentación
- Conecte o cable de alimentación ao porto de entrada de alimentación do proxector.
- Conecte o outro extremo do cable de alimentación a unha toma de corrente estándar.
- A luz indicadora de enerxía iluminarase.
4.2 Colocación e axuste
The 270° rotatable stand allows for flexible placement and projection.

Image 4.1: The projector's 270-degree rotation feature, enabling projection onto walls, floors, or ceilings.
- Posicionamento: Coloque o proxector sobre unha superficie estable e plana.
- Axuste de ángulo: Rotate the projector body on its stand to achieve the desired projection angle (up to 270 degrees).
- Foco: Use the focus ring on the projector lens to sharpen the image.
- Corrección Keystone: The projector features automatic keystone correction. If the image appears trapezoidal, the device will automatically adjust it to a rectangular shape. Manual adjustments may also be available in the settings menu.

Image 4.2: Demonstration of automatic keystone correction and image zoom capabilities.
5. Instrucións de funcionamento
5.1 Encendido inicial
- Preme o botón de acendido do proxector ou do control remoto.
- The projector will start up and display the main interface.
5.2 Conectividade
The projector supports various input sources and wireless connections.

Imaxe 5.1: Acabadoview of supported device connections via HDMI, USB, and Audio interfaces.
5.2.1 WiFi Connection (Dual Band WiFi 6)
- Navega ata o menú "Configuración" do proxector.
- Select 'Network' or 'WiFi Settings'.
- Escolle a rede WiFi 2.4G ou 5G que desexes da lista.
- Introduza o contrasinal e conéctese.

Image 5.2: Demonstrating Dual Band WiFi 6 connectivity and wired screen mirroring with a smartphone.
5.2.2 Bluetooth Connection (Bluetooth 5.2)
- Go to 'Settings' and select 'Bluetooth'.
- Activa o Bluetooth e busca os dispositivos dispoñibles.
- Selecciona o teu altofalante ou auriculares Bluetooth da lista para emparellalos.

Image 5.3: The projector's Bluetooth 5.2 capability for connecting to external audio devices.
5.2.3 HDMI/USB/AV Connection
- Connect your device (e.g., laptop, TV stick, game console) to the corresponding HDMI, USB, or AV port on the projector.
- Select the correct input source from the projector's main menu using the remote control.
5.3 Projection Modes (Star Projector & Night Light)
The projector includes integrated ambient lighting features.

Image 5.4: The projector's ability to display 7 night light colors and 6 galaxy projection modes.
- Proxección de galaxias: Access the 'Star Projector' or 'Galaxy Modes' option in the menu to select from 6 different galaxy patterns.
- Ambient Night Light: With the lens cover on, select from 7 ambient light colors to use the projector as a night light.
5.4 Axuste da imaxe
- Función de zoom: Adjust the projection size from 50% to 100% via the projector's menu settings.
- Calidade da imaxe: The projector supports native 1080p resolution and 4K input. Ensure your source content is of high quality for the best viewexperiencia ing.
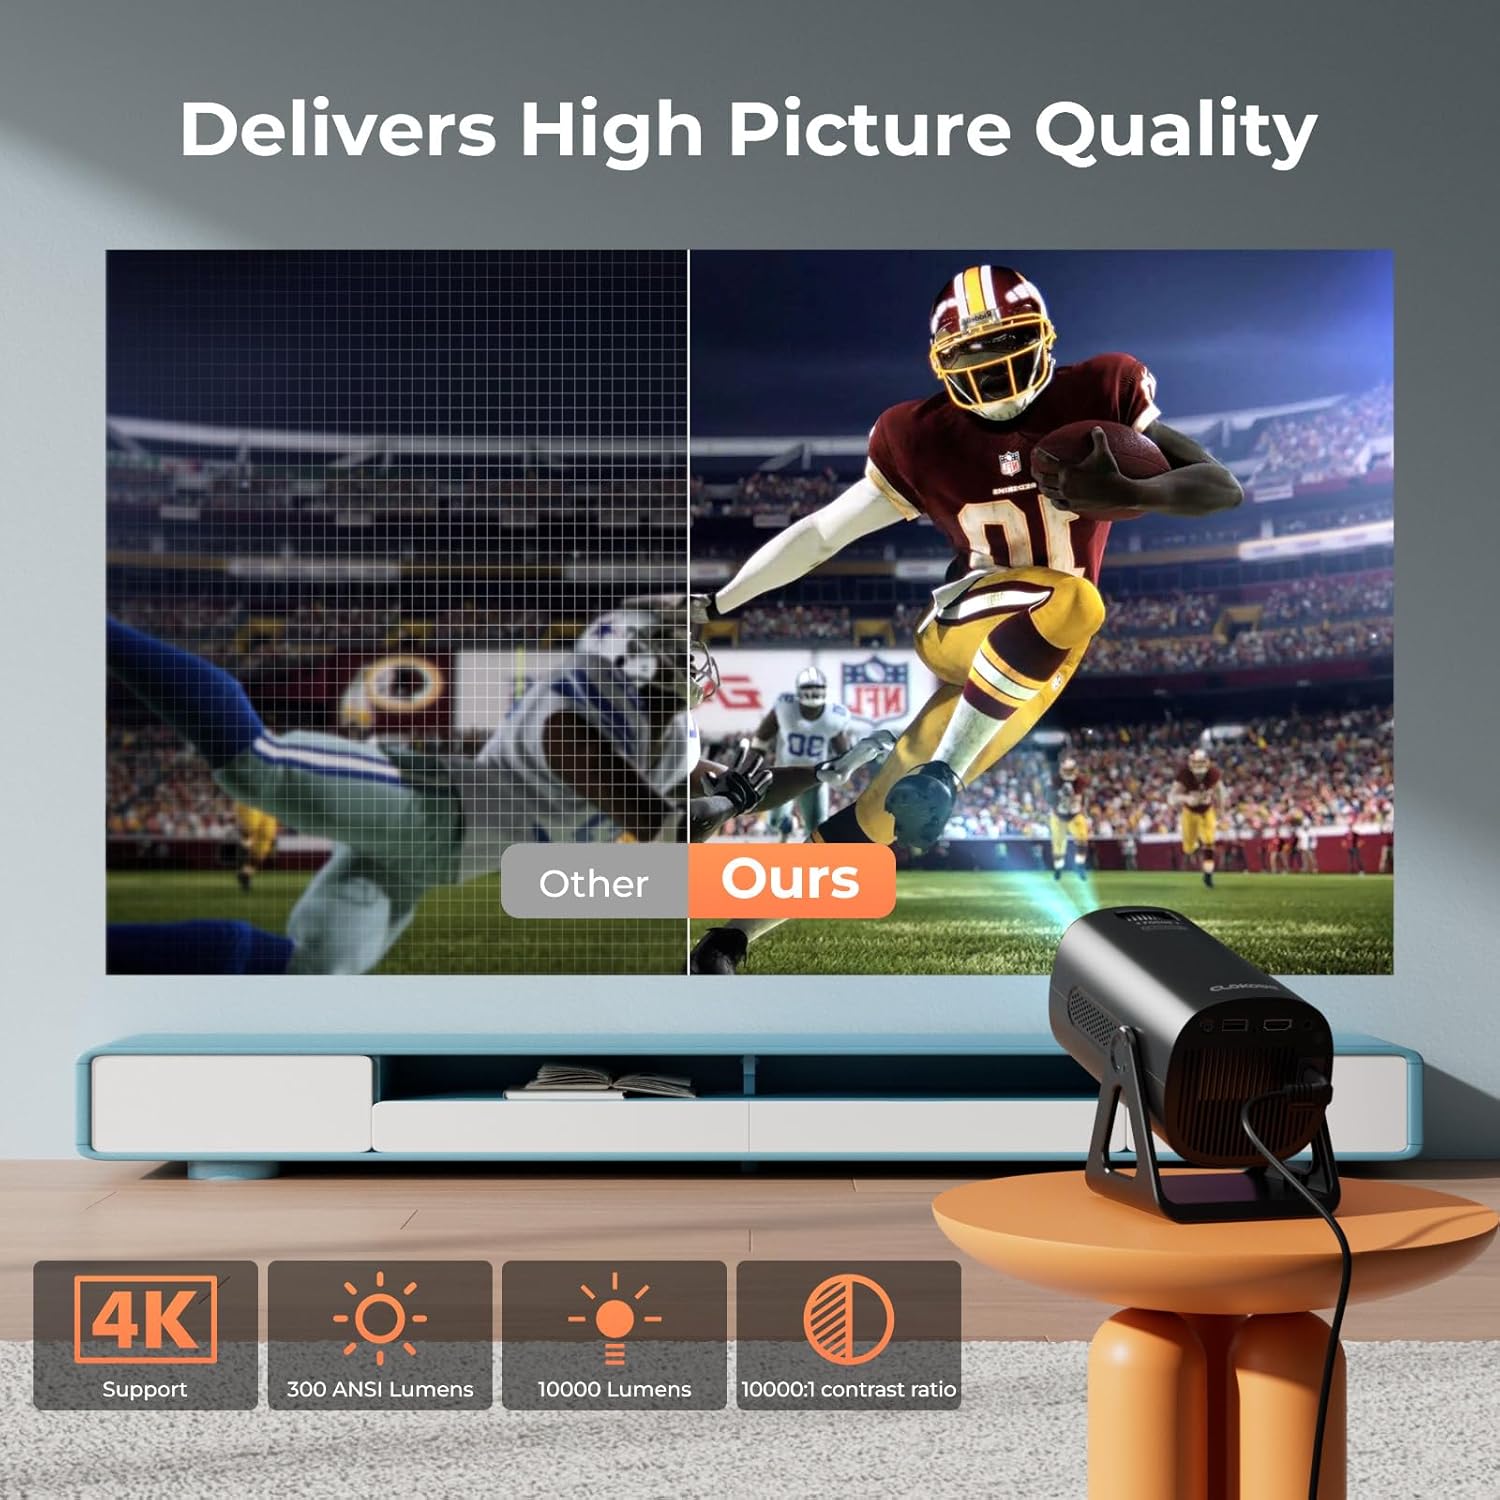
Image 5.5: Visual comparison of picture quality, emphasizing 4K support and brightness specifications.
6. Mantemento
- Limpeza de lentes: Usa un pano suave e sen fiapos deseñado especificamente para lentes ópticas para limpar con coidado a lente do proxector. Non empregues produtos de limpeza abrasivos.
- Eliminación de po: Regularly clean the projector's vents with a soft brush or compressed air to prevent dust buildup, which can affect performance and lifespan.
- Almacenamento: Cando non o use durante períodos prolongados, garde o proxector nun lugar fresco e seco, preferiblemente na súa embalaxe orixinal ou nunha funda protectora.
- Apagado: Apague sempre o proxector correctamente e deixe que arrefríe antes de desconectalo ou movelo.
7 Solución de problemas
Problemas comúns e solucións:
- Sen enerxía:
• Ensure the power cord is securely connected to both the projector and the power outlet.
• Check if the power outlet is functional. - Sen imaxe/sinal:
• Verify that the correct input source (HDMI, USB, AV) is selected in the projector's menu.
• Check the connection cables between the projector and the source device.
• Ensure the source device is powered on and outputting a signal. - Imaxe borrosa:
• Adjust the focus ring on the projector lens.
• Ensure the projection surface is flat and the projector is stable.
• Check if the lens is clean. - A imaxe é trapezoidal:
• The automatic keystone correction should adjust this. If not, check for manual keystone adjustment options in the settings. - Sen son:
• Check the volume settings on both the projector and the source device.
• If using Bluetooth, ensure the external speaker/headphones are properly paired and connected.
• If using HDMI, ensure the audio output is correctly configured on the source device. - Problemas de conexión WiFi/Bluetooth:
• Ensure the projector is within range of the WiFi router or Bluetooth device.
• Restart the projector and the network device.
• Re-enter WiFi passwords carefully.
8. Especificacións
| Característica | Especificación |
|---|---|
| Número de modelo | T800 |
| Resolución de visualización | 1280 x 720 (Native 1080p, 4K Support) |
| Tecnoloxía de conectividade | Conector de 3.5 mm, Bluetooth 5.2, HDMI, USB, Wi-Fi 6 (2.4G/5G) |
| Característica especial | Portable, 270° Rotatable Stand, Star Projector, Ambient Night Light, Auto Keystone Correction, Zoom |
| Usos recomendados | Negocios, Educación, Videoxogos, Cine na casa |
| Peso do elemento | 2.38 libras |
| Dimensións do paquete | 9.13 x 6.69 x 5.28 polgadas |
9. Garantía e soporte
ClokoWe products are designed for reliability and performance. For warranty information, technical support, or service inquiries, please refer to the warranty card included in your package or visit the official ClokoWe websitio. Teña á man o número de modelo (T800) e os detalles da compra cando contacte co servizo de asistencia.
Ask a question about this manual
Ask about setup, troubleshooting, compatibility, parts, safety, or missing instructions. Manuals+ will review the question and use this page’s manual context to help answer it.