
1. Introdución
This manual provides detailed instructions for the setup, operation, and maintenance of your Bmax B1 Mini PC. Please read this manual thoroughly before using the device to ensure proper functionality and longevity.
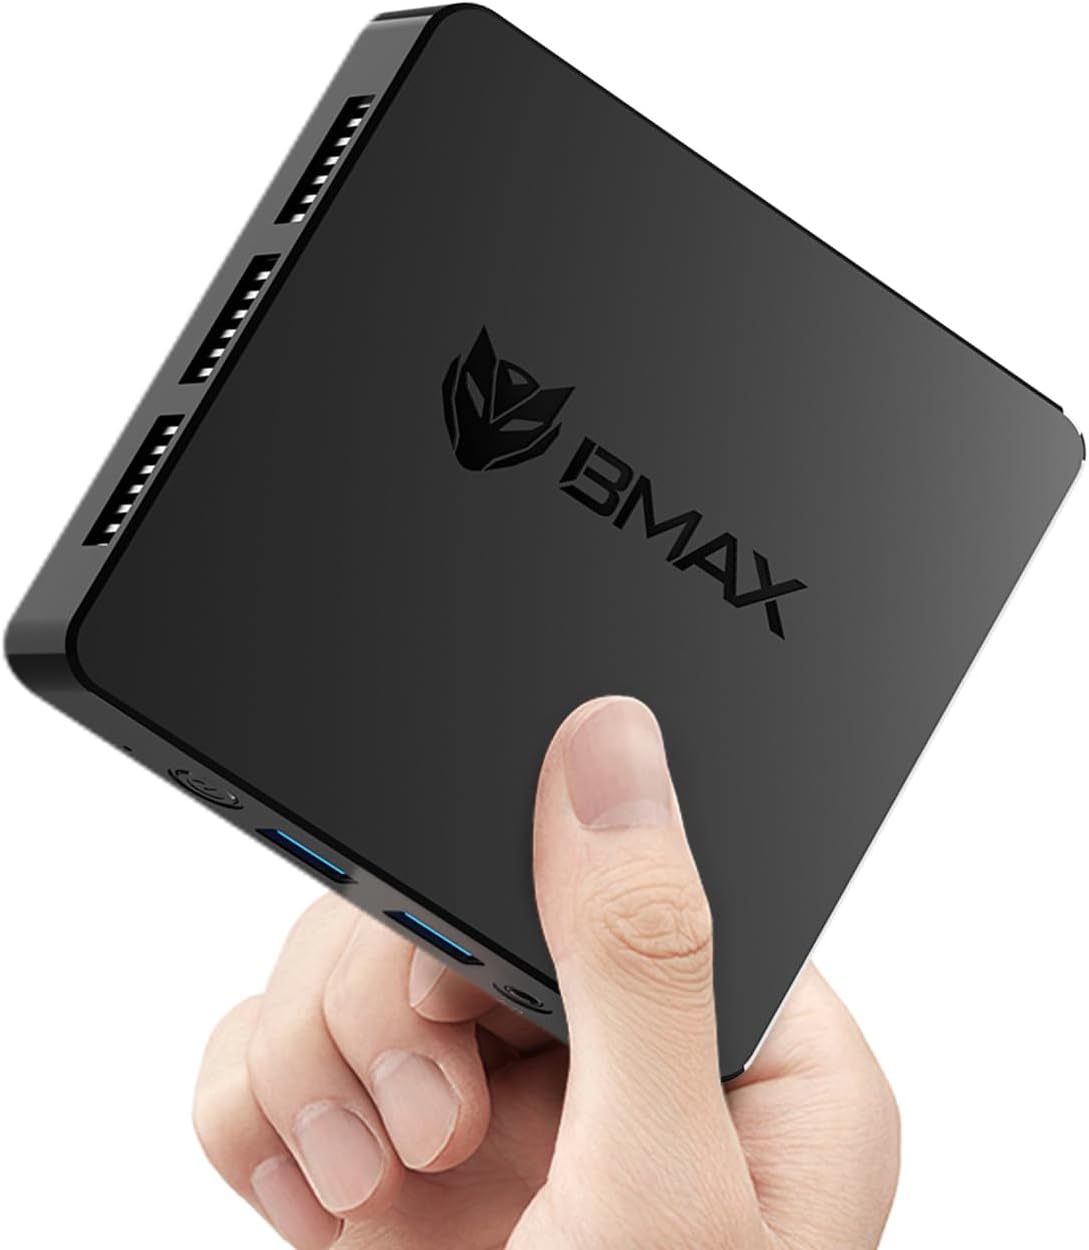
Image 1.1: The Bmax B1 Mini PC, demonstrating its compact and portable design.
Contido do paquete
Verifica que todos os elementos estean presentes no paquete:
- Bmax B1 Mini PC
- Adaptador de alimentación
- Cable HDMI
- Manual de usuario (este documento)
2. Produto rematadoview
The Bmax B1 Mini PC is a compact desktop computer designed for various applications, from office work to home entertainment. It features an Intel Gemini Lake N4000 processor, 8GB LPDDR4 RAM, and 128GB eMMC storage.

Image 2.1: Key features and specifications of the Bmax B1 Mini PC.
Disposición do porto
Familiarize yourself with the available ports on your Bmax B1 Mini PC:

Image 2.2: Port configuration on the Bmax B1 Mini PC.
- Entrada de alimentación CC: Conéctase ao adaptador de alimentación.
- Portos USB 3.0 (x2): Para a transferencia de datos de alta velocidade con dispositivos compatibles.
- Portos USB 2.0 (x2): Para conectar periféricos como teclados, ratos ou impresoras.
- Portos HDMI (x2): Supports dual 4K display output.
- Porto Ethernet RJ45: For wired network connection (1000Mbps LAN).
- Conector para auriculares de 3.5 mm: For audio output to headphones or speakers.
- Botón de encendido: Para acender/apagar o dispositivo.
- Indicador de potencia: Luz LED que indica o estado da alimentación.
Dimensións e peso

Image 2.3: Physical dimensions and weight of the Bmax B1 Mini PC.
The Bmax B1 Mini PC measures approximately 4.25 (L) x 4.17 (W) x 0.87 (H) inches (10.8 x 10.6 x 2.2 cm) and weighs around 1.37 pounds (0.62 kg), making it highly portable and space-efficient.
3. Guía de configuración
3.1 Conexión inicial
- Conectar á pantalla: Use an HDMI cable to connect the Mini PC to your monitor or TV. The device supports up to two displays simultaneously.
- Conectar periféricos: Conecta o teclado e o rato USB aos portos USB dispoñibles.
- Conectar á rede (opcional): For a wired connection, connect an Ethernet cable to the RJ45 port. For wireless, Wi-Fi 5 (802.11a/b/g/n/ac) is built-in.
- Conectar enerxía: Plug the power adapter into the DC Power In port on the Mini PC, then connect the adapter to a power outlet.
3.2 Primeiro arranque
- Press the Power Button on the Mini PC. The power indicator light will illuminate.
- The device comes with Windows 11 Pro pre-installed. Follow the on-screen instructions to complete the initial Windows setup, including language, region, and user account creation.
- The Mini PC also supports Linux/Ubuntu operating systems, allowing for flexible OS installation if desired.
3.3 Opcións de colocación
The compact design of the Bmax B1 Mini PC allows for versatile placement options:

Image 3.1: Various placement options for the Bmax B1 Mini PC.
- Colocación de escritorio: Simply place the Mini PC on your desk.
- All-in-One Setup: Mount the Mini PC behind a compatible monitor using a VESA mount (not included) for a clean, integrated workspace.
- Montaxe na parede: Secure the Mini PC to a wall using appropriate mounting hardware (not included) to save desk space.
4. Instrucións de funcionamento
4.1 Configuración de varias pantallas
The Bmax B1 Mini PC supports connecting up to two monitors simultaneously via its two HDMI ports, enabling extended desktop or mirrored display configurations. Ensure your monitors are connected before powering on the device for optimal detection.
4.2 Expansión do almacenamento
The internal storage can be expanded by adding an M.2 2280 SATA SSD (up to 2TB, not included). This allows for increased storage capacity for applications and data.

Image 4.1: The M.2 SATA 2280 slot for additional storage.

Image 4.2: Steps for installing an M.2 SATA SSD for storage expansion.
To install an M.2 SATA SSD:
- Power off the Mini PC and disconnect all cables.
- Locate the screws on the bottom cover of the device.
- Carefully remove the screws and open the bottom cover.
- Insert the M.2 2280 SATA SSD into the designated slot.
- Secure the SSD with the provided screw (if applicable).
- Replace the bottom cover and secure it with the screws.
4.3 Funcións de xestión de enerxía
The Mini PC includes several power management features:
- Auto-boot: Configurable to automatically power on when connected to power.
- Despertación en LAN (WoL): Allows the device to be powered on remotely via a network signal.
- Arranque PXE: Enables booting from a network server.
- Wake-on-RTC: Allows scheduling the device to power on at a specific time.
These settings can typically be configured within the BIOS/UEFI settings of the Mini PC.
5. Mantemento
5.1 Sistema de refrixeración
The Bmax B1 Mini PC features a built-in smart cooling system (fan + heat sink + hard drive cooler) to maintain optimal operating temperatures. Ensure that the ventilation openings are not obstructed to allow for proper airflow.
5.2 Actualizacións de software
Regularly update your operating system and drivers to ensure system stability, security, and performance. For system updates, it is recommended to use a stable wired internet connection to avoid potential wireless issues during the update process. If you encounter difficulties, contact Bmax support for assistance.
6 Solución de problemas
6.1 Problemas comúns
- Sen visualización:
- Ensure the HDMI cable is securely connected to both the Mini PC and the monitor.
- Verify the monitor input source is set correctly (e.g., HDMI 1, HDMI 2).
- Check if the power adapter is properly connected and the power indicator light is on.
- Sen enerxía:
- Confirm the power adapter is fully plugged into both the Mini PC and the wall outlet.
- Proba a toma de corrente con outro dispositivo para asegurarte de que funciona.
- Rendemento lento:
- Pecha as aplicacións innecesarias que se executan en segundo plano.
- Ensure the Mini PC has adequate ventilation and is not overheating.
- Comproba se hai actualizacións dispoñibles do sistema operativo.
6.2 One-Click Recovery
The Bmax B1 Mini PC features a one-click smart recovery function. This allows you to restore the device to its factory settings quickly. Refer to the specific instructions provided by Bmax for accessing and utilizing this feature, as it may vary based on the pre-installed operating system configuration.
7. Especificacións
| Característica | Detalle |
|---|---|
| Procesador | Intel Celeron N4000 (Dual Core, 1.1 GHz base, up to 2.6 GHz burst) |
| Gráficos | Gráficos Intel UHD 600 |
| RAM | 8 GB LPDDR4 (2133 MHz) |
| Almacenamento interno | SSD eMMC de 128 GB |
| Almacenamento ampliable | 1x M.2 2280 SATA SSD slot (up to 2TB, not included) |
| Sistema Operativo | Windows 11 Pro (pre-installed), supports Linux/Ubuntu |
| Conectividade sen fíos | Wi-Fi 5 (802.11a/b/g/n/ac Dual-Band), Bluetooth 5.0 |
| Conectividade por cable | 1x RJ45 Gigabit Ethernet (1000 Mbps) |
| Portos USB | 2x USB 3.0, 2x USB 2.0 |
| Saída de vídeo | 2x HDMI (supports dual 4K display) |
| Saída de audio | 1x 3.5mm Headset Jack |
| Dimensións (L x W x H) | 4.25 x 4.17 x 0.87 polgadas (10.8 x 10.6 x 2.2 cm) |
| Peso | Aproximadamente 1.37 libras (0.62 kg) |
| Fonte de enerxía | Adaptador de corrente continua |
8. Garantía e soporte
The Bmax B1 Mini PC comes with a 12-month warranty. For technical assistance, troubleshooting, or warranty claims, please contact Bmax customer support. They offer 24/7 one-on-one support.
For the latest support information and contact details, please refer to the official Bmax websitio ou a información de contacto proporcionada coa súa compra.