1. Introdución
Thank you for choosing the DOGNESS 9L Automatic Pet Feeder. This device is designed to provide your pet with scheduled and portion-controlled meals, ensuring a consistent feeding routine even when you are away. Please read this manual thoroughly before operating the feeder to ensure proper use and maintenance.
2. Información importante de seguridade
- Este aparello só é para uso interior.
- Use only dry pet food with kibble sizes between 0.2 and 0.6 inches (0.5 to 1.5 cm) to prevent clogging.
- Non mergullo a unidade principal en auga nin en ningún outro líquido.
- Keep the feeder out of reach of children and pets when not in use or during cleaning.
- Desconecte sempre o alimentador antes de limpalo ou realizar mantemento.
- Ensure the power adapter cable is not damaged or chewed by pets.
- Do not attempt to repair or modify the feeder yourself. Contact customer support for assistance.
3. Contido do paquete
Comprobe o contido do paquete para asegurarse de que estean presentes todos os elementos:
- DOGNESS 9L Automatic Pet Feeder Main Unit
- Food Hopper Lid
- Food Bowl (Base)
- Adaptador de alimentación
- Manual de usuario (este documento)
4. Produto rematadoview
Familiarize yourself with the components of your DOGNESS Automatic Pet Feeder.

Figura 4.1: Fronte view of the DOGNESS 9L Automatic Pet Feeder.
- Tolva de comida: Large capacity container for dry pet food.
- Tapa: Secures the food hopper.
- Control Panel & LCD Display: For programming and operating the feeder.
- Punto de venda de alimentos: Onde se dispensan alimentos.
- Cunca de comida: Detachable tray for pet to eat from.
- Porto de alimentación: Para conectar o adaptador de CA.
- Compartimento de batería: For backup batteries (located at the bottom).
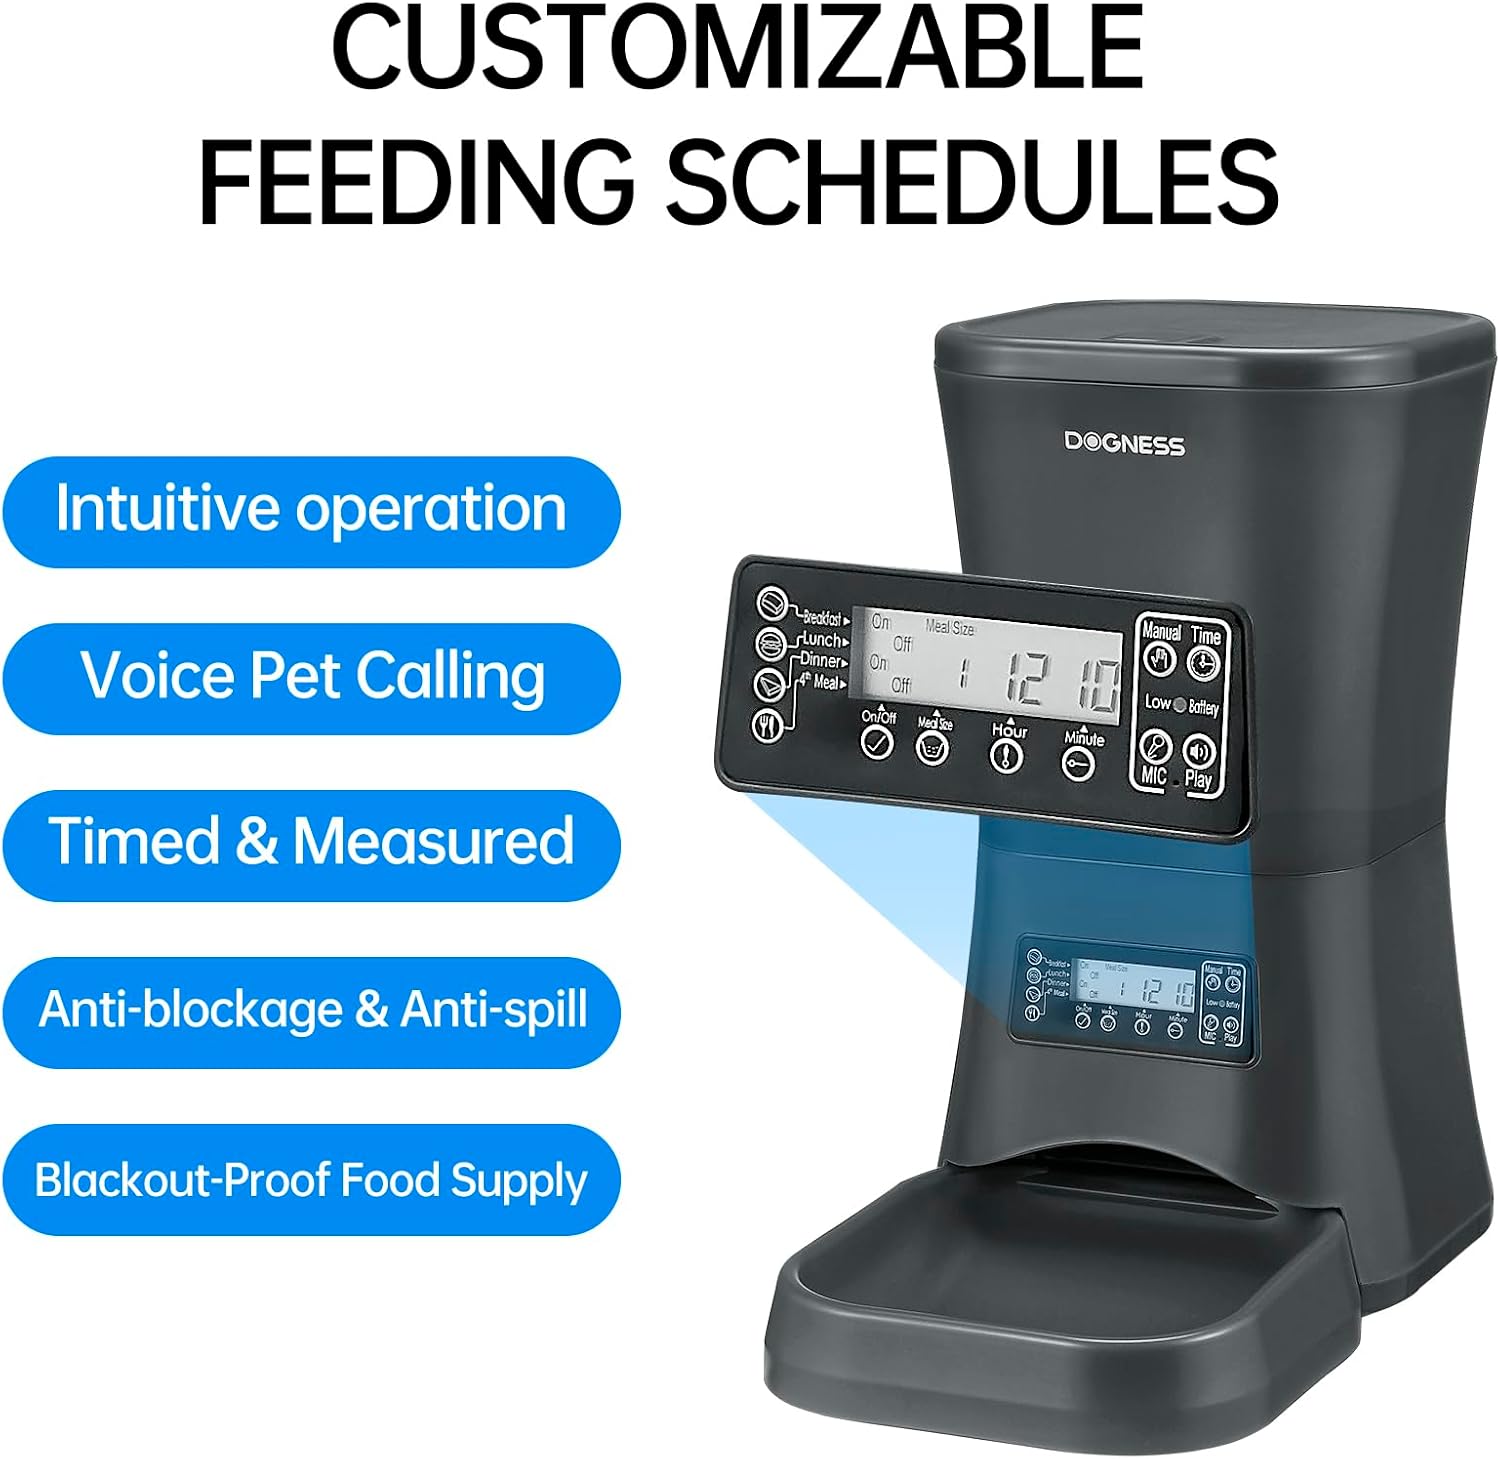
Figura 4.2: Detallado view of the control panel and LCD display.
5. Guía de configuración
5.1 Desembalaxe e montaxe
- Retire coidadosamente todos os compoñentes da embalaxe.
- Coloque a unidade principal nunha superficie plana e estable.
- Attach the food bowl to the main unit by sliding it into place until it clicks securely.
5.2 Powering the Feeder
The feeder can be powered by an AC adapter or backup batteries.
- Potencia CA: Connect the power adapter to the feeder's power port and then plug it into a standard wall outlet.
- Copia de seguridade da batería: Para poder outages, the feeder supports D-cell batteries (not included). Open the battery compartment at the bottom of the unit and insert the required number of D-cell batteries, ensuring correct polarity. The internal Lithium-ion battery included is for maintaining settings.
5.3 Encher a tolva de alimentos
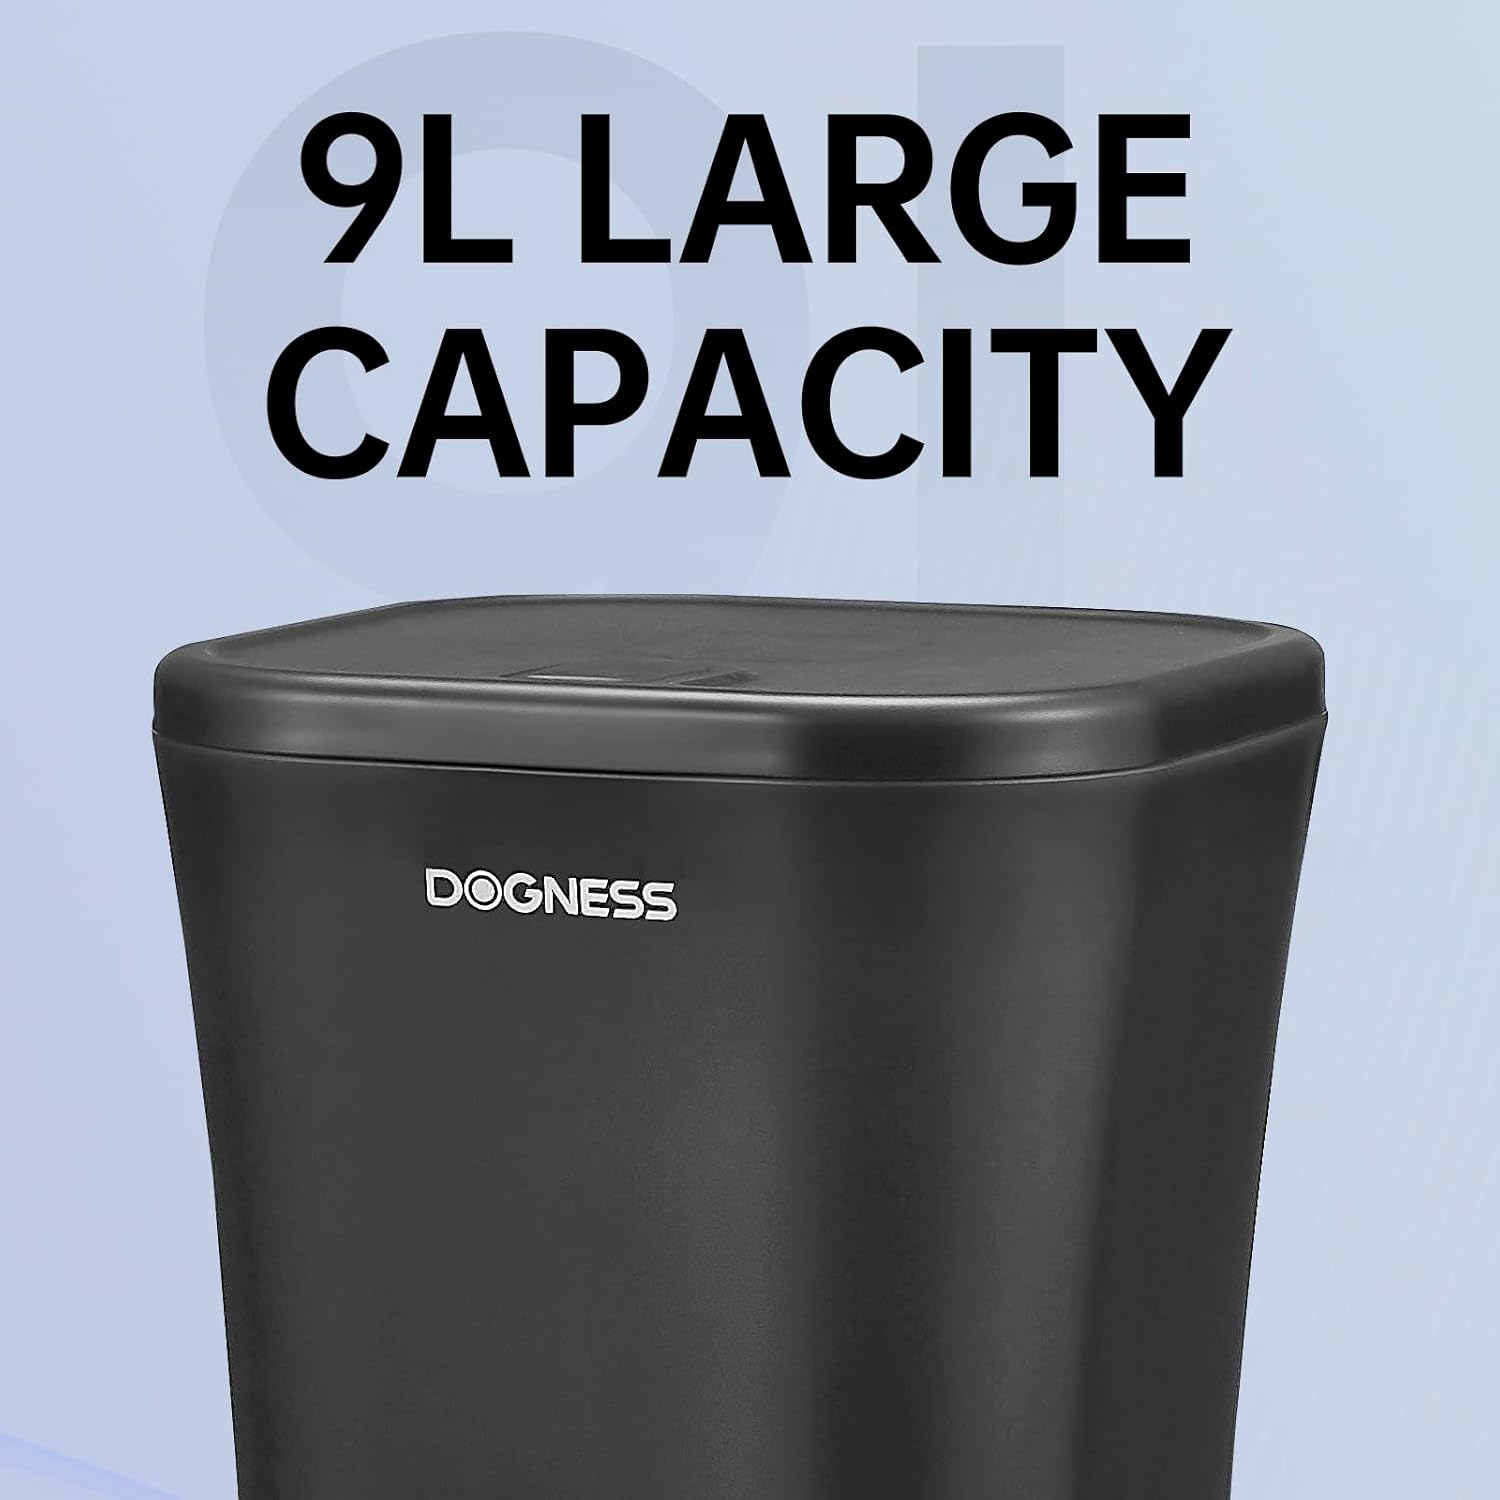
Figura 5.1: The large 9-liter capacity food hopper.
- Abra a tapa do depósito de alimentos.
- Pour dry pet food into the hopper. Ensure the kibble size is appropriate (0.2 to 0.6 inches).
- Close the lid securely to maintain food freshness and prevent spills.
6. Instrucións de funcionamento
6.1 Axuste da hora actual
Before programming meal times, set the current time on the feeder's LCD display.
- Preme o "CONFIGURAR" botón para entrar no modo de configuración da hora.
- Usa o "HORA" e "MINUTE" buttons to adjust the current hour and minute.
- Preme "CONFIGURAR" de novo para confirmar e saír.
6.2 Programming Meal Times and Portions
The feeder allows you to schedule up to 4 meals per day with customizable portion sizes.
- Preme o "MEAL" button to cycle through Meal 1, Meal 2, Meal 3, and Meal 4 settings.
- For each meal, use the "HORA" e "MINUTE" buttons to set the desired feeding time.
- Usa o "PORTION" button to adjust the number of servings for that meal. Each serving dispenses a specific amount of kibble. Refer to the specifications for approximate serving size.
- After setting each meal, press "CONFIGURAR" to save the settings and move to the next meal or exit programming mode.
- Ensure the meal schedule is activated (usually indicated by an "ON" or active icon on the display for each meal).

Figura 6.1: The feeder providing automatic, scheduled meals.
6.3 Gravación de voz
You can record a personalized voice message (up to 10 seconds) that will play before each meal to call your pet.
- Manteña premido o "REC" button until the display indicates recording mode.
- Speak clearly into the microphone (usually located near the control panel).
- Soltar o "REC" button to save the recording.
- Preme o "PLAY" botón para escoitar a mensaxe gravada.
6.4 Alimentación manual
To dispense food instantly outside of scheduled meal times:
- Preme o "MANUAL" button once to dispense one serving.
- Press multiple times for additional servings.

Figura 6.2: Food being dispensed, demonstrating the anti-clogging design.
7. Mantemento e Limpeza
7.1 Limpeza do alimentador
- Desconecte o alimentador da toma de corrente e retire as baterías de reserva.
- Remove any remaining food from the hopper and food bowl.
- The food bowl is detachable and can be washed with mild soap and water. Rinse thoroughly and dry completely before reattaching.
- Wipe the interior of the food hopper and the exterior of the main unit with a damp pano. Non use produtos de limpeza abrasivos.
- Asegúrate de que todas as pezas estean completamente secas antes de volvelas montar e enchelas con comida.
7.2 Refilling Food
Regularly check the food level in the hopper. Refill as needed to ensure continuous feeding for your pet.
7.3 Substitución da batería
If using D-cell batteries for backup, replace them when the low battery indicator appears on the LCD display or approximately every 6-12 months, depending on usage.
8 Solución de problemas
| Problema | Causa posible | Solución |
|---|---|---|
| O alimentador non dispensa comida. |
|
|
| Incorrect portion size dispensed. |
|
|
| LCD display is blank or not responding. |
|
|
9. Especificacións

Figura 9.1: Dimensions of the DOGNESS 9L Automatic Pet Feeder.
| Número de modelo | F09 |
| Capacidade | 9 litros |
| Dimensións (L x W x H) | 23.6 cm x 40.6 cm x 38.2 cm |
| Peso | 2.52 quilogramos |
| Material | Plástico |
| Fonte de alimentación | AC Adapter (included), D-cell Batteries (not included) for backup |
| Tamaño recomendado das croquetas | 0.2 - 0.6 polgadas (0.5 - 1.5 cm) |
| Cor | Black-9L |
| Ambiente de uso | Só para uso en interiores |
10. Garantía e soporte
DOGNESS products are manufactured to high-quality standards. For warranty information, please refer to the warranty card included with your purchase or visit the official DOGNESS website. If you encounter any issues or have questions regarding your pet feeder, please contact DOGNESS customer support for assistance.
Atención ao cliente: Consulte a documentación da súa compra ou as instrucións do fabricante websitio para os detalles de contacto.