
1. Produto rematadoview
The VCOROS VR1 Motorcycle Helmet Bluetooth Headset is designed to provide clear audio communication, music playback, and voice assistant functionality for motorcyclists. It features a slim design, robust connectivity, and durable construction suitable for various riding conditions.

Figure 1: VCOROS VR1 Main Unit and Speaker/Microphone Assembly

Figura 2: Produto ao longoview con compoñentes etiquetados
- Botón "+": Subir volume / seguinte canción
- Botón "-": Baixar o volume / Canción anterior
- Botón Reproducir/Pausa: Answer/Hangup/Call Back/Reject, Play/Pause Music
- AI Assistant Button: Activa o asistente de voz
- Botón de encendido: Encendido/apagado
- Indicador de carga: LED vermello
- Bluetooth Working Indicator: LED azul
- Interface de altofalante/micrófono: Connects headset components
- Porto de carga tipo C: Para cargar o dispositivo
2. Contido do paquete
Verifique que todos os elementos que se indican a continuación estean incluídos no seu paquete:

Figura 3: Accesorios incluídos
- 1 x Bluetooth Headset Unit
- 1 x Set of Earphones with Soft Microphone
- 1 x Manual de usuario
- 1 x Installation Clip Base
- 5 x Velcro Pads for Installation
- 1 x cable de carga tipo C
3. Instalación
The VCOROS VR1 headset offers two primary installation methods: clip-on and velcro. For enhanced stability, it is recommended to use both the clip base and velcro pads together.
3.1. Preparing Your Helmet
Ensure the inner lining of your helmet is clean and dry where the headset and speakers will be mounted.
3.2. Instalación de altofalantes
- Identify suitable locations inside your helmet for the speakers, typically within the ear pockets.
- Attach the velcro pads to the back of the speakers.
- Securely press the speakers into the helmet's ear pockets.
- Route the speaker wires discreetly under the helmet's padding to the desired location for the main unit.
3.3. Instalación do micrófono
The VR1 comes with a soft microphone, suitable for most full-face helmets. Position the microphone close to your mouth for optimal voice clarity, typically along the cheek pad or chin bar.
3.4. Instalación da unidade principal
- Clip-on Method: Slide the clip base between the helmet shell and the inner padding on the left side of the helmet. Ensure it is firmly secured.
- Velcro Method: Attach the adhesive velcro pad to the exterior of the helmet where you wish to mount the main unit.
- Slide the main unit onto the clip base or press it firmly onto the velcro pad until it is securely attached.
- Connect the speaker/microphone cable to the interface port on the main unit.
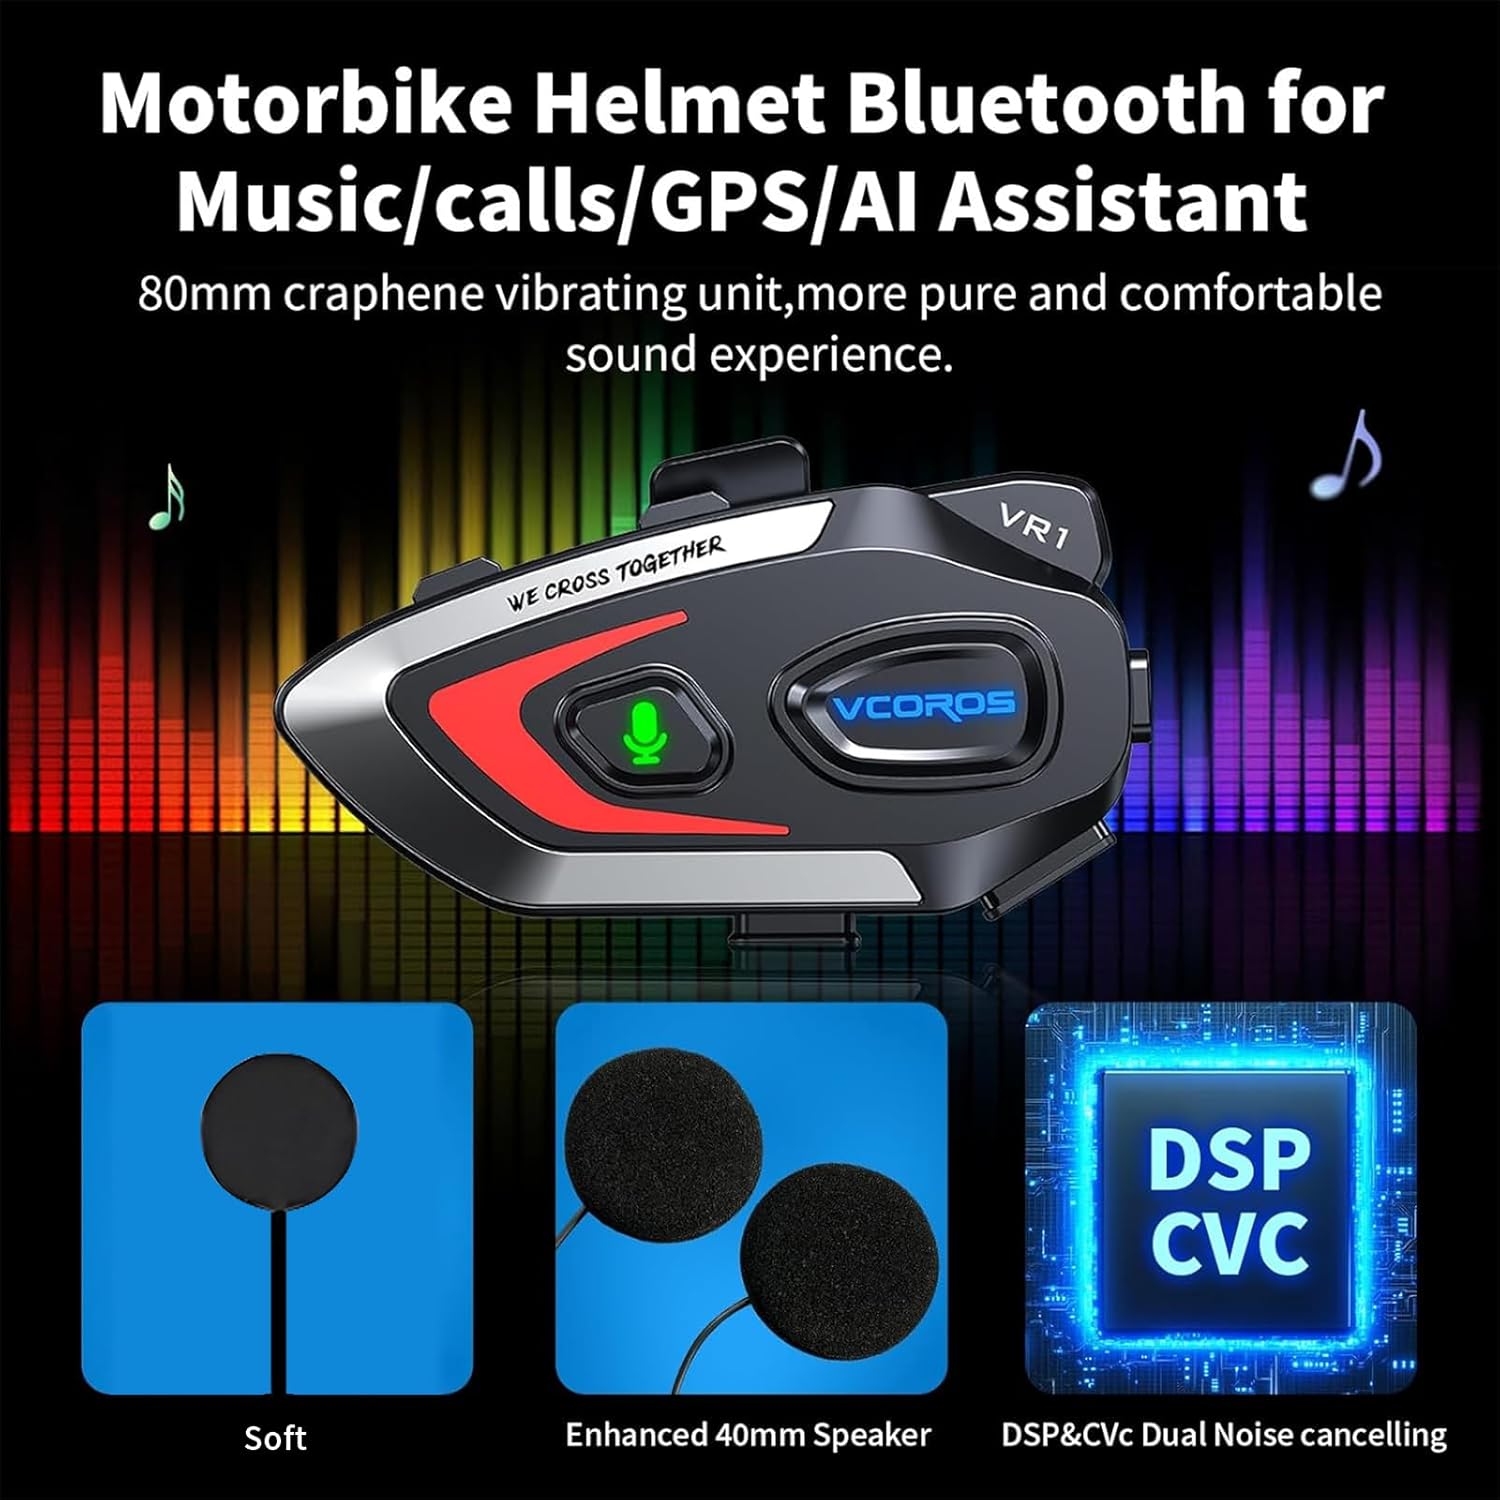
Figura 4: Diagrama de instalación
Note: For optimal stability, it is recommended to use both the clip base and the velcro pads together for mounting the main unit.
4. Funcionamento
4.1. Acendido/apagado
- Encendido: Press and hold the Power button until the blue indicator light flashes and you hear a "Power On" voice prompt.
- Apagado: Press and hold the Power button until the red indicator light flashes and you hear a "Power Off" voice prompt.
4.2. Emparellamento Bluetooth
- Asegúrese de que os auriculares están apagados.
- Press and hold the Power button for approximately 5-7 seconds until the blue and red indicator lights flash alternately, indicating pairing mode. You will hear a "Pairing" voice prompt.
- On your mobile device, enable Bluetooth and search for "VR1".
- Select "VR1" to connect. Once connected, the blue indicator light will flash slowly, and you will hear a "Connected" voice prompt.
4.3. Control da música
- Reproducir/Pausa: Prema brevemente o botón Reproducir/Pausa.
- Próxima canción: Prema brevemente o botón "+".
- Canción anterior: Prema brevemente o botón "-".
- Subir volume: Prema e manteña premido o botón "+".
- Baixar volume: Prema e manteña premido o botón "-".
4.4. Xestión de chamadas
- Responder chamada: Prema brevemente o botón Reproducir/Pausa cando soe unha chamada entrante.
- Finalizar a chamada: Prema brevemente o botón Reproducir/Pausa durante unha chamada.
- Rexeitar a chamada: Mantén premido o botón Reproducir/Pausa cando soe unha chamada entrante.
- Volver a marcar o último número: Prema dúas veces o botón Reproducir/Pausa.
4.5. Asistente de voz con IA
The VR1 supports AI voice control for both Android and Apple systems.
- Activar o asistente de voz: Short press the AI Assistant button (microphone icon) to wake up your device's voice assistant (e.g., Siri, Google Assistant).

Figure 5: AI Voice Assistant in Use
5. Carga e duración da batería
The VCOROS VR1 headset is equipped with a rechargeable lithium-ion battery, providing extended usage times.
- Tempo de carga: Aproximadamente 2.5 horas para unha carga completa.
- Tempo de traballo continuo: Up to 25 hours (music playback).
- Continuous Call Time: Ata 20 horas.
- Tempo de espera: Ata 270 horas.
5.1. Instrucións de carga
- Connect the provided Type-C charging cable to the charging port on the headset.
- Conecte o outro extremo do cable a unha fonte de alimentación USB (por exemplo, un ordenador, un adaptador de parede).
- The charging indicator (red LED) will illuminate during charging and turn off once fully charged.

Figura 6: Duración da batería ao finalview
6. Waterproof and Dustproof Features
The VCOROS VR1 headset boasts an IPX6 waterproof rating, ensuring reliable performance even in challenging weather conditions.
- Clasificación IPX6: Protected against powerful water jets. This means the device can withstand heavy rain and splashes, making it suitable for use during motorcycle rides in various weather.
- The tightly structured and solid waterproof design effectively blocks dust and rain from invading the internal components, allowing for worry-free travel.

Figure 7: IPX6 Waterproof Demonstration
7. Audio Quality and Noise Cancellation
Experience high-definition sound with the VCOROS VR1, featuring advanced audio technologies for clear communication and immersive music.
- High-Definition Sound Quality: Equipped with an 80mm graphene vibrating unit for a pure and comfortable sound experience.
- Dual Noise Reduction: Adopts intelligent CVC and DSP dual filter noise reduction technology, effectively reducing ambient noise for clear audio transmission and reception, even at high speeds.
- Enhanced 40mm Speakers: Provides robust and clear audio output.

Figure 8: Audio Technology Details
8. Compatibilidade
The VCOROS VR1 headset is designed for broad compatibility with various helmet types and smart devices.
- Compatibilidade con cascos: Suitable for all types of helmets, including Full-face, Modular, Off-road, Retro, and 3/4 helmets. The slim 0.3-inch thick headphones ensure a comfortable fit without pressing against the ears.
- Compatibilidade do dispositivo: Connects wirelessly via Bluetooth 5.3 to smartphones, tablets, and other Bluetooth-enabled devices.

Figure 9: Helmet Compatibility
9. Especificacións
| Característica | Detalle |
|---|---|
| Marca | VCOROS |
| Modelo | VR1 (Soft Mic) |
| Tecnoloxía de conectividade | Sen fíos (Bluetooth 5.3) |
| Clasificación impermeable | IPX6 |
| Cancelación de ruído | CVC and DSP Dual Filter |
| Tipo de batería | Ión de litio recargable |
| Tempo de carga | Aprox. 2.5 horas |
| Working Time (Music) | Ata 25 horas |
| Tempo de espera | Ata 270 horas |
| Diámetro do altofalante | 40 mm |
| Headphone Thickness | 0.3 polgadas (aprox. 7.6 mm) |
| Peso | 180 gramos |
| Dispositivos compatibles | Smartphones, Tablets |
10. Información de seguridade
Warning: Use with caution while riding. Do not distract yourself from driving.
- Always prioritize road safety. Using the headset should not impair your ability to hear ambient sounds or focus on driving.
- Adjust volume to a level that allows you to hear emergency vehicles and other important sounds.
- Do not attempt to install or adjust the headset while riding.
- Manteña o dispositivo lonxe de temperaturas extremas, luz solar directa e materiais corrosivos.
- Non desmontes nin modifiques o dispositivo. Isto pode anular a garantía e supoñer riscos para a seguridade.
11 Solución de problemas
If you encounter any issues with your VCOROS VR1 headset, please refer to the following common solutions:
11.1. O dispositivo non se acende
- Ensure the battery is charged. Connect the headset to a power source using the provided Type-C cable and allow it to charge for at least 30 minutes.
- Press and hold the Power button for a few seconds to confirm it's not just a short press.
11.2. Non se pode emparellar co dispositivo
- Make sure the headset is in pairing mode (red and blue lights flashing alternately).
- Ensure Bluetooth is enabled on your mobile device and it is within range (typically 10 meters).
- Forget "VR1" from your device's Bluetooth settings and try pairing again.
- Restart both the headset and your mobile device.
11.3. Sen son ou volume baixo
- Comprobe os niveis de volume tanto nos auriculares como no dispositivo conectado.
- Ensure the speaker wires are securely connected to the main unit.
- Verify that the speakers are correctly positioned within the helmet's ear pockets.
11.4. Poor Microphone Quality
- Ensure the microphone is positioned close to your mouth and not obstructed.
- Check for any damage to the microphone cable or connector.
11.5. Problemas de carga
- Asegúrate de que o cable tipo C estea completamente inserido no porto de carga.
- Proba cun adaptador de alimentación USB ou un porto diferente.
- Comprobe que o cable de carga non estea danado.
12. Garantía e soporte
VCOROS products are manufactured to high quality standards. For warranty information, technical support, or service inquiries, please contact VCOROS customer support through the retailer where you purchased the product or visit the official VCOROS websitio.
Conserve o comprobante de compra para reclamacións de garantía.