Introdución
The Philips DVT1170 VoiceTracer is a digital audio recorder designed for clear and reliable sound capture. This device features an 8GB internal memory, a 360° microphone for excellent sound quality, and supports voice-activated recording. It records in WAV format and includes a MicroSD card slot for expanded storage. This manual provides essential information for setting up, operating, and maintaining your VoiceTracer.

Figure 1: Philips DVT1170 VoiceTracer Audio Recorder.
Produto rematadoview
The DVT1170 VoiceTracer is equipped with a high-quality 360° microphone to capture sound from all directions, ensuring clear recordings. Its compact design makes it easy to carry, and the intuitive controls simplify operation.

Figura 2: Fronte view of the Philips DVT1170 VoiceTracer, showing the display and control buttons.
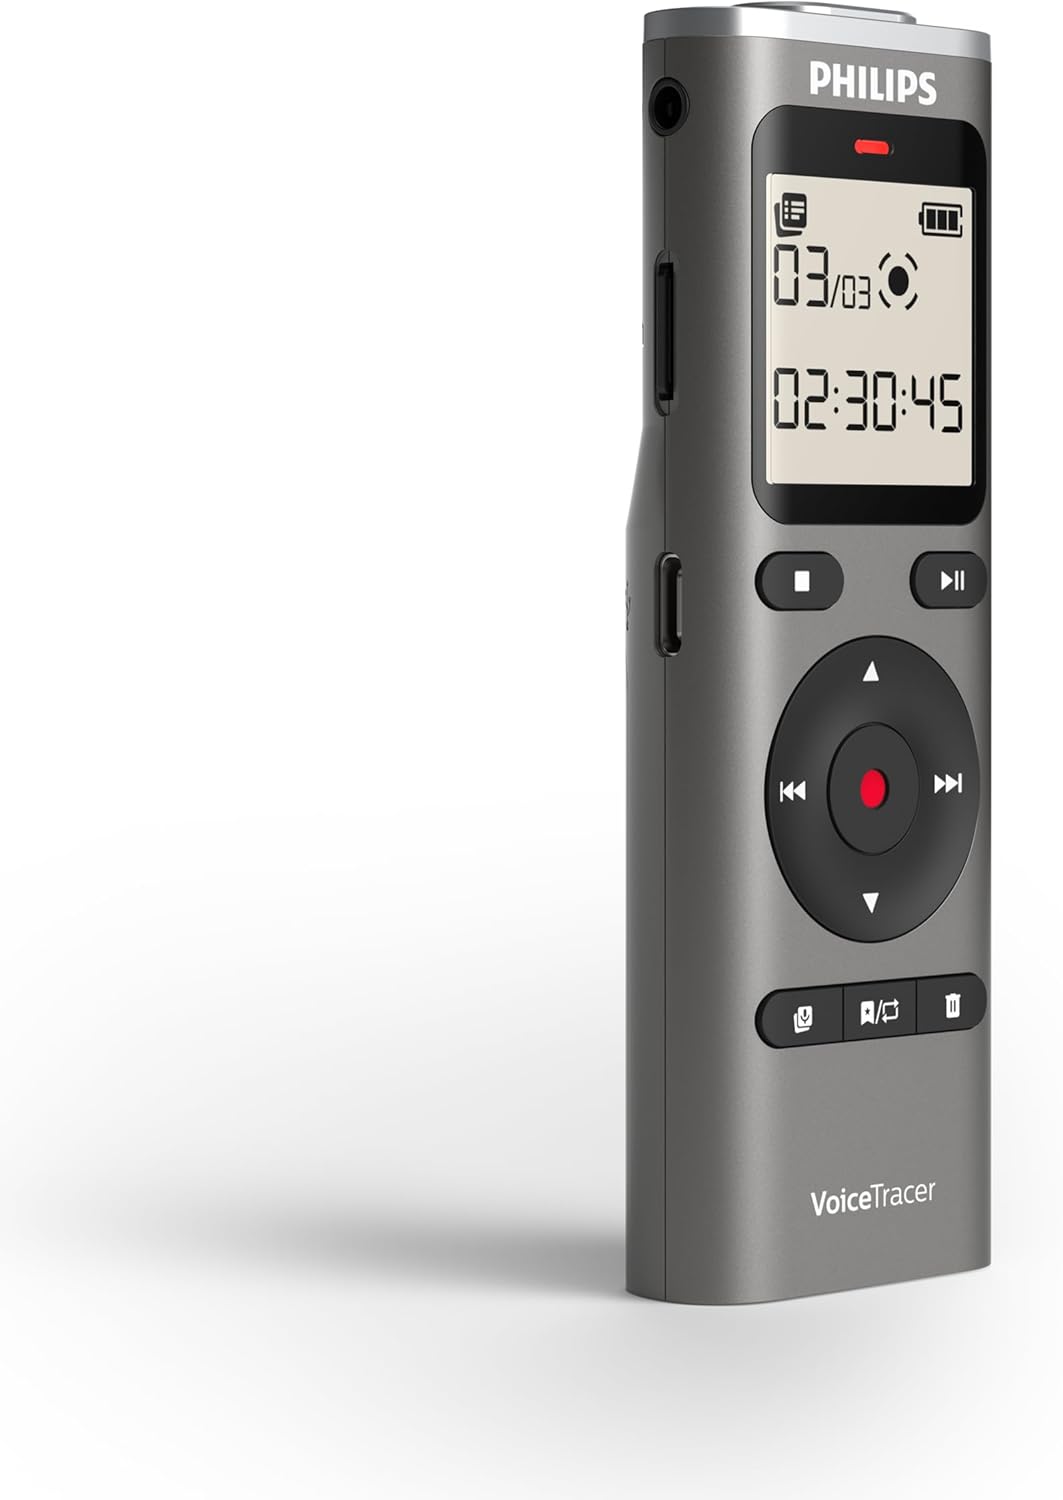
Figura 3: Lateral view of the Philips DVT1170 VoiceTracer, highlighting the power switch and USB port.
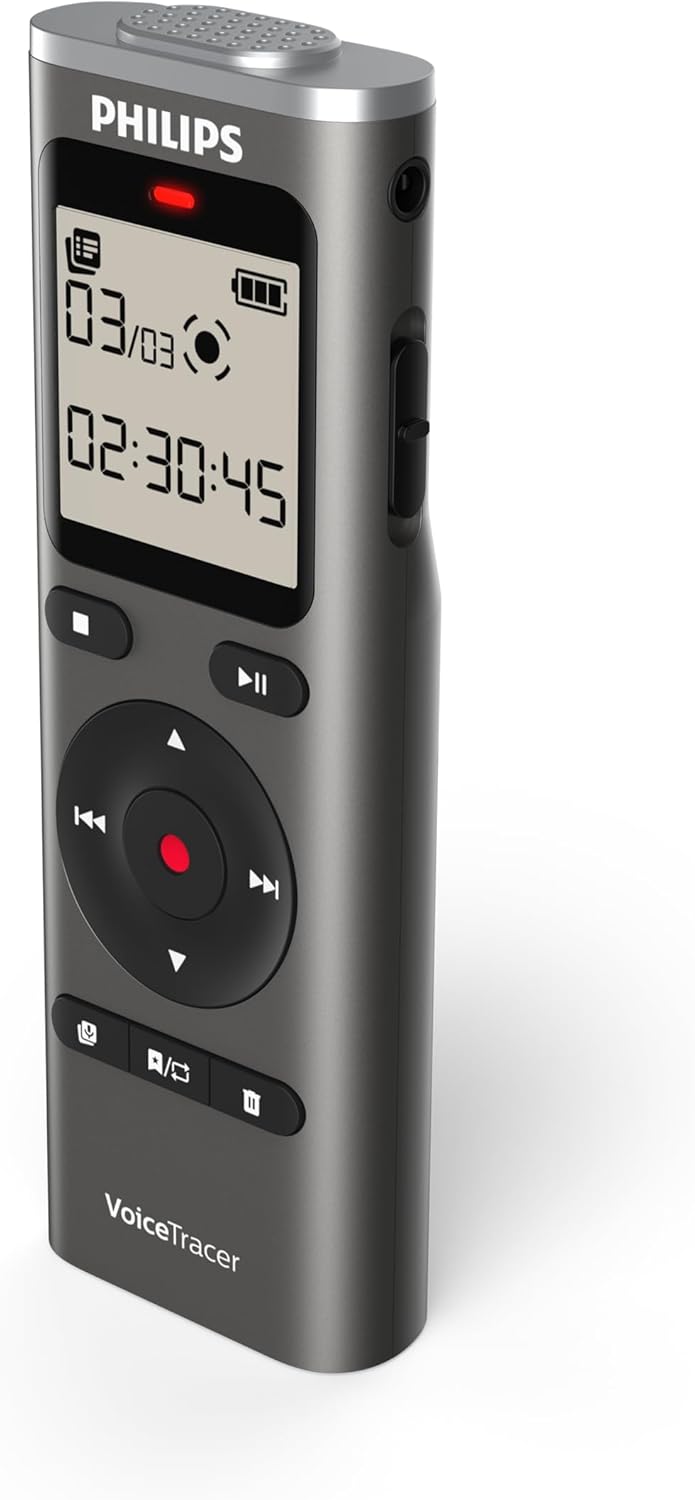
Figura 4: Atrás view of the Philips DVT1170 VoiceTracer, showing the battery compartment.
Características principais:
- High-quality 360° microphone: Captures clear, stereo-quality sound from all directions.
- Clear voice recording in WAV format: Ensures high-fidelity audio capture.
- Gravación activada por voz: Allows for hands-free operation, starting recording automatically when sound is detected.
- Tempo-stamped files: For easy organization and navigation of your recordings.
- 8 GB of internal memory: Proporciona ample space for extended recording sessions.
- Ranura para tarxetas MicroSD: For expanding storage capacity beyond the internal 8 GB.
- Extra long battery runtime: Ensures uninterrupted recording sessions.
O que hai na caixa
Your Philips DVT1170 VoiceTracer package includes:
- Philips DVT1170 VoiceTracer Audio Recorder
- 2 pilas AAA
Configuración
1. Instalación da batería
The Philips DVT1170 VoiceTracer requires 2 AAA batteries for operation. These are included in your package.
- Localice o compartimento da batería na parte traseira do dispositivo.
- Abra a tapa do compartimento.
- Insira as 2 pilas AAA, asegurándose de manter a polaridade correcta (+/-).
- Pecha a tapa do compartimento da batería de forma segura.
2. Tarxeta MicroSD (opcional)
To expand the storage capacity beyond the internal 8GB, you can insert a MicroSD card.

Figure 5: Philips DVT1170 VoiceTracer showing the MicroSD card slot.
- Localiza a ranura para tarxetas MicroSD no lateral do dispositivo.
- Gently insert the MicroSD card into the slot until it clicks into place.
- To remove, gently press the card until it pops out, then pull it out.
3. Cargando
The device can be charged or powered via its USB-C port.

Figure 6: Philips DVT1170 VoiceTracer connected to a USB-C cable for charging or data transfer.
- Conecta o cable USB-C ao porto USB-C do dispositivo.
- Connect the other end of the USB cable to a power adapter or a computer's USB port.
- The device will indicate charging status on the display.
Instrucións de funcionamento
1. Acendido/apagado
- To turn on the device, slide the power switch located on the side of the recorder upwards.
- To turn off the device, slide the power switch downwards.
2. Gravación básica
The DVT1170 VoiceTracer supports one-touch recording for quick and easy audio capture.

Figure 7: Icon representing one-touch recording functionality.
- Asegúrese de que o dispositivo estea acendido.
- Preme o REC para iniciar a gravación. A luz indicadora de gravación acenderase.
- Preme o PARA button to stop recording. The file gardarase automaticamente.
3. Voice-Activated Recording
Enable voice-activated recording for hands-free operation. The recorder will automatically start recording when sound is detected and pause when silence occurs.

Figure 8: Icon representing voice-activated recording functionality.
- Navigate to the recording settings menu.
- Select and enable the Voice-Activated Recording (VAR) option.
- Axuste o nivel de sensibilidade segundo sexa necesario.
- Preme o REC button to begin voice-activated recording.
4. Reprodución
To listen to your recorded files:
- Navega ata o file list or recording library.
- Use os botóns de navegación para seleccionar o desexado file.
- Preme o XOGAR botón para iniciar a reprodución.
- Use os botóns de volume para axustar o volume de reprodución.
- Preme o PARA botón para finalizar a reprodución.
5. File Xestión
Recordings are automatically time-stamped for easy organization.

Figure 9: Icon representing time-stamped files for easy organization.
- Accede a file list from the main menu.
- Use the navigation buttons to browse through your recordings.
- Para eliminar a file, seleccione o file e prema o ELIMINAR button, then confirm.
6. Conectando a un ordenador
Transferencia files to and from your computer using the USB-C cable.
- Connect the VoiceTracer to your computer using the provided USB-C cable.
- The device will appear as a removable drive on your computer.
- Arrastra e solta files para trasladalos.
Mantemento
- Keep the device clean and dry. Avoid immersing it in water or other liquids.
- Do not use organic solvents to clean the device, as this may cause damage.
- Avoid exposing the device to strong magnetic/electromagnetic fields, radio waves, or high voltage ambientes.
- If the device is left unused for an extended period, kindly recharge and discharge the product once every 2 months to maintain battery lifespan.
Resolución de problemas
- O dispositivo non se acende: Asegúrese de que as baterías estean instaladas e cargadas correctamente.
- Mala calidade de audio: Check microphone placement. Ensure no obstructions. Consider using the noise reduction feature if available.
- Almacenamento cheo: Eliminar innecesario files or insert a MicroSD card for more space.
- O dispositivo non responde: Try turning the device off and on again. If the issue persists, consult the warranty information.
Especificacións
| Característica | Especificación |
|---|---|
| Marca | Philips |
| Número de modelo | DVT1170 |
| Capacidade de almacenamento da memoria | 8 GB (expandable via MicroSD card slot) |
| Factor de forma do micrófono | Built-In (360° microphone) |
| Formato | WAV |
| Interface de hardware | USB 2.0 |
| Jack para auriculares | 3.5 milímetros |
| Número de baterías | 2 pilas AAA necesarias (incluídas) |
| Dimensións do produto | 4.4" D x 0.6" W x 1.4" H |
| Peso do elemento | 89 gramos |
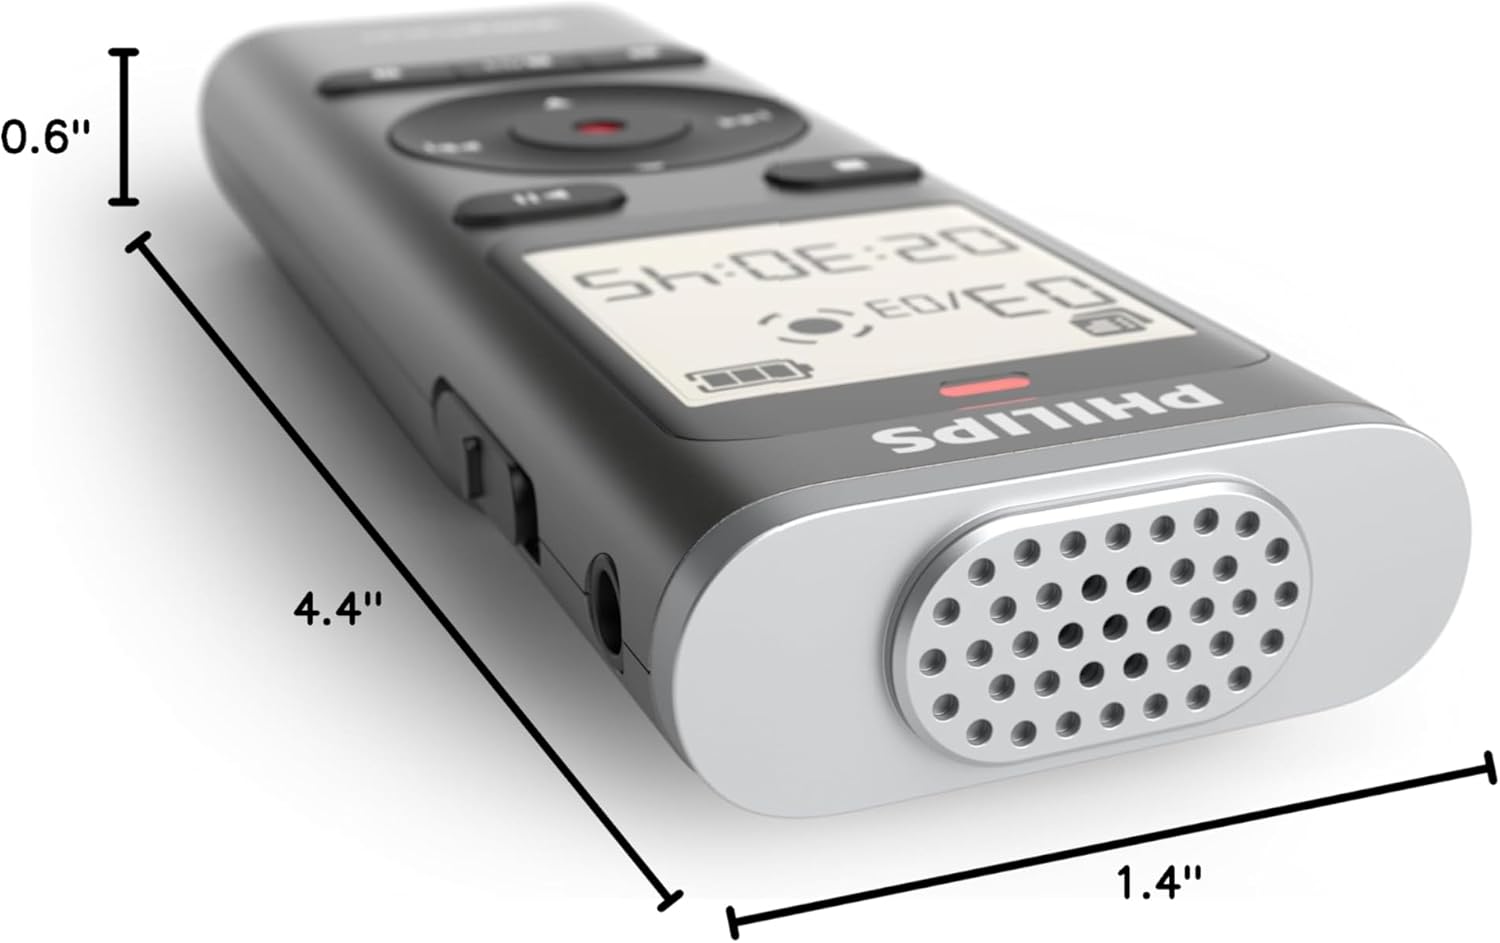
Figure 10: Dimensions of the Philips DVT1170 VoiceTracer.
Garantía e soporte
The Philips DVT1170 VoiceTracer comes with a 1 anos de garantía do fabricante. For any support or warranty claims, please contact Speech Processing Solutions, the manufacturer, directly.
For additional assistance, you may refer to the official Philips support websitio ou póñase en contacto co seu servizo de atención ao cliente.
Vídeo do produto máis aláview
Vídeo 1: Produto oficial rematadoview of the Philips DVT1170 VoiceTracer, demonstrating its features and usage.