1. Introdución
This manual provides instructions for the safe and effective operation of the Landtek MILA48500 Digital Illuminance Lux Light Meter Datalogger. This device is designed for measuring illuminance (brightness) in various environments, offering a wide measurement range, data logging capabilities, and Bluetooth connectivity for real-time monitoring.
Please read this manual thoroughly before using the device to ensure proper functionality and to prevent damage.
2. Información de seguridade
- Non intente abrir nin modificar o dispositivo. Encargue calquera mantemento a persoal cualificado.
- Manteña o dispositivo lonxe da auga, da humidade e das temperaturas extremas.
- Retire as pilas se non vai usar o dispositivo durante un período prolongado para evitar fugas.
- Desfágase das baterías e do dispositivo segundo a normativa local.
- Avoid pointing the light sensor directly at extremely bright light sources for prolonged periods, as this may affect sensor longevity.
3. Contido do paquete
Comprobe que todos os elementos estean presentes ao desembalar:
- Digital Illuminance Lux Light Meter Datalogger (MILA48500)
- Bolsa de transporte
- Manual de instrucións en inglés
- 2 x 1.5V AAA Batteries (pre-installed or included separately)

Figura 3.1: The Landtek MILA48500 Lux Meter package contents, showing the meter, a black protective pouch, and the instruction manual.
4. Dispositivo rematadoview
Familiarize yourself with the components of the Landtek MILA48500 Lux Meter:

Figura 4.1: Fronte e traseiro view of the Landtek MILA48500 Lux Meter with labeled components. Key parts include the light sensor, LCD screen, various function buttons (MAX/MIN, HOLD, UNIT, Power), and the battery compartment.
- Sensor de luz: Detects ambient light.
- Pantalla LCD: Displays measurement readings, units, and status indicators. Features a backlight for low-light conditions.
- Botón MAX/MIN: Alterna entre os valores máximos e mínimos rexistrados.
- Botón HOLD: Freezes the current reading on the display. Also activates Bluetooth when pressed for 2 seconds.
- Botón UNIT: Switches between LUX and FC measurement units. Also activates the backlight when pressed for 2 seconds.
- Botón de encendido: Acende ou apaga o dispositivo.
- Compartimento de batería: Located on the rear, houses two AAA batteries.
5. Configuración
5.1 Instalación da batería
- Localiza a tapa do compartimento da batería na parte traseira do dispositivo.
- Deslice ou solte a tapa para abrila.
- Insira dúas pilas AAA de 1.5 V, asegurándose de manter a polaridade correcta (+/-) como se indica no interior do compartimento.
- Coloque a tapa do compartimento da batería de forma segura.
5.2 Acendido/Apagado
- Para acender: Preme o Botón de encendido (). The LCD screen will illuminate.
- Para apagar: Preme o Botón de encendido again. The device also features an automatic power-off function to conserve battery life.
6. Instrucións de funcionamento
6.1 Medición básica
After powering on, the device will immediately begin measuring illuminance. Point the light sensor towards the light source or area you wish to measure.
6.2 Unit Selection (LUX / FC)
Preme o Botón UNIT to toggle between LUX (lux) and FC (foot-candle) measurement units. The selected unit will be displayed on the LCD screen.

Figura 6.1: The meter's display showing measurements in FC (left) and LUX (right) units.
6.3 Función de retención de datos
Preme o Botón HOLD briefly to freeze the current reading on the display. Press it again to release the hold and resume live measurement.
6.4 MAX / MIN Display
Preme o Botón MAX/MIN to cycle through the maximum, minimum, and current readings recorded since the device was powered on or the function was reset. The display will indicate 'MAX' or 'MIN' accordingly.
6.5 Función de retroiluminación
Manteña premido o Botón UNIT for approximately 2 seconds to turn the LCD backlight on or off.
6.6 Measurement Range Multipliers
The meter automatically adjusts its measurement range. When 'X10' or 'X100' appears on the display, the displayed reading must be multiplied by that factor to obtain the actual illuminance value.
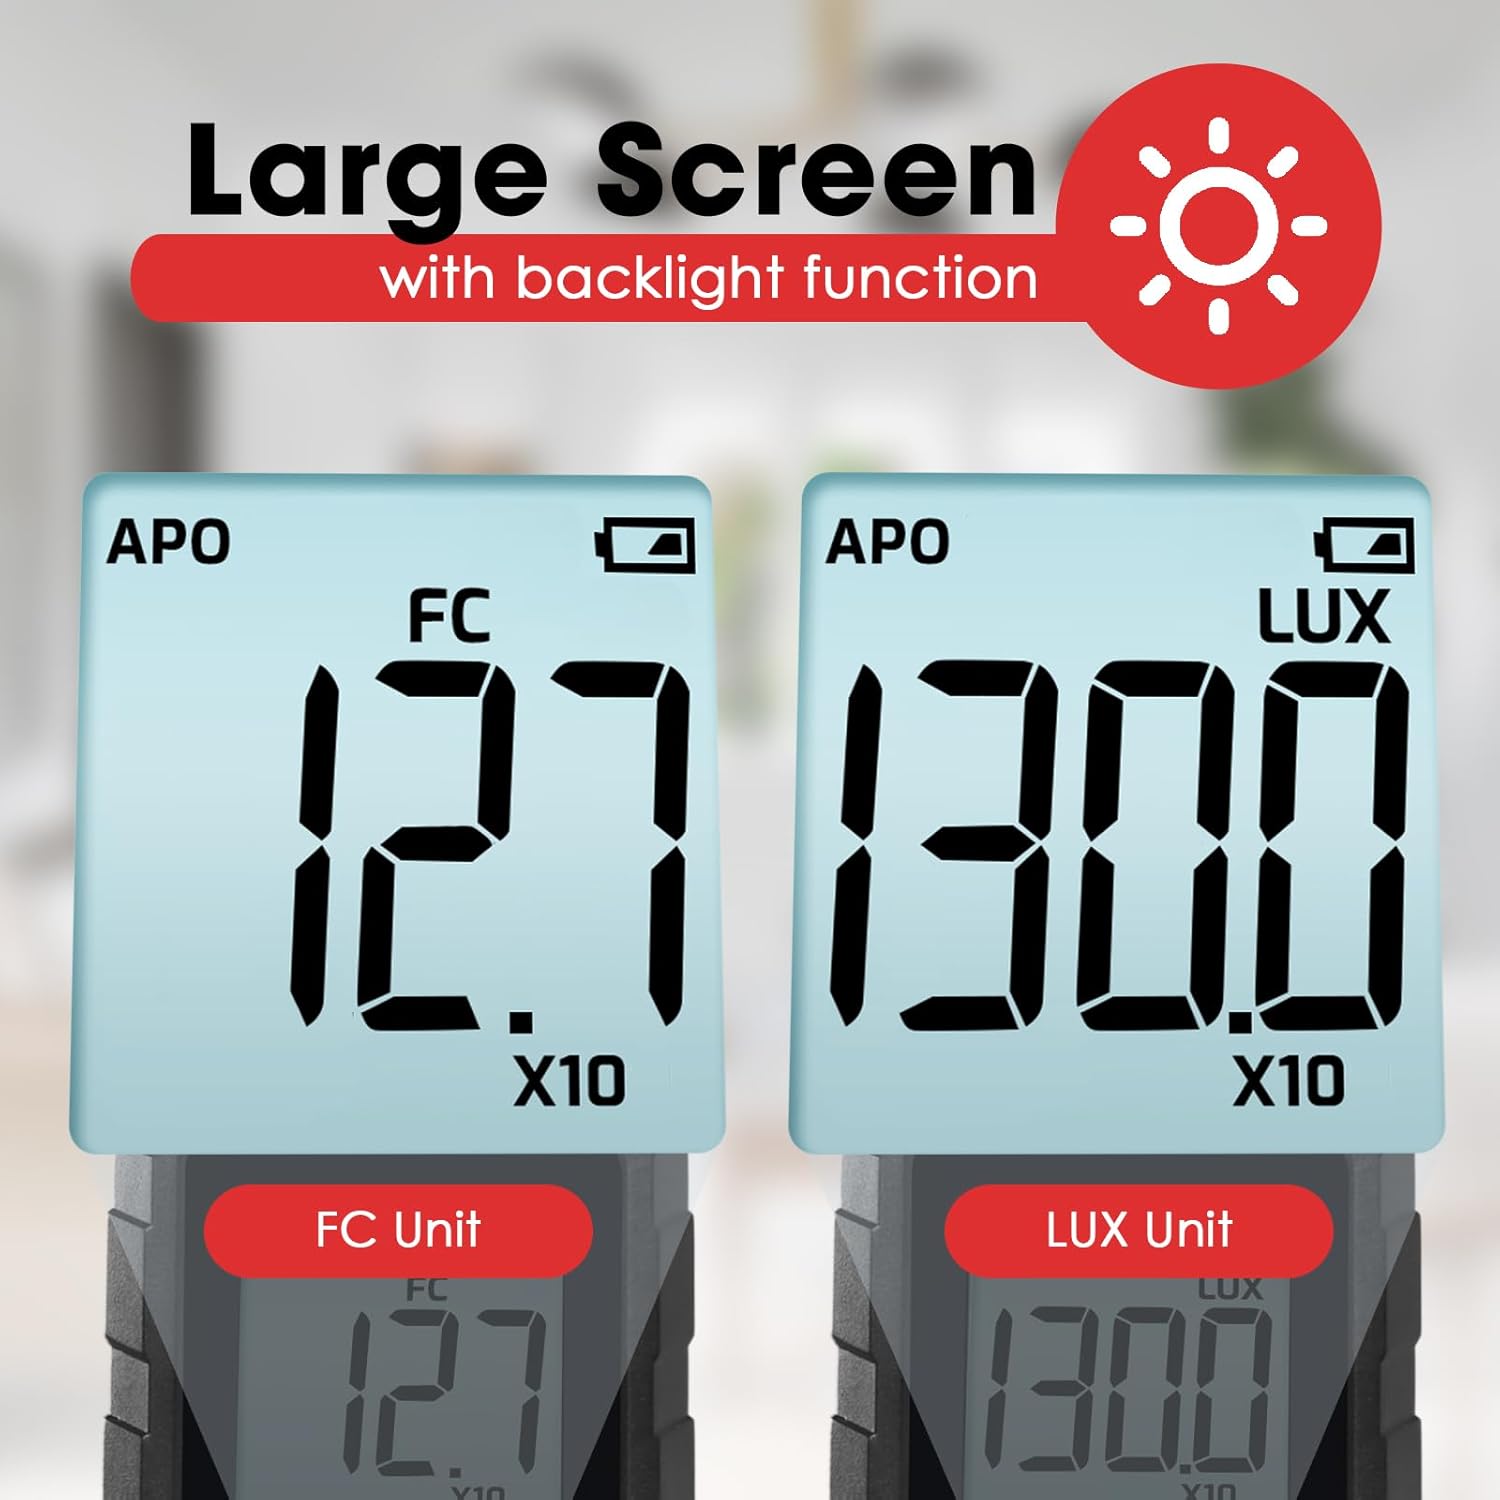
Figura 6.2: Explanation of how to interpret readings when 'X10' or 'X100' multipliers are active on the display.
- If 'X10' is displayed, multiply the reading by 10. For example, a display of 16.47 with 'X10' means 164.7 LUX.
- If 'X100' is displayed, multiply the reading by 100. For example, a display of 16.47 with 'X100' means 1647 LUX.
6.7 Bluetooth Connectivity and Data Logging
The device supports Bluetooth connectivity for real-time monitoring and data logging via a compatible smartphone application.
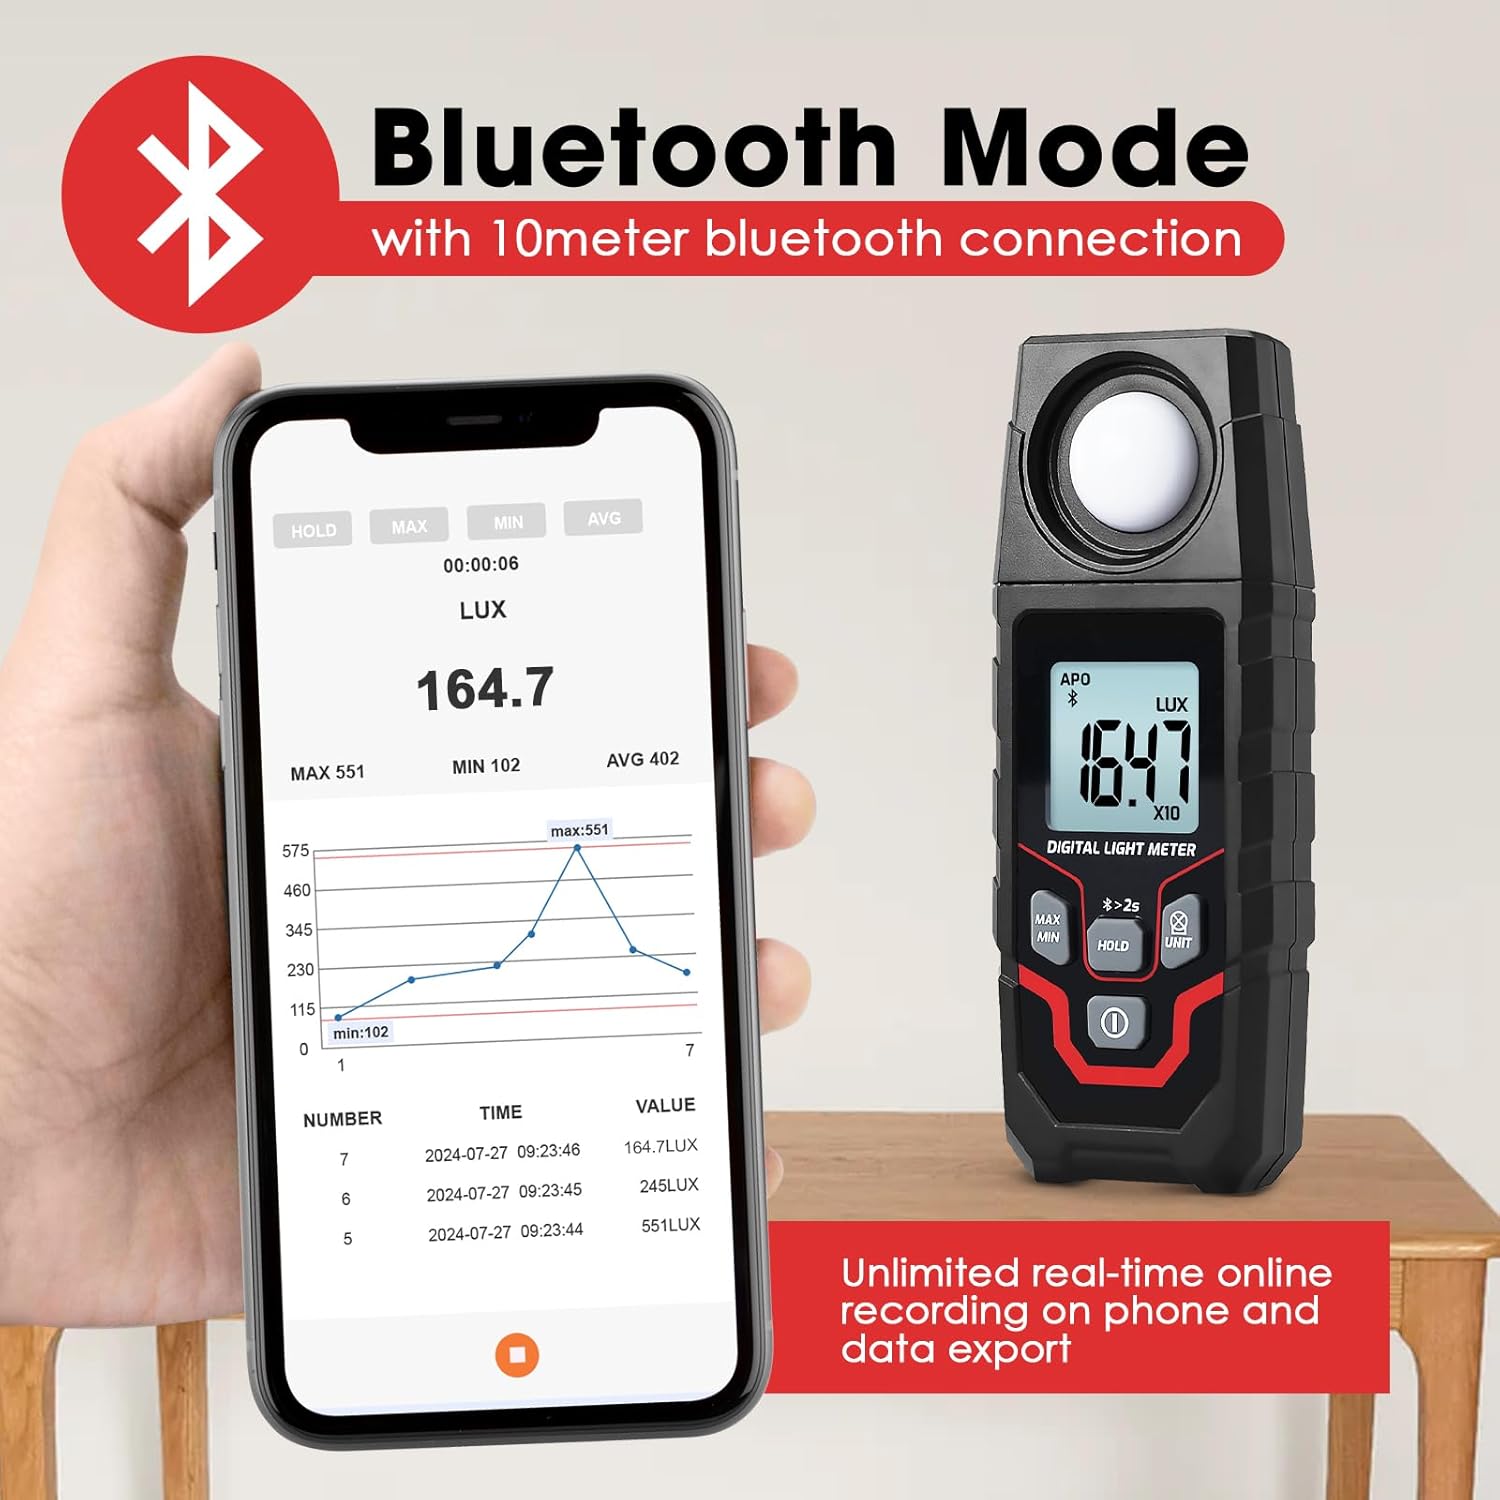
Figura 6.3: The Lux Meter connected to a smartphone via Bluetooth, displaying real-time data and a historical graph.
- Activar Bluetooth: Manteña premido o Botón HOLD for approximately 2 seconds. A Bluetooth icon will appear on the meter's display.
- Descarga a aplicación: Download the official Landtek application from your smartphone's app store.
- Conectar: Open the app on your smartphone and follow the instructions to pair with the MILA48500 device. The Bluetooth range is up to 10 meters.
- Rexistro de datos: The app allows for unlimited real-time online recording and data export. The meter can also store up to 2000 groups of data for offline recording, which can be downloaded to the app later.
7. Mantemento
- Limpeza: Use a soft, dry cloth to clean the device. Do not use abrasive cleaners or solvents. Ensure the light sensor is kept clean and free of dust.
- Almacenamento: Store the device in a cool, dry place, away from direct sunlight and extreme temperatures. If storing for an extended period, remove the batteries.
- Substitución da batería: Substitúa as pilas cando apareza o indicador de batería baixa na pantalla para garantir lecturas precisas.
8 Solución de problemas
| Problema | Causa posible | Solución |
|---|---|---|
| O dispositivo non se acende. | Baterías gastadas ou instaladas incorrectamente. | Comprobe a polaridade das pilas. Substitúaas por pilas AAA novas. |
| Lecturas inexactas. | Dirty light sensor; low battery; incorrect unit/multiplier interpretation. | Clean the light sensor. Replace batteries. Ensure correct interpretation of LUX/FC units and X10/X100 multipliers. |
| A conexión Bluetooth falla. | Bluetooth not activated on meter; app issue; out of range. | Press and hold HOLD button for 2s to activate Bluetooth. Restart app/phone. Ensure meter is within 10m of phone. |
| A pantalla está escura ou parpadea. | Batería baixa. | Substitúe as pilas. |
9. Especificacións
| Característica | Especificación |
|---|---|
| Método de medición | Tipo integral |
| Rango | 0.1~200000 LUX / 0.01~20000 FC |
| Measuring Levels (LUX) | 200 / 2,000 / 20,000 / 200,000 |
| Measuring Levels (FC) | 20 / 200 / 2,000 / 20,000 |
| Precisión | ±(4% + 10 digits) (calibrated under standard incandescent lamp 2856 °K) |
| Resolution (LUX) | <200: 0.1; ≥200: 1 |
| Resolution (FC) | <20: 0.01; 20≤FC<200: 0.1; ≥200: 1 |
| Mostrar | 4-digit LCD, max 1999 |
| Tamaño da pantalla | 34 x 31 mm |
| Sensor de luz | Fotodiodo de silicio con filtro |
| Samptaxa de ling | Aprox. 2 veces por segundo |
| Incident Angle | 120° |
| Repeatability Deviation | ± 2 % |
| Rango espectral | 400 ~ 700 nm |
| Alcance Bluetooth | Up to 10 meters proximity |
| Condicións de funcionamento | -10~50°C, 80% RH máximo, altitude interior <2000m |
| Condicións de almacenamento | -10~50°C, max 70% RH (with battery removed) |
| Fonte de alimentación | 2 pilas AAA de 1.5 V |
| Dimensións | 150 x 56 x 28 mm |
| Peso | Approx. 150g (excluding batteries) |

Figura 9.1: Physical dimensions and weight of the Landtek MILA48500 Lux Meter.
10. Garantía e soporte
This product is covered by a manufacturer's warranty. Please refer to the warranty card included in your package or contact Landtek customer support for detailed warranty terms and conditions.
For technical assistance, troubleshooting, or service inquiries, please contact your local distributor or the manufacturer directly. Contact information can typically be found on the manufacturer's websitio web ou na embalaxe do produto.