
1. Introdución
Thank you for choosing the Radioddity HD-1 Walkie Talkie. This robust and versatile two-way radio is designed for reliable communication in various environments, from construction sites to outdoor adventures. Featuring IP67 waterproofing, dustproof capabilities, and a shock-resistant design, the HD-1 ensures durability and performance. This manual provides essential information for proper setup, operation, and maintenance of your device.
2. Contido do paquete
Upon opening your Radioddity HD-1 package, please verify that all the following items are included:
- 2 x Radioddity HD-1 Radiotelephones
- 2 x Rechargeable Li-ion Batteries (2400 mAh)
- 1 x Base de carga
- 2 x Clips para cinto
- 2 x Lanyards
- 1 x cable de carga USB-C
- 1 x adaptador de alimentación

Image: Radioddity HD-1 Walkie Talkie package contents, showing two yellow and black radios, two rechargeable batteries, a dual charging dock, a USB-C cable, a power adapter, two belt clips, and two lanyards.
3. Produto rematadoview
3.1 Características principais
- IP67 a proba de auga e po: Resists water immersion (30 minutes at 1 meter) and dust particles. Floats if dropped in water.
- Deseño robusto e duradeiro: Constructed from resistant PC+TPE material, designed to withstand drops and harsh conditions.
- License-Free PMR: 16 PMR channels and 159 CTCSS/DCS codes for private and secure communications.
- One-Key Group Call: Simplifies team communication.
- Batería de longa duración: 2400 mAh Li-ion battery provides 1-2 days of use and 4-5 days standby.
- Opcións de carga dual: Recharge directly via USB-C or using the included charging dock.
- Alerta de vibración: Notifies you of incoming calls even in noisy environments.
- Modo VOX: Hands-free communication with 9 sensitivity levels.
- Función SOS: Emergency alert feature.
3.2 Compoñentes e controis
Familiarize yourself with the main components and controls of your Radioddity HD-1 walkie talkie:
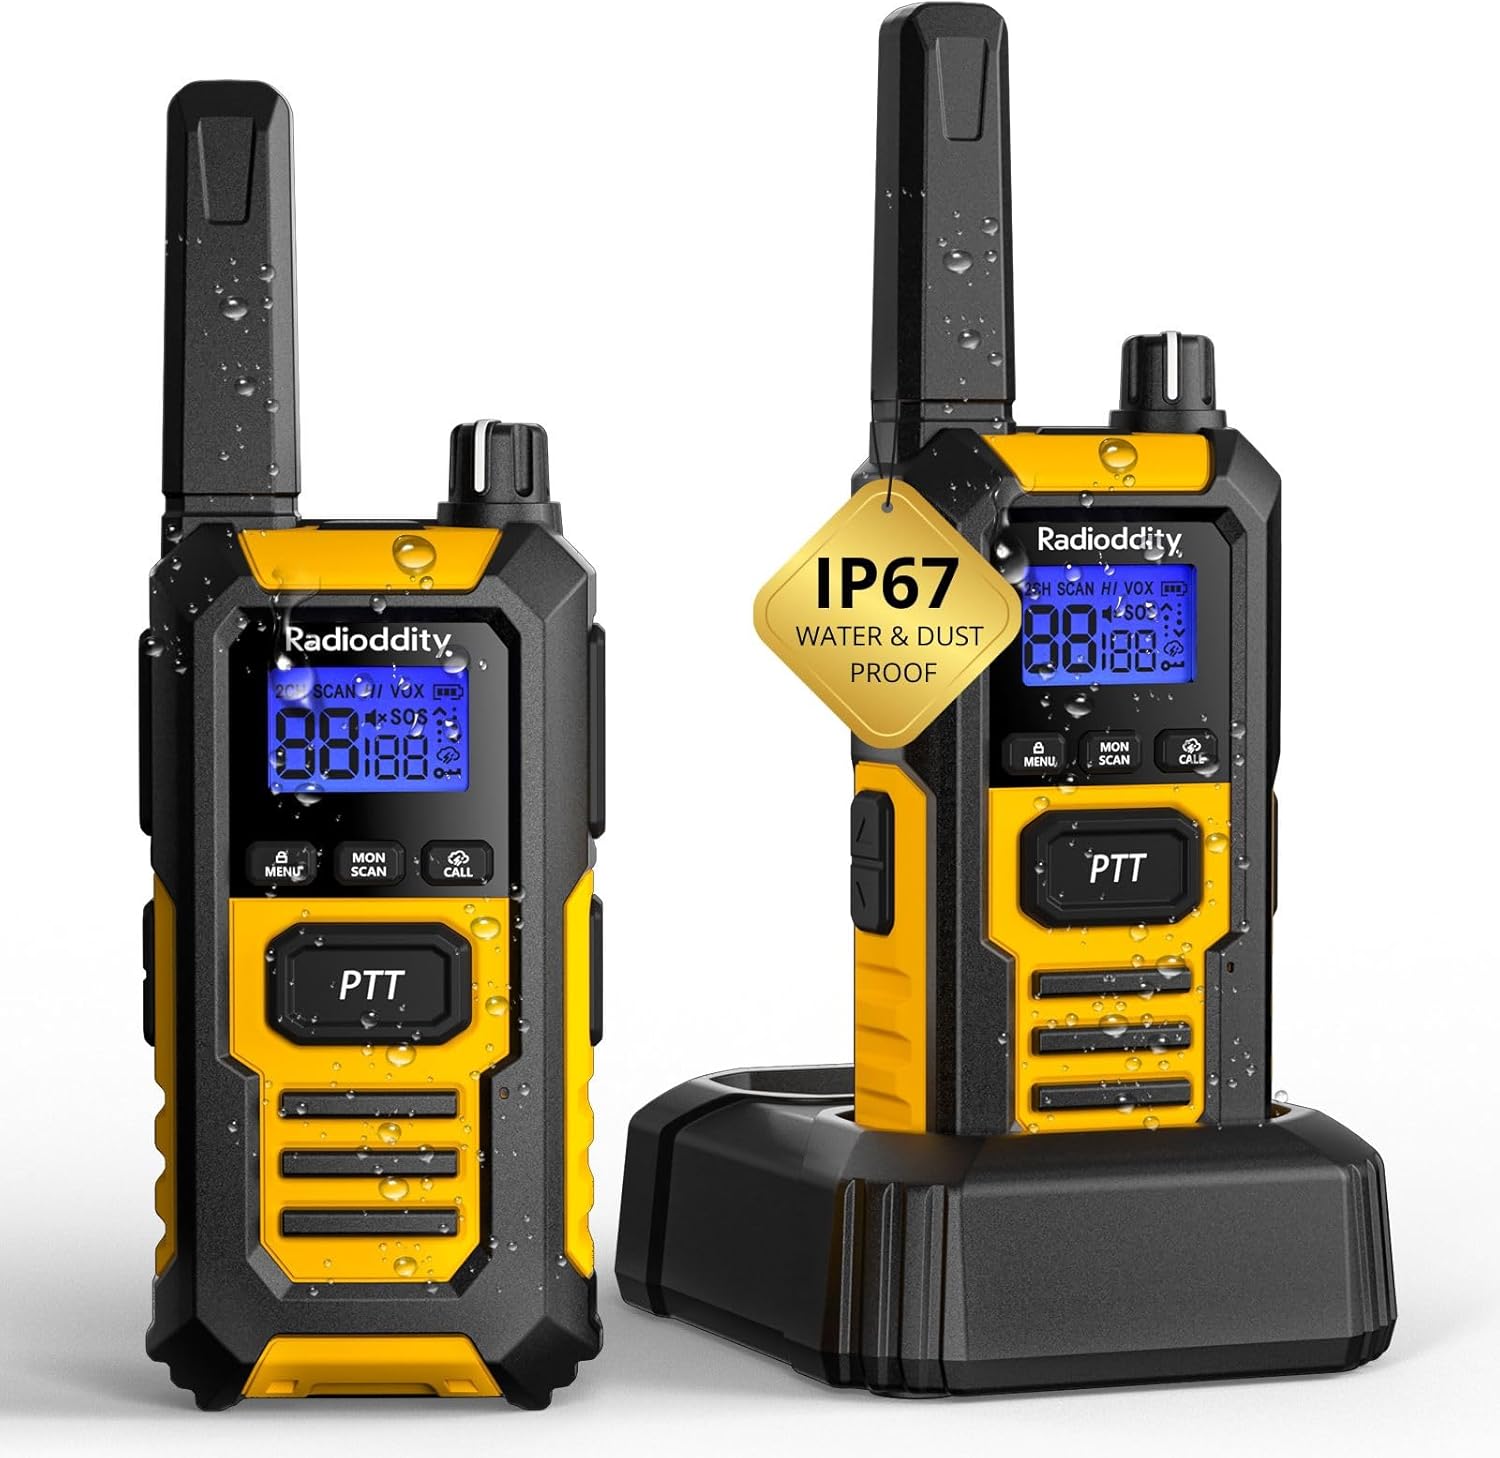
Imaxe: Fronte view of the Radioddity HD-1 Walkie Talkie, highlighting the display, PTT button, menu, scan, call, and lamp buttons, and the speaker grille.
- Antena: Para transmitir e recibir sinais.
- Botón de potencia/volume: Turn clockwise to power on and increase volume; counter-clockwise to decrease volume and power off.
- Selector de canles: Rotate to change channels.
- Botón PTT (Premer para falar): Manter premido para transmitir, soltar para recibir.
- Botón de menú: Accesses the menu for settings adjustments.
- Botóns arriba / abaixo: Navigate menu options and adjust values.
- Botón de escaneo: Inicia a exploración de canles.
- Botón de monitor: Desactiva temporalmente o silenciador para escoitar sinais débiles.
- Botón de chamada: Sends a call tone to other radios.
- Lamp Botón: Activates the LED torch.
- Botón SOS: Activates the emergency alert.
- Porto USB-C: Para carga directa.
- Conector para auriculares: Para conectar accesorios de audio externos.
4. Configuración
4.1 Instalación da batería
- Asegúrate de que o walkie-talkie estea apagado.
- Localiza a tapa do compartimento da batería na parte traseira da radio.
- Deslice a tapa cara abaixo e lévaa para retirala.
- Insert the Li-ion battery pack, ensuring the contacts align correctly with the terminals inside the compartment.
- Volva colocar a tapa da batería e deslízaa cara arriba ata que encaixe no seu lugar.
4.2 Carga da batería
Your Radioddity HD-1 offers two convenient charging methods:
- Usando a base de carga:
- Conecte o adaptador de corrente á base de carga e conécteo a unha toma de corrente.
- Place the walkie talkie (with battery installed) into the charging slot of the dock. Ensure proper contact.
- The charging indicator light on the dock will illuminate (usually red) to show charging is in progress. It will turn green when fully charged.
- Usando o porto USB-C:
- Open the rubber cover protecting the USB-C port on the side of the radio.
- Connect the USB-C charging cable to the radio and a compatible USB power source (e.g., power adapter, computer USB port).
- The battery icon on the radio's display will indicate charging status.
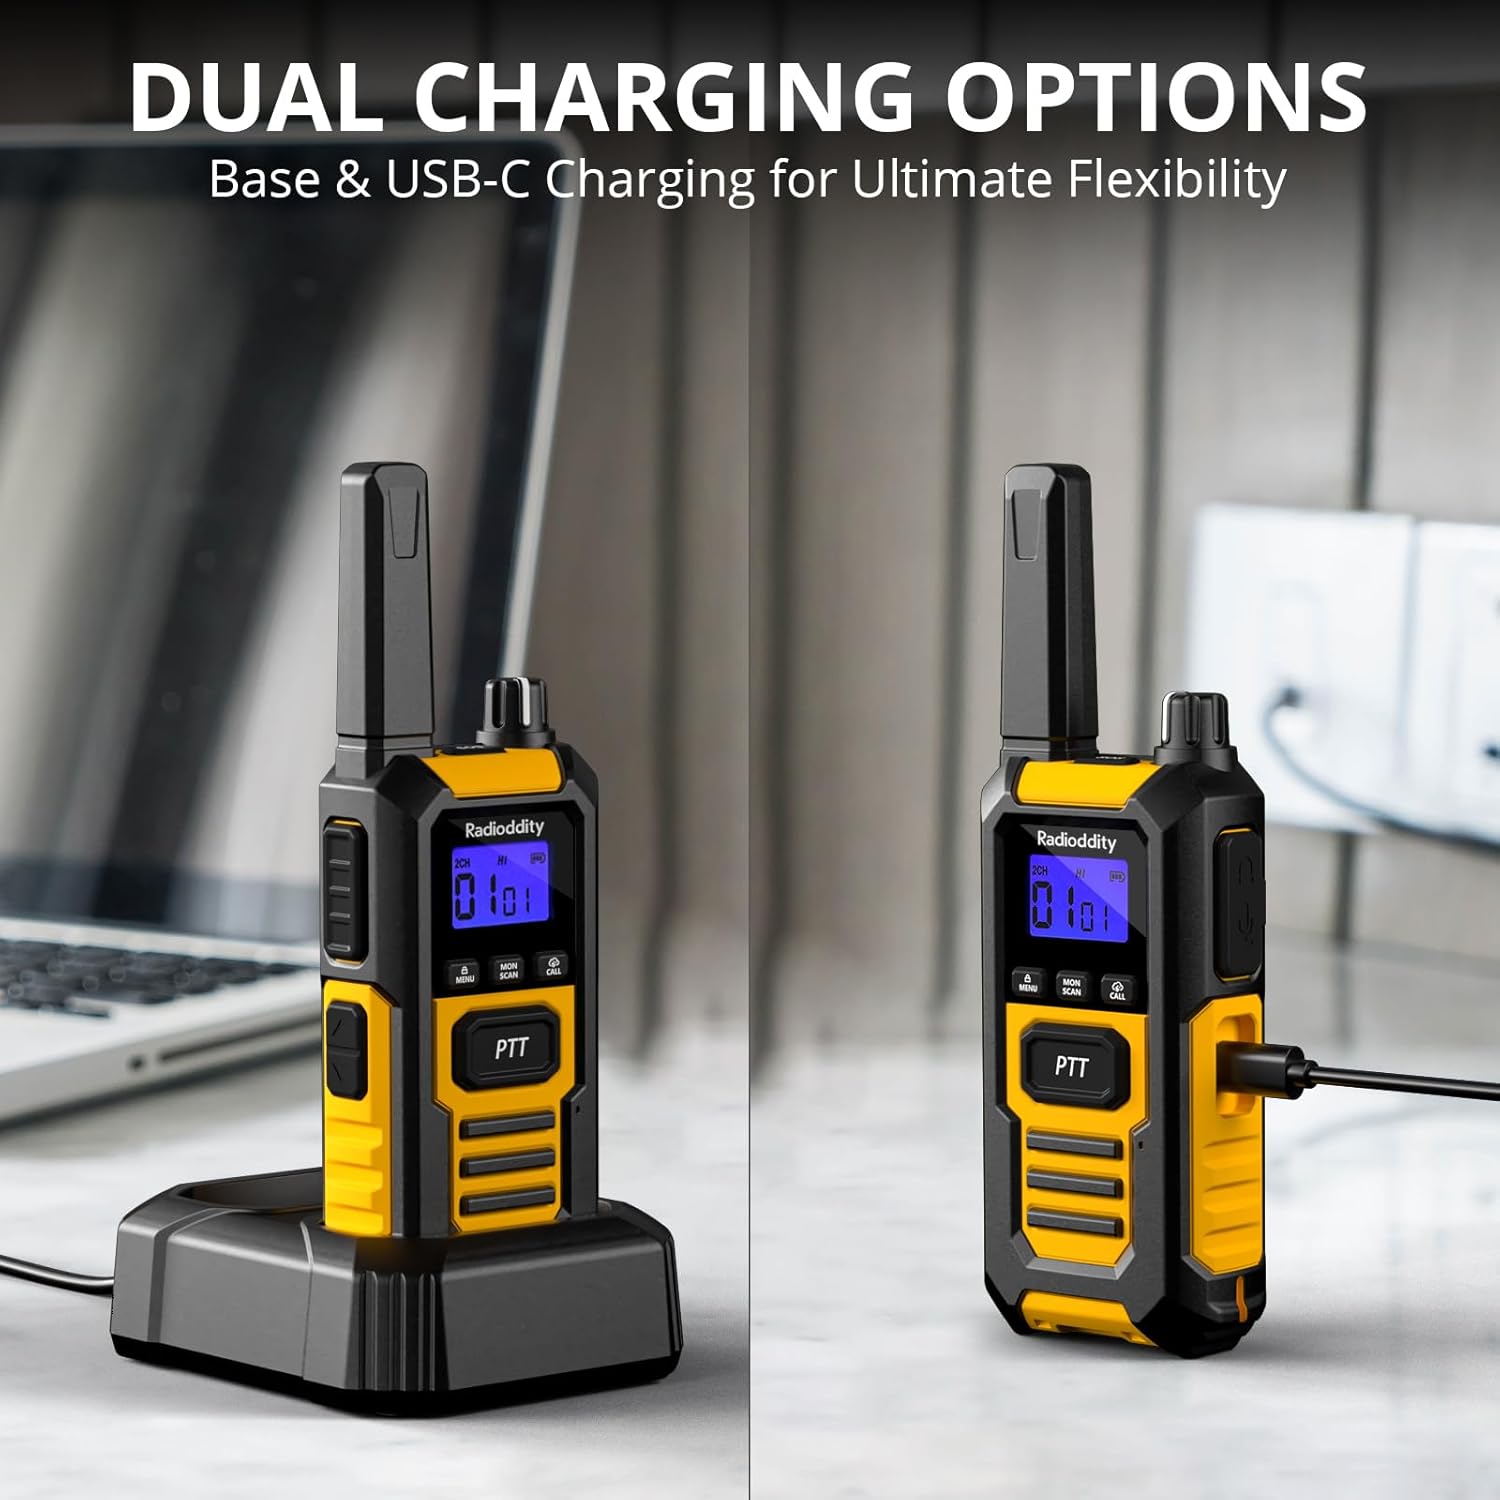
Image: The Radioddity HD-1 Walkie Talkie demonstrating its dual charging capabilities. One radio is placed in a charging dock, while another is shown connected directly via a USB-C cable.
5. Instrucións de funcionamento
5.1 Acendido/apagado e axuste do volume
- Encendido: Rotate the Power/Volume knob clockwise until you hear a click and the display illuminates.
- Apagado: Xire o botón de acendido/volume en sentido antihorario ata que escoite un clic e a pantalla se apague.
- Axuste de volume: Once powered on, rotate the Power/Volume knob clockwise to increase volume or counter-clockwise to decrease it.
5.2 Selección de canles
To communicate with other walkie talkies, ensure all devices are set to the same channel and CTCSS/DCS code (if used).
- Rotate the Channel Selector knob to choose your desired channel (1-16).
- The selected channel number will be displayed on the screen.
5.3 Transmisión e recepción (PTT)
- Para transmitir, manteña premido o botón PTT botón que hai no lateral da radio. Fala con claridade no micrófono.
- Soltar o PTT botón para deter a transmisión e volver ao modo de recepción.
5.4 VOX (central operada por voz)
VOX mode allows for hands-free transmission. When activated, the radio will automatically transmit when it detects your voice.
- Preme o Menú botón para entrar no menú.
- Use the Up/Down buttons to navigate to the VOX setting.
- Preme Menú again to select. Use Up/Down to choose a sensitivity level (1-9, with 9 being most sensitive).
- Preme Menú para confirmar e saír.
5.5 Ton de chamada
Send an audible alert to other radios on the same channel.
- Preme o Chamar button to send a pre-set call tone.
5.6 Bloqueo do teclado
Evita cambios accidentais na configuración.
- Para bloquear o teclado, manteña premido o botón Menú botón ata que apareza a icona do cadeado na pantalla.
- Para desbloquear, manteña premido o botón Menú botón de novo ata que a icona do cadeado desapareza.
5.7 Función de dixitalización
Automatically scans active channels to find ongoing conversations.
- Preme o Escanear button to activate channel scanning. The radio will cycle through channels until an active one is found.
- Para deter a dixitalización, prema o botón Escanear botón de novo.
5.8 Linterna LED
The integrated LED torch provides illumination in low-light conditions.
- Preme o Lamp button to turn the LED torch on.
- Preme o Lamp botón de novo para desactivalo.
5.9 Emerxencia SOS
Activates an audible and visual emergency alert.
- Manteña premido o SOS button (usually a dedicated orange button on the side) to activate the emergency alert. The radio will emit a loud siren and flash its LED.
- To deactivate, press any button or power cycle the radio.

Image: A Radioddity HD-1 Walkie Talkie with an illuminated red siren icon, indicating the active SOS emergency alert function.
5.10 Chamada de grupo
The one-key group call feature allows for quick communication with pre-defined groups.
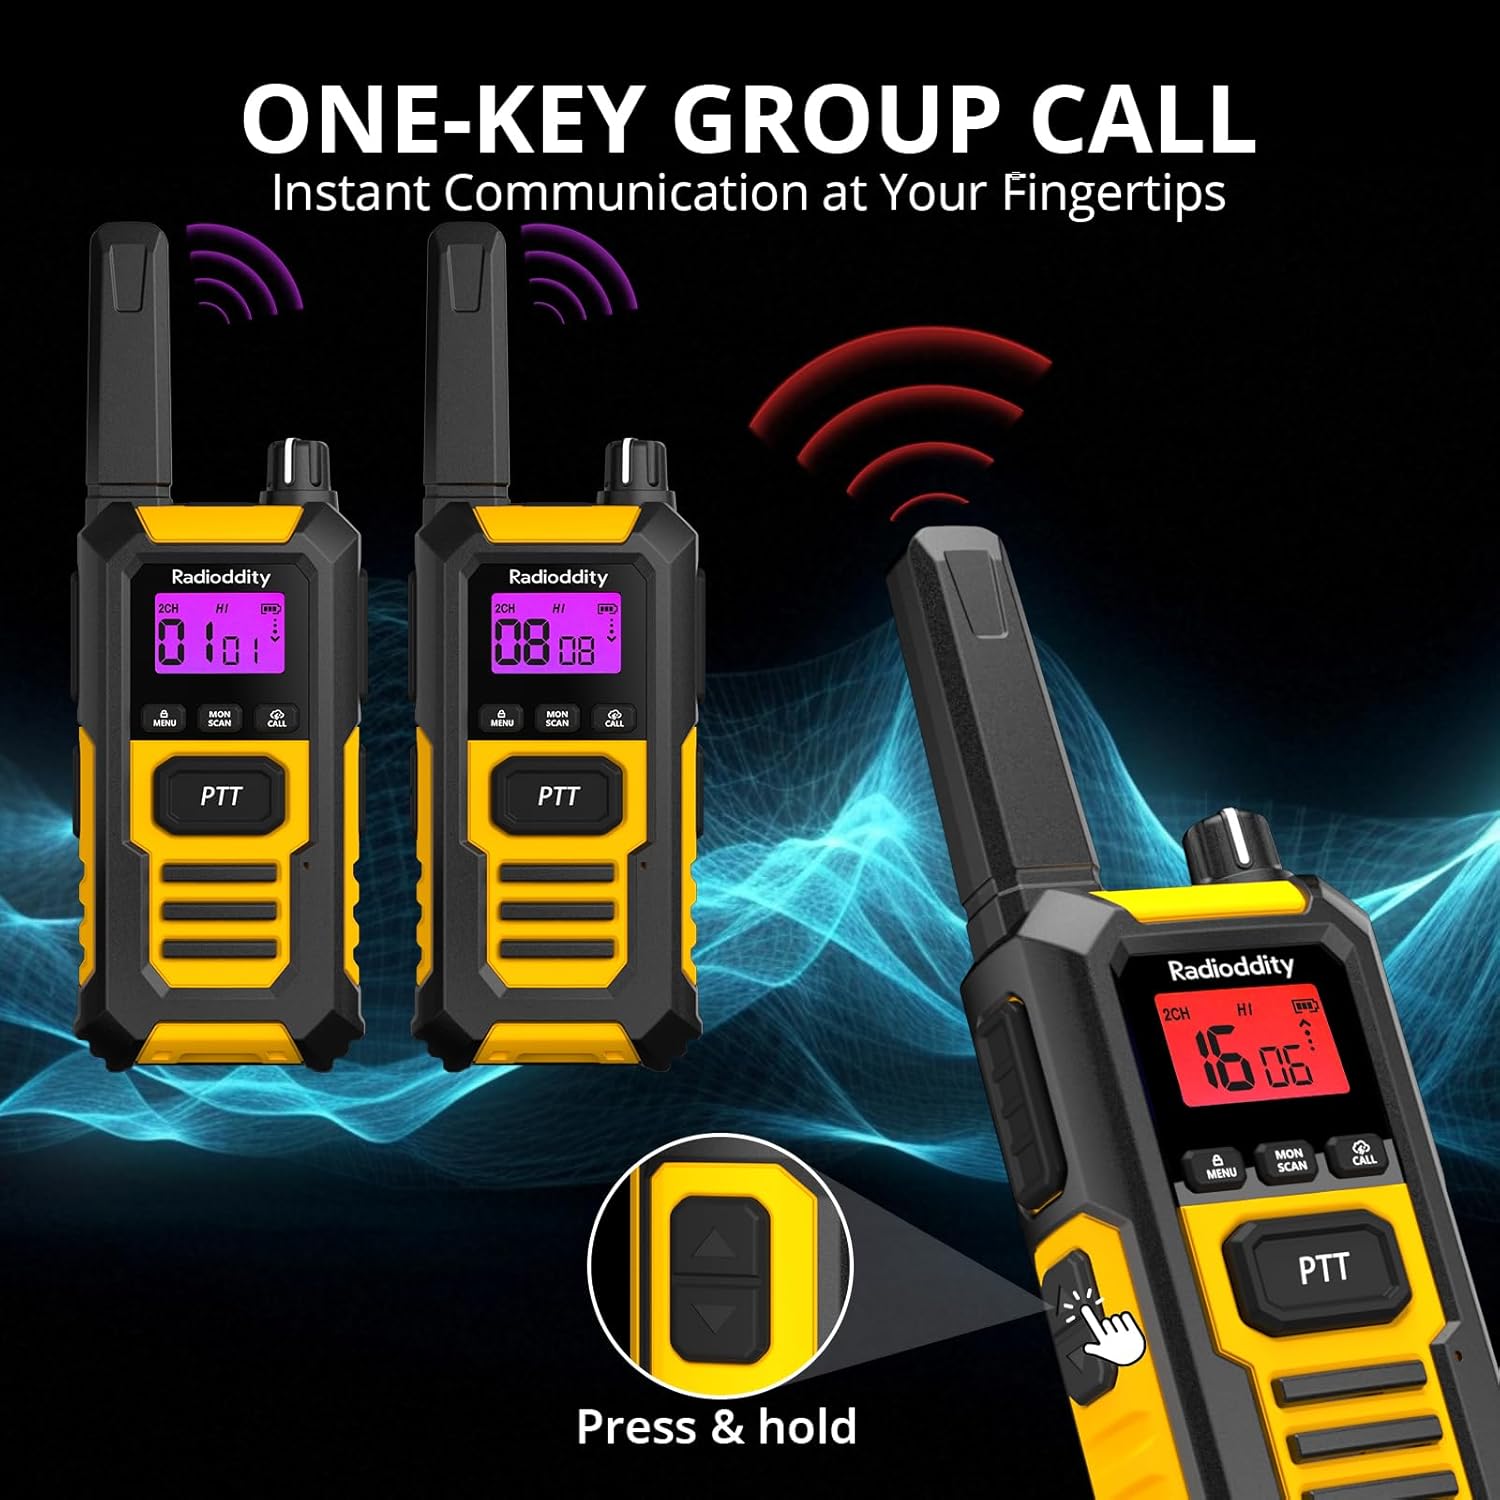
Image: Multiple Radioddity HD-1 Walkie Talkies showing the one-key group call feature, with radio signals emanating from the devices.
6. Especificacións
| Característica | Especificación |
|---|---|
| Número de modelo | HD-1 |
| Marca | Radiodidade |
| Cor | Amarelo |
| Número de canles | 16 |
| Espectro de frecuencias | PMR446 |
| Alcance máximo de conversa | 3 Kilometers (variable based on terrain) |
| Voltage | 3.7 voltios |
| Nivel de resistencia á auga | IP67 (Impermeable) |
| Tipo de batería | 2400 mAh de iones de litio |
| Duración media da batería | 24 Hours (usage), 4-5 Days (standby) |
| Protocolo de conectividade | PMR446 |
| Dispositivos compatibles | Other PMR446 radios, standard 2-pin audio accessories |
7. Durability and Resistance
The Radioddity HD-1 is built to endure challenging conditions, undergoing rigorous testing to ensure reliability.
7.1 IP67 Impermeable e a proba de po
The HD-1 is certified IP67, meaning it is fully protected against dust ingress and can withstand immersion in water up to 1 meter for 30 minutes. Its floating design prevents loss during water activities.

Image: Two Radioddity HD-1 Walkie Talkies partially submerged and floating in water, with water droplets around them, illustrating their IP67 waterproof and floating capabilities.
Video: Demonstrates the IP67 waterproof and floating capabilities of a walkie talkie. The device is submerged in water and shown to float, highlighting its resistance to water damage.
7.2 Shockproof and Drop-Resistant
The robust PC+TPE construction ensures the HD-1 can withstand impacts and drops from up to 2 meters, making it ideal for demanding environments.

Image: A Radioddity HD-1 Walkie Talkie standing upright on a rugged, rocky surface, with small rocks scattering around it, emphasizing its shockproof and durable construction.
Video: Shows various durability tests performed on a walkie talkie, including drop tests from 2 meters onto concrete, rotation tests in a drum, temperature resistance tests from -20°C to +60°C, button press endurance tests, and a compression test under a vehicle wheel, demonstrating its robust construction.
Vídeo: Unha breve presentaciónview presentación de vídeoasing the robust and resistant features of rechargeable walkie talkies, highlighting their durability in various conditions.
8. Mantemento
- Limpeza: Use un suave, damp pano para limpar o exterior da radio. Non empregue produtos químicos agresivos nin disolventes.
- Coidado da batería: To maximize battery life, fully charge the battery before first use. Avoid overcharging or completely draining the battery frequently. Store the radio and battery in a cool, dry place when not in use for extended periods.
- Almacenamento: Garde o walkie-talkie nun ambiente seco e sen po, lonxe de temperaturas extremas.
- Exposición á auga: After exposure to water, ensure all ports are properly sealed and dry the radio thoroughly before charging or using.
9 Solución de problemas
| Problema | Causa posible | Solución |
|---|---|---|
| A radio non se acende | Batería baixa ou descargada; batería instalada incorrectamente. | Cargue a batería; asegúrese de que a batería estea instalada correctamente. |
| Non se pode comunicar con outras radios | Different channels/codes; out of range; low battery. | Verify all radios are on the same channel and CTCSS/DCS code; move closer; charge battery. |
| Mala calidade de audio ou estática | Weak signal; interference; too far from other radios. | Move to an open area; check for obstructions; adjust squelch level. |
| VOX non funciona | VOX sensitivity too low; VOX disabled. | Increase VOX sensitivity; enable VOX in the menu. |
10. Garantía e soporte
Radioddity products are designed for reliability and performance. For warranty information, technical support, or service inquiries, please refer to the warranty card included in your package or visit the official Radioddity websitio. Garde o recibo da compra como xustificante da mesma.


