
1. Introdución
This manual provides detailed instructions for the installation, operation, and maintenance of your UNITOPSCI 9.66 Inch 3 Channel WiFi Mirror Dash Cam. This device is designed to enhance driving safety and provide comprehensive recording capabilities with its front, in-cabin, and rear cameras. Please read this manual thoroughly before using the product to ensure proper functionality and to avoid damage.

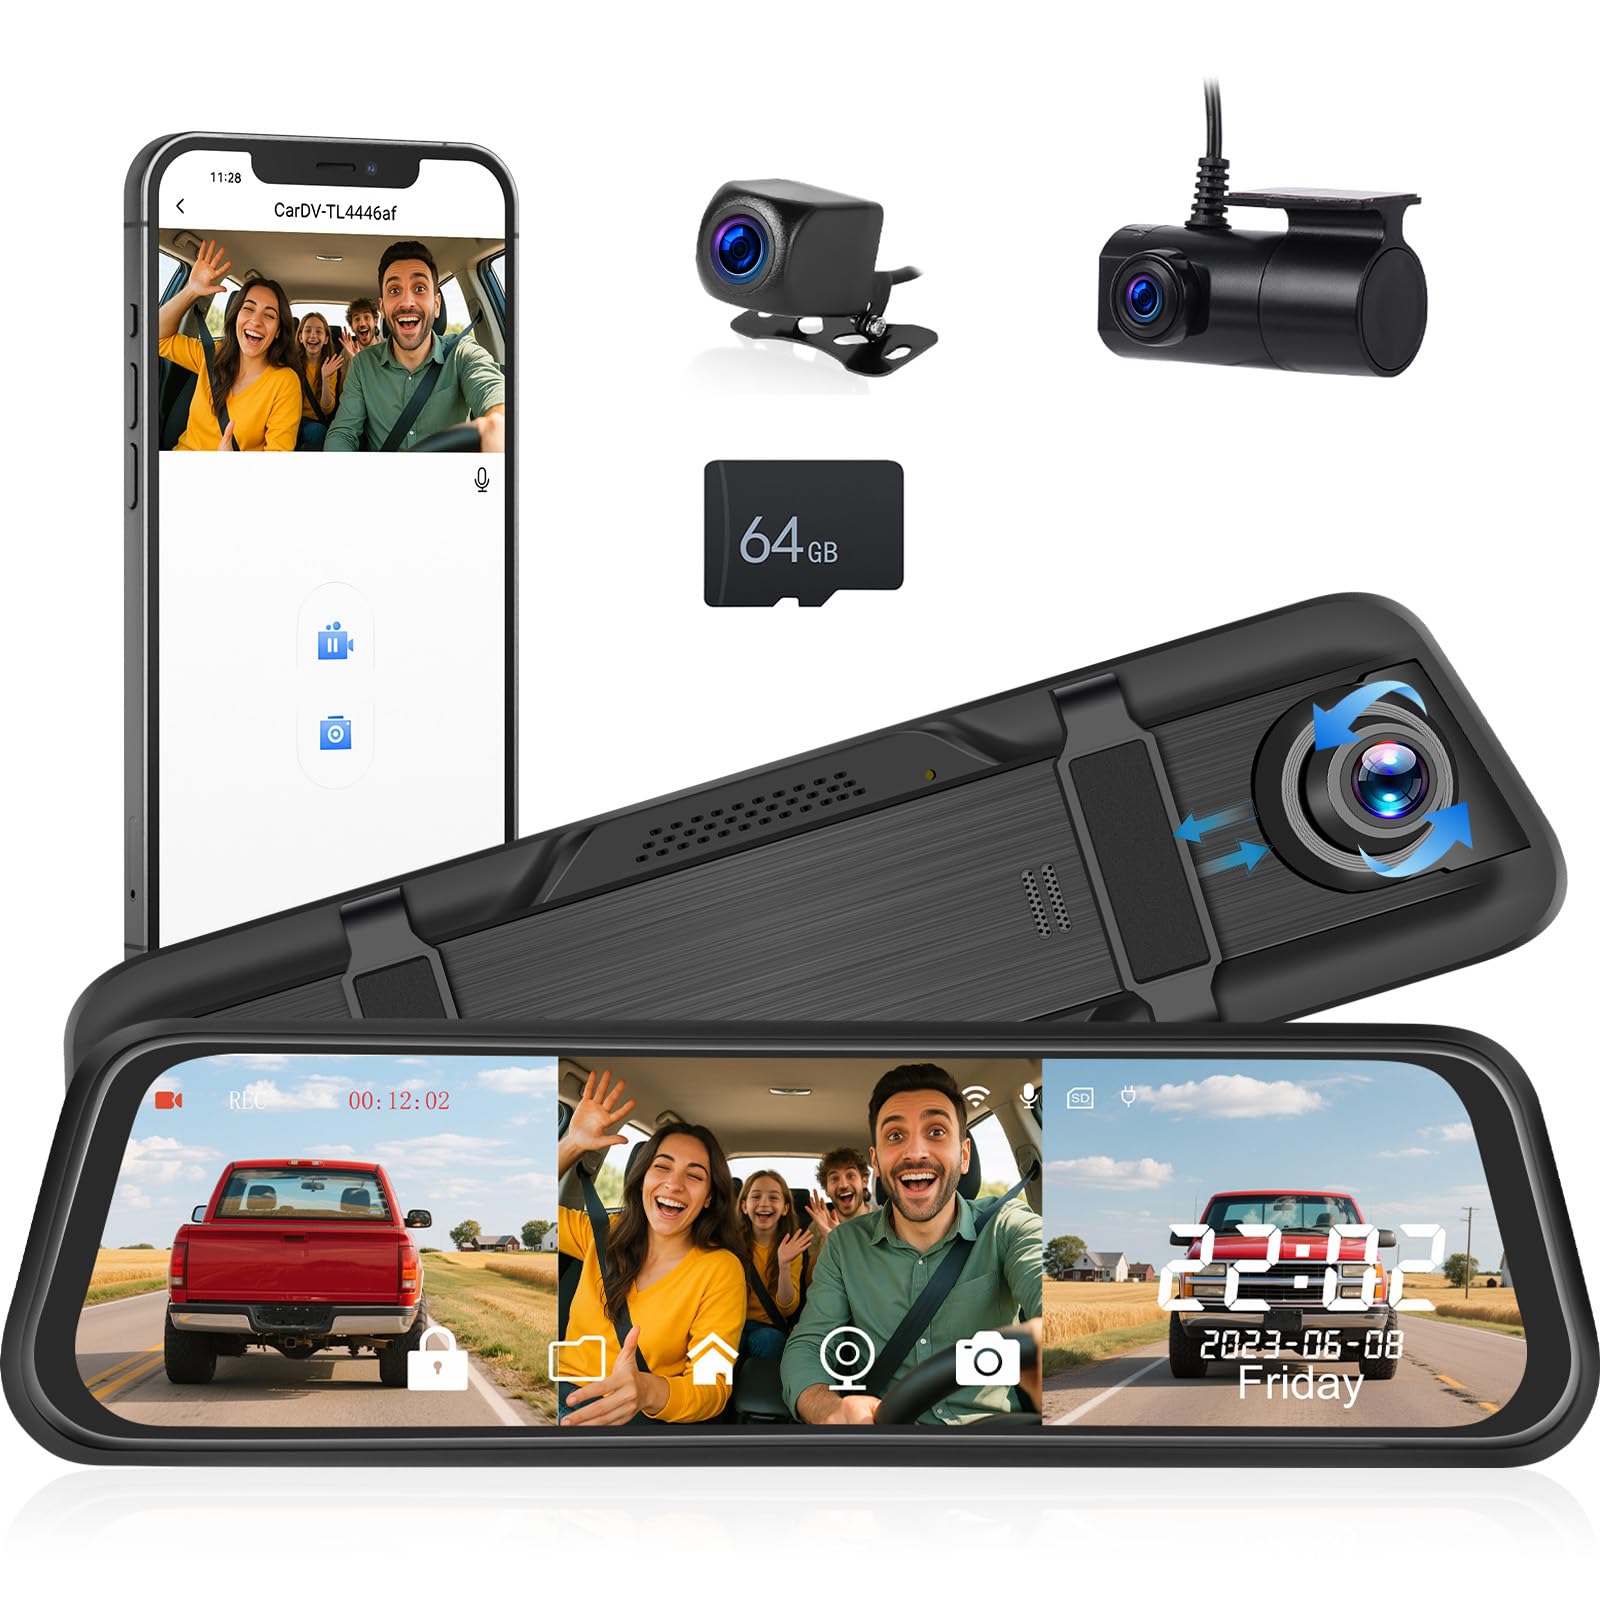
Acabadoview of the UNITOPSCI 9.66 Inch 3 Channel Mirror Dash Cam with its main features.
2. Contido do paquete
Verifique que todos os elementos que se indican a continuación estean incluídos no seu paquete. Se falta algún elemento ou está danado, póñase en contacto co servizo de atención ao cliente.
- DVR (Mirror Dash Cam) x 1
- Cable de alimentación x 1
- Traseira view camera x 2 (Note: The product description mentions 3 channels, but the 'Whats in the box' lists 2 rear view cameras. This implies one is for the rear exterior and one for the interior/cabin, or there's a discrepancy. For clarity, we list as provided.)
- Extended line x 1
- Manual de usuario x 1
- Vendaxe x 1
- 64GB TF Card x 1 (Included as per feature bullets)

Visual representation of the package contents and main unit dimensions.
3. Produto rematadoview
3.1 Main Unit Components
- 9.66" IPS Touch Screen: Capacitive display for intuitive control and clear viewing.
- Cámara frontal: Records the road ahead at 1440P resolution.
- In-Cabin Camera: Records the vehicle interior at 720P resolution.
- Cámara traseira: Rexistra o view behind the vehicle at 720P resolution.
- Porto USB: Para a transferencia de enerxía e datos.
- AV-IN Port: For connecting external cameras.
- Ranura para tarxetas TF: Supports up to 64GB TF card for storage.
- Botón de reinicio: Para restaurar a configuración de fábrica.
- Relatores: Para saída de audio.
- Corchetes: For mounting the mirror dash cam.
Fronte view of the mirror dash cam.
4. Características clave
4.1 Triple Channel Recording
The dash cam records simultaneously from three perspectives: front (1440P), in-cabin (720P), and rear (720P). This provides comprehensive coverage for incidents and situational awareness.

Illustration of the triple channel recording and wide viewángulos de inflexión.
4.2 9.66" IPS HD Touch Screen
The large capacitive IPS touch screen offers vibrant colors and details. It allows easy switching between camera views (front, rear, inside) or displaying them simultaneously.

Triple display switching and in-cabin camera functions.
4.3 Supervisión nocturna
Equipped with an upgraded sensor and WDR & HDR technology, the dash cam captures clear videos with enhanced details in low light conditions, making license plates and road signs visible.

Night vision capabilities in various low-light scenarios.
4.4 Built-in WiFi & App Control
Connect the dash cam to your smartphone via Wi-Fi using the "Viidure" app (available for iOS and Android). This allows you to view, playback, and manage recordings directly from your device.

Steps for WiFi connection and app control.
4.5 Gravación en bucle e sensor G
Gravación en bucle: Sobrescribe automaticamente o contido desbloqueado máis antigotage when the 64GB TF card is full, ensuring continuous recording.
Sensor G: Detecta impactos ou colisións repentinas e bloquea automaticamente o vídeo actual file para evitar que se sobrescriba, preservando as probas esenciais.

Explanation of G-Sensor, Parking Monitor, and Loop Recording.
4.6 24-Hour Parking Monitor
With a dedicated hardwire kit (sold separately), the dash cam can continue recording in time-lapse mode after the car is turned off, providing continuous surveillance against theft or vandalism.

Visual of the 24-hour parking monitoring feature.
4.7 Marcha atrás View Función
When reversing, the mirror dash cam automatically displays the backup camera image in full screen with adjustable parking assist lines. You can manually adjust the display range up or down for optimal viewing.

Automatic display of parking lines when reversing.
5. Guía de instalación
Follow these steps to properly install your dash cam system.
5.1 Montaxe da cámara de salpicadero con espello
- Fixa a cámara do espello do salpicadero sobre a túa parte traseira existenteview mirror using the provided bandages/straps. Ensure it is firmly attached and does not obstruct your view.
- Axuste a lente da cámara frontal para capturar o desexado view do camiño por diante.
5.2 Conexión do cable de alimentación
- Plug the power cable into the dash cam's USB port.
- Route the power cable along the edge of the windshield and down to your vehicle's 12V power outlet (cigarette lighter socket).
- Plug the power adapter into the 12V power outlet.
5.3 Instalación da cámara traseira
- Mount the rear camera at the back of your vehicle, typically above the license plate or on the rear window. Ensure it has a clear view.
- Connect the rear camera cable to the AV-IN port on the main dash cam unit.
- Route the rear camera cable neatly through the vehicle's interior, tucking it under trim panels to conceal it.
- Connect the red wire of the rear camera cable to your vehicle's reverse light power wire. This enables the automatic display of the reversing view ao cambiar a marcha atrás.
5.4 Installing the In-Cabin Camera
The in-cabin camera is integrated into the main unit, requiring no separate installation.

Cable routing and installation diagram.
6. Instrucións de funcionamento
6.1 Acendido/Apagado
- A cámara do salpicadero acenderase automaticamente e comezará a gravar cando se acenda o contacto do vehículo.
- Apagarase automaticamente ao cortar o contacto.
- To manually power on/off, press and hold the power button (if available, otherwise rely on ignition).
6.2 Navegación na pantalla
Use the touch screen to navigate menus and settings. Swipe left/right to switch between camera views or display modes.
6.3 Axustar a configuración
Access the settings menu by tapping the gear icon on the screen. Here you can adjust:
- Resolución de vídeo: Set recording quality for each camera.
- Duración da gravación en bucle: Set segment length (e.g., 1, 3, 5 minutes).
- Sensibilidade do sensor G: Adjust the sensitivity for impact detection.
- Monitor de estacionamento: Enable/disable and configure settings (requires hardwire kit).
- Compensación de exposición: Adjust brightness levels for optimal recording in varying light conditions.
- Data/Hora: Define a data e a hora correctas.
- Wi-Fi: Enable/disable Wi-Fi and view detalles da rede.

Adjustable screen settings for lens, field of view, and brightness.

Adjusting exposure compensation for night vision.
7. App Control (Viidure App)
The "Viidure" app allows for convenient control and management of your dash cam via Wi-Fi.
7.1 Descarga da aplicación
Busca "Viidure" in your smartphone's app store (Google Play Store for Android, Apple App Store for iOS) and download it.
7.2 Conectando a Wi-Fi
- Na cámara do salpicadero, activa o Wi-Fi desde o menú de configuración.
- No teu teléfono intelixente, vai á configuración do wifi e conéctate á rede wifi da cámara do salpicadero (o SSID e o contrasinal mostraranse na pantalla da cámara do salpicadero).
- Open the "Viidure" app. It should automatically detect and connect to the dash cam.
7.3 Funcións da aplicación
- En directo View: Transmite comida en tempo realtage from the cameras to your phone.
- Reprodución: Review recorded videos stored on the TF card.
- Descargar: Save video clips directly to your smartphone.
- Configuración: Adjust dash cam settings remotely.

Detailed steps for WiFi connection and app control.
8 Solución de problemas
If you encounter issues with your dash cam, refer to the following common problems and solutions:
| Problema | Causa posible | Solución |
|---|---|---|
| A cámara do salpicadero non se acende. | No power supply; faulty power cable/adapter; loose connection. | Check power cable connection to dash cam and 12V outlet. Ensure vehicle's 12V outlet is functional. Try a different power source if available. |
| A gravación detense ou conxélase. | TF card full; faulty TF card; low power. | Ensure loop recording is enabled. Format the TF card regularly. Replace the TF card if it's old or damaged. Ensure stable power supply. |
| Poca calidade de vídeo. | Dirty lens; incorrect resolution settings; extreme lighting conditions. | Clean camera lenses with a soft cloth. Check video resolution settings. Adjust exposure compensation in settings. |
| Problemas coa conexión wifi. | Contrasinal wifi incorrecto; aplicación non actualizada; interferencias. | Verify Wi-Fi password. Ensure the "Viidure" app is up to date. Try restarting both the dash cam and your smartphone. |
| A cámara traseira non se mostra. | Loose cable connection; faulty camera. | Check the connection of the rear camera cable to the main unit. Ensure the cable is not damaged. |
| O monitor de estacionamento non funciona. | Hardwire kit not installed; feature disabled in settings. | Install a dedicated hardwire kit for 24-hour parking monitoring. Enable the feature in the dash cam settings. |
9. Especificacións
| Característica | Detalle |
|---|---|
| Dimensións do produto | 1 x 10.1 x 2.8 polgadas |
| Peso do elemento | 1.82 libras |
| Mostrar | 9.66 inch IPS Touch Screen |
| Resolución cámara frontal | 1440P (1920*1080P@25FPS as per feature bullets, 1440P as per other details. Refer to device for exact resolution.) |
| In-Cabin Camera Resolution | 720P (1080*720P@30FPS as per feature bullets) |
| Resolución da cámara traseira | 720P (1080*720P@30FPS as per feature bullets) |
| Campo de View | Front: 170 degrees, In-Cabin: 120 degrees, Rear: 150 degrees (approximate, based on product images) |
| Almacenamento | Supports TF Card (64GB included) |
| Conectividade | Sen fíos (Wi-Fi) |
| Características especiais | IPS Touch screen, G-Sensor, Loop Recording, Night Vision, Parking Monitor, App Control |
| Tipo de montaxe | Traseiraview Montaxe do espello |
| Tipo de servizo do vehículo | Coche, Camión |
10. Garantía e soporte
UNITOPSCI provides customer support and warranty services for its products.
- Substitución: Available within 24 months.
- Soporte técnico: Lifetime after-sales consultation and technical support.
- Devolucións: 60-day no-worry return policy.
- Tempo de resposta: Quick response within 16 hours for inquiries.
For support, please contact UNITOPSCI via email at UNITOPSCI@126.com.
