
1. Introdución
This manual provides detailed instructions for the installation, operation, and maintenance of your ELUSH 60Amp MPPT Solar Charge Controller. This device is designed to efficiently manage power from your solar panels to charge various battery types, including LiFePO4, AGM, and Gel batteries, in 12V, 24V, and 48V systems.
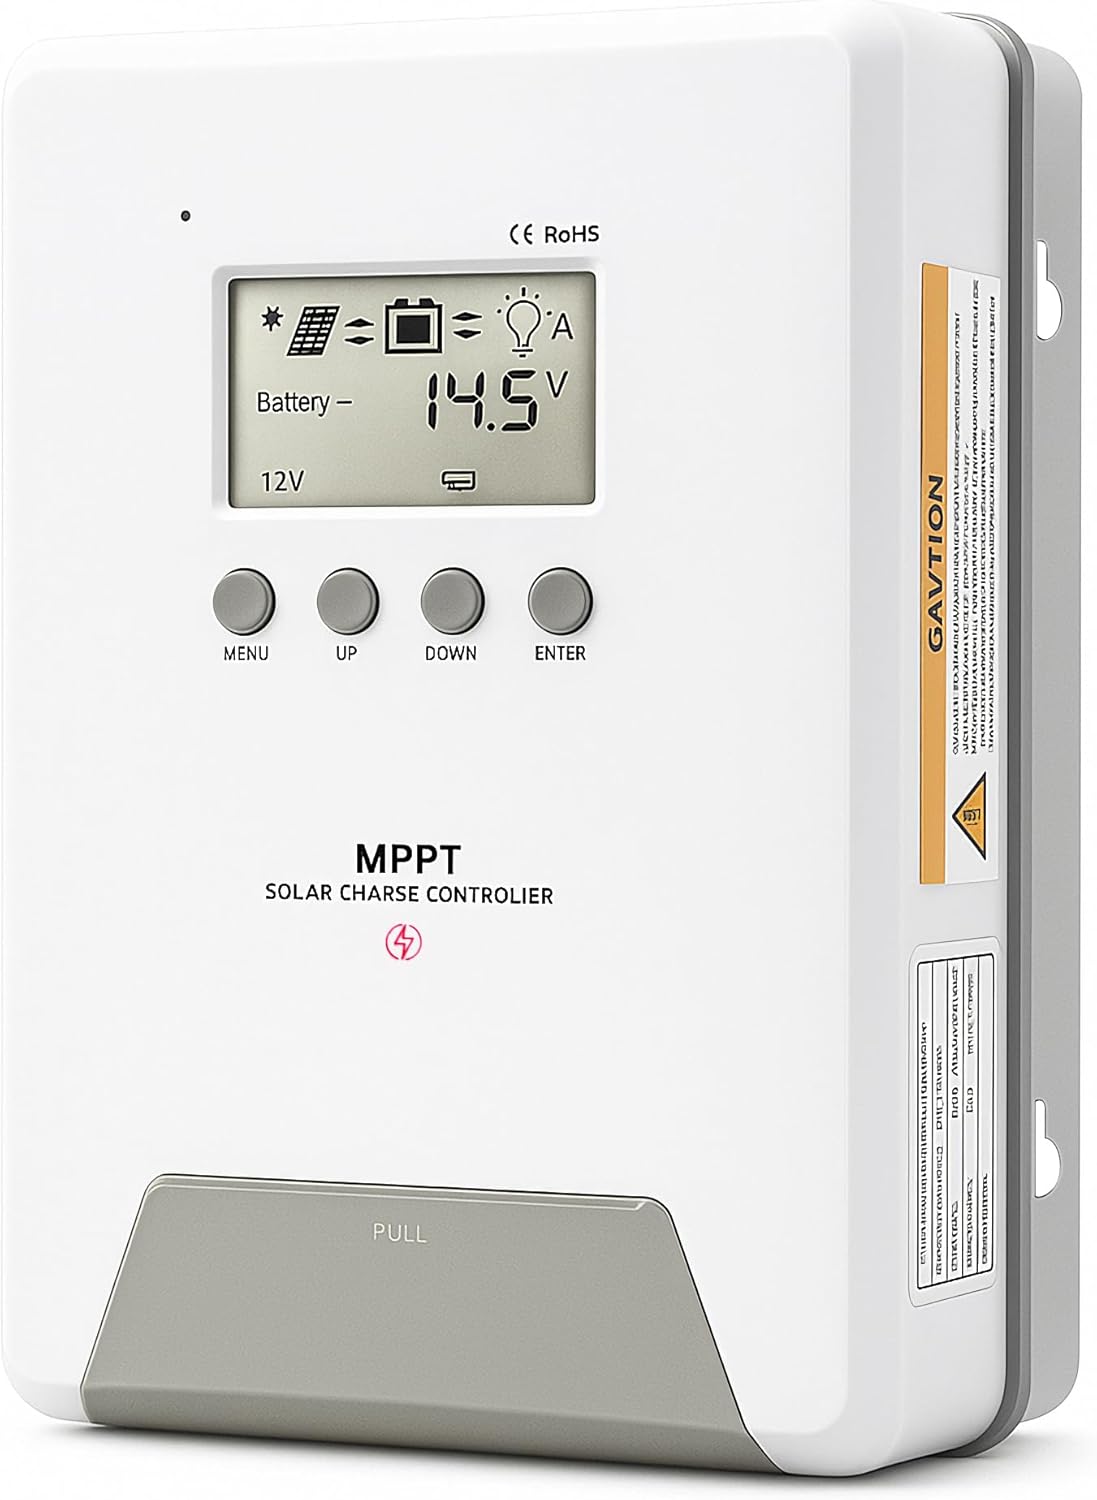
Image 1.1: ELUSH 60Amp MPPT Solar Charge Controller.
2. Características clave
- Tecnoloxía MPPT avanzada: Maximizes energy harvest from solar panels with tracking efficiency no less than 99% and peak conversion efficiency up to 98%.
- System Auto-Detection: Automatically detects 12V, 24V, and 48V DC system voltages upon startup.
- Ampla compatibilidade de baterías: Supports Sealed (AGM), Gel, Flooded lead-acid batteries, and Lithium batteries (LiFePO4, Ternary Lithium/Li-ion).
- Pantalla LCD clara: Provides real-time monitoring of PV voltage, batería voltage/current, charging power, accumulated energy generation, and load status.
- Essential Built-in Protections: Includes safeguards against overvoltage, sobreintensidade, subvoltage, and high temperature.
- Disipación de calor eficiente: Features a high-quality aluminum heatsink for stable operation and optimal performance.

Image 2.1: MPPT Technology highlighting 99% tracking efficiency and 98% peak conversion efficiency.
3. Safety Information and System Protection
The ELUSH MPPT Solar Charge Controller is equipped with multiple protection features to ensure safe and reliable operation of your solar power system. Always adhere to local electrical codes and safety guidelines during installation and operation.
- Over-discharging Protection: Prevents batteries from being discharged below a safe voltage nivel.
- Protección contra sobrecarga: Safeguards against excessive current draw from the load terminals.
- Short-circuiting Protection: Protects against short circuits in the solar panel, battery, or load circuits.
- Protección contra polaridade inversa: Prevents damage from incorrect battery or solar panel connections.
- Protección contra sobrecarga: Ensures batteries are not overcharged, extending their lifespan.
- Compensación de temperatura: Adjusts charging parameters based on battery temperature for optimal charging.
- Protección contra corrente inversa: Impide que a corrente volva da batería ao panel solar pola noite.

Image 3.1: Visual representation of the controller's system protection features.
4. Instalación e cableado
Unha instalación axeitada é fundamental para o funcionamento seguro e eficiente do seu controlador de carga solar. Siga estes pasos atentamente.
4.1 Secuencia de conexión
Always connect components in the following order to prevent damage:
- Conecte a batería: Connect the battery to the controller's battery terminals. Ensure correct polarity (+ to + and - to -). The battery terminals should be installed with safety fuses. Ensure the distance does not exceed 150mm.
- Conectar a carga: Connect your DC loads to the controller's load terminals.
- Connect the solar panel: Connect the solar panel to the controller's solar energy terminals. Ensure correct polarity.
- Power on the controller: The controller will automatically power on once all connections are secure.
Nota: If you want to connect an inverter, connect it directly to the battery, not to the load terminal of the controller.

Image 4.1: Diagram showing the connection points for solar energy, battery, and load.

Image 4.2: Step-by-step visual guide for connecting the system components.
4.2 Hidden Installation Wiring
For a clean and secure installation, the wiring can be routed and hidden. After all connections are properly made and tested, tighten the screws on the terminals and close the bottom cover of the controller to complete the installation. This protects the wiring and provides a neat appearance.
5. Instrucións de funcionamento
The controller features an intuitive LCD display and buttons for monitoring and configuration.
5.1 Pantalla LCD e botóns
The LCD screen provides real-time information about your system. The buttons allow you to navigate menus and adjust settings.
- Sensor de temperatura: Located on the controller, it measures ambient temperature for accurate charging compensation.
- Pantalla LCD: Shows PV voltage, batería voltage, charging current, load status, and other system parameters.
- Botón MENÚ: Used to enter and exit menu settings.
- Botón ARRIBA: Navigates upwards through menu options or increases values.
- Botón ABAIXO: Navigates downwards through menu options or decreases values.
- Botón ENTER: Confirma seleccións ou accede a submenús.
Image 5.1: The controller's LCD display and button layout for user interaction.
5.2 Automático Voltage Recognition and Battery Compatibility
The controller automatically detects the system voltage (12V, 24V, or 48V) upon startup. It is compatible with a wide range of battery types, ensuring efficient and safe charging for your specific setup.
- Lithium-ion batteries (Li): For standard lithium-ion chemistries.
- Lithium Iron Phosphate batteries (LiFePO4): Specifically designed for LiFePO4 batteries.
- Lead-acid batteries (BAT): Includes Sealed (AGM), Gel, and Flooded types.

Image 5.2: Illustration of automatic voltage recognition and compatibility with various battery types.
6. Especificacións
| Marca | ELUSH |
| Número de modelo | DM60A |
| Valoración actual | 60A |
| Sistema Voltage | 12V/24V/48V Auto Detection |
| Vol. de entrada PV máxtage | 150 V |
| Material | Aluminio |
| Tipo de visualización | LCD |
| Cor | Negro |
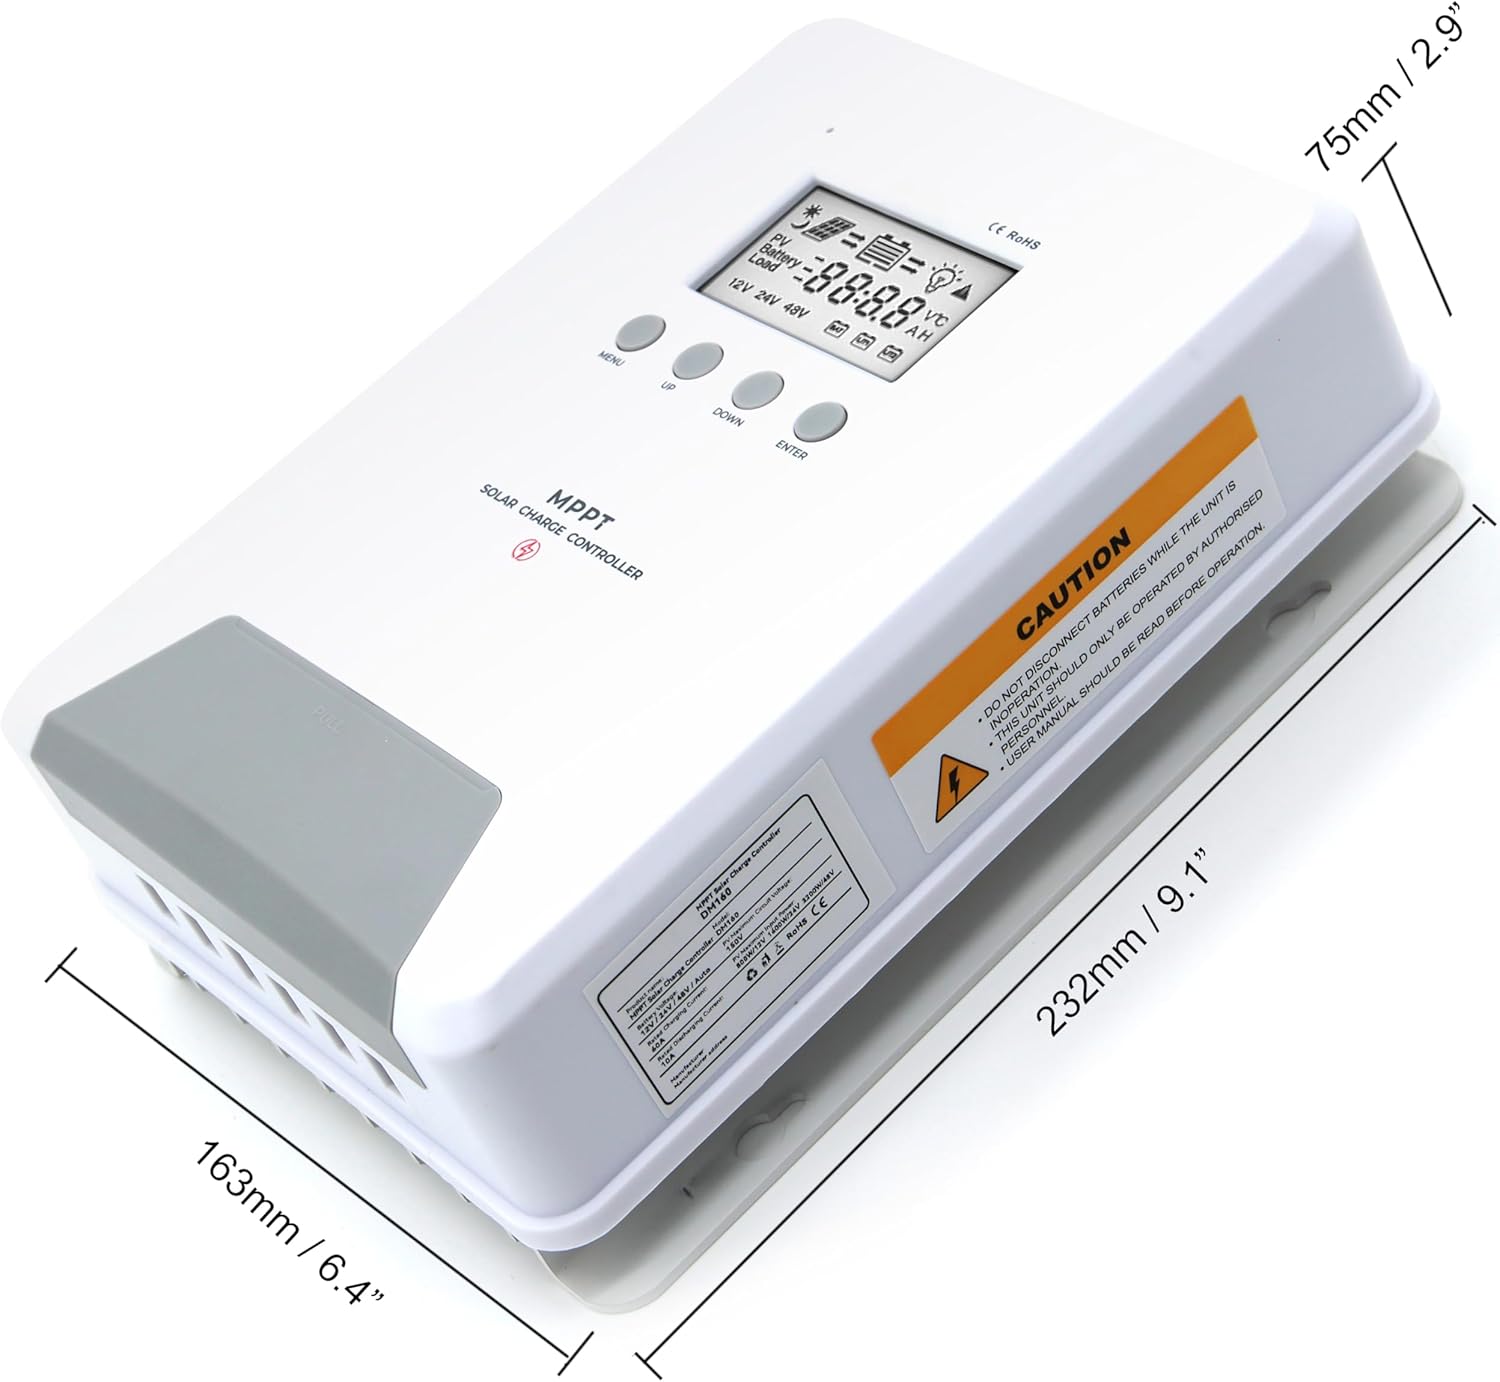
Image 6.1: Physical dimensions of the ELUSH 60Amp MPPT Solar Charge Controller.
7. Mantemento
Para garantir un rendemento óptimo e unha maior duración do seu controlador de carga solar, recoméndase un mantemento regular:
- Inspeccionar conexións: Comprobe periodicamente todas as conexións do cableado para comprobar se están ben apertadas e corroídas. As conexións soltas poden causar sobrequecemento e danos.
- Limpar o controlador: Manteña o controlador limpo e libre de po e residuos. Use un pano seco para limpar o exterior. Asegúrese de que as aberturas de ventilación non estean bloqueadas.
- Monitor de rendemento: Regularly check the LCD display for normal operating parameters. Note any unusual readings or error codes.
- Saúde da batería: Asegúrate de que as túas baterías estean en bo estado segundo as instrucións do fabricante.
8 Solución de problemas
If you encounter issues with your ELUSH MPPT Solar Charge Controller, refer to the following basic troubleshooting steps:
- Sen pantalla/Sen alimentación: Comprobe as conexións da batería e asegúrese de que o volume da bateríatage is within the controller's operating range. Verify fuses are intact.
- A batería non se carga: Confirm solar panel connections and polarity. Check for sufficient sunlight and ensure solar panel voltage is above the battery voltage. Verify battery type settings are correct.
- Carga non funciona: Check load connections and ensure the load current does not exceed the controller's rating. Verify load output settings on the controller.
- Códigos de erro: If the LCD displays an error code, consult the full product manual (if available) or contact technical support for specific guidance.
- Sobrequecemento: Ensure the controller is installed in a well-ventilated area, away from direct sunlight or heat sources. Check for any obstructions to the heatsink.
9. Garantía e soporte
ELUSH provides professional technical support for its products. If you have any questions, require assistance with installation, operation, or troubleshooting, please feel free to contact us. Refer to your purchase documentation for specific warranty terms and contact information.