
Introdución
Thank you for choosing KOUENOM Rear Camera Installation Accessories. This manual provides essential information and step-by-step instructions for the proper installation and maintenance of your accessories, ensuring a secure and reliable setup for your rearview mirror dash cam's rear camera. Please read this manual thoroughly before proceeding with installation.
Produto rematadoview
These accessories are designed to securely mount the rear camera of your KOUENOM rearview mirror dash cam, specifically compatible with models like the KOUENOM P12 4K front & rear mirror camera. The package includes:
- One (1) H-shaped adhesive tape
- Two (2) installation nails
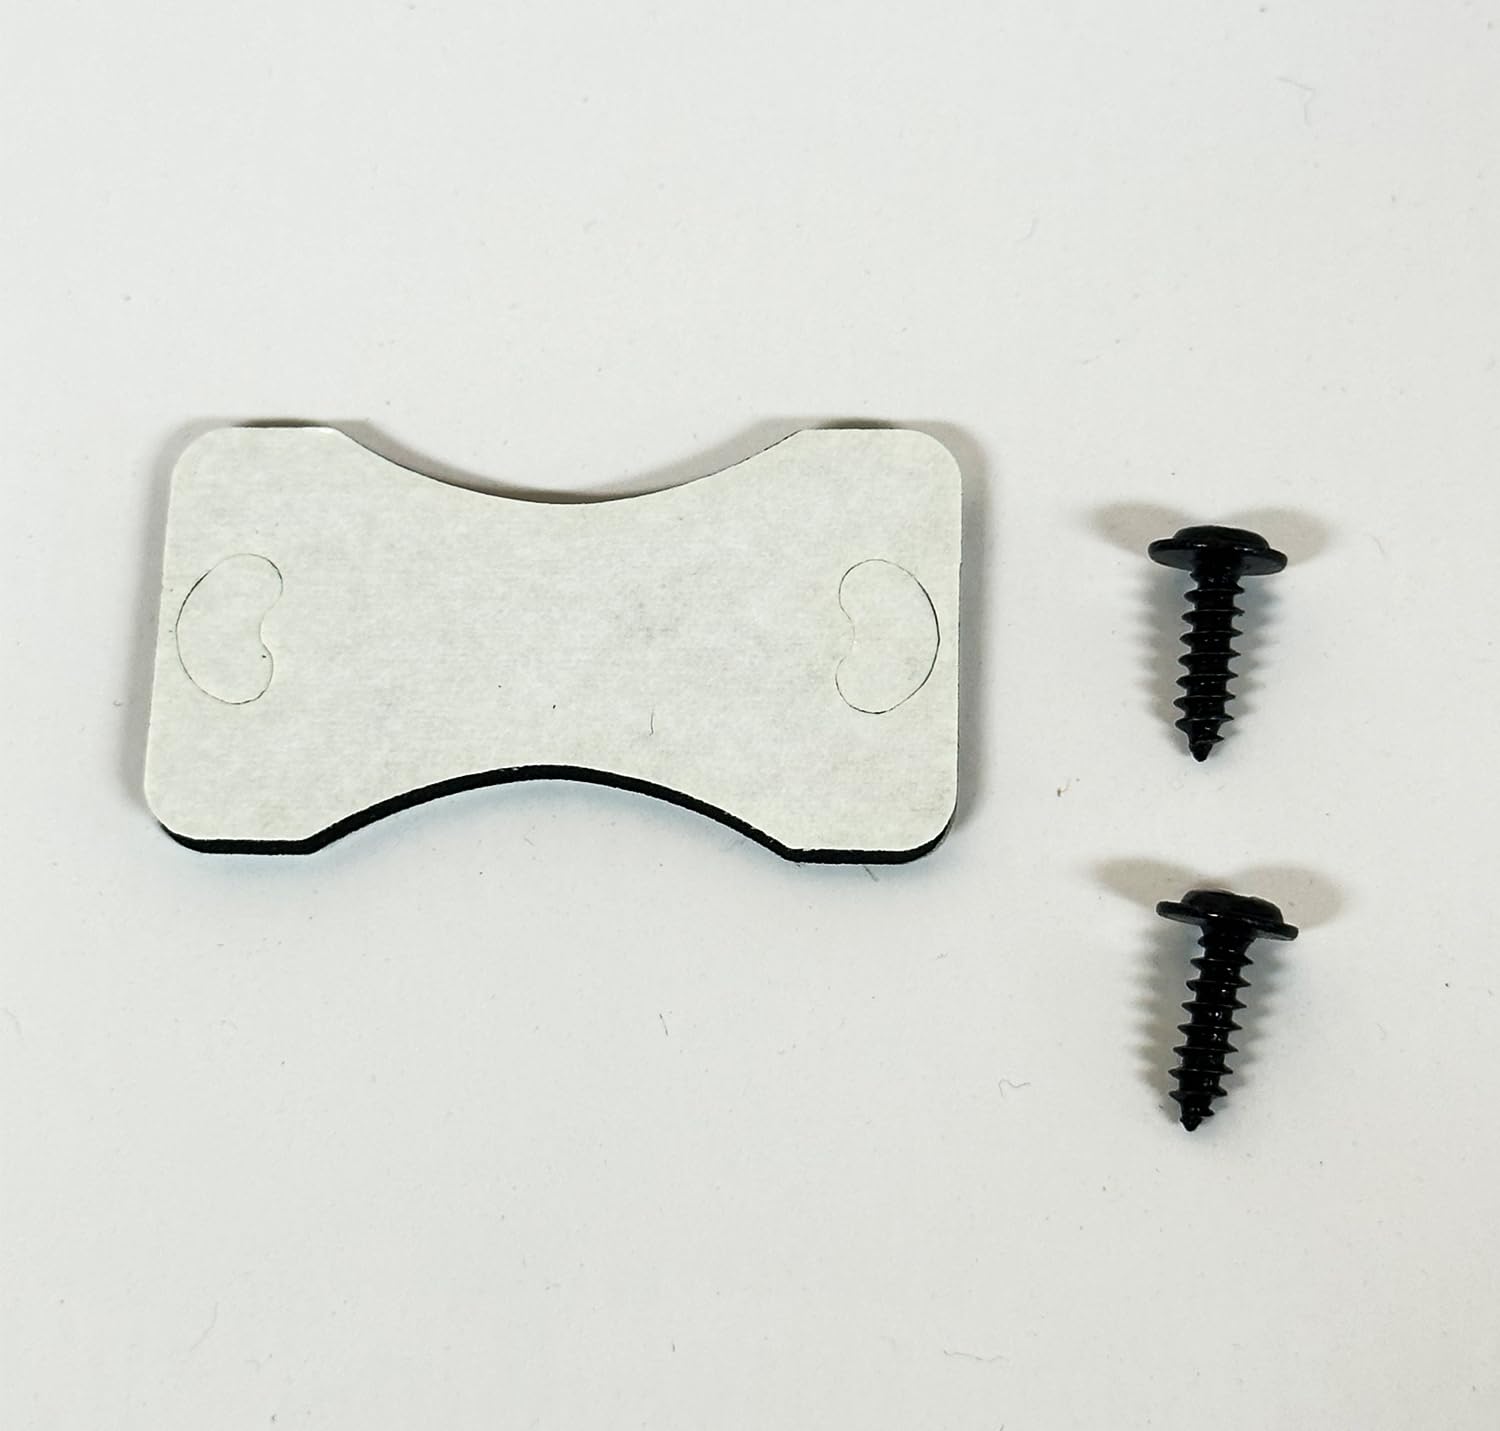
Figure 1: KOUENOM rear camera installation accessories, featuring an H-shaped adhesive tape and two small nails, designed for securing a rearview mirror dash cam's rear camera.
Configuración e instalación
Proper installation is crucial for the stability and performance of your rear camera. Follow these steps carefully:
1. Preparing the Installation Surface
- Identify the optimal location for your rear camera, typically on the rear windshield or license plate area, ensuring a clear view.
- Clean the chosen surface thoroughly with an alcohol wipe or a clean cloth and glass cleaner. Ensure the surface is dry and free of dust, grease, or moisture before proceeding.
2. Using the H-shaped Adhesive Tape
- Carefully peel off one side of the protective backing from the H-shaped adhesive tape.
- Align the adhesive tape precisely with the mounting area on the rear camera bracket. Press firmly to ensure good adhesion.
- Peel off the remaining protective backing from the other side of the adhesive tape.
- Position the rear camera with the attached adhesive onto the cleaned installation surface. Press firmly and hold for at least 30 seconds to allow the adhesive to bond. For best results, allow the adhesive to cure for 24 hours before driving.
3. Using the Installation Nails (Optional/Alternative)
The installation nails provide an alternative or supplementary method for securing the rear camera, particularly on surfaces where adhesive might be less effective or for a more permanent fixture. This method typically applies to license plate mounts or specific vehicle body panels where drilling is acceptable.
- If your camera bracket has designated screw holes, align the camera bracket with the desired mounting location.
- Mark the positions for the nails using a pencil or marker.
- Carefully drill pilot holes if necessary, ensuring they are smaller than the nail diameter to provide a snug fit.
- Insert the installation nails through the camera bracket holes and into the marked positions. Secure them firmly, but do not overtighten to avoid damaging the camera bracket or vehicle surface.
Nota: Always ensure that drilling will not damage any vehicle wiring, fuel lines, or other critical components. Consult your vehicle's manual or a professional if unsure.
Consideracións de funcionamento
Once the rear camera is securely installed using the provided accessories, its operation is integrated with your main rearview mirror dash cam unit. The accessories' primary function is to maintain the camera's fixed position, ensuring a consistent and clear view for recording. Regularly check the camera's stability to confirm the accessories are performing their function effectively.
Mantemento
- Inspección periódica: Periodically check the adhesive tape and nails for any signs of loosening or wear.
- Limpeza: Keep the area around the camera and its mounting accessories clean from dirt and debris to prevent degradation of the adhesive or corrosion of the nails.
- Re-application: If the adhesive shows signs of weakening, carefully remove the camera, clean the surface, and apply new adhesive tape (not included in this package, but similar H-shaped automotive-grade adhesive can be sourced).
Resolución de problemas
| Problema | Causa posible | Solución |
|---|---|---|
| Rear camera is loose or falling off. | Adhesive tape not properly applied or surface not clean. Adhesive has degraded over time. | Ensure installation surface is clean and dry before applying adhesive. Re-apply new automotive-grade H-shaped adhesive tape. If using nails, check for tightness. |
| Nails are loose. | Nails were not tightened sufficiently or have vibrated loose. | Gently tighten the nails. If the hole is stripped, consider using a slightly larger nail or an alternative mounting method. |
Especificacións
| Característica | Detalle |
|---|---|
| Tipo de produto | Rear Camera Installation Accessories |
| Marca | KOUENOM |
| Compatible Camera Model (Example) | KOUENOM P12 4K front & rear mirror camera |
| Compoñentes incluídos | 1x H-shaped adhesive tape, 2x Installation nails |
| Product Dimensions (Accessories Package) | 1.8 x 30.1 x 7.19 cm; 18 g |
| ASIN | B0F7LL7L7K |
| UPC/GTIN | 749614386130 |
Garantía e Soporte
Warranty information for these installation accessories is not explicitly provided in the product details. For any questions regarding product support, compatibility, or warranty claims, please contact KOUENOM customer service directly or visit the official KOUENOM store on Amazon: