1. Introdución
This manual provides essential instructions for the safe and efficient operation of your Newentor PT01 Wireless Pool Thermometer. Please read this manual thoroughly before use and retain it for future reference.
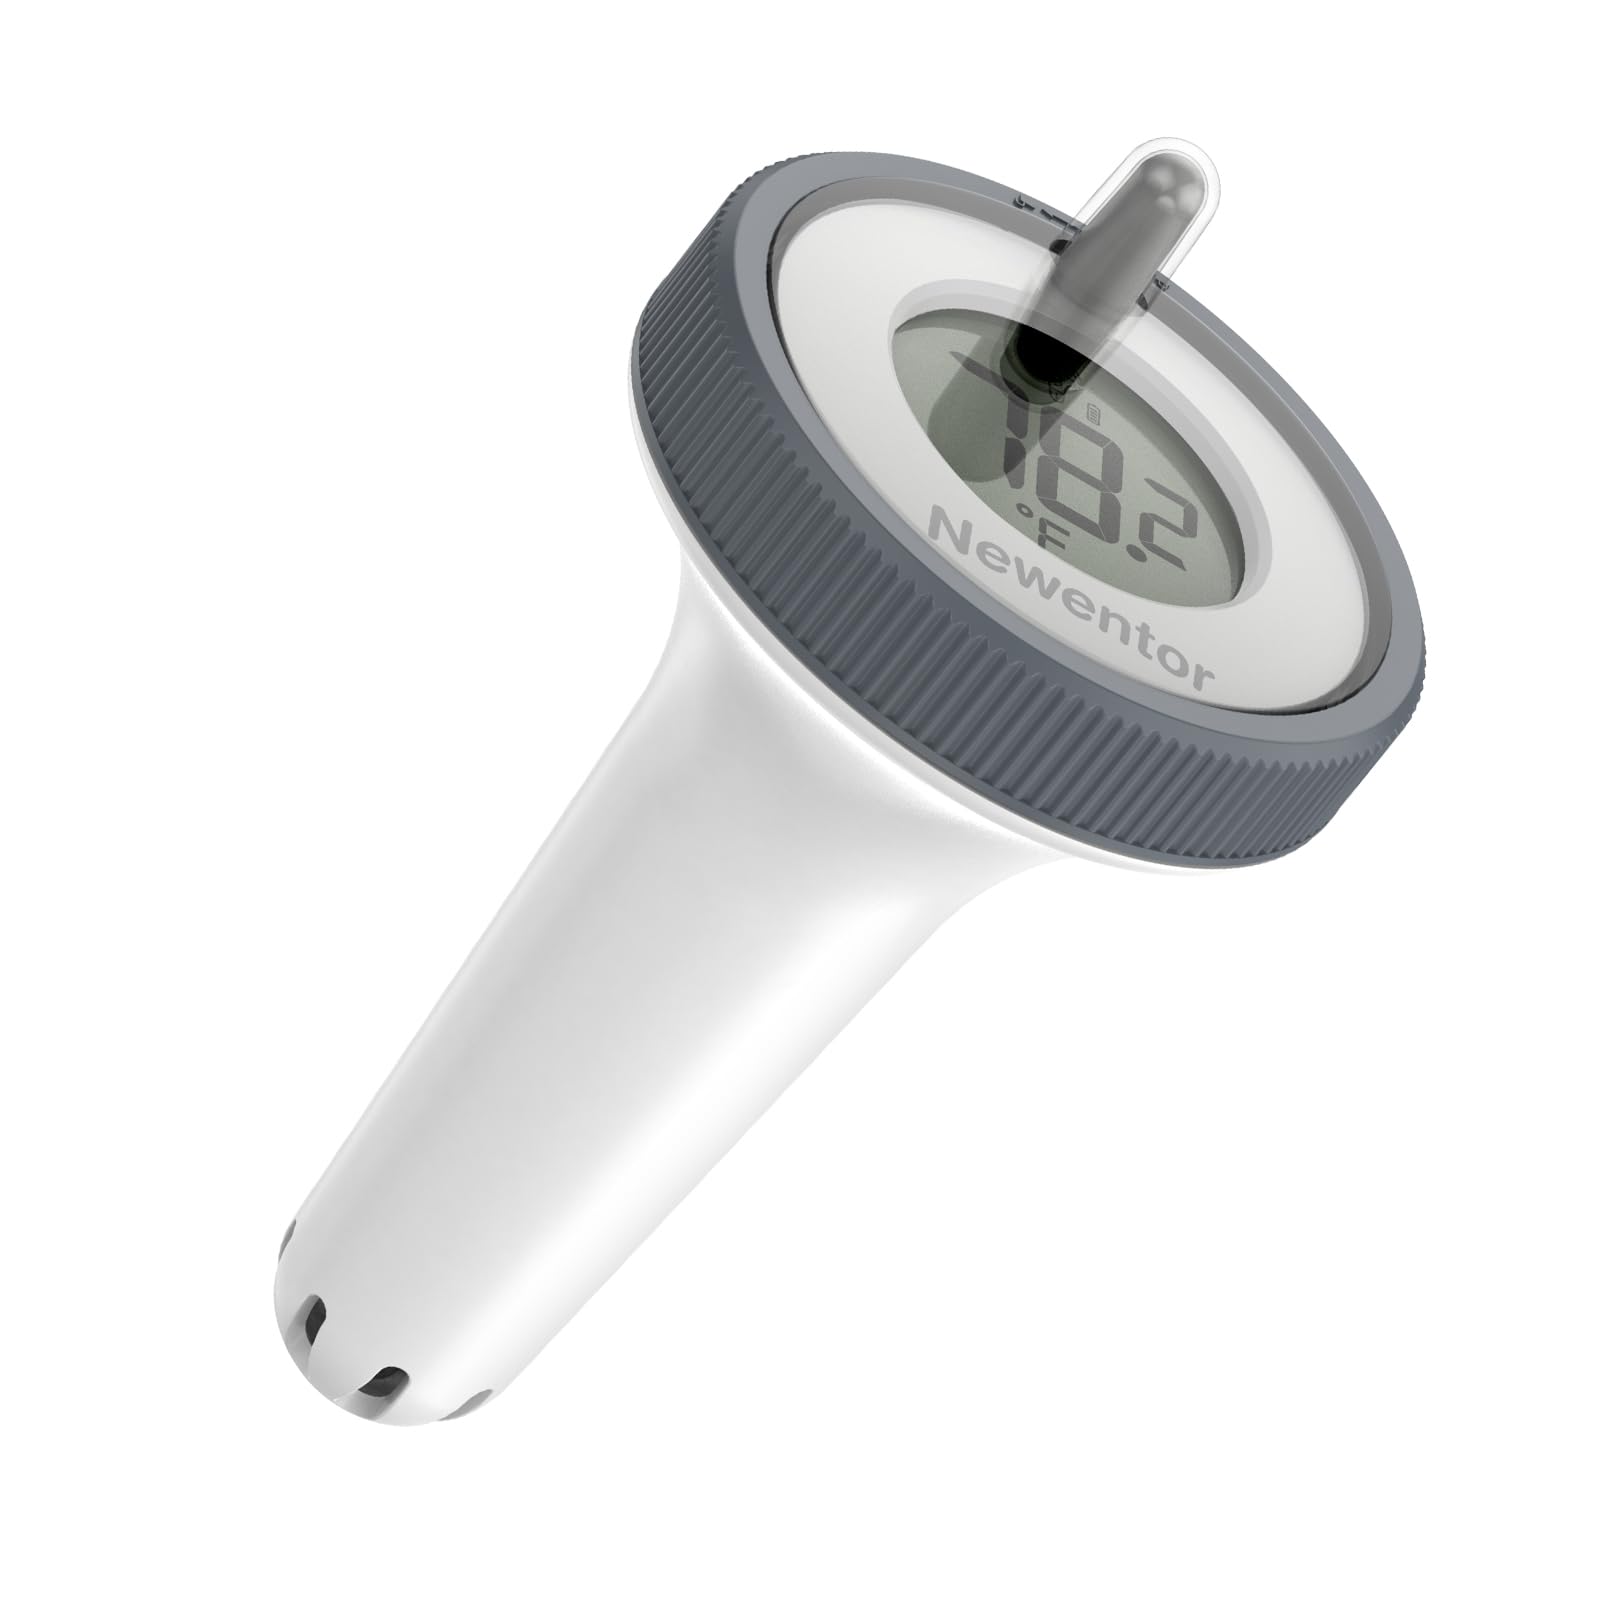
Figure 1: Newentor PT01 Wireless Pool Thermometer, illustrating the floating sensor and the indoor display unit.
2. Características do produto
- Easy-Read Display: Anti-glare LCD shows indoor and pool temperatures simultaneously for clear monitoring.
- Transmisión sen fíos: The floating sensor transmits temperature data to the main indoor unit every 15 seconds.
- Robust Waterproofing: The floating unit is IPX8-rated, designed to withstand water pressure up to 20 feet (6 meters).
- Durable Sensors: Features self-calibrating sensors that are resistant to corrosion from chlorine, saltwater, and UV exposure.
- Multi-Zone Monitoring: This device supports up to three water zones with 0.5°F precision (additional sensors sold separately).
- Deseño ecolóxico: Constructed using recycled marine plastics, promoting environmental sustainability.
3. Contido do paquete
Comprobe que todos os compoñentes estean presentes no seu paquete:
- 1 x Newentor PT01 Main Display Unit
- 1 x Newentor PT01 Floating Pool Sensor
- 1 x Manual de usuario
Note: Batteries are not included and must be purchased separately. Refer to the 'Specifications' section for battery type and quantity.
4. Información de seguridade
- Do not expose the main display unit to direct water, rain, or excessive humidity. It is designed for indoor use only.
- Ensure the battery compartment seals on the floating sensor are properly and securely closed to maintain its waterproof integrity.
- Keep all batteries out of reach of children. Dispose of used batteries responsibly according to local environmental regulations.
- Do not attempt to disassemble, modify, or repair the device yourself. Unauthorized alterations may void the warranty and pose safety risks. Contact customer support for any service needs.
- Avoid placing the main unit near heat sources or in direct sunlight, which can affect indoor temperature readings and damage the device.
5. Configuración
5.1. Instalación de baterías
- For the Floating Sensor:
- Gently twist the top cap of the floating sensor counter-clockwise to unlock and remove it.
- Carefully pull out the internal module containing the LCD and battery compartment.
- Insert the required batteries (e.g., AAA, refer to specifications) into the compartment, ensuring correct polarity (+/-).
- Verify that the moisture-removing desiccant pack is properly positioned. For enhanced waterproofing, apply a thin layer of silicone grease or cooking oil to the rubber O-ring seal before reassembly.
- Carefully reinsert the internal module and twist the top cap clockwise until it is securely fastened and sealed.
- Para a unidade de visualización principal:
- Locate and open the battery compartment cover on the back of the main unit.
- Insert the required batteries (e.g., AAA, refer to specifications) into the compartment, observing correct polarity (+/-).
- Pecha a tapa do compartimento da batería de forma segura.
5.2. Emparellamento das unidades
After battery installation, the main display unit and floating sensor should automatically attempt to pair. This process typically takes a few minutes. For optimal initial pairing, place both units in close proximity (e.g., within 1 meter) during the first setup.
Note: The initial synchronization and display of accurate readings may take up to 15-20 minutes as the sensors calibrate and transmit data. If using multiple floating sensors, ensure each sensor and the main unit are set to the desired channel (see 'Operating Instructions').
5.3 Colocación
- Floating Sensor: Place the floating sensor directly into your swimming pool, hot tub, spa, or pond. The integrated weighted anchors are designed to keep the sensor upright in the water. A sturdy rope is included to optionally tie the sensor to a pool ladder or edge, preventing it from drifting.
- Unidade de visualización principal: Position the main unit indoors in a convenient location where the display can be easily viewed. It can be placed on a flat surface using its integrated stand or mounted on a wall using the designated mounting slot. Ensure it is within the wireless transmission range of the floating sensor.
6. Instrucións de funcionamento
6.1. Mostrarview
The main display unit's LCD provides comprehensive information at a glance:
- Current Indoor Temperature: Displays the ambient temperature at the main unit's location.
- Temperatura actual da auga: Shows the temperature transmitted from the floating sensor.
- Tempo: The current time, which can be set by the user.
- Indoor Air Temperature and Humidity: Provides readings for the indoor environment.
- Daily High/Low Water Temperatures: Records and displays the maximum and minimum water temperatures detected within a 24-hour period.
- Indicador de tendencia de temperatura: A visual cue (e.g., blue for cold, green for comfortable, red for warm) indicating the general water temperature status.
- Indicador de canle: Shows which floating sensor channel is currently being displayed (if multiple sensors are used).
6.2. Funcións dos botóns
The main unit is equipped with several buttons for easy navigation and setting adjustments:
- Botón °C/°F: Press this button to toggle the temperature display between Celsius (°C) and Fahrenheit (°F) units.
- Botón CANAL: If you are using multiple floating sensors (up to three), press this button to cycle through the individual sensor channels (1, 2, 3) or to activate a rotating display mode that shows all channels sequentially. Ensure each floating sensor is configured to its unique channel.
- Botón SET: Used to enter the time setting mode or to confirm selections within various configuration menus.
- Botóns ARRIBA/ABAIXO: These buttons are used to adjust numerical values (e.g., hours, minutes) when in a setting mode.
6.3. Axustar a hora
To set the current time on your main display unit:
- Manteña premido o SET button for approximately 3 seconds until the hour display begins to flash.
- Usa o UP or ABAIXO buttons to adjust the hour to the correct value.
- Preme o SET button again to confirm the hour and proceed to the minute adjustment. The minute display will begin to flash.
- Usa o UP or ABAIXO buttons to adjust the minutes to the correct value.
- Preme o SET button one last time to confirm the minutes and exit the time setting mode.
7. Mantemento
- Substitución da batería: Replace the batteries in both the main unit and the floating sensor promptly when the low battery indicator appears on the display. Always replace all batteries within a unit simultaneously to ensure consistent power.
- Limpeza: To clean the devices, gently wipe the surfaces of both the main unit and the floating sensor with a soft, slightly damp cloth. Avoid using abrasive cleaners, chemical solvents, or harsh detergents, as these can damage the plastic and electronic components.
- Waterproofing Seal Inspection: Periodically inspect the rubber O-ring seal within the floating sensor's battery compartment. Check for any signs of wear, cracks, or damage. During battery changes, it is recommended to apply a thin, even layer of silicone grease or cooking oil to the O-ring to maintain its flexibility and ensure an optimal waterproof seal.
- Almacenamento: If you plan to store the thermometer for an extended period (e.g., during off-season), remove all batteries from both the main unit and the floating sensor. This prevents potential battery leakage and corrosion, which can damage the device. Store the units in a cool, dry place, away from direct sunlight and extreme temperatures.
8 Solución de problemas
| Problema | Causa posible | Solución |
|---|---|---|
| Main unit display is blank or not turning on. |
|
|
| No water temperature reading or "---" displayed for water temperature. |
|
|
| Inaccurate or inconsistent temperature readings. |
|
|
| Difficulty setting time or changing units. | Incorrect button press sequence or timing. | Refer to Section 6.2 and 6.3 for detailed instructions on button functions and time setting. Ensure buttons are pressed firmly. |
9. Especificacións
| Número de modelo | PT01 |
| Rango de temperatura da auga | 0 °F a 122 °F (0 °C a 50 °C) |
| Rango de temperatura interior | 0 °F a 122 °F (0 °C a 50 °C) |
| Precisión da temperatura | ± 0.5 ° F (± 0.3 ° C) |
| Waterproof Rating (Floating Sensor) | IPX8 (Submersible up to 20 feet / 6 meters) |
| Frecuencia de transmisión sen fíos | 433 MHz |
| Intervalo de transmisión de datos | Cada 15 segundos |
| Power Source (Floating Sensor) | 2 pilas AAA (non incluídas) |
| Power Source (Main Display Unit) | 2 pilas AAA (non incluídas) |
| Item Length (Floating Sensor) | Approximately 5.5 Inches (14 cm) |
| Fabricante | FUJIAN EMAX INTELLIGENT CO., LTD |
10. Garantía e atención ao cliente
Newentor products are manufactured with a commitment to quality and performance. For detailed warranty information, technical assistance, or any customer service inquiries regarding your PT01 Wireless Pool Thermometer, please visit the official Newentor websitio web ou póñase en contacto co vendedor ao que lle comprou o produto.
When contacting support, please be prepared to provide your product model number (PT01) and the date of purchase to facilitate efficient service.