Fermosa de Drew Barrymore 19332
Beautiful by Drew Barrymore Programmable Single-Serve Coffee Maker with Integrated Grinder - Model 19332
Manual de instrucións do usuario
Introdución
This manual provides essential instructions for the safe and efficient operation of your Beautiful by Drew Barrymore Programmable Single-Serve Coffee Maker with Integrated Grinder, Model 19332. Please read all instructions carefully before first use and retain this manual for future reference.
Información importante de seguridade
Cando se utilicen aparellos eléctricos, deben seguirse sempre as precaucións básicas de seguridade para reducir o risco de incendio, descarga eléctrica e/ou lesións ás persoas, incluíndo as seguintes:
- Le todas as instrucións.
- Non toque superficies quentes. Use asas ou botóns.
- Para protexerse contra descargas eléctricas, non mergulle o cable, os enchufes nin a cafeteira en auga ou noutro líquido.
- É necesaria unha estreita supervisión cando calquera aparello é usado por nenos ou preto de eles.
- Desenchufe da toma cando non estea en uso e antes de limpalo. Deixar arrefriar antes de poñer ou quitar pezas e antes de limpar o aparello.
- Non faga funcionar ningún aparello cun cable ou enchufe danados, ou despois de que o aparello funcione mal ou teña dano dalgún xeito.
- O uso de accesorios non recomendados polo fabricante do aparello pode provocar incendios, descargas eléctricas ou lesións ás persoas.
- Non use ao aire libre.
- Non deixes que o cable colgue do bordo da mesa ou do mostrador nin toque superficies quentes.
- Non o coloque sobre ou preto dun queimador eléctrico ou de gas quente, nin nun forno quente.
- Conecte sempre primeiro o enchufe ao electrodoméstico e, a seguir, o cable á toma de corrente. Para desconectalo, poña calquera control na posición de apagado e, a seguir, retire o enchufe da toma de corrente.
- Non use o aparello para outros usos que os previstos.
- Pode producirse escaldadura se se retira a tapa durante o ciclo de elaboración.
Contido do paquete
Verifique que todos os elementos que se indican a continuación estean incluídos no seu paquete:
- Beautiful by Drew Barrymore Single-Serve Coffee Maker with Integrated Grinder
- 2-in-1 Cleaning Brush with Measuring Scoop
- Charcoal Filter and Holder
- Filtro de café reutilizable
- Manual de instrucións (este documento)
Produto rematadoview
Familiarize yourself with the components of your coffee maker.

Figura 1: Fronte view of the Beautiful by Drew Barrymore Single-Serve Coffee Maker, showing the control panel, brew spout, and drip tray.

Figura 2: Arriba view of the coffee maker with the lid open, revealing the integrated burr grinder and bean hopper. The hopper can hold enough beans for up to 16 cups of coffee.

Figure 3: Illustration of the reusable gold-tone coffee filter being placed into the brew basket. This filter eliminates the need for disposable paper filters or pods.
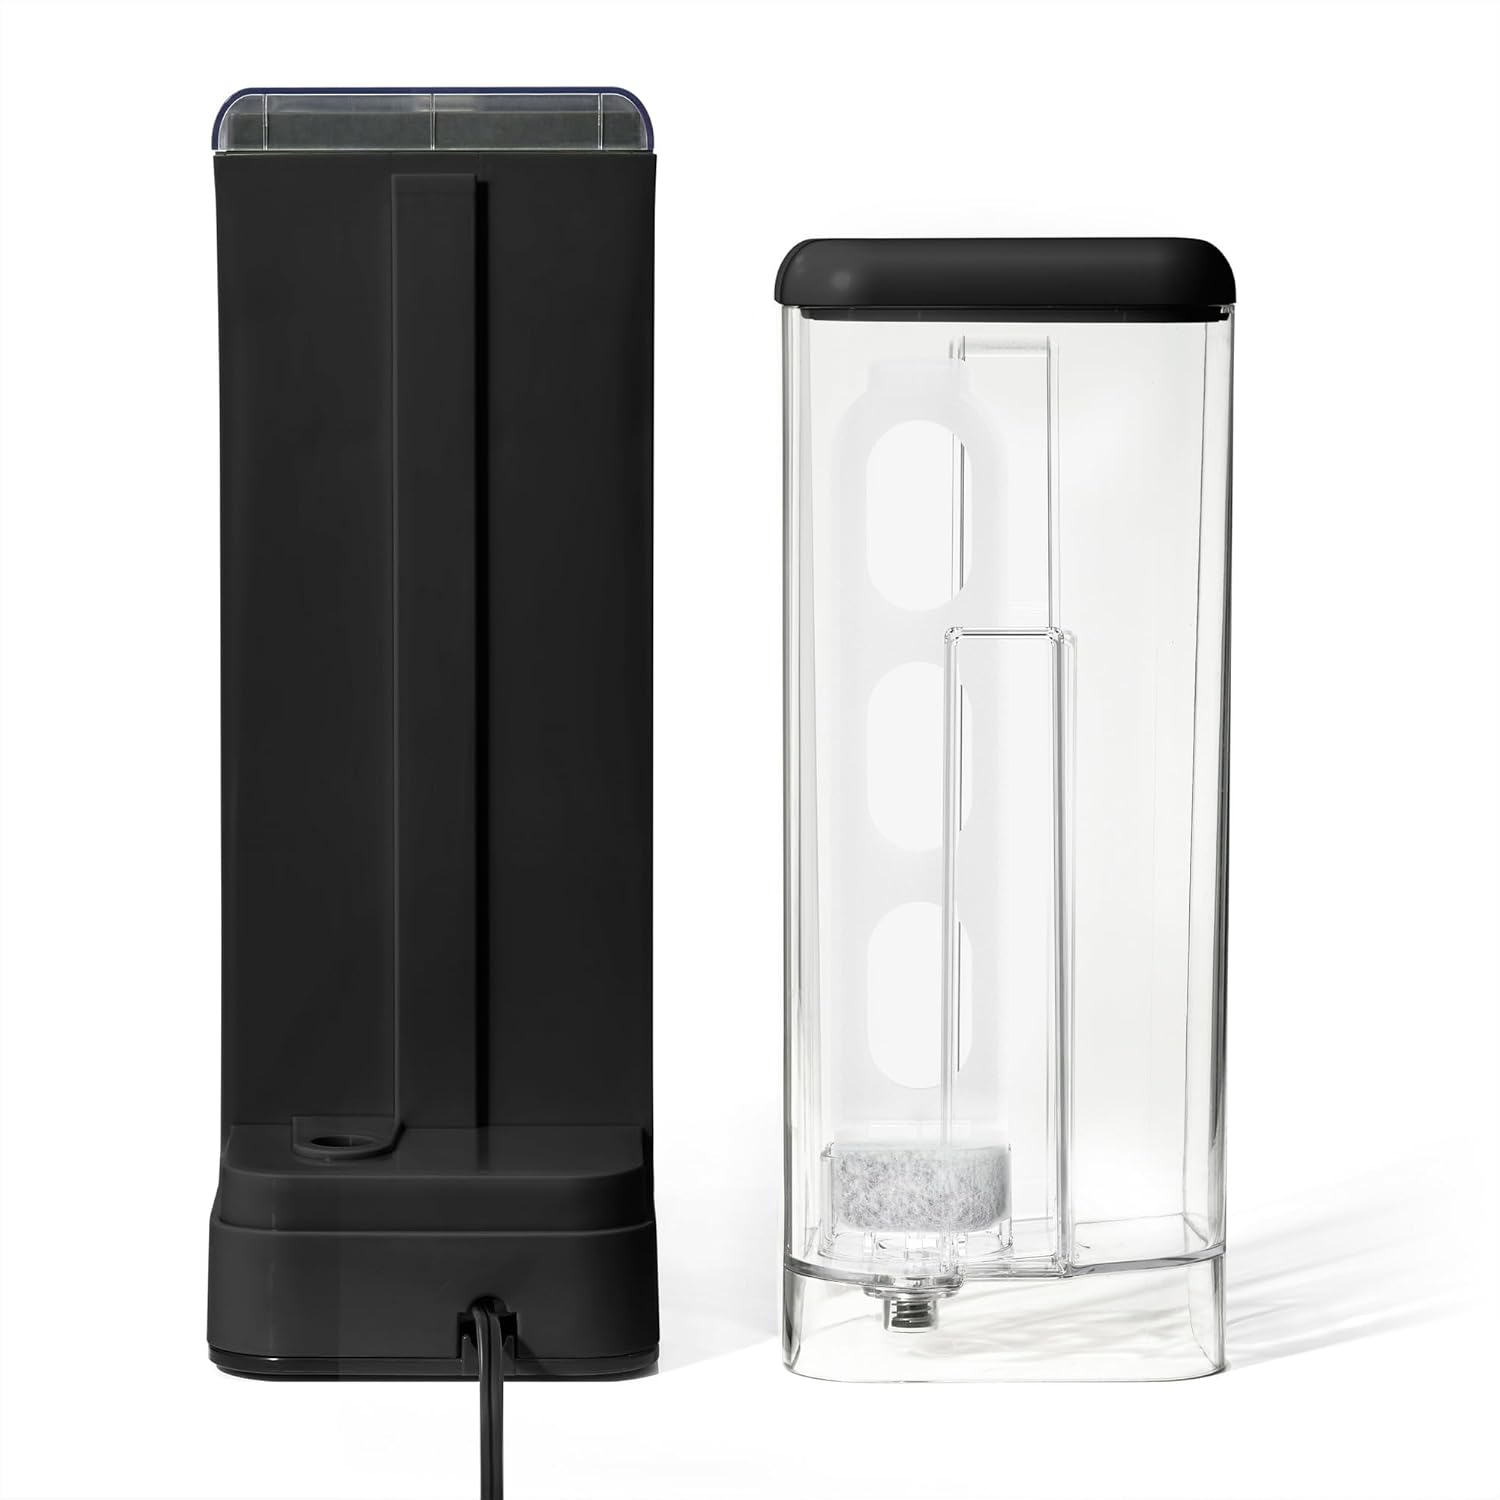
Figure 4: The detachable 14 oz water reservoir, shown with the charcoal filter and holder. The reservoir is designed for single-serve brewing.
Configuración
Antes do primeiro uso
- Unpack the coffee maker and all accessories. Remove any packaging materials and labels.
- Wash the reusable coffee filter, water reservoir, and drip tray in warm, soapy water. Rinse thoroughly and dry.
- Insert the charcoal filter into its holder, then place it into the water reservoir.
- Encha o depósito de auga con auga fría e fresca ata a liña de enchido MÁX.
- Perform a cleaning cycle:
- Ensure the reusable filter is empty and correctly seated.
- Coloca unha cunca ou recipiente grande na bandexa de goteo.
- Press the "Brew Size" button to select 14 oz.
- Press the "Brew On" button to start a water-only cycle.
- Discard the hot water. Repeat this process once more.
Colocación da cafeteira
Place the coffee maker on a flat, stable, heat-resistant surface near a power outlet. Ensure there is adequate clearance around the unit for ventilation and access to the water reservoir and bean hopper.
Instrucións de funcionamento
Brewing a Single Cup of Coffee
- Encher o depósito de auga: Remove the water reservoir and fill it with fresh, cold water to your desired brew size (6, 8, 10, or 14 oz). Reattach the reservoir securely.
- Engadir grans de café: Open the lid to the bean hopper. Add whole coffee beans. The integrated burr grinder will automatically grind the precise amount needed for your selected brew.
- Selecciona o tamaño da infusión: Press the "Brew Size" button repeatedly to cycle through the available cup sizes (6, 8, 10, 14 oz).
- Adjust Brew Strength (Optional): Press the "Bold" button to select a stronger brew if desired. The indicator light will illuminate.
- Colocar a cunca: Position your mug or travel cup on the drip tray. For taller travel mugs, the drip tray can be removed.
- Comezar a elaborar cervexa: Press the "Brew On" button. The coffee maker will grind the beans, then begin the brewing process.
- Disfruta: Once brewing is complete, carefully remove your mug. The coffee maker will automatically shut off.
Using the Programmable Auto-Start Timer
Podes programar a túa cafeteira para que comece a preparar café a unha hora específica.

Figure 5: The control panel displaying time and various function buttons, including "Delay Menu", "Hour", and "Minute" for setting the auto-start timer.
- Establecer a hora actual: Press and hold the "Hour" button until the display flashes. Use "Hour" and "Minute" buttons to set the current time. Press "Delay Menu" to confirm.
- Preparación para a elaboración da cervexa: Follow steps 1-5 from "Brewing a Single Cup of Coffee" (fill water, add beans, select brew size, adjust strength, place mug).
- Axustar o tempo de retardo: Press the "Delay Menu" button. The display will flash. Use "Hour" and "Minute" buttons to set your desired brew start time.
- Activate Delay Brew: Press "Delay Menu" again to confirm. The "Delay" indicator light will illuminate, and the coffee maker will start brewing at the set time.
Brewing "Over Ice" Coffee
This feature is designed to brew a concentrated coffee over ice for a refreshing iced beverage.

Figure 6: The coffee maker brewing a concentrated coffee directly over ice in a glass, utilizing Exact Xtract technology for enhanced flavor.
- Encher o depósito de auga: Fill the water reservoir with fresh, cold water according to the desired iced coffee volume.
- Engadir grans de café: Add whole coffee beans to the hopper.
- Preparar xeo: Fill your serving glass with ice cubes.
- Select "Over Ice": Press the "Over Ice" button. The indicator light will illuminate. The coffee maker will automatically adjust the brew settings for iced coffee.
- Comezar a elaborar cervexa: Press the "Brew On" button.
- Servir: Once brewing is complete, stir and enjoy your iced coffee.
Mantemento e Limpeza
Unha limpeza regular garante un rendemento óptimo e prolonga a vida útil da túa cafeteira.
Limpeza diaria
- Desconectar: Desenchufe sempre a cafeteira antes de limpala.
- Filtro reutilizable: Remove the reusable filter, discard used coffee grounds, and rinse thoroughly under running water. Use the cleaning brush if necessary.
- Bandexa de goteo: Remove and empty the drip tray. Wash with warm, soapy water and rinse.
- Encoro de auga: Enxágüe o depósito de auga con auga doce.
- Exterior: Limpe o exterior da cafeteira cun anuncioamp pano. Non utilice produtos de limpeza abrasivos nin estropajos.
Limpeza de moedores
Periodically clean the integrated burr grinder to prevent clogs and maintain grind consistency.
- Asegúrate de que a cafeteira estea desconectada e arrefriada.
- Retire os grans de café restantes da tolva.
- Use the provided 2-in-1 cleaning brush to gently brush away any coffee grounds from the burrs and the grinder chute.
- Wipe the inside of the bean hopper with a dry cloth.
Descalcificación
Os depósitos minerais da auga poden acumularse co tempo e afectar o rendemento. Descalcifica a túa cafeteira cada 2 ou 3 meses ou con máis frecuencia se tes auga dura.
- Prepare a descaling solution: Mix 1 part white vinegar with 2 parts water, or use a commercial descaling solution according to its instructions.
- Enche o depósito de auga coa solución descalcificante.
- Coloque unha cunca grande na bandexa de goteo.
- Run a brew cycle without coffee grounds.
- After the cycle, let the coffee maker sit for 30 minutes with the solution inside.
- Run another brew cycle to empty the reservoir.
- Rinse thoroughly by running 2-3 cycles with fresh, clean water.
Resolución de problemas
Consulta esta sección para ver os problemas comúns e as súas solucións.
| Problema | Causa posible | Solución |
|---|---|---|
| O café non está a facerse. | No water in reservoir; unit not plugged in; brew cycle not initiated. | Fill reservoir; ensure power cord is securely plugged in; press "Brew On" button. |
| Café débil. | Insufficient coffee beans; incorrect brew strength selected; descaling needed. | Add more beans; select "Bold" brew strength; descale the unit. |
| O moedor non funciona. | No beans in hopper; grinder clogged; unit not powered. | Add beans; clean grinder burrs with brush; ensure power. |
| O café desborda. | Mug too small; brew basket clogged. | Use a larger mug; clean the reusable filter and brew basket. |
| "Clean" indicator light is on. | Indicates descaling is recommended. | Realice un ciclo de descalcificación como se describe na sección Mantemento. |
Especificacións
- Nome do modelo: RP19332
- Número de modelo do artigo: 19332
- Marca: Fermosa de Drew Barrymore
- Cor: Sésamo Negro
- Dimensións do produto: 12.95" D x 12.14" W x 5.11" H
- Peso do artigo: 7.73 libras
- Capacidade do depósito de auga: 14 oz
- Características especiais: Brew Strength Control, Built-In Conical Burr Grinder, Programmable Auto-Start Timer, Reusable Coffee Filter, Single-Serve Design (6, 8, 10, or 14 oz mugs)
- Compoñentes incluídos: 2-in-1 cleaning brush with measuring scoop, charcoal filter, and holder
Garantía e Soporte
Para obter información sobre a garantía ou asistencia técnica, consulte a tarxeta de garantía incluída co produto ou póñase en contacto co servizo de atención ao cliente do fabricante. Garde o recibo de compra como proba de compra.
Ask a question about this manual
Ask about setup, troubleshooting, compatibility, parts, safety, or missing instructions. Manuals+ will review the question and use this page’s manual context to help answer it.