
1. Introdución
The VGN F1 PRO Wireless Gaming Mouse is engineered for precision and speed, featuring an ultralight 49g design, a high-performance 26,000 DPI sensor, and versatile wireless and wired connectivity. This manual will guide you through its features and functionalities to ensure optimal performance.
2. Contido do paquete
Verifique que todos os elementos que se indican a continuación estean incluídos na embalaxe do produto:
- VGN F1 Pro Gaming Mouse
- USB Type A Receiver
- Paracord style USB-C to USB-A Cable
- USB Extension Adapter
- Cinta de agarre do rato

Figure 2.1: The VGN F1 PRO Wireless Gaming Mouse shown with its USB Type A receiver and USB-C cable.
3. Produto rematadoview
3.1. Compoñentes clave

Figure 3.1: Detailed diagram illustrating the mouse's components including the LED Indicator, Scroll Wheel, Left Button, Right Button, Forward Button, Backward Button, DPI Button, Optical Sensor, Power Switch, Receiver Storage Slot, and Feet.
3.2. Ultralight Design
Weighing only 49g, the VGN F1 PRO features a solid shell design, providing a lightweight yet sturdy build for rapid movements and reduced fatigue during extended use.

Figure 3.2: The mouse is depicted on a hand, emphasizing its minimal weight and ergonomic form factor.
3.3. High-Performance Sensor
Equipped with the PixArt PAW 3395 sensor, the mouse offers adjustable DPI up to 26,000, 650 IPS tracking, and 50G acceleration for precise and responsive control.

Figure 3.3: Visual representation of the mouse's optical sensor and its high tracking capabilities.
3.4. Advanced Chipset
The Nordic nRF52833 MCU ensures ultra-low latency and a 1000Hz polling rate, providing fast and accurate game control.
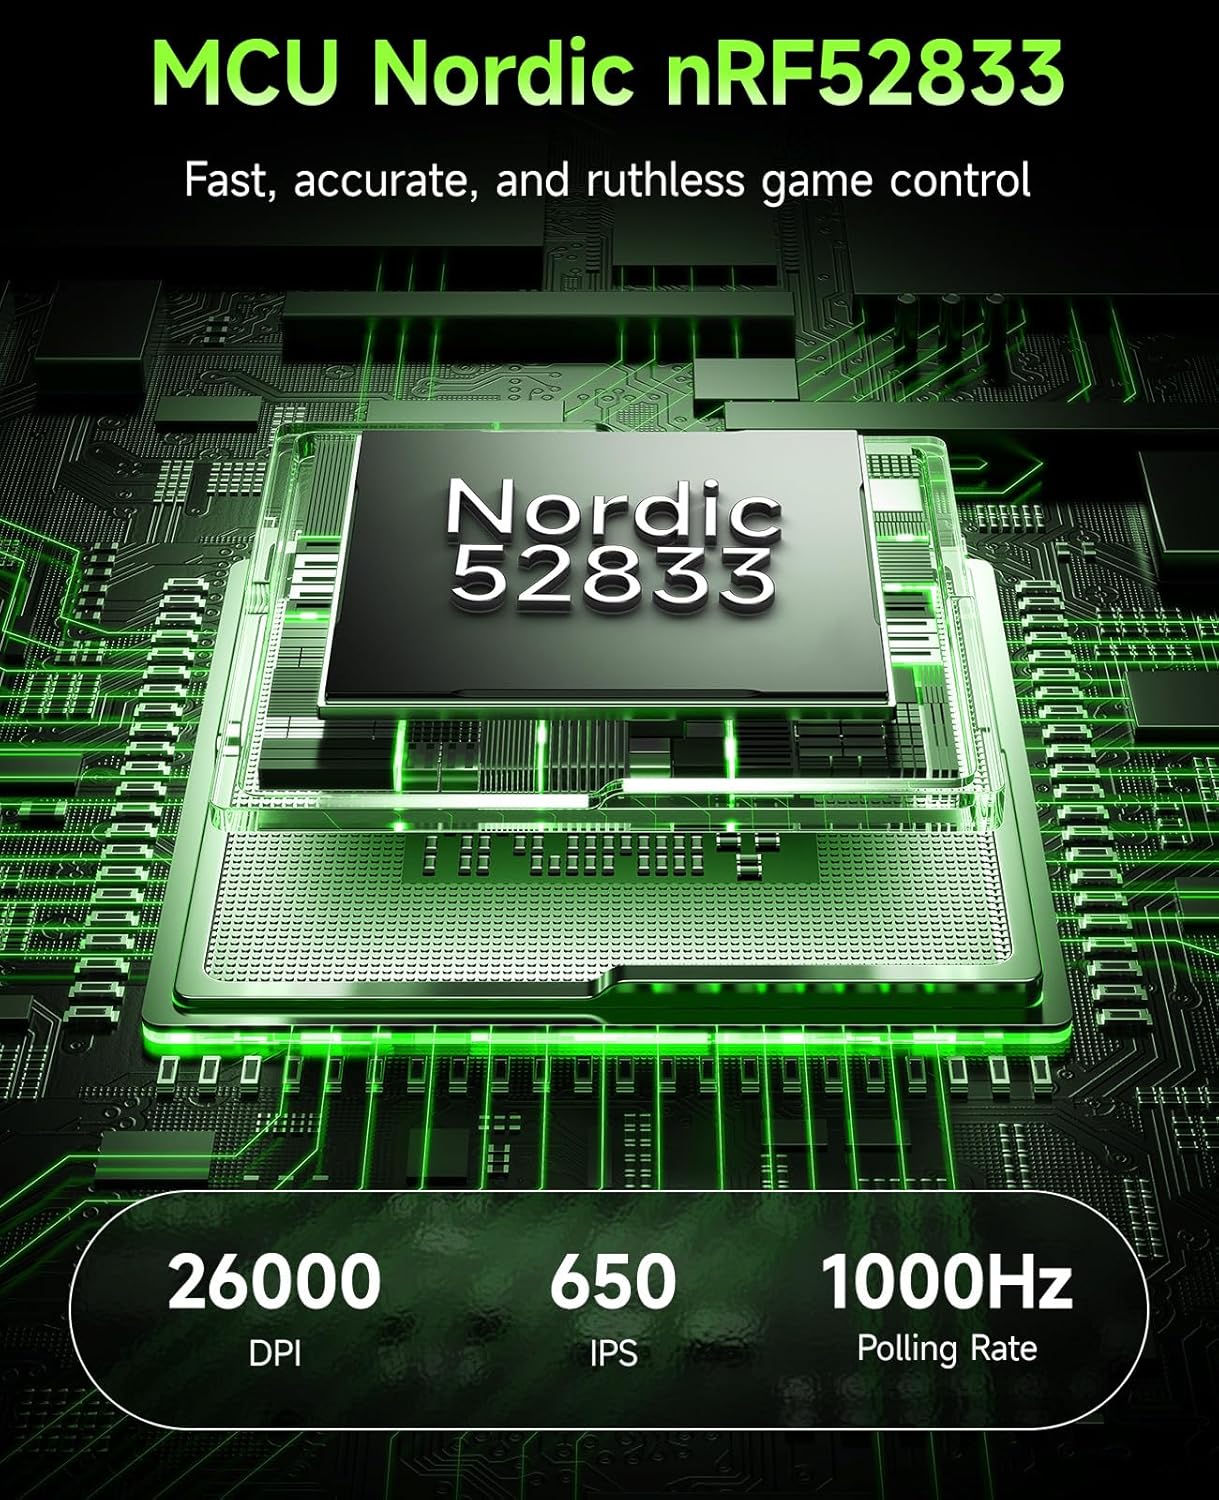
Figure 3.4: Diagram showing the Nordic nRF52833 chip, highlighting its role in performance and polling rate.
3.5. Long Battery Life
Enjoy up to 65 hours of uninterrupted wireless use, ensuring prolonged gaming sessions without frequent recharging.

Figure 3.5: The mouse is shown on a mousepad with an overlay indicating its 65-hour battery capacity.
3.6. Customizable Controls
The 6 programmable buttons can be fully customized using the VGN HUB software, allowing for personalized keybinds and macros.

Figure 3.6: A visual representation of the VGN HUB software, demonstrating the customization options for mouse buttons and settings.
3.7. Wired/Wireless Flexibility
The mouse supports both 2.4GHz wireless mode for ultra-low latency and wired Type-C connection for continuous play and charging.

Figure 3.7: The mouse is shown connected via both wireless and wired modes, with indicators for battery level.
3.8. Durable Switches
Equipped with Kailh Black Mamba switches, rated for 100 million clicks, ensuring long-lasting performance and tactile feedback.

Imaxe 3.8: Primeiro plano view of a Kailh Golden Black Mamba switch, highlighting its robust construction.
4. Instrucións de configuración
4.1. Cargar o rato
Before first use, it is recommended to fully charge your VGN F1 PRO mouse.
- Locate the USB-C port on the front of the mouse.
- Connect the provided USB-C to USB-A cable to the mouse.
- Plug the USB-A end of the cable into a powered USB port on your computer or a USB wall adapter.
- The LED indicator on the mouse will show charging status (Orange: Charging in Progress). It will turn Green when fully charged.
4.2. Connecting Wirelessly (2.4GHz)
For wireless operation, use the provided USB Type A receiver.
- Locate the USB Type A receiver. It may be stored in the compartment on the underside of the mouse.
- Plug the USB Type A receiver into an available USB port on your computer.
- Turn on the mouse using the Power Switch located on the underside of the mouse.
- The mouse should automatically connect to the receiver. The LED indicator will show Green for normal battery level.
4.3. Connecting via Wired Mode
The mouse can also be used in wired mode, which also charges the device.
- Connect the provided USB-C to USB-A cable to the mouse's USB-C port.
- Plug the USB-A end of the cable into a USB port on your computer.
- The mouse will function immediately in wired mode and begin charging.
5. Instrucións de funcionamento
5.1. Axuste de DPI
The DPI (Dots Per Inch) can be adjusted to control cursor sensitivity. The mouse features a dedicated DPI button on its underside.
- Preme o Botón DPI on the underside of the mouse to cycle through preset DPI levels.
- For fine-tuning DPI from 50 to 26,000, use the VGN HUB software.
5.2. Button Customization
The 6 buttons on the VGN F1 PRO mouse are fully programmable via the VGN HUB software.
- Download and install the VGN HUB software from the official VGN websitio.
- Launch the VGN HUB software.
- Navigate to the "Remap Keys" or "Button Assignment" section.
- Select the button you wish to customize and assign a new function, macro, or keybind.
- Save your changes to apply the new settings.
5.3. Xestión de enerxía
The mouse features an On/Off switch to conserve battery life when not in use.
- To turn off the mouse, slide the Interruptor de alimentación á posición "APAGADO".
- To turn on the mouse, slide the Interruptor de alimentación á posición "ON".
- The LED indicator will display battery status: Green (Normal), Orange (Charging in Progress), Red (Battery Low - Recharge Soon).
6. Mantemento
6.1. Limpeza
To maintain optimal performance and appearance, clean your mouse regularly.
- Use un pano suave e sen pelusa lixeiramente dampmantelo con auga ou unha solución de limpeza suave.
- Evite o uso de produtos químicos agresivos, abrasivos ou solventes.
- Clean the optical sensor area gently to prevent dust buildup.
6.2. Almacenamento
When not in use, store the mouse in a cool, dry place away from direct sunlight and extreme temperatures.
- If storing for an extended period, ensure the mouse is fully charged and turned off.
- The USB receiver can be stored in the dedicated compartment on the underside of the mouse for safekeeping.
7 Solución de problemas
7.1. O rato non responde
- Comprobar a potencia: Ensure the mouse is turned on and has sufficient battery charge. Recharge if necessary.
- Comprobar a conexión: For wireless mode, ensure the USB receiver is securely plugged into a working USB port. For wired mode, ensure the USB-C cable is properly connected to both the mouse and the computer.
- Re-pair Receiver: If using wireless, try unplugging and re-plugging the USB receiver.
- Proba con diferentes portos USB: Connect the receiver or cable to a different USB port on your computer.
- Reiniciar o ordenador: Reiniciar o sistema pode resolver a miúdo os problemas de conectividade.
7.2. DPI Issues
- Botón DPI: Ensure you are pressing the correct DPI button on the underside of the mouse to cycle through settings.
- Configuración de software: Verify DPI settings within the VGN HUB software. Ensure no conflicting profiles están activos.
7.3. Preocupacións pola duración da batería
- Carga completa: Ensure the mouse is fully charged before use. The LED indicator should turn green.
- Apagado: Turn off the mouse when not in use to conserve battery.
- Patróns de uso: High polling rates and frequent button presses can consume more battery.
8. Especificacións
| Característica | Detalle |
|---|---|
| Marca | VGN |
| Número de modelo | F1 Pro-Black |
| Tecnoloxía de conectividade | 2.4GHz Wireless, USB Wired |
| Tecnoloxía de detección de movemento | Óptico (sensor PixArt PAW 3395) |
| DPI máximo | 26,000 DPI (Adjustable) |
| Taxa de votación | 1000 Hz |
| Velocidade de seguimento | 650 IPS |
| Aceleración | 50G |
| Duración da batería | Ata 65 horas |
| Interruptores | Kailh Black Mamba (100 million clicks) |
| Peso do elemento | 1.73 onzas (aprox. 49 g) |
| Compatibilidade | Windows, macOS, Linux, ChromeOS |
9. Garantía e soporte
VGN products are designed and manufactured to the highest standards. For detailed warranty information and technical support, please refer to the official VGN websitio web ou póñase en contacto co servizo de atención ao cliente. Garde o comprobante de compra para reclamacións de garantía.