
1. Introdución
Thank you for choosing the Cumbor Pressure Mounted Auto-Close Baby Gate. This manual provides essential information for the safe and correct installation, operation, and maintenance of your new gate. Please read all instructions carefully before assembly and use, and retain this manual for future reference.
This gate is designed to provide a secure barrier for children aged 6-24 months and pets, preventing access to restricted areas such as stairs, doorways, and hallways. It features a dual-lock safety system, auto-close functionality, and options for both pressure and hardware mounting.

Image: Two Cumbor white baby gates, illustrating the product included in the 2-pack.
2. Información importante de seguridade
AVISO: O incumprimento destas advertencias e instrucións pode producir lesións graves ou a morte.
- Always install and use the gate as instructed.
- Esta porta está pensada para o seu uso con nenos de 6 a 24 meses.
- NUNCA deixar o fillo desatendido.
- Este produto non necesariamente evitará todos os accidentes.
- Para evitar lesións graves ou a morte, instale de forma segura a porta ou o recinto e utilíceo segundo as instrucións do fabricante.
- The gate must be securely attached to a solid, structurally sound opening.
- FOR STAIRS: Use only with the hardware mounting cups provided. Install at the bottom of the stairs or at the top of the stairs using the hardware mount option. Never use pressure-mount only at the top of stairs.
- The pressure-mounted gate has a bottom bar that can be a trip hazard. Exercise caution when walking through.
- Comprobe regularmente todos os elementos de fixación para asegurarse de que estean axustados e seguros.
- Stop using the gate if any components are damaged or missing.
- Do not use replacement parts other than those supplied by the manufacturer.
- Keep children away from the gate during installation.
3. Contido do paquete
Please verify that all components are present before beginning installation. If any parts are missing or damaged, do not proceed with installation and contact Cumbor customer support.

Image: Detailed diagram of all parts included in the Cumbor baby gate package, with labels and quantities.
| Elemento | Descrición | Cantidade |
|---|---|---|
| A | Porta principal | 1 |
| B | Extensión | Up to 3 (depending on width) |
| C | Parafuso de tensión | 4 |
| D | Copa de parede | 4 |
| E | Pedal | 1 |
| F | Placa de posición | 1 |
| G | Stair Tension Bolt | 2 (opcional) |
| H | Up Cup | 2 (opcional) |
| I | Ancla de parede | 4 (for hardware mount) |
| J | Parafuso | 4 (for hardware mount) |
| K | Pad adhesivo | 4 (for wall cups) |
| L | Chave inglesa | 1 |
4. Configuración e instalación
Before installation, note that there may be a gap between the gate lock and the frame. This is normal for pressure-mounted gates and will close as the tension bolts are tightened.
4.1 Pressure Mount Installation (No Drilling Required)
This method is suitable for doorways and hallways. It holds up to 150 lbs of pressure.
- Assemble the gate with the appropriate extensions (B) for your opening width.
- Insert the four tension bolts (C) into the holes at each corner of the gate frame.
- Coloca a porta na abertura desexada. Asegúrate de que a barra inferior estea ao mesmo nivel que o chan.
- Rotate the tension bolts (C) clockwise to extend them until they make contact with the wall or door frame.
- Continue tightening the tension bolts evenly until the gap between the gate lock and frame disappears and the gate is securely held in place. Use the included wrench (L) for final tightening.
- Once the gate is secure, you may remove any zip ties that held the gate door in place during shipping.

Image: A hand rotating a tension bolt to secure the gate in a pressure-mounted setup.

Image: Visual guide demonstrating how the initial gap closes upon tightening the tension bolts and the final step of removing the zip tie.
4.2 Hardware Mount Installation (Recommended for Stairs or Active Pets)
This method provides enhanced security, holding against impacts over 210 lbs. It is mandatory for top-of-stairs installation.
- Install Wall Anchors (I): Place the gate in your desired location. Use a pencil to mark the positions for the wall anchors (I) where the tension bolts will meet the wall. Drill pilot holes, insert the wall anchors, and tap them flush with a hammer.
- Attach Wall Cups (D): Secure the wall cups (D) to the wall using screws (J) into the installed wall anchors. For added stability, you can use the sticky pads (K) on the back of the wall cups before screwing them in.
- Asegura a porta: Insert the tension bolts (C) into the gate frame and rotate them clockwise until they firmly press into the wall cups (D). Tighten evenly until the gate is fully secure and the gap at the latch mechanism is closed.
- Remove any shipping zip ties.

Image: Steps for installing wall anchors into the wall for a secure hardware mount.

Image: Steps for attaching wall cups to the wall using screws and then inserting the tension bolts.
4.3 Installation on Round Stair Railings (Y-Shaped Bolts)
For secure installation on round banisters or railings, use the optional Y-shaped stair tension bolts (G) and up cups (H) instead of standard tension bolts and wall cups. These are designed to grip rounded surfaces without drilling.

Image: The Cumbor gate installed on a staircase, highlighting the Y-pressure mount for secure attachment to rounded banisters.
5. Instrucións de funcionamento
5.1 Abrindo a porta
The gate features a dual-lock safety system to prevent accidental opening by children or pets. To open:
- Prensa: Locate the button on the top of the latch mechanism and press it.
- Ascensor: While holding the button, lift the gate door slightly.
- Aberto: Swing the gate door open in either direction.
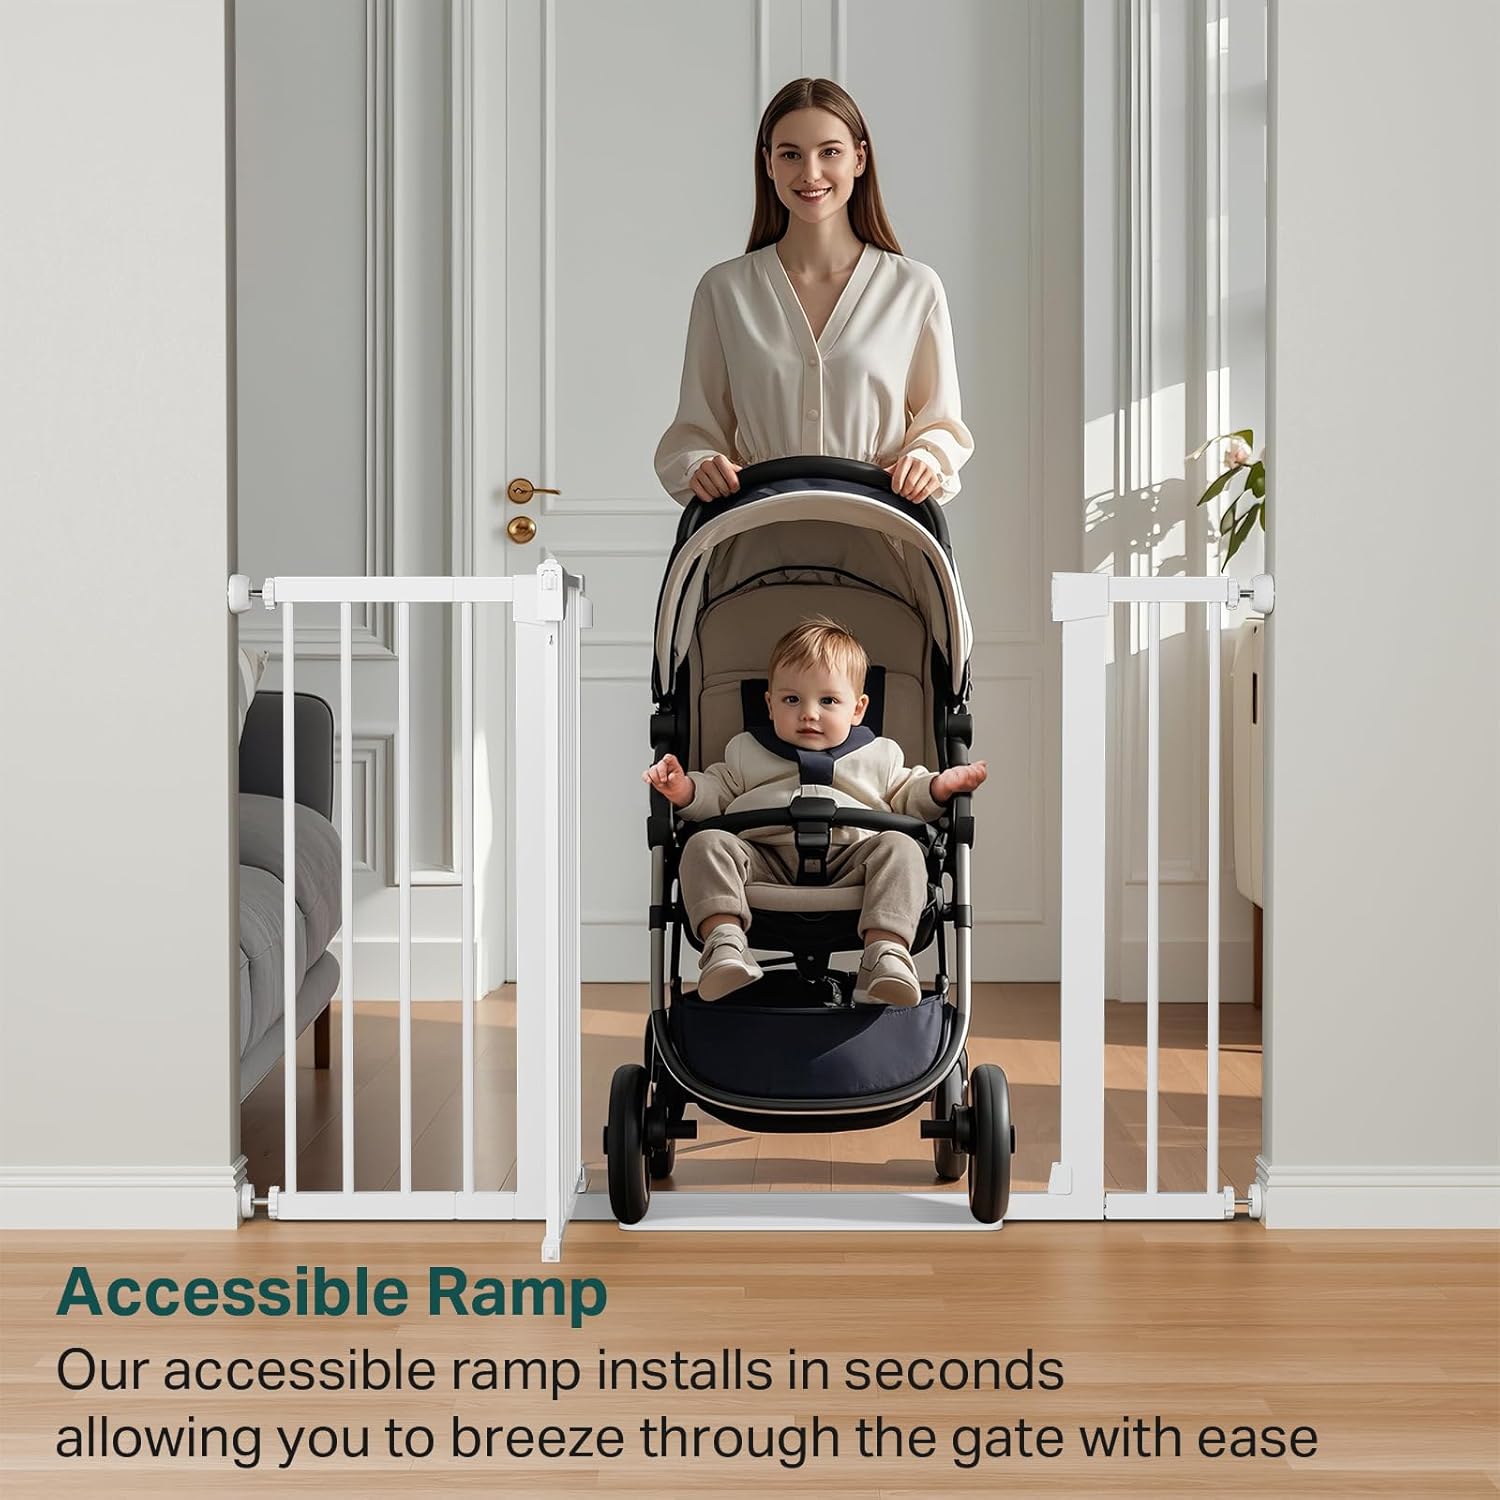
Image: Visual guide for the one-handed operation of the gate, showing the press, lift, and open actions.
5.2 Auto-Close and Stay-Open Features
- Peche automático: The gate door will automatically swing shut and latch securely when opened to an angle less than 90 degrees. This ensures the gate is always closed for safety.
- Stay-Open: If the gate door is opened to an angle of 90 degrees or more, it will remain open, allowing for easy passage when you need to move freely through the opening.

Image: An overhead diagram illustrating the auto-close mechanism (closes when less than 90 degrees) and the stay-open feature (stays open at 90 degrees).
5.3 Walk-Through Door
The gate features a wide 29.7-inch walk-through door and a low-profile step pedal (E) to minimize tripping hazards, making it convenient for carrying children or groceries.

Image: A person easily pushing a stroller through the gate, highlighting the accessible ramp and wide opening.
6. Mantemento
- Limpeza: Clean the gate regularly with a mild soap and a damp cloth. Do not use abrasive cleaners or harsh chemicals, as these may damage the finish or materials.
- Inspección: Periodically inspect the gate for any signs of wear, damage, or loose components. Ensure all tension bolts are tight and the gate operates smoothly. If any part is damaged, discontinue use and contact customer support.
7 Solución de problemas
| Problema | Causa posible | Solución |
|---|---|---|
| Gate has a gap at the latch mechanism before installation. | This is a normal design feature for pressure-mounted gates. | The gap will close as the tension bolts are tightened during installation. Proceed with installation as instructed. |
| Gate feels loose or unstable after installation. | Tension bolts are not tightened sufficiently. | Evenly tighten all four tension bolts further until the gate is firmly secured and does not move. Use the included wrench for leverage. |
| Gate door does not close automatically or latch properly. | Gate is not level or tension is uneven. | Check that the gate is installed level. Adjust the tension bolts to ensure even pressure on both sides, allowing the latch mechanism to align correctly. |
| Gate is difficult to open. | Latch mechanism may be stiff or misaligned. | Ensure you are pressing the button and lifting the gate door simultaneously. If still difficult, check for any obstructions or misalignment. A small amount of silicone spray on moving parts may help, but avoid contact with children. |
8. Especificacións
| Característica | Detalle |
|---|---|
| Número de modelo | S7V2 |
| UPC | 850055912489 |
| Material | Metal |
| Cor | Branco |
| Ancho axustable | 29.7 - 48 polgadas |
| Altura | 30.5 polgadas |
| Número de unidades | 2.0 unidades (paquete de 2) |
| Peso do elemento | 31.8 libras (para o paquete de 2) |
| Tipo de montaxe | Pressure Mounted / Hardware Mounted |
| Rango de idade | 6-24 meses |
9. Atención ao cliente
For any questions, concerns, or assistance with your Cumbor Baby Gate, please contact our customer support team. Refer to your purchase documentation or the Cumbor brand websitio para información de contacto.