
1. Introdución
This manual provides essential information for the safe and efficient operation, installation, and maintenance of your new Whirlpool C WD 94M WBS IT 9kg Heat Pump Dryer. Please read these instructions carefully before using the appliance and keep them for future reference.

Figura 1: Fronte view of the Whirlpool C WD 94M WBS IT 9kg Heat Pump Dryer, showcasinpolo seu deseño moderno e o seu panel de control.
2. Información de seguridade
Siga sempre as precaucións básicas de seguridade ao usar electrodomésticos para reducir o risco de incendio, descarga eléctrica e lesións persoais. Este electrodoméstico está destinado unicamente para uso doméstico.
- Non permita que os nenos xoguen co aparello.
- Asegúrese de que o aparello estea correctamente conectado a terra.
- Non instale nin garde o aparello onde estea exposto á intemperie.
- Non seque artigos que fosen previamente limpos, lavados, remojados ou manchados con gasolina, solventes de limpeza en seco ou outras substancias inflamables ou explosivas.
- Limpe o filtro de pelusa antes ou despois de cada carga.
3. Configuración e instalación
Your Whirlpool C WD 94M WBS IT dryer is designed for free-standing installation. Proper setup is crucial for optimal performance and safety.
3.1 Desembalaxe
- Retire con coidado todos os materiais de embalaxe.
- Check the appliance for any transport damage. If damaged, do not install or use it, and contact your retailer.
- Ensure all accessories, including the power cord, are present.
3.2 Posicionamento
- Coloque a secadora sobre un chan firme e nivelado.
- Ensure adequate ventilation around the appliance. Do not block the air intake at the front bottom.
- Avoid installing the dryer in rooms where the temperature may fall below 5°C, as this can affect performance.
3.3 Conexión eléctrica
- Connect the power cord to a properly grounded electrical outlet.
- Asegurar o voltage e a frecuencia coinciden coas especificacións da placa de características do aparello.
3.4 Conexión de drenaxe
This heat pump dryer collects water in a removable tank. For continuous drainage, you can connect the dryer to a wall drain using the provided tube.
- Locate the drainage hose at the back of the dryer.
- Connect the hose to a suitable drain pipe or wall drain, ensuring it is securely fastened and free from kinks.
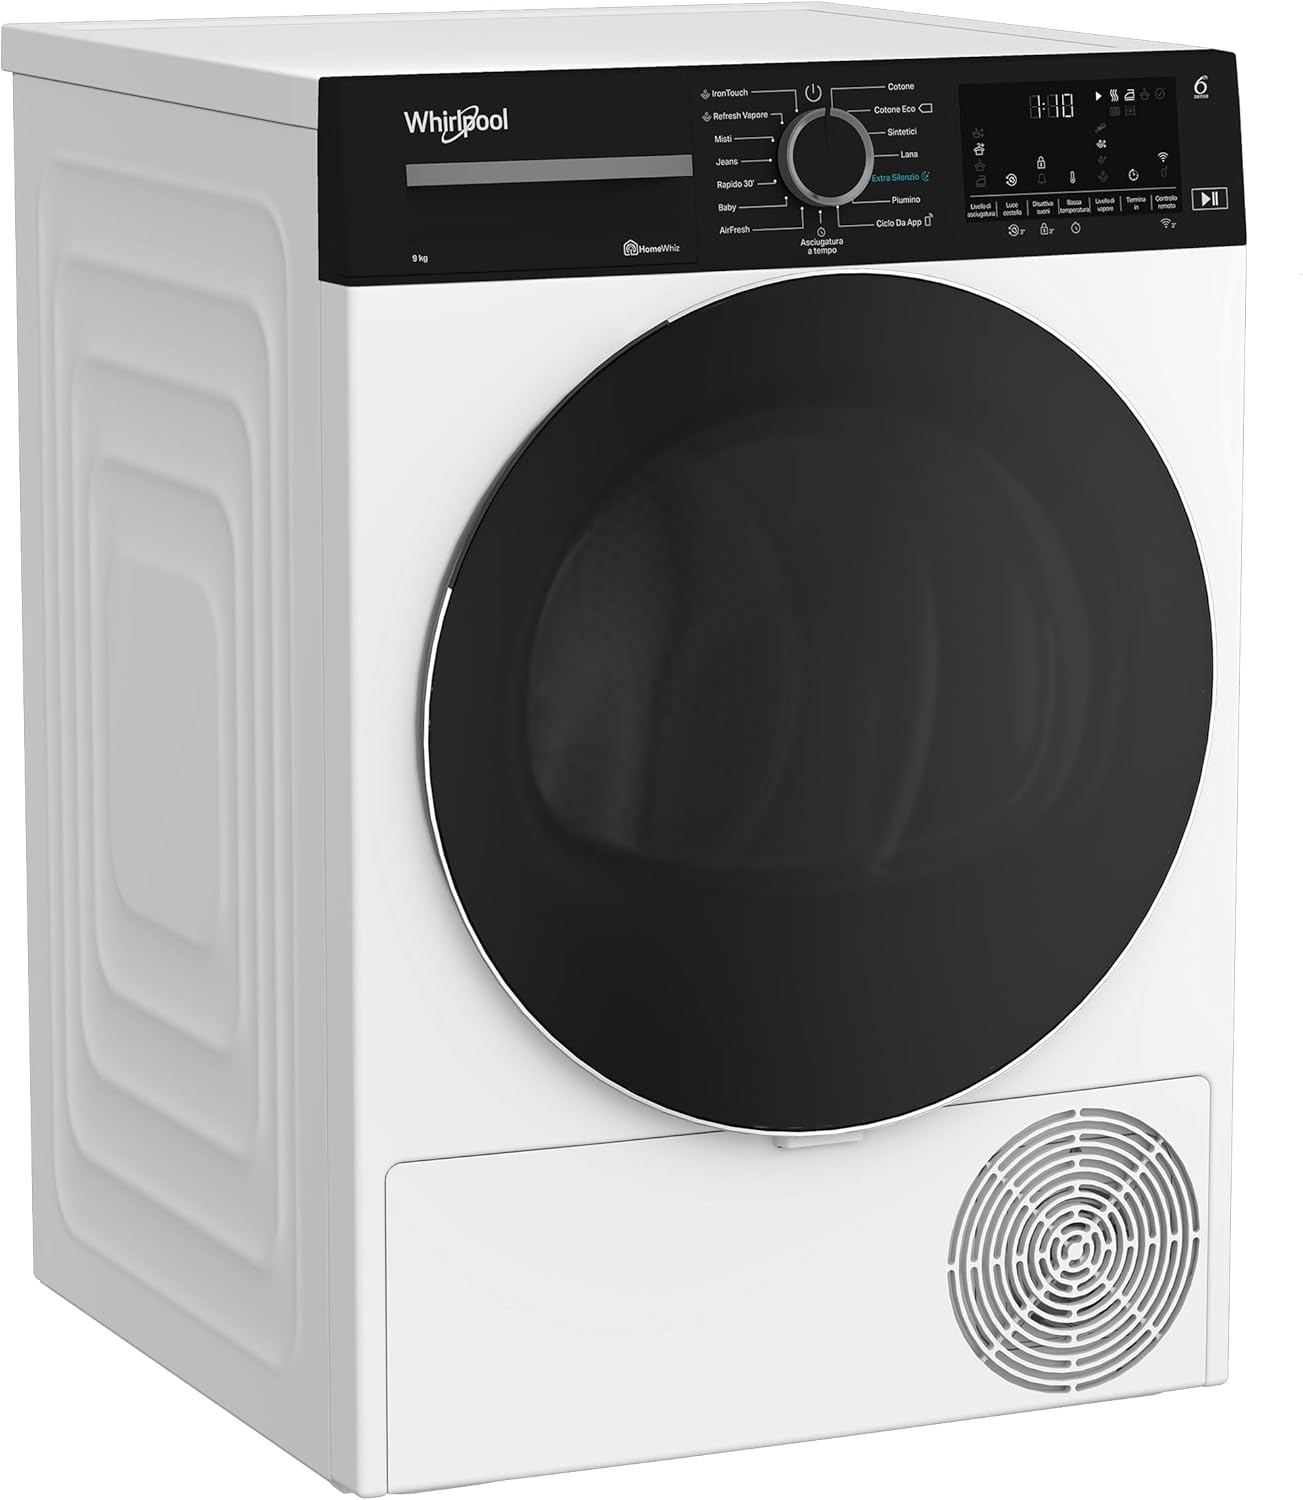
Figura 2: En ángulo view do secador, o que ilustra o seu deseño compacto axeitado para diversas colocacións.
4. Instrucións de funcionamento
Familiarize yourself with the control panel and drying programs for optimal results.
4.1 Panel de control rematadoview

Figura 3: Detallado view of the control panel, showing the program selector dial, digital display, and option buttons.
4.2 Carga da secadora
- Open the dryer door and load laundry loosely into the drum. Do not overload.
- Ensure no items are caught in the door seal before closing the door firmly.
4.3 Selección dun programa de secado
Turn the program selector dial to choose the desired drying program. The digital display will show the estimated drying time.
- Tecnoloxía 6th SENSE: This intelligent sensor automatically detects humidity and dryness levels, adjusting settings for optimal drying results.
- Adaptive Dry: Through HomeWhiz, the dryer collects feedback on drying parameters and adapts future cycles to your preferences for optimal results.
- IronTouch: Utilizes steam at ideal temperature and time to reduce wrinkles, minimizing the need for ironing.
- Airfresh: Refreshes dry clothes with warm air, softening fabrics and reducing creases.
Os programas dispoñibles inclúen:
- Algodón: Para artigos de algodón.
- Algodón ecolóxico: Energy-efficient drying for cotton.
- Sintéticos: Para tecidos sintéticos.
- La: Secado suave para pezas de la.
- Edredón: For larger items like duvets.
- Extra Silent: Funcionamento con ruído reducido.
- Actualización por vapor: For refreshing clothes with steam.
- Mixto: Para cargas de tecidos mixtos.
- Jeans: Programa específico para denim.
- Rapid 20': Ciclo de secado rápido.
- Bebé: Gentle drying for baby clothes.
- Timed Drying: Permite a configuración manual do tempo de secado.
- App Cycle: Programs accessible via the HomeWhiz app.
4.4 Inicio dun ciclo
- After selecting the program, press the Start/Pause button to begin the cycle.
- The display will count down the remaining time. Note that sensor-based programs may adjust the time during the cycle based on detected humidity levels, which is normal operation.
4.5 Fin de ciclo
- A secadora sinalará cando o ciclo estea completo.
- Retire a roupa axeitada canto antes para minimizar as crispaciónsasing.
5. Mantemento
Un mantemento regular garante a lonxevidade e a eficiencia da súa secadora.
5.1 Limpeza do filtro de pelusa
The lint filter must be cleaned after every drying cycle to maintain optimal performance and prevent fire hazards.
- Abra a porta do secador.
- Pull the lint filter upwards and out of its housing.
- Elimina calquera pelusa acumulada a man ou cun cepillo suave.
- Reinsert the clean filter firmly into its position.

Figura 4: View of the lint filter located inside the dryer drum, which should be cleaned after each use.
5.2 Baleirado do depósito de auga
The water tank collects condensed water during the drying process and must be emptied after each cycle, unless connected to a direct drain.
- Pull out the water tank located at the top left of the control panel.
- Verte a auga recollida nun lavabo.
- Push the water tank back into its position until it clicks.
5.3 Limpeza do condensador
The condenser should be cleaned periodically (e.g., every few months) to ensure efficient operation.
- Open the cover at the bottom front of the dryer.
- Unlock and remove the condenser unit.
- Rinse the condenser under running water to remove any lint or debris.
- Deixe que o condensador seque completamente antes de volvelo colocar.
- Pecha a tapa de forma segura.

Figura 5: The lower front panel of the dryer, where the condenser is accessed for cleaning.
5.4 Limpeza exterior
- Limpe as superficies exteriores cun suave, damp pano.
- Non use produtos de limpeza ou disolventes abrasivos.
6 Solución de problemas
Antes de contactar co servizo de atención ao cliente, consulte os seguintes problemas e solucións comúns.
6.1 A secadora non arranca
- Comprobe se o cable de alimentación está ben conectado á toma de corrente.
- Ensure the dryer door is fully closed.
- Verify that a program has been selected and the Start/Pause button pressed.
- Comprobe a caixa de fusibles ou o disyuntor da súa casa.
6.2 Clothes Not Drying Properly
- Clean the lint filter. A clogged filter restricts airflow.
- Asegúrate de que o depósito de auga estea baleiro.
- Non sobrecargue a secadora.
- Select an appropriate drying program for the fabric type and desired dryness level.
- Limpar o condensador periodicamente.
6.3 Ruídos pouco comúns
- Check for foreign objects in the drum (e.g., coins, buttons).
- Ensure the dryer is level and stable.
6.4 Drying Time Fluctuations
It is normal for sensor-based drying programs to adjust the estimated drying time during a cycle. The dryer's 6th SENSE Technology continuously monitors humidity levels and optimizes the remaining time for efficient drying, which may result in the displayed time increasing ou decreasing before the cycle completes.
6.5 Códigos de erro
If an error code appears on the display, consult the full user manual (available online or with your purchase) for specific instructions. In most cases, turning the dryer off and on again may resolve minor issues.
7. Especificacións
| Característica | Especificación |
|---|---|
| Marca | Remolino |
| Número de modelo | 859991712210 |
| Tipo | Secador de bomba de calor |
| Capacidade | 9 kg |
| Dimensións (H x W x D) | 84.6 cm x 59.8 cm x 67.4 cm |
| Peso | 40 kg |
| Clase de eficiencia enerxética | C |
| Nivel de ruído | 63 dB |
| Tipo de instalación | Autónomo |
| Cor | Branco |
| Cable de alimentación | Incluído |
| País de Orixe | Turquía |
For detailed energy information, refer to the EPREL database: https://eprel.ec.europa.eu/qr/2228290

Figura 6: The energy label provides key performance and efficiency data for the dryer.
8. Garantía e soporte
8.1 Información da garantía
Your Whirlpool C WD 94M WBS IT dryer comes with a commitment to quality. Whirlpool offers 10 years of repair with free spare parts, ensuring long-term reliability for your appliance. Please retain your proof of purchase for warranty claims.
8.2 Atención ao cliente
For technical assistance, spare parts, or any questions regarding your appliance, please contact Whirlpool Customer Service. Contact details can typically be found on the Whirlpool official websitio ou na documentación proporcionada coa súa compra.