1. Introdución e finalview
This manual provides detailed instructions for the assembly, operation, and maintenance of your Sannwsg 10x14 FT Outdoor Metal Storage Shed. Designed for durability and spacious storage, this shed offers a secure and weather-resistant solution for your outdoor equipment and tools. Please read all instructions carefully before beginning assembly to ensure proper installation and safe use.
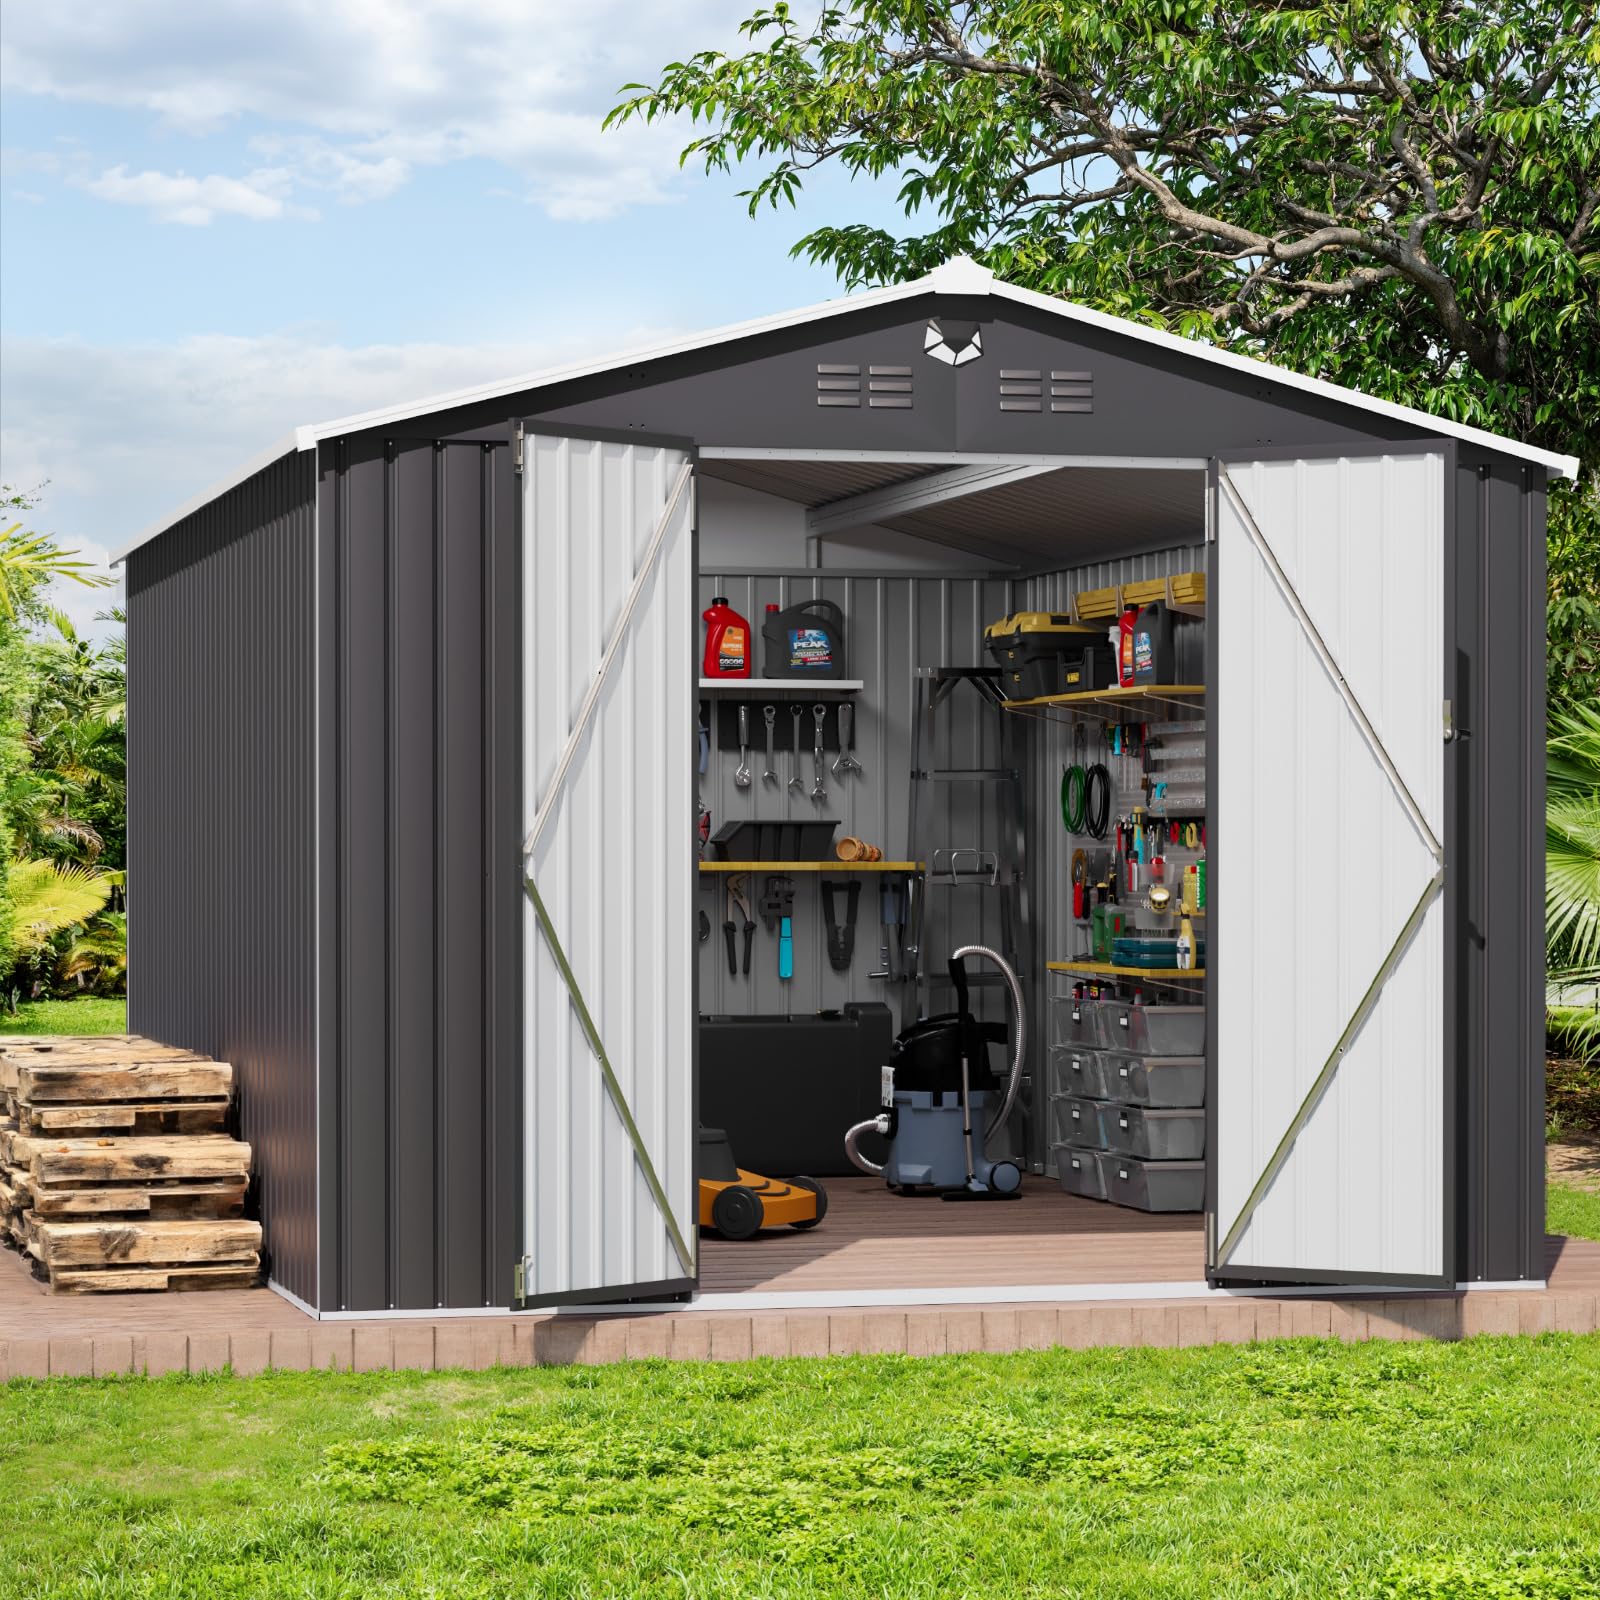
Figure 1: Sannwsg 10x14 FT Outdoor Metal Storage Shed.
2. Información de seguridade
Importantes precaucións de seguridade:
- This product requires assembly. Always follow the instructions provided and use appropriate safety measures when handling heavy components.
- Keep the assembly area clear of obstructions and ensure the stability of the structure during assembly.
- Wear safety gloves to avoid cuts from sharp edges during handling of metal parts.
- Ensure the foundation is level and stable before beginning assembly.
- Assembly is recommended for two persons.
3. Contido do paquete
Your Sannwsg 10x14 FT Outdoor Metal Storage Shed is shipped in two boxes, which may arrive on different days. Please verify all parts against the provided parts list in the included manual before starting assembly. All parts are labeled with a part number for easy identification.

Figure 2: Shed dimensions and components.

Figure 3: Included accessories: solar light and magnetic work light.
4. Configuración e montaxe
Follow these steps for the proper assembly of your storage shed. Refer to the detailed diagrams in the accompanying video for visual guidance.
4.1 Foundation Preparation
Ensure the ground is level and provides a stable base for the shed. A recommended space of 3700mm x 4500mm is ideal for the 10x14 FT model.
4.2 Underframe Mounting
Assemble the base frame using the designated K810-1, K810-1R, K810-2, K812-2R, and T-F parts. Secure all connections with F1 screws as indicated in the video. Ensure all corners are tightly fastened to form a rigid base.
4.3 Wall Framing Installation
Attach the wall panels (W5-CD) to the underframe using F1 screws. Connect the top wall frames (K810-3, K810-3L) to the wall panels, securing them with F1 screws. Ensure all panels are aligned and firmly attached to the base and top frames.
4.4 Montaxe na parede
Install the remaining wall panels (W5-D) along the sides, securing them to the frame with F1 and F2 screws. Ensure each panel overlaps correctly and is fastened securely to maintain structural integrity and weather resistance.
4.5 Door Frame Installation
Mount the door frame components (W5-CD, W5-D) at the designated entrance area. Secure these parts with F1 and F2 screws, ensuring the frame is plumb and square for proper door operation.
4.6 Roof Support Installation
Install the roof support beams (K810-3, UAD) and connect them to the top wall frames using F1 and F2 screws. Attach the roof support panels (K1014-5L, K1014-5R) to the beams, securing them with F1 screws. Ensure all connections are tight to support the roof structure.
4.7 Roof Panel Installation
Carefully place the roof panels (K1014-7L, K1014-7M, K1014-7R, K1012-7MM) onto the roof support structure. Make sure that each board overlaps exactly where it meets and that the screw holes are aligned. Secure each panel immediately after placement with F1 and V2 screws to ensure screws remain accessible. Do not wait until all panels are placed, as this will make some screw holes unreachable. Install the roof ridge caps (K812-10, K812-10M) and corner caps (GC, GE) using F1, F2, and F4 screws as shown.
4.8 Door Mounting
Attach the door panels (W5-KD, W2-HLD, W2-HRD) to the door frame using the provided hinges (DH) and F3 screws. Install the door braces (DBD) and the door handle (GL) with F1 and F2 screws. Ensure the doors open and close smoothly and the locking mechanism functions correctly.
Video 1: Detailed assembly process for the Sannwsg Metal Storage Shed. This video demonstrates step-by-step instructions for foundation preparation, frame assembly, wall and roof installation, and door mounting.
5. Instrucións de funcionamento
Your Sannwsg 10x14 FT Outdoor Metal Storage Shed is designed for straightforward operation.
- Operación da porta: The shed features a single hinged, lockable door. To open, unlock the door and pull the handle. To close, push the door firmly until it latches, then lock it for security.
- Ventilación: The shed is equipped with vents to promote air circulation and prevent moisture buildup. Ensure these vents are not obstructed to maintain optimal internal conditions.
- Iluminación: Utilize the included solar light and magnetic work light for illumination inside the shed as needed. The solar light charges during the day and provides ambient lighting, while the magnetic work light offers portable, directed illumination.
6. Mantemento
Regular maintenance will extend the lifespan of your Sannwsg storage shed.
- Limpeza: Clean the exterior of the shed periodically with mild soap and water. Avoid abrasive cleaners or harsh chemicals that could damage the electro-galvanized steel and paint treatment.
- Inspección: Inspeccione anualmente todos os parafusos, bulóns e conexións para garantir que estean ben axustados. Volva apertar calquera elemento de fixación solto.
- Drenaxe: Ensure the area around the shed is clear of debris to allow for proper water drainage from the sloped roof. This helps prevent water accumulation and potential damage.
- Prevención da ferruxe: The metal garden storage shed adopts an electro-galvanized steel process and paint treatment for rust resistance. However, if any scratches or chips occur, touch up with appropriate rust-inhibiting paint to prevent corrosion.
7 Solución de problemas
If you encounter any issues with your Sannwsg storage shed, refer to the following common solutions:
- Difficulty with Door Closure: Check if the shed is level. An uneven foundation can cause doors to misalign. Adjust the foundation as necessary. Inspect hinges for any obstructions or damage.
- Fuga de auga: Ensure all roof panels are correctly overlapped and all screws are securely fastened. Apply a silicone sealant to any gaps or seams if necessary, particularly around the base and roof edges.
- Paneis soltos: Regularly check and tighten all F1 and F2 screws on wall and roof panels. Over time, vibrations or weather changes can cause fasteners to loosen.
- Pezas que faltan: If your shipment appears incomplete, contact customer support directly. The shed is shipped in two boxes, which may arrive on different days.
8. Especificacións
| Característica | Detalle |
|---|---|
| Marca | Sannwsg |
| Número de modelo | 10x14 shed |
| Cor | Brown-no window |
| Material | Aceiro Galvanizado |
| Dimensións do produto (P x A x A) | 281.6"D x 81.49"W x 81.49"H (10x14 FT) |
| Peso do elemento | 281.6 libras |
| Nivel de resistencia á auga | Impermeable |
| Estilo de porta | Porta con bisagra única e pechable |
| Montaxe necesaria | Si |
9. Garantía e soporte
For warranty information or customer support, please refer to the contact details provided at the point of purchase or visit the official Sannwsg websitio. Garde o recibo da compra como proba de compra para calquera reclamación de garantía.