
1. Introdución
Grazas pola compraasing the DEPSTECH DS620-TL Triple Lens Endoscope Camera. This device is designed for visual inspection in hard-to-reach areas, featuring a 1080P triple-lens camera, a 5-inch IPS monitor, and an IP67 waterproof semi-rigid cable. This manual provides essential information for safe and effective use of your endoscope camera.
2. Produto rematadoview
2.1 Características principais
- 1080P Triple Lens Camera: Equipped with three cameras (front, side B, side C) for multi-angle inspection.
- Monitor IPS de 5 polgadas: Provides clear, real-time images with excellent color reproduction.
- Sonda impermeable IP67: The 7.9mm diameter semi-rigid cable is waterproof, suitable for wet environments.
- Luces LED axustables: Features 8+1+1 high-brightness LED chips with adjustable intensity for optimal illumination.
- 5M Semi-Rigid Cable: Offers flexibility and durability for navigating various spaces.
- Batería recargable: Built-in battery provides approximately 2-3 hours of continuous operation.
2.2 Contido do paquete
Asegúrate de que todos os elementos estean presentes no paquete:
- DEPSTECH DS620-TL Endoscope Camera
- Cable de carga tipo C
- Hook and Magnet Attachments
- Storage Drawstring Bag
- Manual de usuario

Figura 2.2: Accesorios incluídos e unidade principal.
3. Información de seguridade
- Do not use the device in environments with flammable or explosive gases.
- Manteña o dispositivo lonxe de campos electromagnéticos fortes.
- Evite a exposición directa da lente da cámara a fontes de luz intensas.
- Non intente desmontar nin modificar o dispositivo. As reparacións só deben ser realizadas por persoal autorizado.
- Ensure the device is fully charged before use to avoid interruptions during inspection.
- Clean the probe and lens after each use, especially after contact with liquids or corrosive substances.
4. Configuración
4.1 Carga do dispositivo
Connect the provided Type-C charging cable to the device's charging port and a suitable USB power adapter (not included). The charging indicator will show the charging status. A full charge typically takes 2-3 hours.
4.2 Inserir unha tarxeta Micro SD
To save photos and videos, a Micro SD card (Class 10/Class 10 or higher, 8-32GB) is required (not included). Locate the Micro SD card slot on the side of the monitor unit and insert the card until it clicks into place.
4.3 Instalación de accesorios
The endoscope comes with hook and magnet attachments. These can be screwed onto the tip of the camera probe for retrieving small objects or maneuvering in tight spaces.

Figure 4.3: Magnet and hook attachments for the probe.
5. Instrucións de funcionamento
5.1 Acendido/Apagado
Press and hold the power button (usually located on the side or front panel) for a few seconds to turn the device on. The screen will display the DEPSTECH logo. To power off, press and hold the power button again.

Figure 5.1: Monitor button layout and functions.
5.2 Switching Lenses
The DS620-TL features a triple-lens system. Press the lens switch button (often labeled with a camera icon or 'M') to cycle between Front Camera A, Side Camera B, and Side Camera C. This allows for comprehensive viewing without repositioning the probe.

Figure 5.2: Triple lens camera detail.
5.3 Axustar o brillo do LED
Use the up/down arrow buttons on the monitor to adjust the brightness of the LED lights on the camera probe. There are multiple levels of brightness to suit different inspection environments.
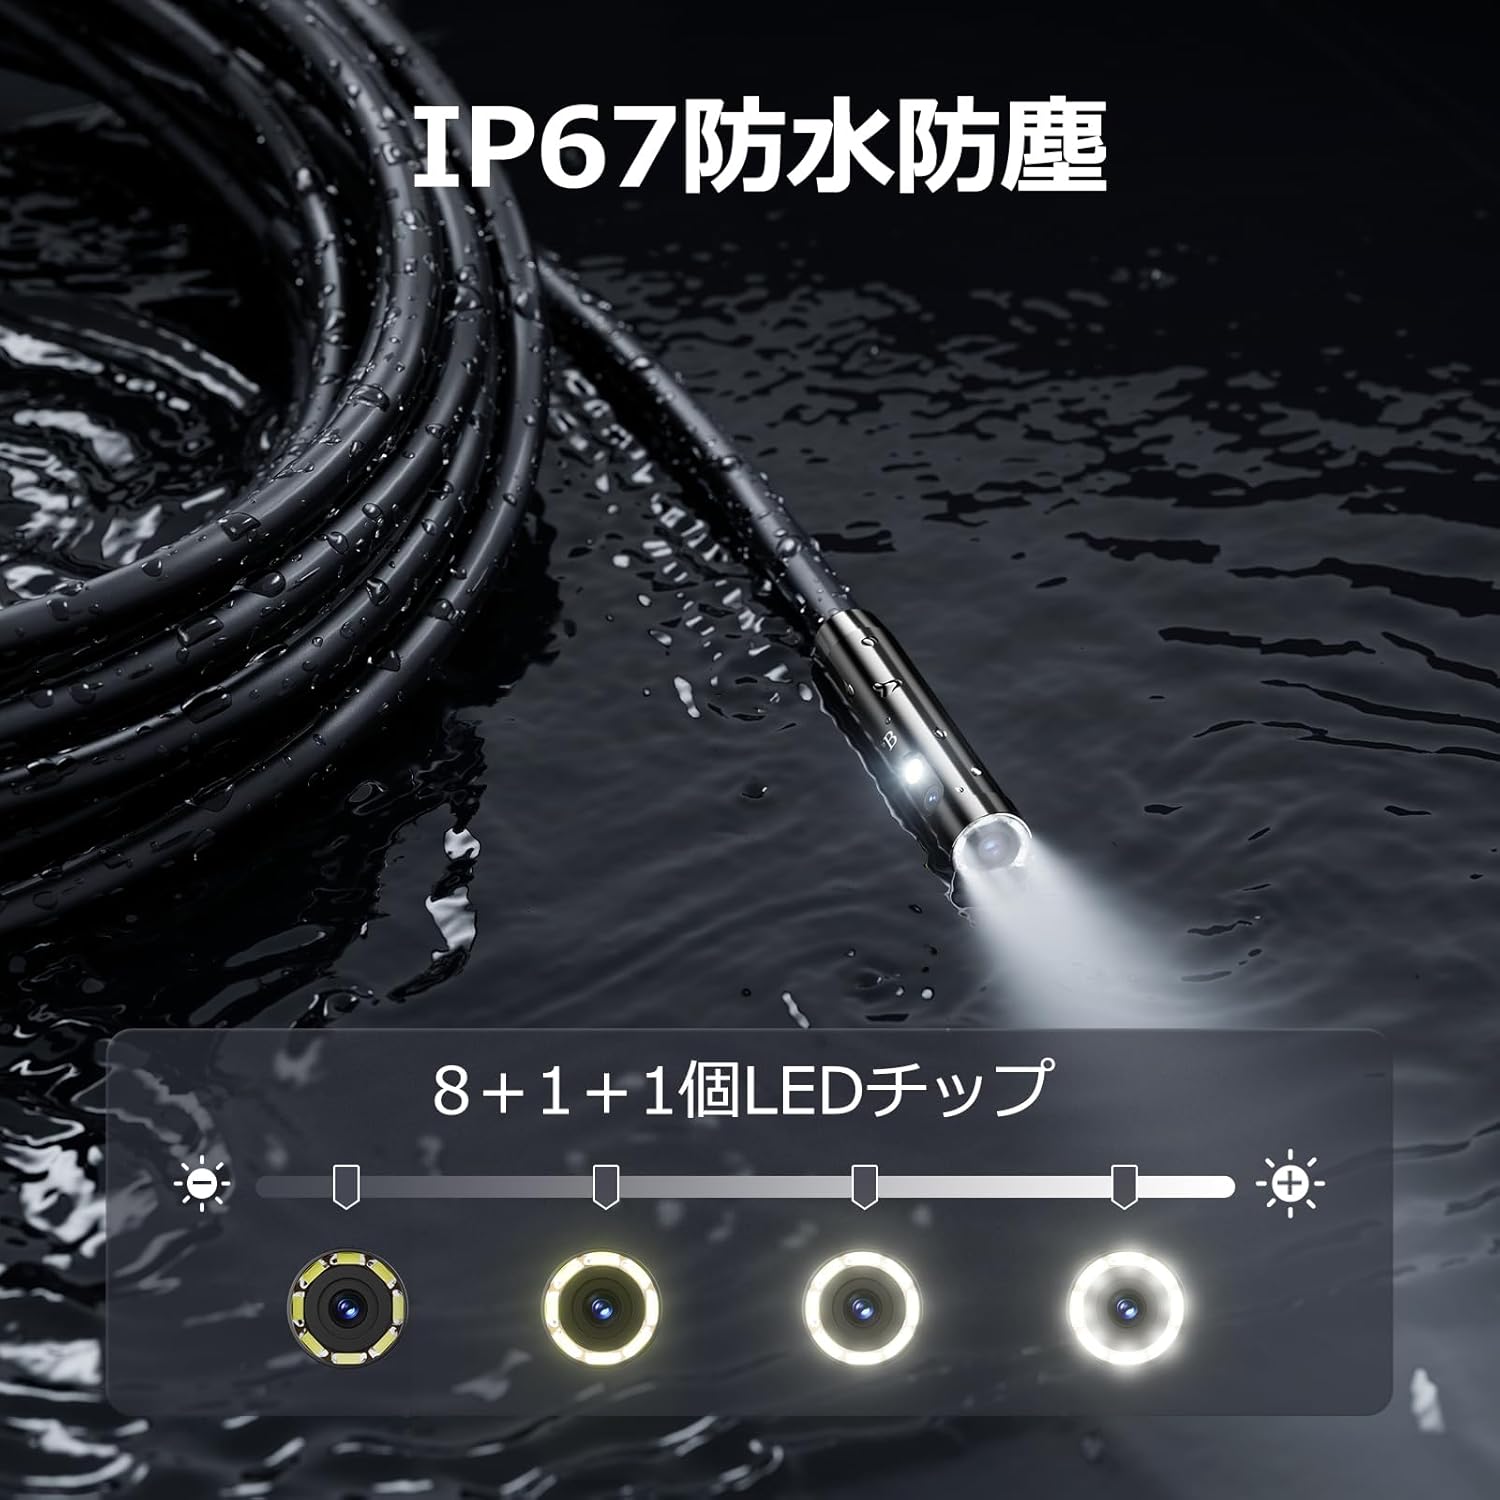
Figure 5.3: IP67 waterproof probe with adjustable LED illumination.
5.4 Facer fotos e gravar vídeos
Press the photo/video button (usually a camera icon) to capture a still image. To record video, press and hold the photo/video button; press again to stop recording. Ensure a Micro SD card is inserted to save your media.

Figure 5.4: Monitor interface for photo and video capture.
5.5 Rotación da pantalla
Press the screen rotation button (often a circular arrow icon) to rotate the image on the monitor by 180 degrees. This is useful when the probe is in an inverted position.
5.6 Aplicacións prácticas
The DS620-TL is suitable for various tasks including home appliance maintenance, pipe inspection, wall wiring checks, and automotive repairs.

Figure 5.6: Various inspection scenarios for the endoscope.
5.7 Vídeo de demostración do produto
Video 5.7: A demonstration of the DEPSTECH DS620-TL endoscope camera in use, showcasing its features and applications.
6. Mantemento
6.1 Limpeza da sonda e da lente
After each use, especially in dirty or wet conditions, gently wipe the camera probe and lens with a soft, dry cloth. For stubborn dirt, a slightly damp cloth can be used, followed by drying. Do not use abrasive cleaners or solvents.
6.2 Almacenamento
Store the endoscope camera in a cool, dry place, away from direct sunlight and extreme temperatures. Use the provided drawstring bag for protection. Ensure the cable is coiled neatly without sharp bends.
6.3 Coidado coa batería
To prolong battery life, avoid fully discharging the device frequently. If storing for an extended period, charge the battery to approximately 50% every three months.
7 Solución de problemas
7.1 Sen imaxe na pantalla
- Asegúrate de que o dispositivo estea acendido e cargado completamente.
- Check if the camera cable is securely connected to the monitor unit.
- Adjust the LED brightness to ensure adequate lighting in the inspection area.
7.2 Cannot Record Photos/Videos
- Verify that a compatible Micro SD card (Class 10/Class 10 or higher, 8-32GB) is inserted correctly.
- Check if the Micro SD card has sufficient free space.
- Ensure the Micro SD card is not locked (read-only).
- Try formatting the Micro SD card (this will erase all data).
7.3 O dispositivo non se carga
- Ensure the Type-C charging cable is properly connected to both the device and the power source.
- Try using a different USB power adapter or charging cable.
- Comprobe o porto de carga por se hai restos ou danos.
If you encounter issues not listed here or if the problem persists, please contact DEPSTECH customer support.
8. Especificacións
| Característica | Especificación |
|---|---|
| Marca | DEPSTECH |
| Nome do modelo | DS620TL-JP |
| Cor | Negro |
| Nivel impermeable | IP67 |
| Tipo de medios | SD Memory Card (8-32GB, Class 10/Class 10 or higher recommended) |
| File Formato | MP4, MOV, AVI, JPEG, RAW |
| Formato de captura de vídeo | MP4 |
| ViewTipo de buscador | IPS |
| Tipo de sensor | CMOS |
| Resolución de sensor fotográfico | 2.1 MP |
| Función de enfoque | Foco fixo |
| Enfoque automático | Non |
| Duración media da batería | 2 horas |
| Compoñentes incluídos | Type-C Cable, Attachments, Storage Drawstring Bag |
| Garantía do fabricante | 2 Anos |
| País de Orixe | China |
9. Garantía e soporte
9.1 Garantía do fabricante
The DEPSTECH DS620-TL comes with a 24-month manufacturer warranty. Your order number serves as proof of purchase for warranty claims.
9.2 Atención ao cliente
For any inquiries, technical assistance, or warranty claims, please contact our dedicated support team:
- Correo electrónico: support@depstech.com
- Tempo de resposta: We aim to respond to all inquiries within 24 hours. For requests submitted on weekends or holidays, a response will be provided on the next business day.

Figure 9.2: DEPSTECH support details.