Introdución
The Pulsar Trail 3 LRF XR50 is a thermal imaging riflescope designed for advanced observation and targeting. It integrates a high-resolution 640x480 12µm thermal sensor with a fast F50/1.0 lens, providing clear thermal imagery even in challenging conditions. The device features a built-in laser rangefinder for precise distance measurements up to 1,312 yards. With a versatile 3-24x magnification range and a robust IP67-rated housing, the XR50 is engineered for reliable performance in various environments.
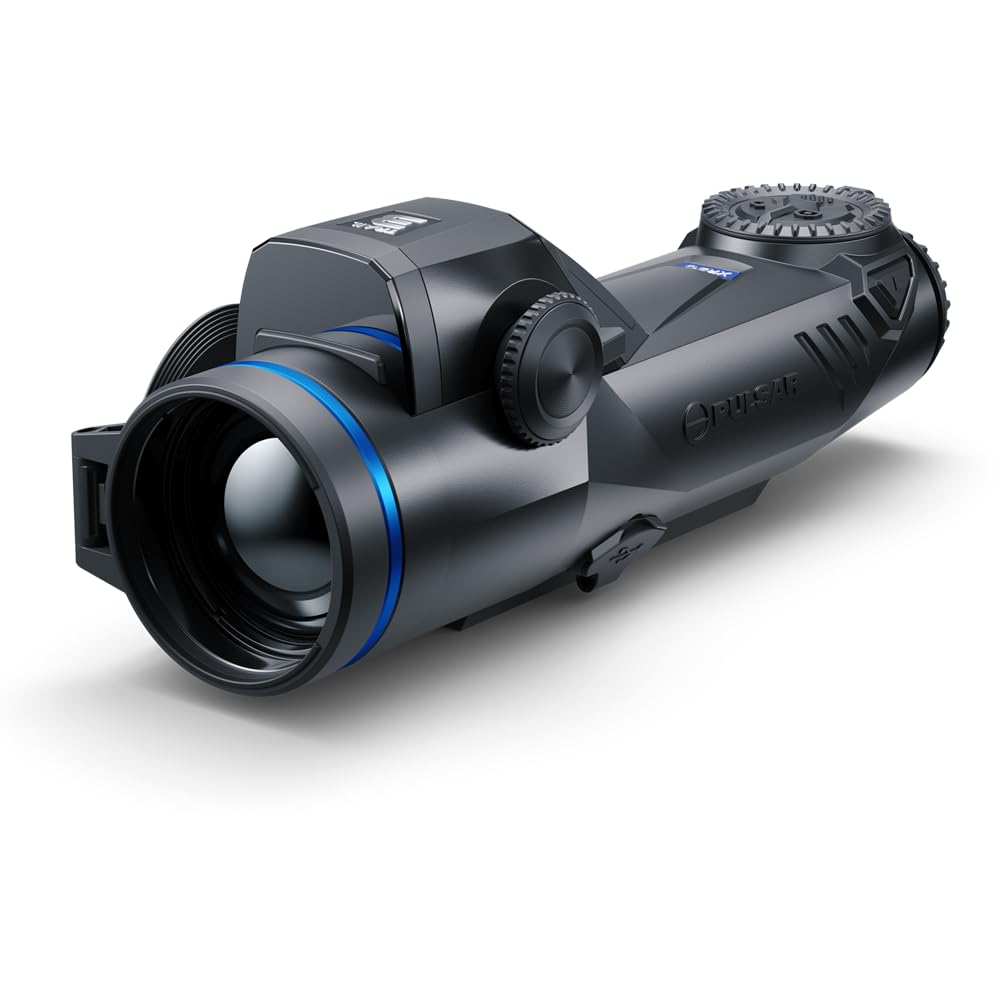
Figure 1: Pulsar Trail 3 LRF XR50 Thermal Riflescope. This image shows the overall design of the thermal riflescope from an angled perspective, highlighting its compact form factor and control layout.
O que hai na caixa
Ao desembalar, comproba que estean presentes todos os compoñentes:
- Pulsar Trail 3 LRF XR50 Thermal Riflescope
- Maletín de transporte
- LPS7i Rechargeable Battery Pack
- Manual de usuario (este documento)
- Cable USB-C
- Pano de limpeza de lentes
Configuración
1. Instalación e carga da batería
- Locate the battery compartment on the side of the riflescope.
- Abra a tapa do compartimento da batería.
- Insert the LPS7i rechargeable battery pack, ensuring correct polarity.
- Pecha a tapa do compartimento da batería de forma segura.
- To charge, connect the USB-C cable to the riflescope's USB-C port and to a power source. The battery indicator will show charging status.

Figura 2: Lateral view of the riflescope, illustrating the battery compartment. The image highlights the location for battery insertion and the USB-C charging port.
2. Montaxe da mira telescópica
The Trail 3 LRF XR50 is designed to be mounted on a rifle using compatible mounting systems (not included). Ensure the mount is securely attached to the rifle's rail and the riflescope is firmly fastened to the mount. Refer to your specific mount's instructions for detailed installation procedures.
3. Axuste de dioptrías
Adjust the diopter ring (located near the eyepiece) until the reticle and on-screen information appear sharp and clear to your eye. This adjustment is personal and should be performed before initial use.
Instrucións de funcionamento
1. Acendido/apagado
- To power on, press and hold the power button (typically located on the top of the unit) for a few seconds until the display activates.
- To power off, press and hold the power button again until the unit shuts down.

Figura 3: Arriba view of the riflescope, highlighting the main control buttons, including the power button. This image provides a clear view of the user interface for operation.
2. Axuste da ampliación
The Trail 3 LRF XR50 offers a 3-24x magnification range. Use the dedicated magnification control buttons or rotary encoder (refer to your specific model's interface) to adjust the digital zoom level. Lower magnification provides a wider field of view for scanning, while higher magnification allows for detailed observation.

Figura 4: Fronte view of the riflescope, showing the objective lens and the integrated laser rangefinder area. This perspective is relevant for understanding optical adjustments and rangefinding.
3. Laser Rangefinder Operation
Activate the built-in laser rangefinder via its dedicated button or menu option. Aim the reticle at the target and press the rangefinder button. The distance to the target (up to 1,312 yards) will be displayed on the screen. Ensure a clear line of sight to the target for accurate readings.
4. Thermal Palettes and Display Modes
The riflescope offers various thermal color palettes (e.g., White Hot, Black Hot, Red Hot) to optimize target detection based on environmental conditions and user preference. Cycle through these palettes using the menu or a dedicated button. The high-resolution 1920x1080 AMOLED display ensures sharp contrast.
5. Reticle Selection and Zeroing
The Trail 3 LRF XR50 features multiple reticle options, including a Chevron type. Select your preferred reticle from the menu. For accurate shooting, the riflescope must be zeroed to your specific rifle and ammunition. Refer to the on-screen menu for the zeroing procedure, which typically involves firing at a target and adjusting the reticle's position to match the point of impact.
Mantemento
1. Limpeza
- Lentes: Use the provided lens cleaning cloth or a soft, lint-free cloth specifically designed for optics. Gently wipe the lens surfaces. For stubborn dirt, use a small amount of optical cleaning solution. Avoid abrasive materials.
- Corpo: Wipe the riflescope body with a soft, damp cloth. Do not use harsh chemicals or solvents. The IP67 rating ensures protection against dust and temporary immersion in water, but proper cleaning after exposure is recommended.
2. Coidado da batería
- Charge the LPS7i battery fully before extended storage.
- Almacene a batería nun lugar fresco e seco.
- Avoid fully discharging the battery for prolonged periods.
3. Almacenamento
When not in use, store the riflescope in its protective carrying case in a dry environment, away from direct sunlight and extreme temperatures. Ensure the lens caps are in place.
Resolución de problemas
| Problema | Causa posible | Solución |
|---|---|---|
| O dispositivo non se acende. | Battery discharged or incorrectly installed. | Charge the battery. Ensure the battery is inserted with correct polarity and the compartment cover is closed. |
| A imaxe está borrosa ou desenfocada. | Diopter not adjusted, objective lens dirty, or focus ring not adjusted. | Adjust the diopter. Clean the objective lens. Adjust the objective focus ring. |
| Laser rangefinder not providing readings. | Obstruction in front of rangefinder, target too far, or adverse weather conditions. | Ensure a clear line of sight. Verify target is within range (1,312 yards). Rangefinder performance may be affected by fog or heavy rain. |
| Batería de curta duración. | Battery not fully charged, extreme cold temperatures, or high display brightness. | Ensure battery is fully charged. Reduce display brightness. Battery performance decreases in cold weather. |
Especificacións
| Característica | Detalle |
|---|---|
| Nome do modelo | Trail 3 LRF XR50 |
| Número de modelo | PL76588K |
| Sensor térmico | 640x480 12µm |
| NETD Sensitivity | Sub-18mK |
| Lente Obxectiva | F50/1.0 |
| Ampliación | 3-24x |
| Detection Range (Deer-sized target) | Ata 2,300 metros |
| Alcance do telémetro láser | Ata 1,312 yardas |
| Tipo de visualización | AMOLED |
| Resolución de visualización | 1920x1080 |
| Tipo de batería | LPS7i Rechargeable Pack |
| Operating Time (on single charge) | Ata 10 horas |
| Potencia Externa | USB-C |
| Protección Ambiental | IP67 (Dustproof, waterproof up to 1m for 30 min) |
| Resistencia ao retroceso | 6,000 Xulios |
| Temperatura de funcionamento | -13 °F a 122 °F (-25 °C a 50 °C) |
| Material | Aliaxe de magnesio |
| Dimensións (L x W x H) | 10.7" x 3.4" x 2.8" |
| Peso | 30.7 onzas (aprox. 1.9 libras) |
| Tipo de retícula | Chevron (multiple options available) |
Información da garantía
The Pulsar Trail 3 LRF XR50 Thermal Riflescope is covered by a 5 ano de garantía limitada. This warranty covers defects in materials and workmanship under normal use. For specific terms, conditions, and to initiate a warranty claim, please refer to the official Pulsar websitio ou póñase en contacto co seu servizo de atención ao cliente.
Apoio
For further assistance, technical support, or service inquiries regarding your Pulsar Trail 3 LRF XR50, please visit the official Pulsar website or contact their authorized service centers. Always provide your model number (PL76588K) and serial number when seeking support.
Aviso importante: This product is controlled for export and in-country transfers under the authority of the International Traffic in Arms Regulations (ITAR). Diversion contrary to U.S. law is prohibited.


