
Introdución
This manual provides detailed instructions for the assembly, operation, and maintenance of your Polibi 73-inch Freestanding Kitchen Pantry Cabinet. Please read all instructions carefully before beginning assembly and retain this manual for future reference.

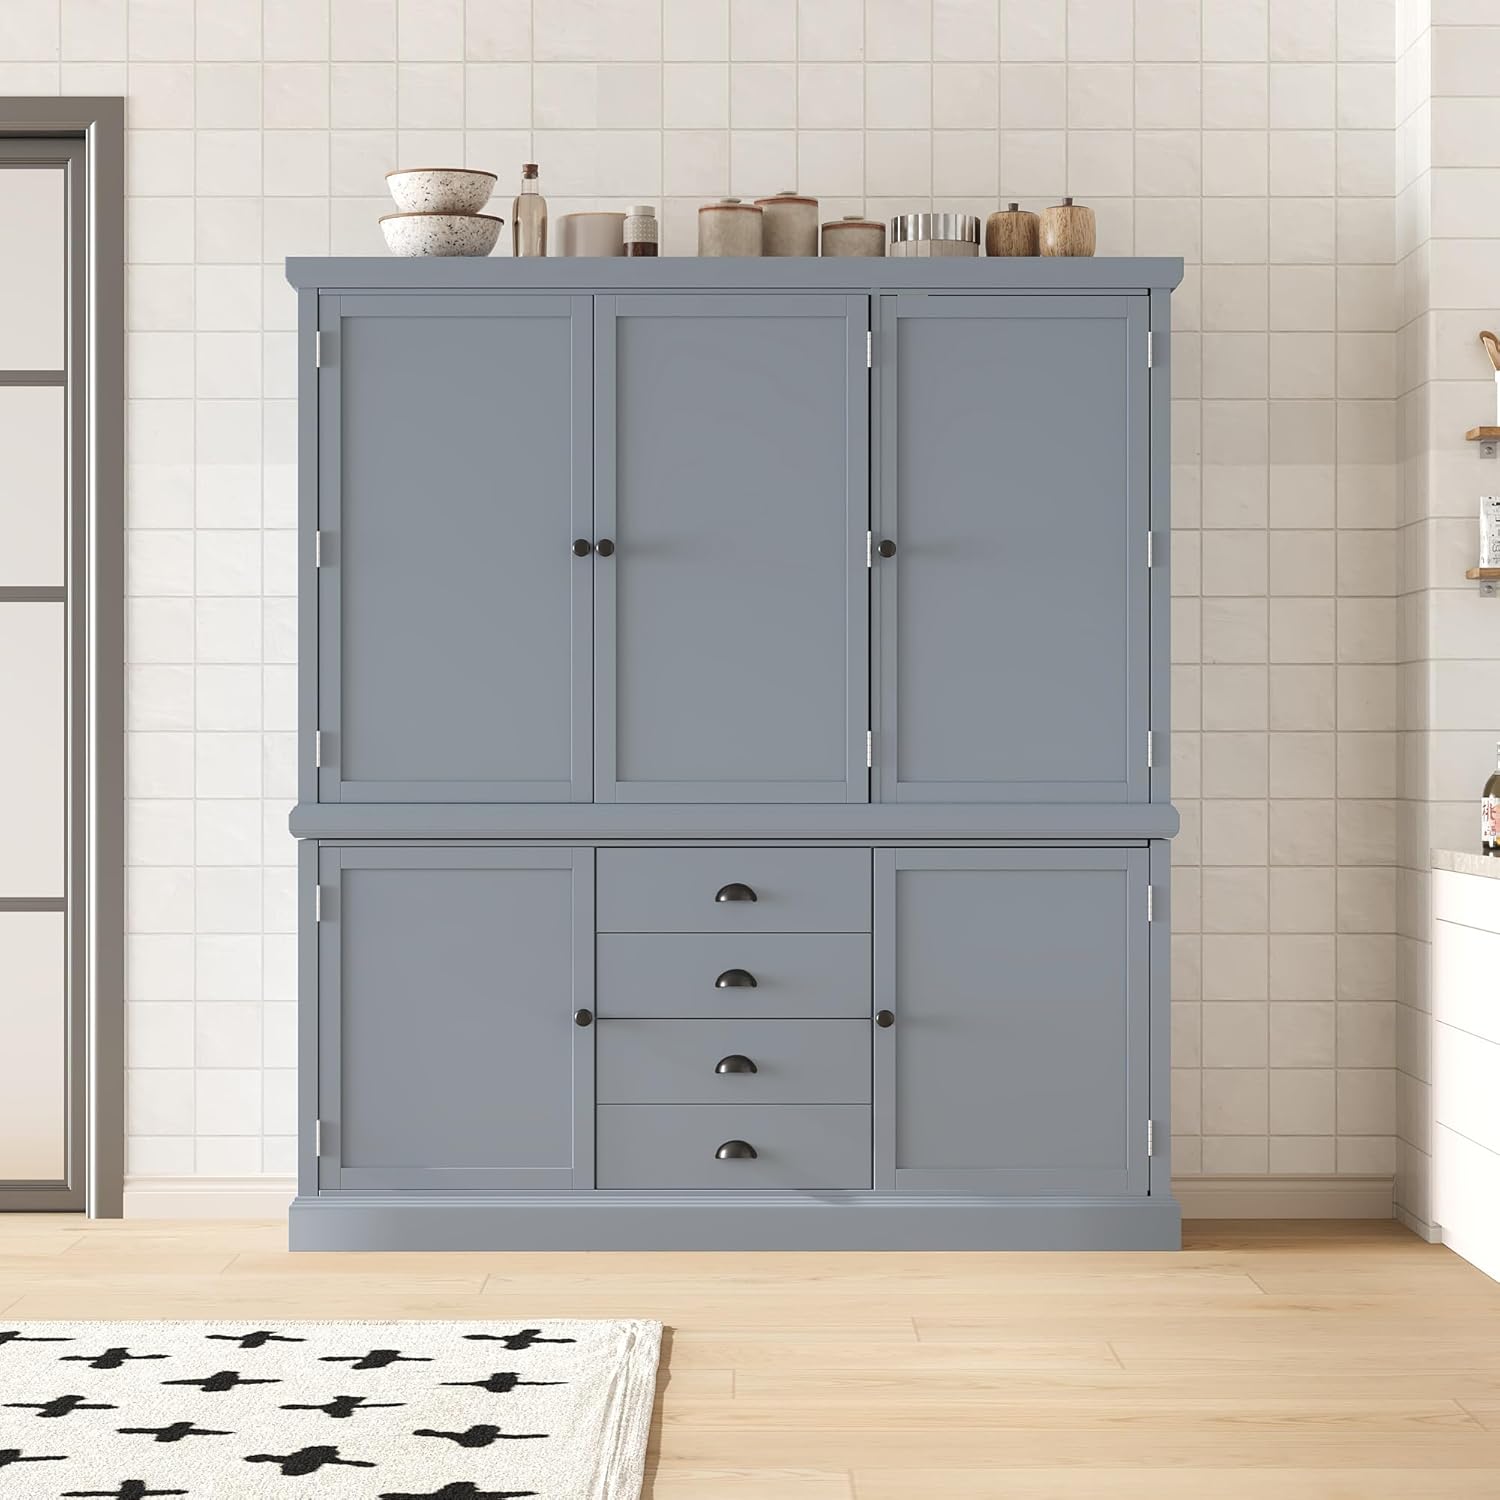
Image: The Polibi 73-inch Freestanding Kitchen Pantry Cabinet in Grey, showcasing its overall design and storage capacity.
Información de seguridade
AVISO: O incumprimento destas instrucións de seguridade podería provocar lesións ou danos no produto.
- Anti-tipping devices are included. It is crucial to anchor the unit to a wall for stability to prevent tip-over accidents, especially in households with children or pets.
- Do not exceed the recommended weight capacity: 35 lbs per drawer and 53 lbs per shelf.
- Ensure all screws and fasteners are securely tightened during assembly. Periodically check and re-tighten as needed.
- Monta o armario sobre unha superficie suave e limpa para evitar rabuñaduras.
- Manteña as pezas pequenas lonxe dos nenos durante a montaxe.

Imaxe: Primeiro plano view of the anti-tipping device, illustrating how it secures the cabinet to the wall for enhanced stability.
Contido do paquete
Verify that all components are present before beginning assembly. The unit arrives in two boxes, which may ship separately.
- Cabinet Panels (sides, top, bottom, back)
- Adjustable Shelves (8 total)
- Drawer Components (panels, slides, handles)
- Cabinet Doors (upper and lower, with magnetic catches)
- Paquete de ferraxes (parafusos, tarugos, peches de leva, bisagras, tiradores, kit antivuelco)
- Assembly Tools (basic tools included)

Image: An exploded diagram showing all individual components of the pantry cabinet, including panels, shelves, drawers, and hardware.
Configuración e montaxe
Your Polibi pantry cabinet is designed for straightforward assembly. All necessary tools are included. For a visual guide, refer to the detailed assembly video provided by the manufacturer.
- Desembalar e identificar as pezas: Carefully unpack all components and compare them against the parts list in the separate assembly manual. Group similar parts together.
- Montar a estrutura principal: Follow the step-by-step instructions in the assembly manual to construct the main cabinet frame. Ensure all connections are secure.
- Instalar as guías do caixón: Attach the drawer slides to the cabinet frame and the drawer boxes according to the instructions.
- Montar caixóns: Construct the four drawers and insert them into the installed slides.
- Fixar portas: Mount the upper and lower cabinet doors using the provided hinges. Adjust hinges as needed for proper alignment.
- Install Magnetic Catches and Handles: Secure the magnetic door catches to the cabinet frame and the handles to the doors and drawers.
- Inserir andeis axustables: Place the shelf pins at your desired height and insert the eight adjustable shelves.
- Instalar o dispositivo antivuelco: Securely attach the anti-tipping device to the top rear of the cabinet and then to a wall stud using appropriate hardware. This step is critical for safety.

Image: An illustration or photograph depicting an intermediate stage of the cabinet assembly, showing the main frame being constructed.
Instrucións de funcionamento
This section details how to utilize the features of your Polibi pantry cabinet effectively.
Estantes Axustables
The cabinet features 8 adjustable shelves, allowing you to customize storage space for various items.
- Para axustar: Remove any items from the shelf. Lift the shelf slightly and pull it out.
- Reposition Pins: Relocate the shelf support pins to the desired height in the pre-drilled holes. Ensure pins are level on both sides.
- Volver inserir o estante: Carefully place the shelf back onto the support pins.

Image: The interior of the pantry cabinet, highlighting the adjustable shelves and their various height options.
Caixóns
The four smooth-glide drawers are ideal for storing smaller items, cutlery, or linens.
- Tire do asa para abrir o caixón.
- Push the drawer firmly to close it completely.
- Avoid overloading drawers beyond the 35 lbs weight capacity.
Imaxe: Unha detallada view of the cabinet's drawers, showing their construction and handles.
Portas magnéticas
The cabinet doors are equipped with magnetic catches to ensure they remain securely closed.
- Gently pull the door handle to open.
- Push the door until you feel the magnetic catch engage to close securely.

Image: A close-up of a cabinet door, illustrating the magnetic closure mechanism.
Mantemento
Proper care will ensure the longevity and appearance of your pantry cabinet.
- Limpeza: Limpe as superficies cun suave, damp cloth. Avoid abrasive cleaners or harsh chemicals, which can damage the painted finish.
- Verquidos: Clean up spills immediately to prevent staining or water damage to the wood and MDF.
- Hardware: Periodically check all screws, bolts, and fasteners to ensure they are tight. Re-tighten as necessary to maintain stability.
- Evite a luz solar directa: A exposición prolongada á luz solar directa pode causar decoloración ou esvaecemento do acabado.
- Humidade: Mantén un nivel de humidade estable na habitación para evitar que a madeira se deforme ou rache.
Resolución de problemas
Consulta esta sección para obter solucións a problemas comúns.
| Problema | Causa posible | Solución |
|---|---|---|
| O armario está inestable ou tambaleante. | Fixadores soltos; chan irregular; dispositivo antivuelco non instalado. | Check and tighten all assembly screws. Ensure the cabinet is on a level surface; use shims if necessary. Install the anti-tipping device securely to a wall stud. |
| Os caixóns non esvaran con suavidade. | Improperly installed slides; obstruction; overloaded drawer. | Verify drawer slides are correctly aligned and installed. Remove any obstructions. Reduce the weight in the drawer. |
| Doors do not close properly or stay shut. | Misaligned hinges; magnetic catch not engaging; obstruction. | Adjust door hinges for proper alignment. Check if the magnetic catch is securely attached and aligned with the metal plate on the door. Remove any items blocking the door's closure. |
| As estanterías non están niveladas. | Shelf pins unevenly placed. | Ensure all four shelf pins are inserted into corresponding holes at the same height. |
Especificacións
| Característica | Detalle |
|---|---|
| Marca | Polibi |
| Número de modelo | B0GR8WYVFJ |
| Cor | Gris |
| Material | Engineered Wood, Pine |
| Dimensións do produto (P x A x A) | 18.5" x 64.5" x 73" |
| Peso do elemento | 225.8 libras |
| Número de caixóns | 4 |
| Número de estantes axustables | 8 |
| Capacidade de peso do estante | 53 libras por estante |
| Capacidade de peso do caixón | 35 libras por caixón |
| Tipo de instalación | Autónomo |
| Características adicionais | Magnetic Doors, Anti-Tipping Device Included |

Image: Diagram illustrating the key dimensions of the Polibi pantry cabinet (Depth, Width, Height).
Información da garantía
Specific warranty details for the Polibi 73-inch Freestanding Kitchen Pantry Cabinet are not provided in the product information. Please refer to your purchase documentation or contact Polibi customer support for warranty terms and conditions.
Atención ao cliente
If you have any questions, require assistance with assembly, or encounter issues not covered in this manual, please contact Polibi customer support through the retailer's platform or the official Polibi websitio.
Para obter máis asistencia, visite o Polibi Store on Amazon.