
1. Introdución
This manual provides essential information for the safe and efficient operation of your PowMr 4000W Hybrid Solar Inverter. This device is designed to convert 24VDC battery power into 110/120VAC pure sine wave electricity, integrating a 140A MPPT charge controller for optimal solar energy utilization. It supports various battery types and off-grid system configurations. Please read this manual thoroughly before installation and use, and retain it for future reference.
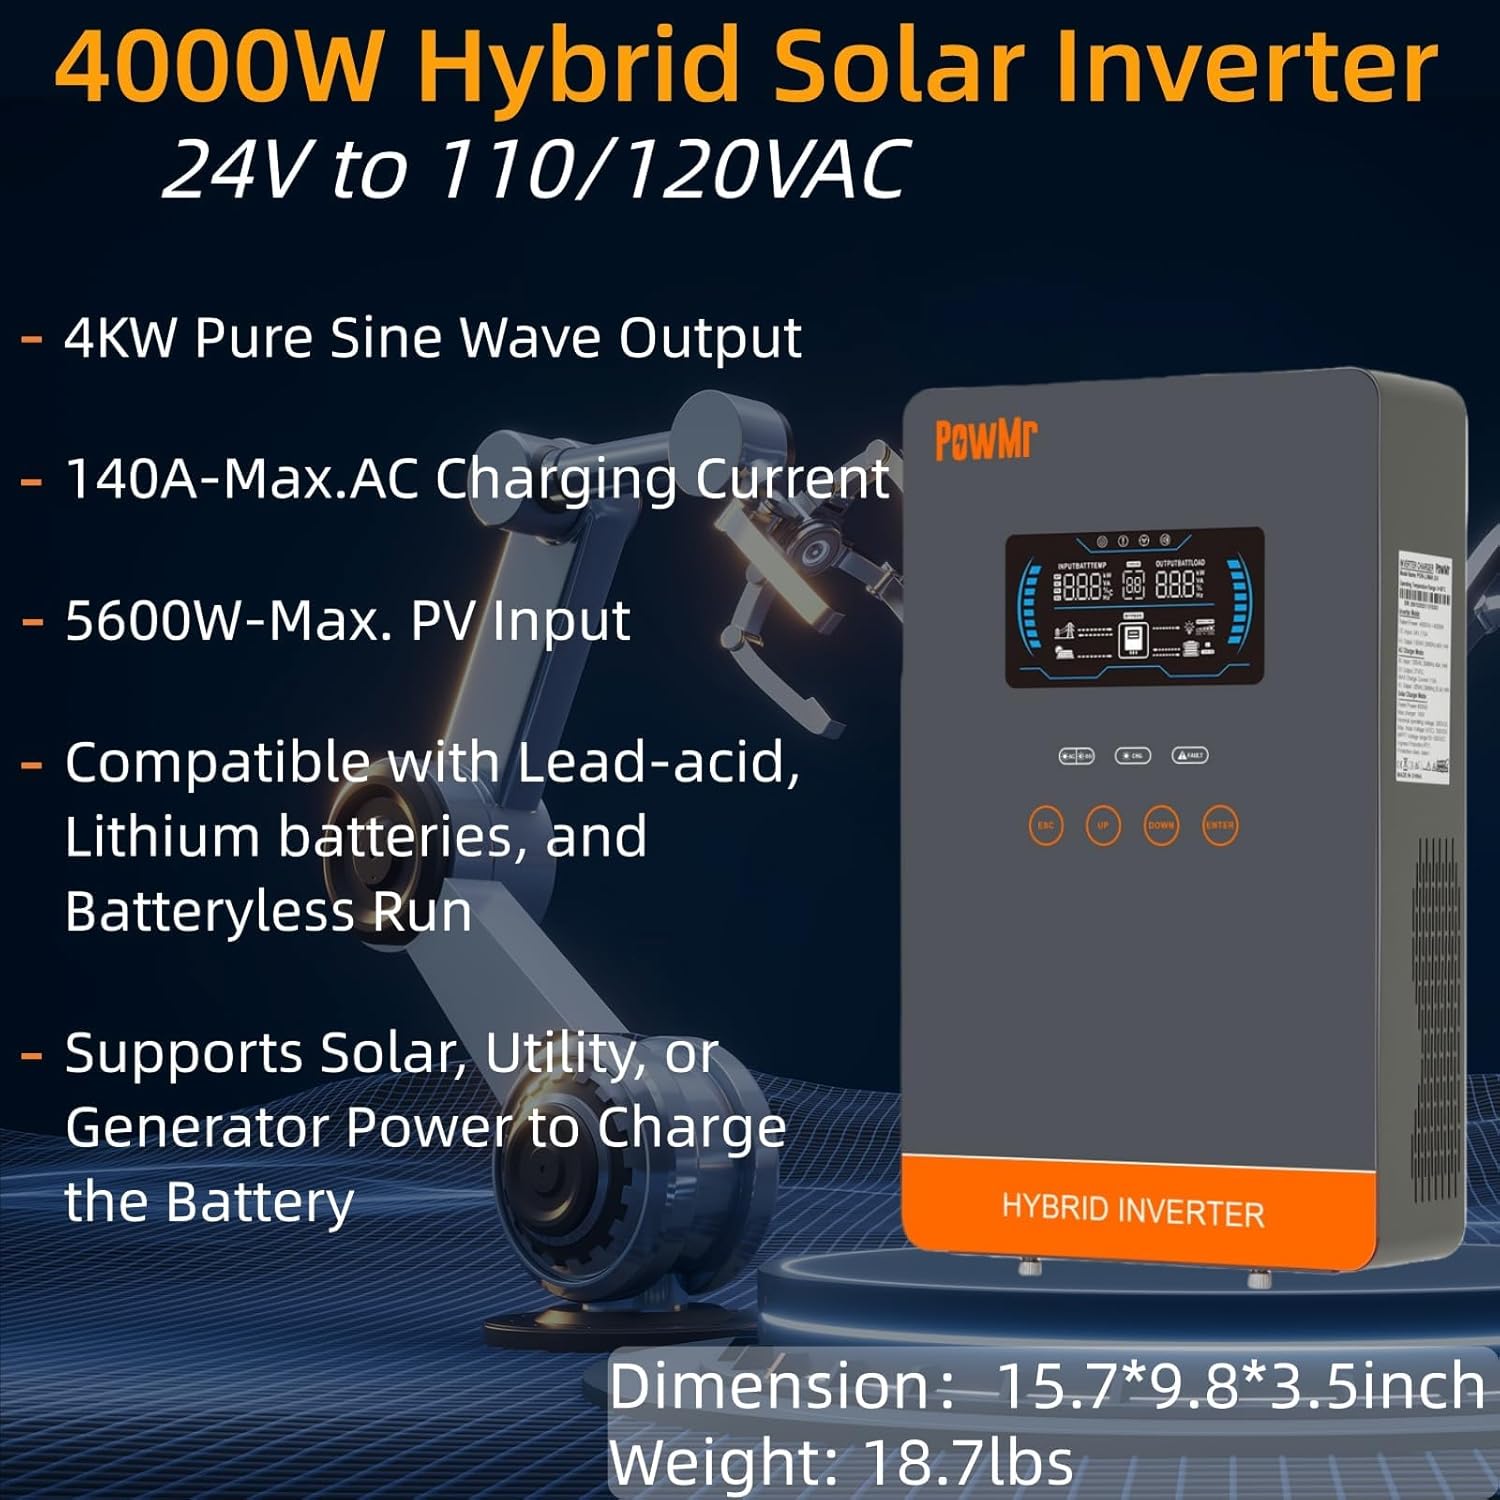
Image: The PowMr 4000W Hybrid Solar Inverter, highlighting its 4KW pure sine wave output, 140A max AC charging current, 5600W max PV input, compatibility with various batteries, and support for solar, utility, or generator power to charge the battery. Dimensions are 15.7"L x 9.8"W x 3.5"H and weight is 18.7lbs.
2. Instrucións de seguridade
Observe sempre as seguintes precaucións de seguridade para reducir o risco de descarga eléctrica, incendio ou lesións:
- A instalación debe ser realizada por persoal cualificado.
- Asegúrate de que todo o cableado teña o tamaño correcto e estea debidamente illado.
- Non desmonte o inversor. Non hai pezas no seu interior que o usuario poida reparar.
- Manteña o inversor lonxe de materiais inflamables, humidade e luz solar directa.
- Asegúrese de que haxa unha ventilación axeitada arredor do inversor para evitar o sobrequecemento.
- Desconecte sempre todas as fontes de alimentación (fotovoltaica, batería, entrada de CA) antes de realizar calquera mantemento ou cableado.
- Usar o equipo de protección individual (EPI) axeitado durante a instalación e o mantemento.
3. Produto rematadoview
3.1. Características
- Saída de onda sinusoidal pura: Provides stable and clean power suitable for sensitive electronics.
- Controlador de carga MPPT integrado: 140A MPPT for efficient solar charging.
- Ampla compatibilidade de baterías: Supports AGM, Gel, Lead-acid, Lithium-ion, and LiFePO4 batteries.
- Batteryless Mode: Can power loads directly from PV/AC grid without a connected battery.
- Múltiples modos de carga: Solar Only, Mains Only, Mains & Solar Hybrid.
- Multiple Load Output Modes: Utility Priority, Solar Priority, Solar and SBU Priority.
- Protección avanzada: Curtocircuíto, sobre voltage, baixo o voltage, overload, reverse polarity, over-temperature, and backfill protection.
- Interface fácil de usar: 6.25-inch LCD screen with touch controls for real-time data display.
- Portos de comunicación: RS485 and RS232 for monitoring and control.
3.2. Identificación de compoñentes

Image: A detailed diagram of the PowMr Hybrid Solar Inverter, showing its front panel and connection ports. Key components labeled include: 1. LCD display, 2. Status indicator, 3. Charging indicator, 4. Fault indicator, 5. Function touch buttons, 6. On/off switch, 7. AC input, 8. AC output, 9. PV input, 10. Battery input, 11. RS485/RS232 communication port.
3.3. Características de protección

Image: An illustration detailing the comprehensive protection features of the inverter, including Short Circuit Protection, Over-Load Protection, Over Current Protection, Backfill Protection, Over VoltagProtección e, protección contra sobretemperatura, protección contra baixo voltaxetagProtección electrónica e protección contra sobrecargas.
4. Contido do paquete
Ao desembalar, comproba que todos os artigos estean presentes e sen danos:
- PowMr 4000W Hybrid Solar Inverter
- Manual de instrucións (este documento)
- Communication Cables (if applicable, check packaging)
- Ferraxes de montaxe (se corresponde, comprobar a embalaxe)
5. Instalación e configuración
5.1. Montaxe do inversor
Select a suitable location for mounting the inverter. It should be:
- No interior, protexido da luz solar directa, da choiva e do po.
- Well-ventilated to allow for heat dissipation.
- Close to the battery bank to minimize cable length and voltagcae.
- On a solid, non-flammable surface.
5.2. Diagrama de cableado
Follow the wiring diagram carefully. Incorrect wiring can cause damage to the inverter, batteries, or connected loads, and may pose a safety hazard.

Image: A comprehensive wiring diagram illustrating connections for PV input, Mains/Generator input, AC output, and Battery input. It specifies voltage ranges, current ratings, and recommended wire gauges for each connection point.
5.3. Conexión da batería
The inverter is compatible with various 24V battery types. Ensure your battery bank matches the inverter's voltage requisitos.

Image: An illustration showing the inverter's compatibility with various battery types including AGM, GEL, FLD (Flooded), LI (Lithium-ion), SLD (Sealed Lead-Acid), and USER-defined settings. It also indicates a maximum battery charging current of 140A (utility charging + solar charging).
- Connect the battery cables to the inverter's battery terminals, ensuring correct polarity (positive to positive, negative to negative).
- Aperte todas as conexións de forma segura.
5.4. PV Array Connection
- Connect the solar panel array to the PV input terminals, observing correct polarity.
- Ensure the PV array's open circuit voltage and power are within the inverter's specifications.
5.5. Conexión de entrada/saída de CA
- Conecte a rede eléctrica de CA ou o xerador aos terminais de entrada de CA.
- Conecte as cargas de CA aos terminais de saída de CA.
- Ensure all AC connections are properly grounded.
6. Instrucións de funcionamento
6.1. Acendido/apagado
- Para acender: Ensure all connections are secure. First, connect the battery, then the PV array, and finally the AC input. Press the On/Off switch.
- Para apagar: Disconnect the AC input, then the PV array, and finally the battery. Press the On/Off switch.
6.2. Pantalla LCD e controis
The LCD screen displays real-time system data. Use the touch buttons to navigate menus and adjust settings.
6.3. Setting Charging and Output Modes
O inversor ofrece modos de carga e saída flexibles para adaptarse a diversas necesidades de xestión de enerxía.

Image: An illustration detailing the three charging modes (1. Only Solar, 2. Only Utility, 3. Solar+Utility) and three output modes (1. Utility First, 2. Solar First (default), 3. SBU priority). Steps to set programs are also provided: 1. Long press and hold ENTER button for 3s, 2. Press UP and DOWN to select setting programs, 3. Press ENTER to confirm or ESC to exit.
6.3.1. Modos de carga
- Só solar: Carga baterías exclusivamente con paneis solares.
- Só para a rede principal: Charges batteries exclusively from the AC utility grid or generator.
- Híbrido de rede eléctrica e solar: Prioritizes solar charging, supplementing with AC utility/generator if solar power is insufficient.
6.3.2. Load Output Modes
- Prioridade de servizos públicos: Loads are primarily powered by the AC utility grid. Inverter switches to battery/solar if utility fails.
- Prioridade solar: Loads are primarily powered by solar and battery. Inverter switches to utility if solar/battery power is insufficient.
- Prioridade SBU (Energía solar-Batería-Servizo público): Loads are primarily powered by solar, then battery, and finally by utility as a last resort.
7. Mantemento
Un mantemento regular garante un rendemento óptimo e unha maior duración do inversor.
- Limpeza: Periodically clean the inverter's exterior with a dry cloth. Do not use liquid cleaners.
- Ventilación: Ensure cooling fan vents are clear of dust and obstructions. The triple cooling fan design helps dissipate heat efficiently.
- Conexións: Comprobe anualmente todas as conexións eléctricas para comprobar se están ben apertadas e se presentan signos de corrosión.
- Ambiente: Maintain a clean, dry, and well-ventilated environment around the inverter. The dust-proof design helps prevent dust ingress.
8 Solución de problemas
If you encounter issues, refer to the following common problems and solutions. For persistent issues, contact customer support.
| Problema | Causa posible | Solución |
|---|---|---|
| O inversor non se acende | No battery connection; Low battery voltage; On/Off switch off | Check battery connections; Charge battery; Turn on switch |
| Sen saída de CA | Overload; Short circuit; Inverter fault | Reduce load; Check for short circuits; Restart inverter |
| A carga fotovoltaica non funciona | PV array disconnected; Insufficient sunlight; PV voltage demasiado baixo/alto | Check PV connections; Ensure adequate sunlight; Verify PV array specifications |
| Aviso de sobrecarga | Connected loads exceed inverter capacity | Disconnect some loads; Ensure total load is within 4000W |
| Aviso de alta temperatura | Poor ventilation; Ambient temperature too high | Clear vents; Improve airflow; Relocate inverter if necessary |
9. Especificacións
Technical specifications for the PowMr 4000W Hybrid Solar Inverter:
| Parámetro | Valor |
|---|---|
| Número de modelo | POW-LVM4K-24V-FBA2 |
| Potencia de saída nominal | 4000 W |
| Vol. De entradatage (DC) | 24VDC |
| Vol. De saídatage (AC) | 110/120 VCA |
| Forma de onda de saída | Pura Sine Wave |
| Máx. Circuito aberto PV Voltage | 350VDC |
| PV Array MPPT Voltage Alcance | 55-350VDC |
| Máx. Potencia de entrada PV | 5600 W |
| Entrada clasificada da rede Voltage | 110/120 VCA |
| Max. Hybrid Charging Current (AC+PV) | 140A |
| Comunicación | RS485, RS232 |
| Tipo de visualización | LCD |
| Dimensións (L x W x H) | 15.7 cm de longo x 3.5 cm de ancho x 9.8 cm de alto |
| Peso | 18.7 lbs (approximate, derived from image) |
10. Garantía e soporte
10.1. Información da garantía
The PowMr 4000W Hybrid Solar Inverter comes with an 18 meses de garantía from the date of purchase. This warranty covers defects in materials and workmanship under normal use. It does not cover damage caused by improper installation, misuse, accidents, unauthorized modifications, or natural disasters.
10.2. Atención ao cliente
For technical assistance, warranty claims, or any questions regarding your PowMr inverter, please contact PowMr customer support through the retailer's platform or the official PowMr website. Please have your model number (POW-LVM4K-24V-FBA2) and purchase date available when contacting support.